12 Days of Christmas Milkmaid ITH Ornament Machine Embroidery Design - 3 Sizes
By knowing the speed of your embroidery machine, you can find out how long it will take to embroider a design.
To use the embroidery calculator, click on the number of stitches in the product description.
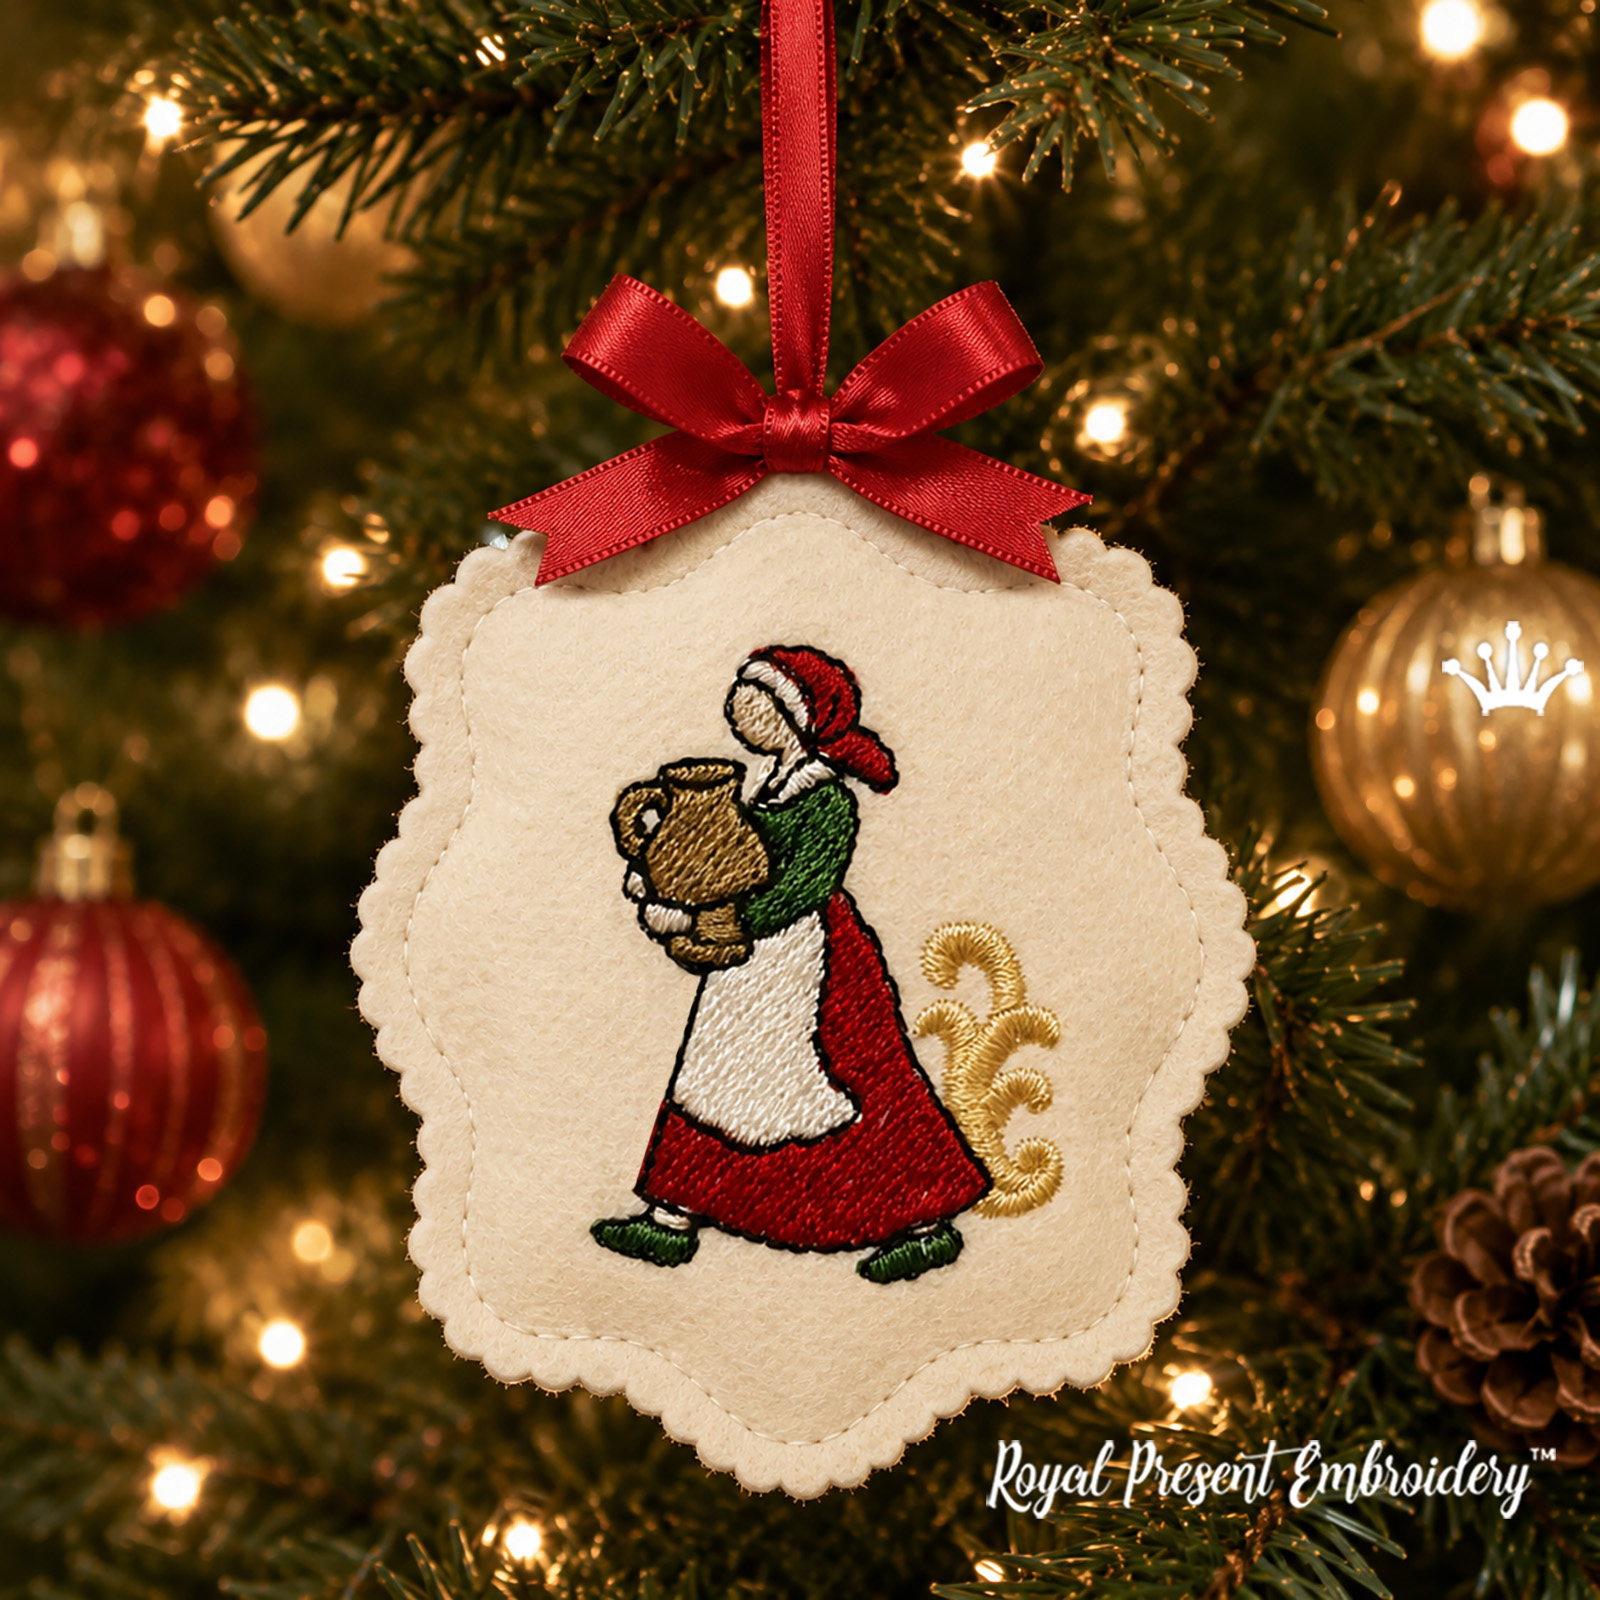
Christmas Milkmaid ITH Ornament Machine Embroidery Design creates a flat, shaped hanging decoration directly in the hoop. The baroque country girl carries a milk jug and wears a red skirt, green bodice and pale apron, with an antique-gold scroll completing the traditional Christmas palette.
The character represents Eight Maids a-Milking from The Twelve Days of Christmas. Placement, front attachment, character embroidery and final assembly are already programmed in each machine file. The ornament does not need turning, stuffing or a hand-sewn opening.
Exact sizes, stitches and formats
Size: 63.4x74.6 mm (2.50x2.94"), Stitches: 4500
Size: 69.8x82.0 mm (2.75x3.23"), Stitches: 4900
Size: 81.5x96.0 mm (3.21x3.78"), Stitches: 5800Formats: .dat, .dst, .exp, .hus, .jef, .jef+, .jpx, .pec, .pes, .sew, .vip, .vp3, .vp4, .xxx
The dimensions describe the machine file only. The hanging ribbon and optional bow extend beyond the listed height. The production chart records approximately 14.75 m (16.1 yd) of upper thread for the smallest size; actual use varies by machine settings, tension and trimming.
Design size and hoop compatibility
| Design size | Hoop |
|---|---|
| 63.4x74.6 mm (2.50x2.94") | 100x100 mm (4x4") hoop or larger |
| 69.8x82.0 mm (2.75x3.23") | 100x100 mm (4x4") hoop or larger |
| 81.5x96.0 mm (3.21x3.78") | 100x100 mm (4x4") hoop or larger |
Inside the ZIP archive
- the shaped Christmas Milkmaid ornament in three prepared sizes;
- printable cutting outlines for matching front and backing pieces;
- placement, front-attachment and final assembly stitches built into every machine file;
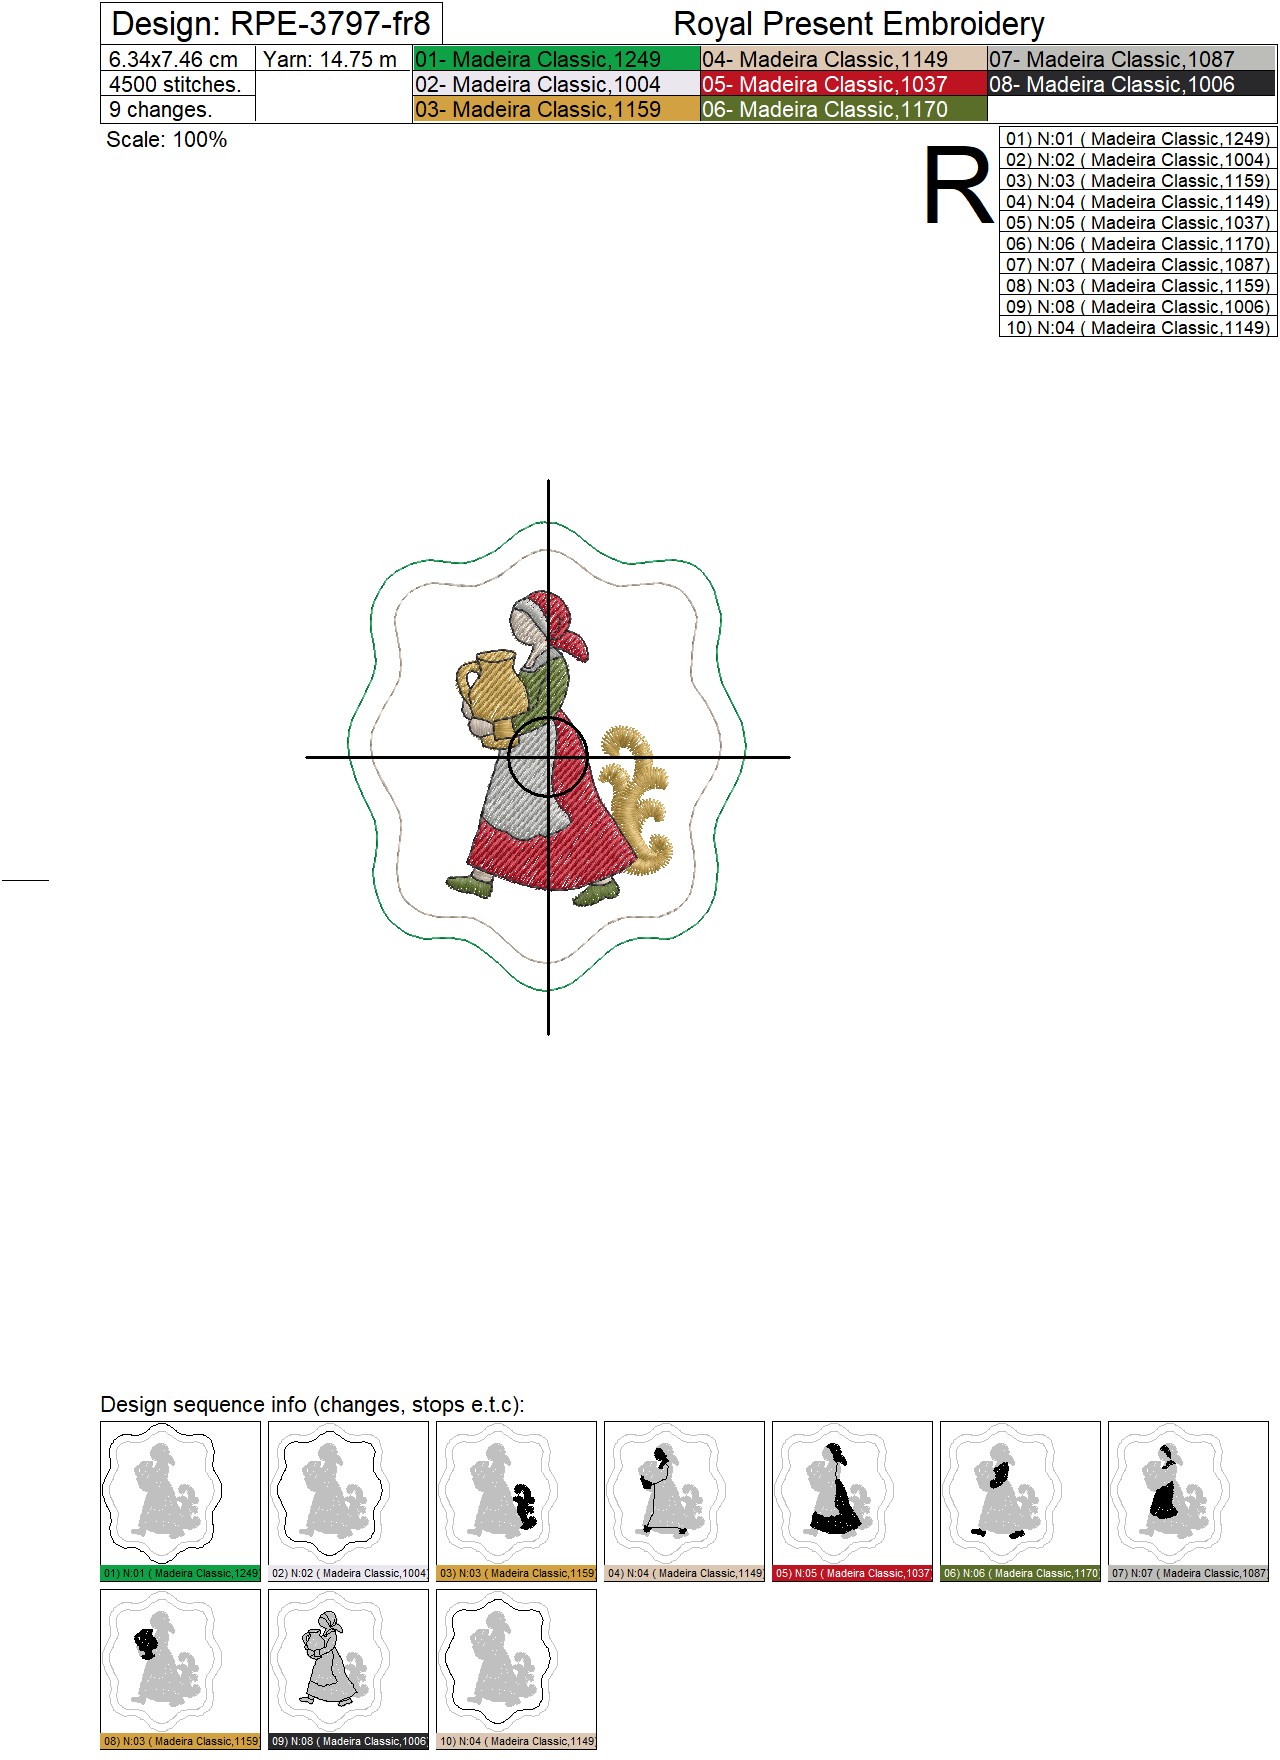
- the RPE-3797-fr8 production chart with 10 programmed blocks;
- all machine formats listed above.
This is a digital product. No finished ornament, felt, ribbon, stabilizer, thread or other physical supply is shipped.
How to make the Milkmaid ornament
Print the supplied template at 100% or Actual Size. Cut the front and backing from stiff craft felt 1–1.5 mm thick. Choose uniform, non-fraying felt without loose, fuzzy or translucent areas. Standard polyester felt and sewable glitter felt are both suitable.
Open the illustrated ITH instructions
| Block | Action | Check |
|---|---|---|
| 1 | Stitch the shaped placement line on hooped tear-away stabilizer. | The complete outline sits inside the hoop. |
| 2 | Position the front felt piece over the guide and run the securing outline. | The exposed margin is even around the shape. |
| 3–9 | Embroider the Milkmaid color blocks in the saved order. | Do not use automatic color sorting. |
| Before block 10 | Tape the folded ribbon and backing to the reverse of the hoop. | Only the ribbon ends cross the seam; the loop stays away from the needle path. |
| 10 | Run the final beige assembly outline and remove the ornament from the hoop. | The seam catches both felt pieces and both ribbon ends. |
Madeira Classic Rayon 40 color chart
The RPE-3797-fr8 chart contains 8 thread shades, 10 programmed blocks and 9 color changes. Madeira 1159 and 1149 return for separate areas and assembly operations. Keep the original block order.
| Block | Color | Madeira Classic 40 | Embroidery function |
|---|---|---|---|
| 1 | 1249 — Shamrock Green | Front-piece placement line | |
| 2 | 1004 — Natural White | Front-piece securing outline | |
| 3 | 1159 — Mustard Yellow | Antique-gold baroque scroll | |
| 4 | 1149 — Tusk Beige | Face, hands and pale character details | |
| 5 | 1037 — Tango Red | Skirt, headscarf and red clothing areas | |
| 6 | 1170 — Fern Green | Bodice, sleeves and shoes | |
| 7 | 1087 — Silver Birch | Apron, pale scarf and gray details | |
| 8 | 1159 — Mustard Yellow, repeated | Milk jug and handle | |
| 9 | 1006 — Diamond Black | Final character outlines and definition | |
| 10 | 1149 — Tusk Beige, repeated | Assembly seam joining front, ribbon and backing |
Use the Madeira number as the primary reference when buying thread. Before block 10, wind a bobbin with Madeira 1149 or a matching substitute because the final seam remains visible on the back.
Materials and supplies
| Supply | Recommendation | Purpose |
|---|---|---|
| Front and backing | Two pieces of stiff polyester craft felt, 1–1.5 mm thick | The ornament holds its shape and the cut edge does not fray. |
| Stabilizer | Madeira Cotton Soft tear-away, 50 g/m² | Hoop it by itself and remove it after the ornament is complete. |
| Needle | Sharp sewing needle, size 75/11 | Makes clean perforations in felt and tear-away stabilizer. |
| Upper thread | Madeira Classic Rayon 40 or quality 40-weight polyester | The design density is prepared for this thread weight. |
| Temporary hold | Optional Gunold KK 100 or low-tack painter's tape | Keeps the felt and ribbon aligned during assembly. |
| Hanging loop | 15–20 cm (6–8") of narrow satin or grosgrain ribbon | Both ends are caught by the final seam. |
| Scissors | Sharp straight scissors or pinking shears | Decorative-edge scissors give the exposed felt a finished look. |
Choosing felt for the ornament
Use stiff polyester craft felt 1–1.5 mm thick. Product labels may say stiff craft felt, stiffened felt or hard felt. Kunin Friendlyfelt is a useful reference for the standard version, while Kunin Friendly Glitter is a suitable reference for a sparkling finish. An equivalent brand with the same properties can also be used.
| Option | Front | Backing | Finished look |
|---|---|---|---|
| Classic | Ivory stiff craft felt | Matching ivory felt | Soft vintage background |
| Silver glitter | ✦Silver sewable glitter felt | White or silver stiff felt | Cool Christmas sparkle |
| Gold glitter | ✦Light gold sewable glitter felt | Beige or gold stiff felt | Warm baroque shimmer |
| Glitter backing | Ivory stiff craft felt | ✦Gold or silver glitter felt | Clear embroidery on the front and sparkle on the reverse |
Avoid soft loose felt, sheets with thin or translucent patches, 2–3 mm thick felt, adhesive-backed felt and glitter EVA foam. Use sewable, non-fraying felt without an adhesive layer. Test a scrap first: the needle should pass freely and the glitter should not shed heavily.
After embroidery, leave several millimeters of felt outside the joining seam and trim the edge with straight scissors or pinking shears.
The eighth day of Christmas
The eighth verse of The Twelve Days of Christmas names Eight Maids a-Milking. This design presents one milkmaid as an individual ornament, combining a traditional country costume with the shaped border and decorative scroll used throughout the baroque series.
Hang the finished piece on a Christmas tree or wreath, use it as a fabric gift tag, add it to a character garland or place it in a textile Advent calendar. The red, green, ivory and antique-gold palette coordinates with the Lady Dancing, Lords a-Leaping, Bagpiper and Drummer ornaments.
Continue the Twelve Days collection
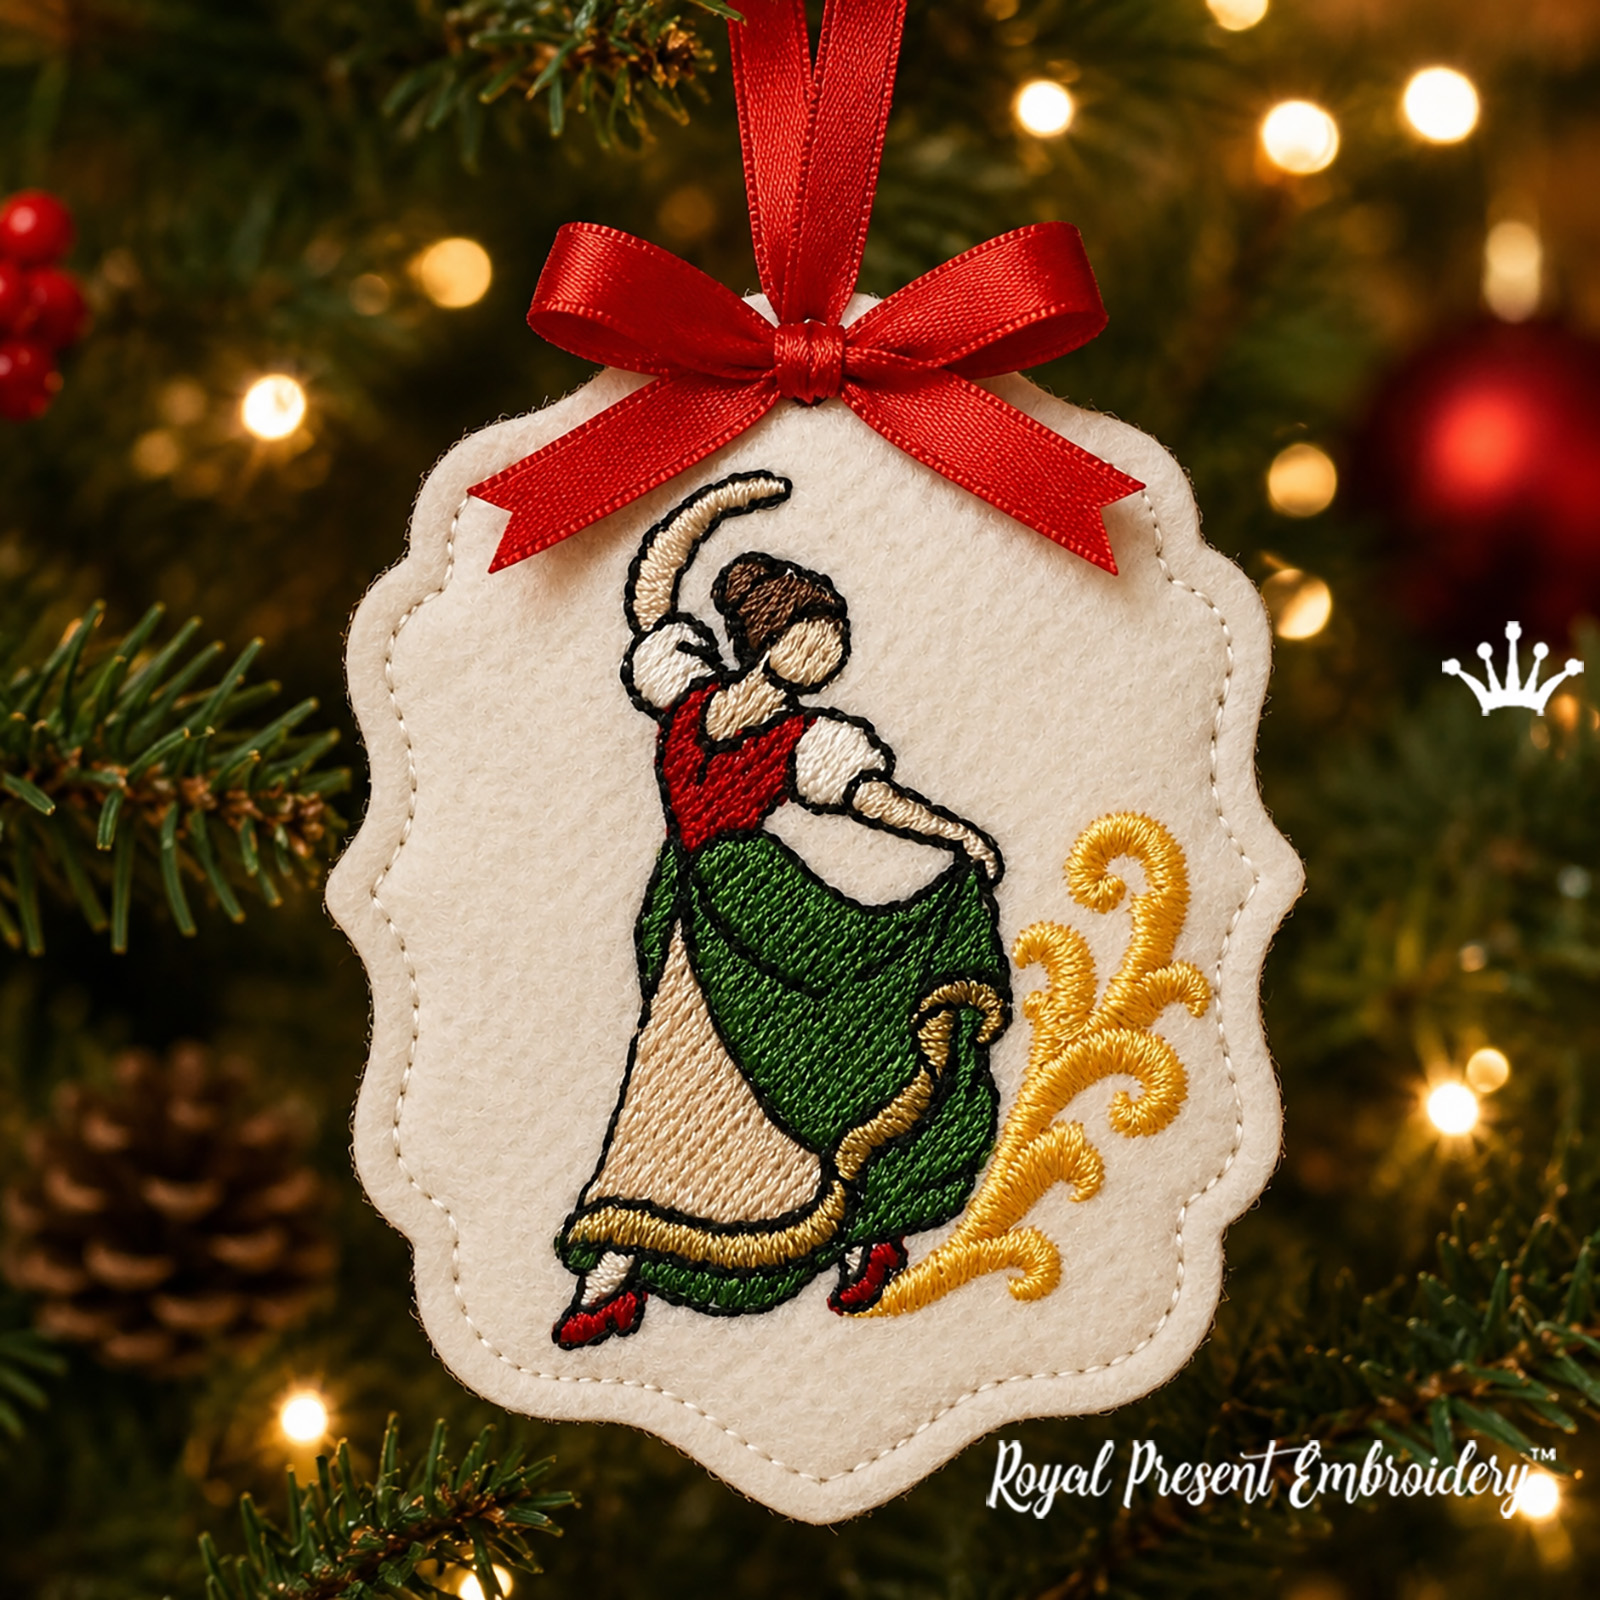 Lady Dancing ITH Ornament Lady Dancing ITH Ornament3 sizes |
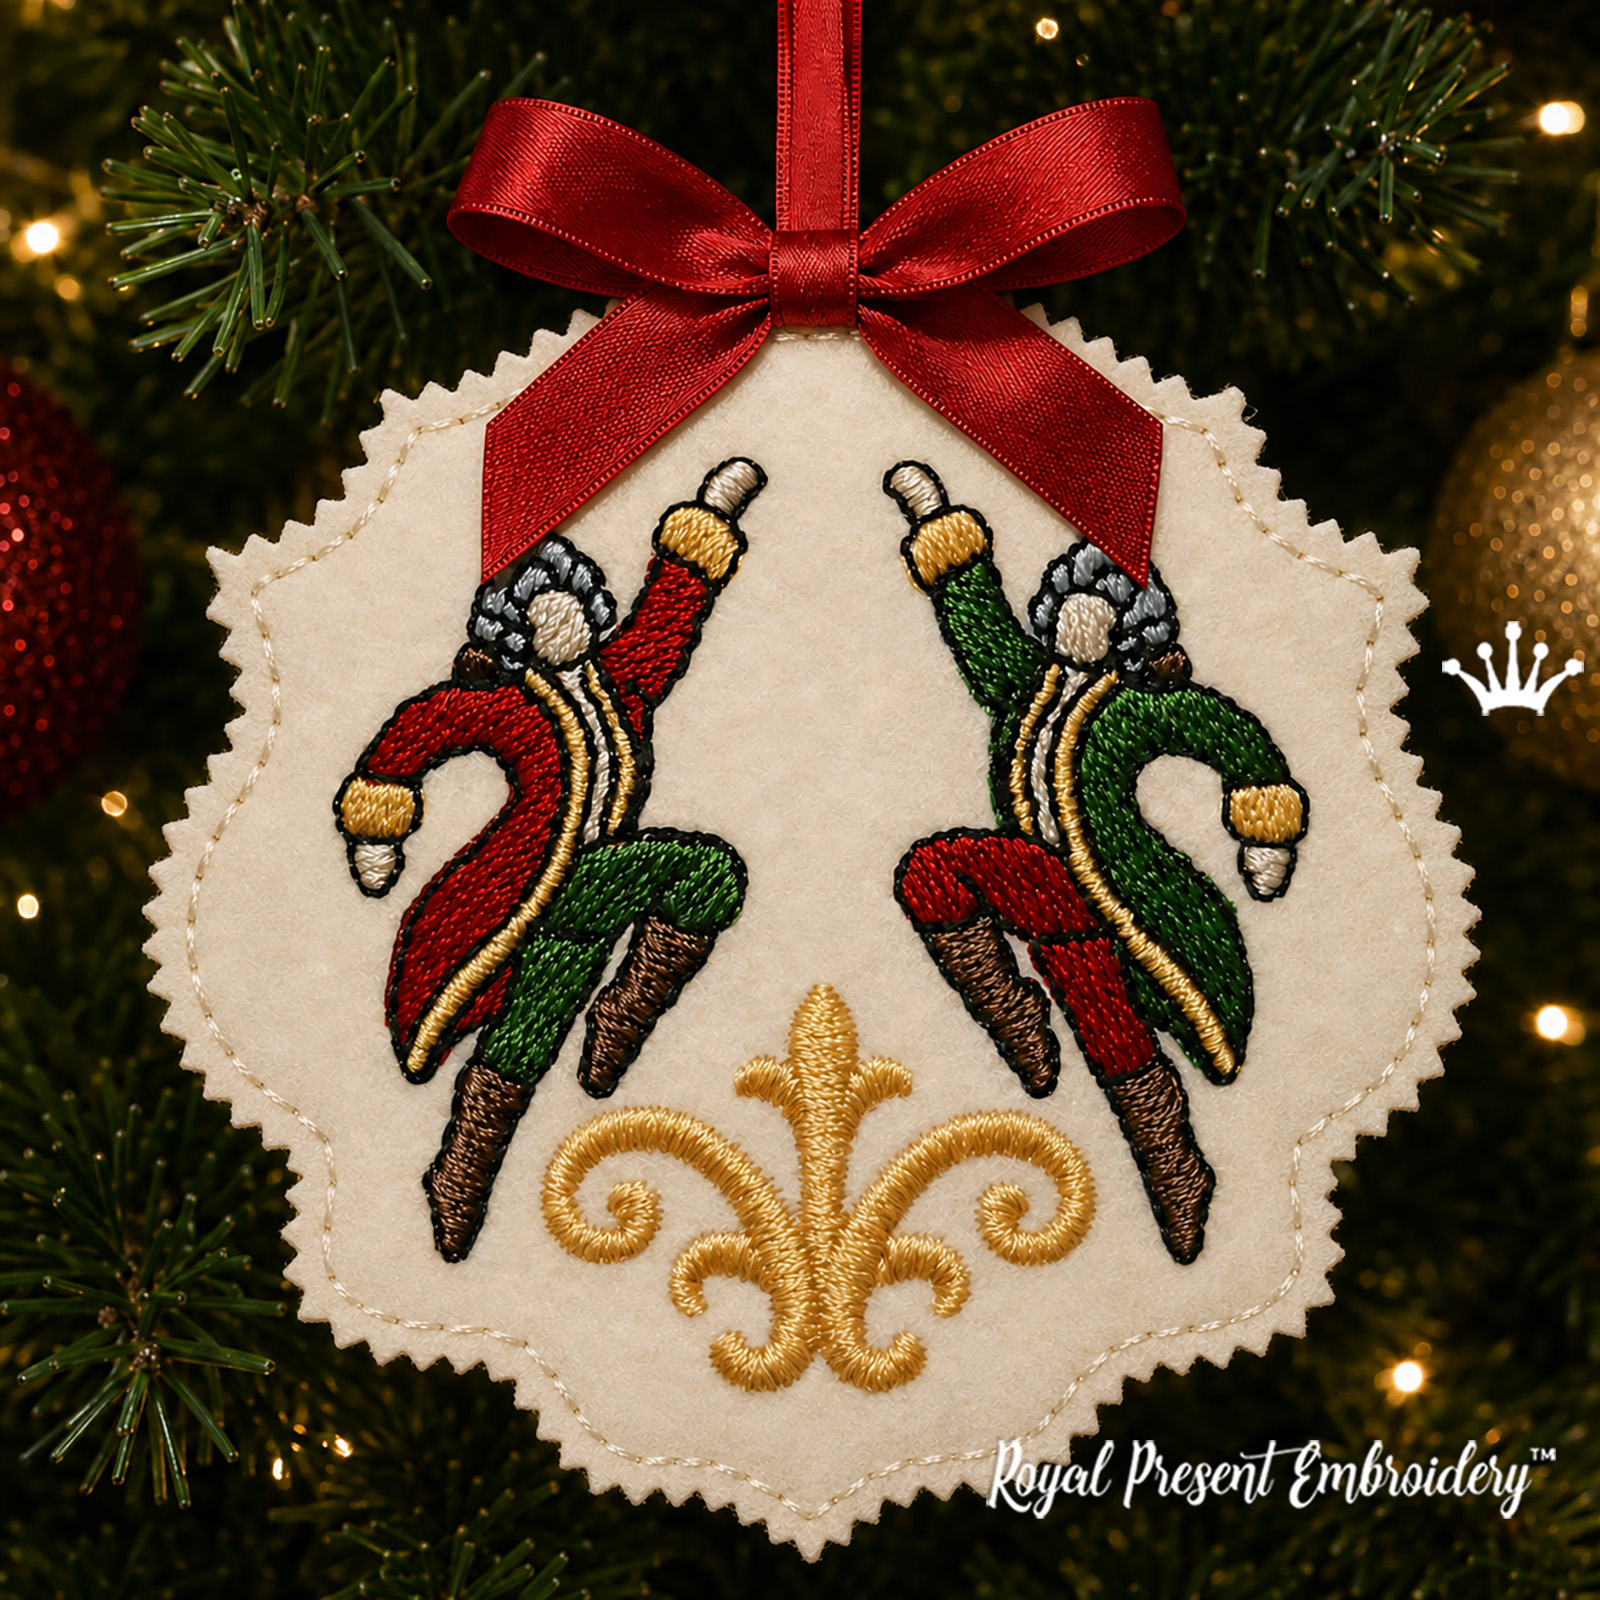 Lords a-Leaping ITH Ornament Lords a-Leaping ITH Ornament3 sizes |
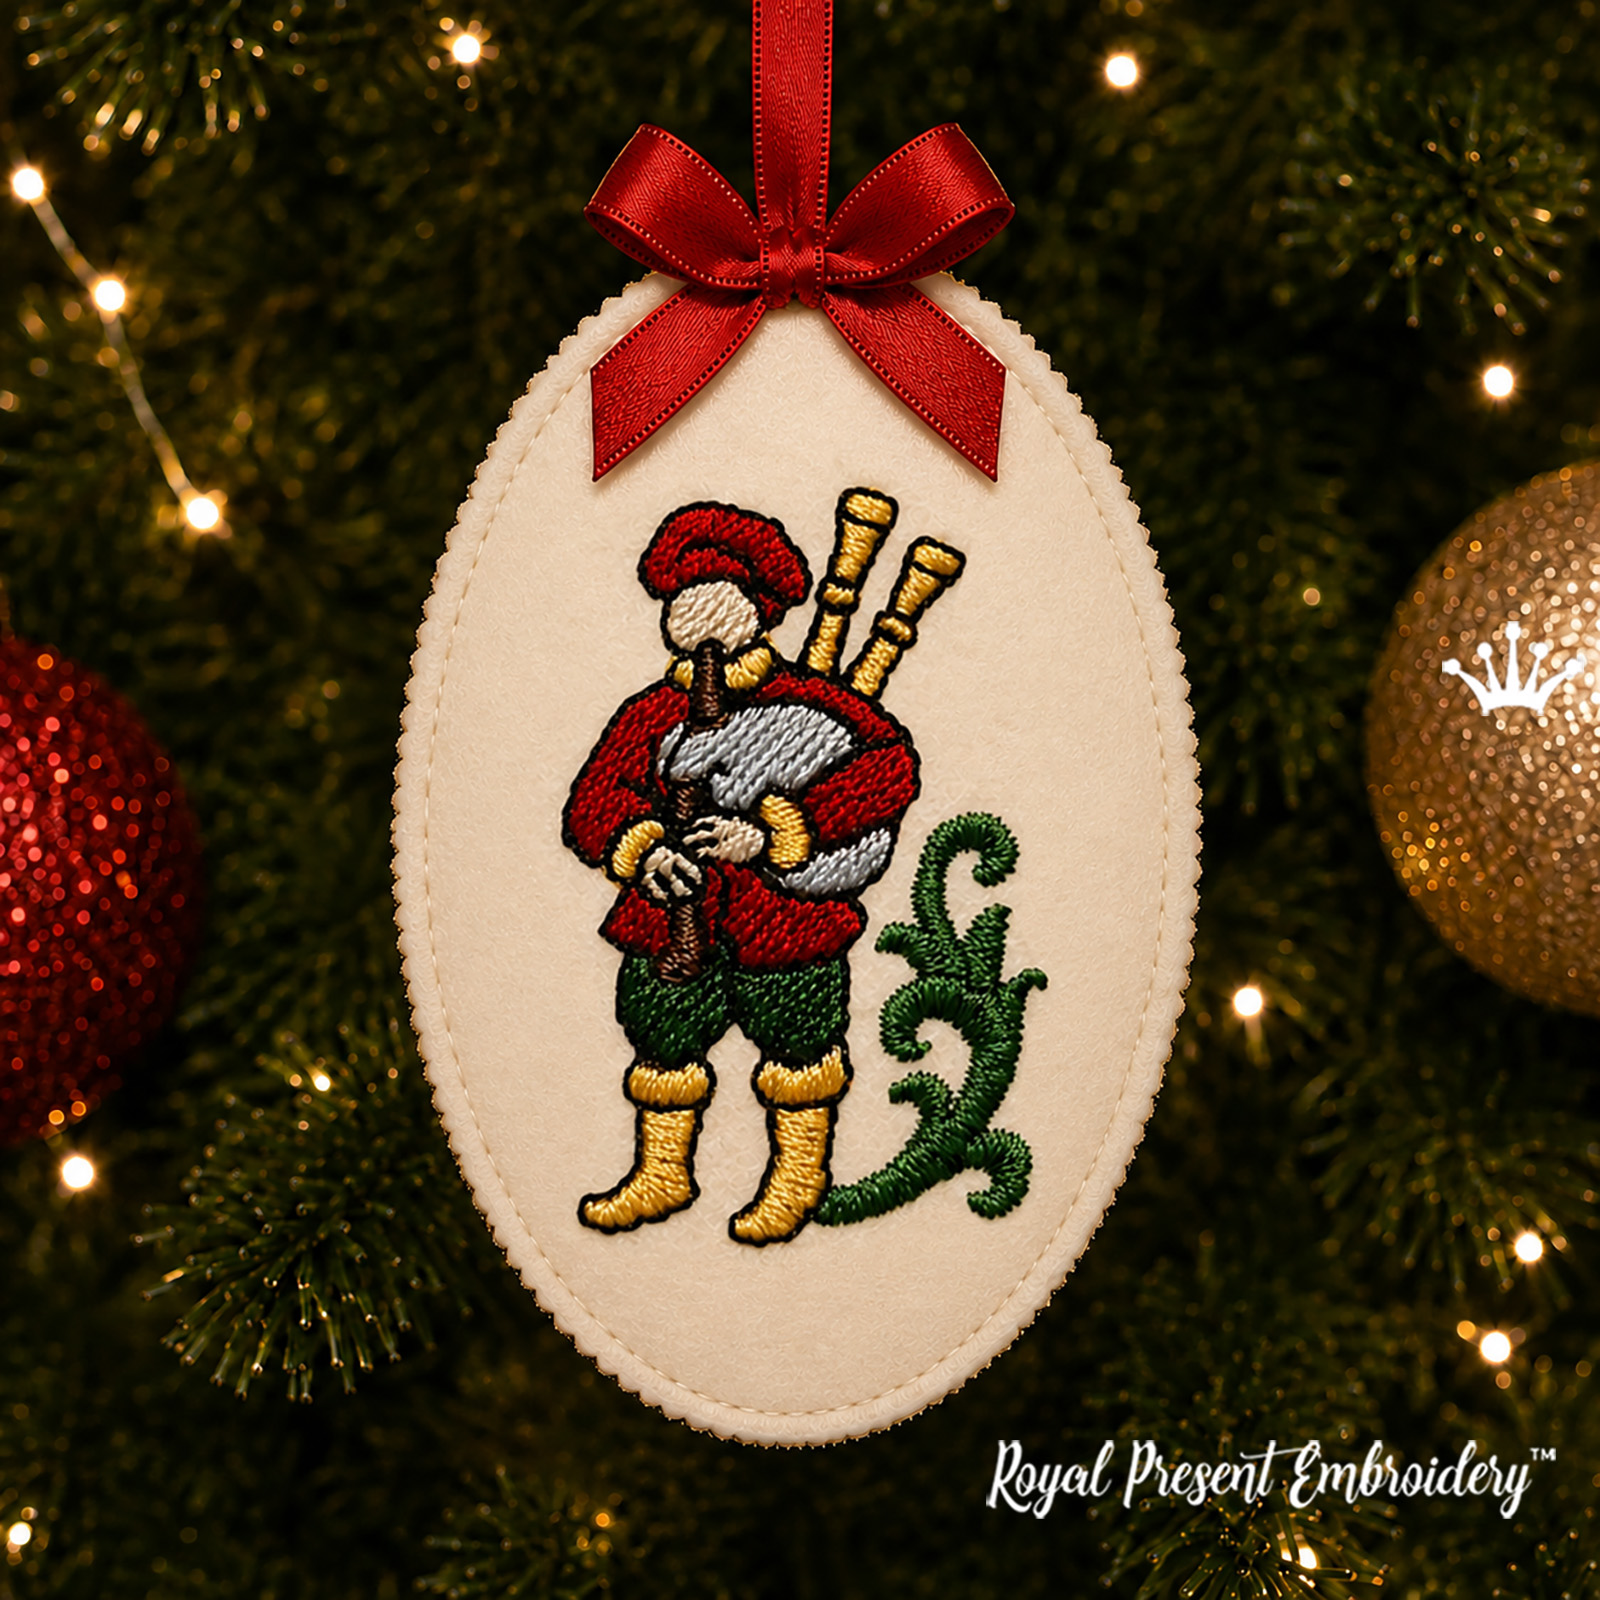 Christmas Bagpiper ITH Ornament Christmas Bagpiper ITH Ornament3 sizes |
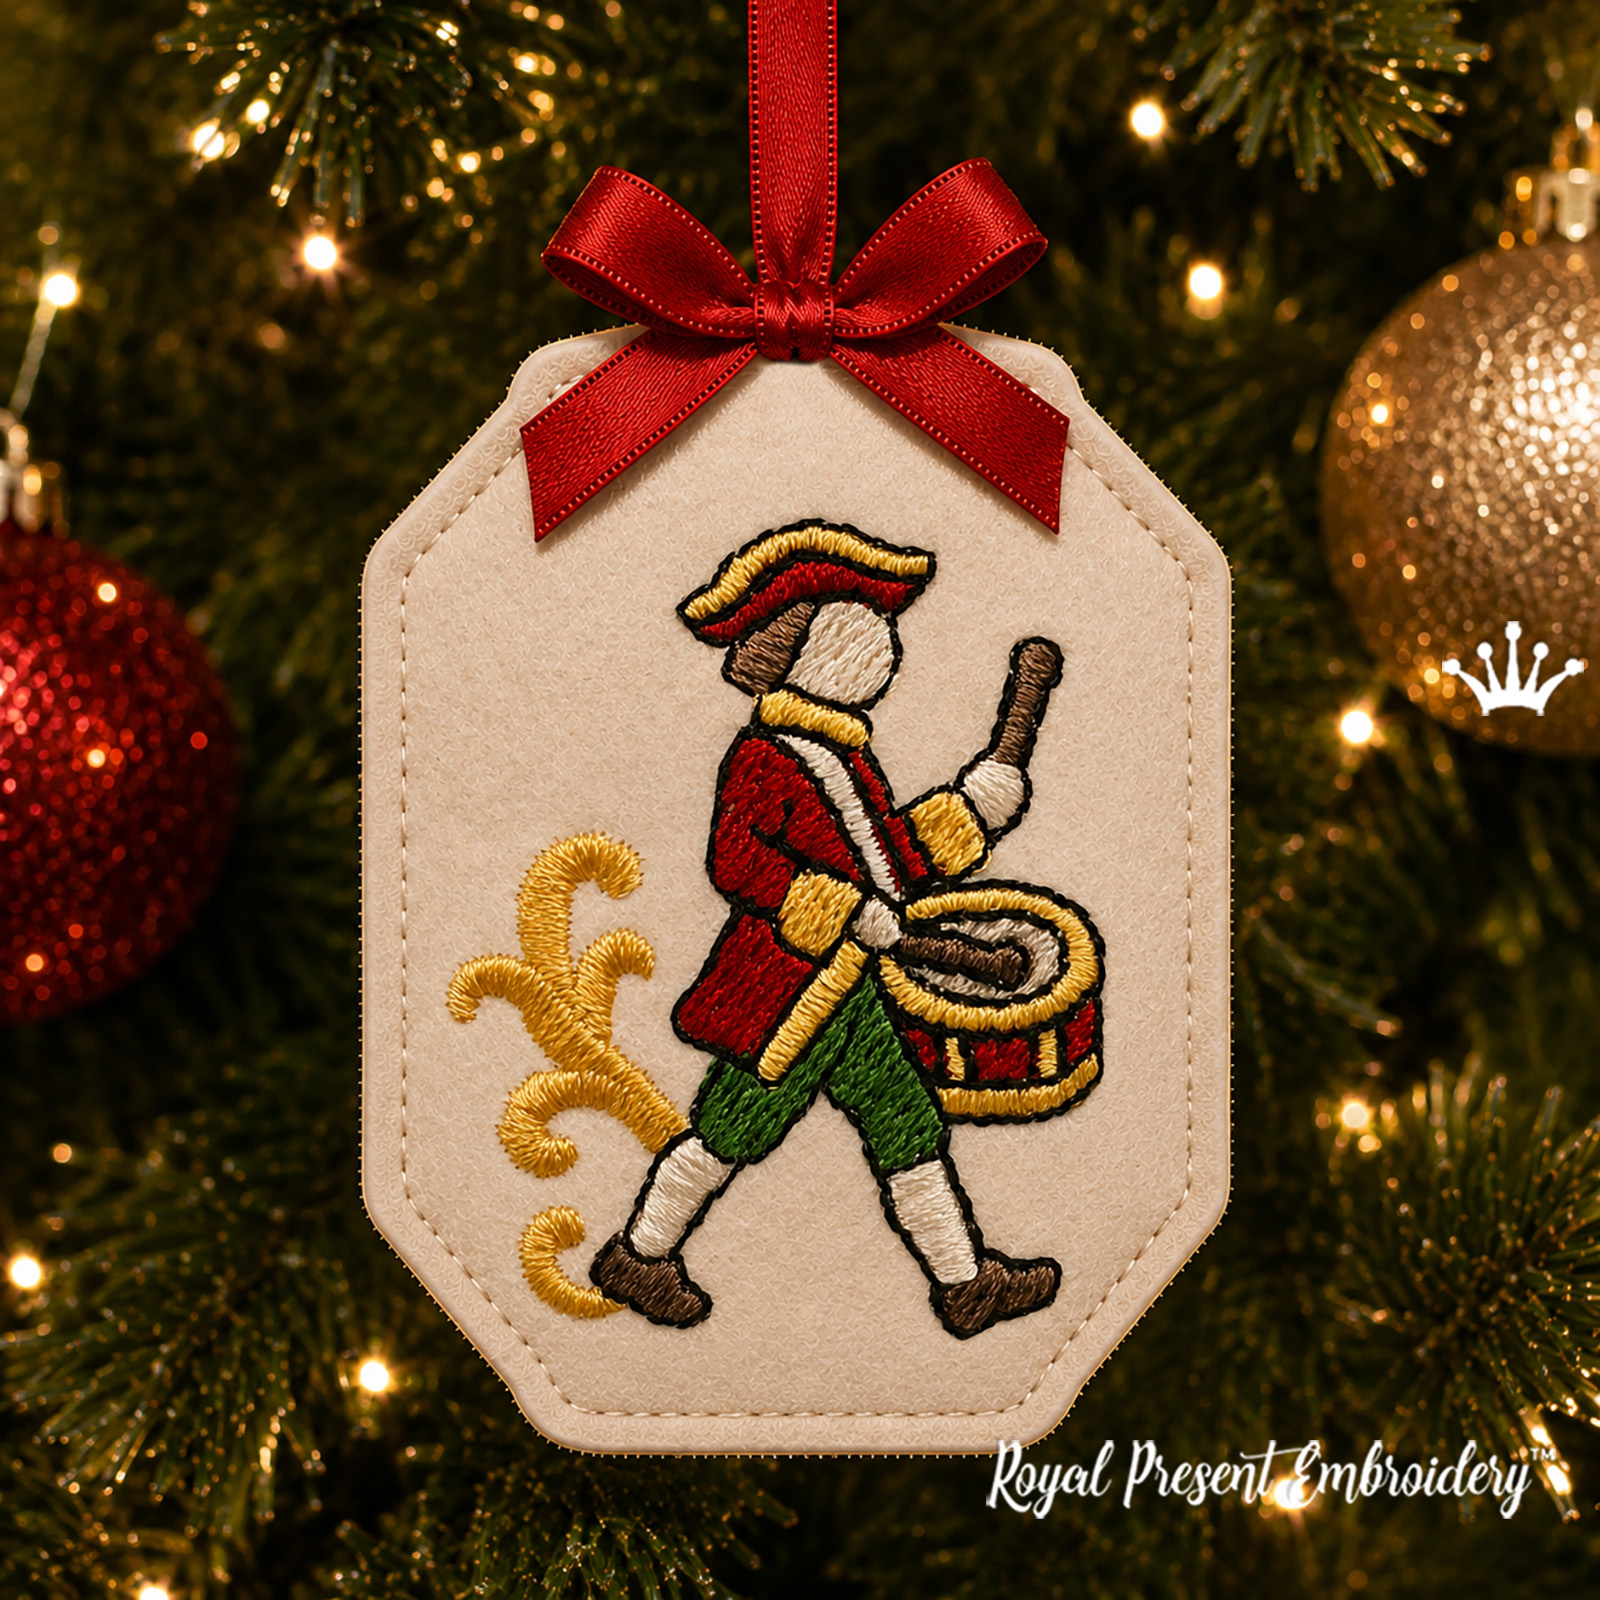 Christmas Drummer ITH Ornament Christmas Drummer ITH Ornament3 sizes |
Useful links
- Raw-Edge Ornaments In-the-Hoop Instructions
- In-the-Hoop Machine Embroidery Designs
- Twelve Days of Christmas Machine Embroidery Designs
- Madeira Thread Converter
- Online ZIP File Extractor
Digital download and license
After purchase, download and extract the ZIP archive, then transfer only the compatible format and selected size to your embroidery machine. Compare both listed dimensions with the usable sewing field of your hoop before stitching.
You may sell finished physical ornaments embroidered with this design in small quantities. The digital files and cutting templates may not be resold, copied, shared, exchanged, gifted or redistributed. The standard license does not cover factory mass production.
Frequently asked questions
Do all three Milkmaid sizes fit a 4x4 hoop?
Yes. The 63.4x74.6, 69.8x82.0 and 81.5x96.0 mm files fit a 100x100 mm (4x4") hoop or larger.
Why is the Milkmaid part of The Twelve Days of Christmas?
The eighth verse names Eight Maids a-Milking. This single baroque milkmaid represents that verse as an individual Christmas ornament.
Which felt should I use?
Use uniform stiff polyester craft felt 1–1.5 mm thick. Avoid soft loose felt, translucent weak areas, adhesive backing and thick 2–3 mm sheets.
Can I use glitter felt?
Yes. Choose sewable stiff glitter felt without an adhesive layer. Silver creates a cool Christmas finish, while light gold complements the baroque scroll and warm thread palette.
When should I add the backing and hanging ribbon?
Add both after block 9 and before block 10. The final beige outline catches the backing and both ribbon ends.
Does the ornament need turning or stuffing?
No. This is a flat raw-edge ITH project. The front and backing are joined directly in the hoop, and the shaped cut edge remains visible.

 Get Sign-In Link
 Login with Google
 Login with Facebook
 Login with Amazon
 Login with Paypal