We often spend a lot of time searching for creative and suitable designs that make us a high-quality original product. For hours and hours, we think about all the steps of the embroidery process, choose the placement, and try to bring everything to perfection. After expecting the embroidery part to look compelling and magnificent, we observe the puckering of the image. Did you have such a problem? So, what is the decision and what to do in this situation? Let`s gaze on it.
First, it puckers only around the edges of the design, but when we wash the fabric, it worsens. Of course, this situation brings a lot of disappointment. But there is also good news. It is avertable. And we know the right way out. Just keep reading if you want to know how to prevent puckering in machine embroidery.
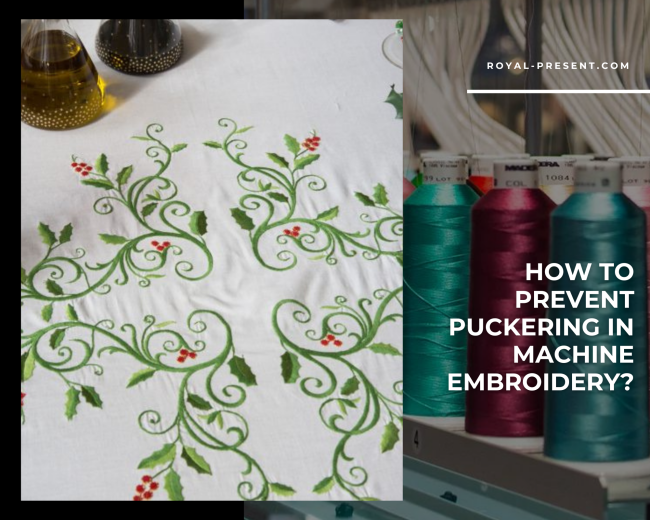
How to Prevent Puckering in Machine embroidery? – reasons and correct decisions
Using a stabilizer is The best way to avoid puckering on your embroidery products. Now, some of you will say that it doesn`t work. And even after using it, you saw puckers. The question is, what type of stabilizer did you use?
The tear-away stabilizer will be the most suitable for light designs with less shading and layering. But the “tear-away” will be too weak if you work with more complex designs. Then, you should use a cut-away one. This stabilizer with medium-weight fabric and intricate designs can prevent your embroidery from puckering. But using lighter designs, you can choose different fabrics and tear-away stabilizers.
View our beautiful collection of machine embroidery designs
Remember that the hooping of fabric is also important. Never stretch the fabric before fixing it in your fingers. When the embroidery is finished, you will get it from the hoop, and the fabric will return to its original shape, causing wrinkling around the outer design area. The craftswomen recommend using the most miniature hoop suitable for your embroidery. If you prefer a hoop of the largest size, it can lead to wrinkling and puckering the embroidery design. Remember that you need to hoop the fabric tightly, but not tight, and do not tighten the screws firmly after the fabric is already in the hoop.
So, using medium-weight fabric for complex designs with a cutaway stabilizer and spray adhesive is the property decision that prevents puckering.

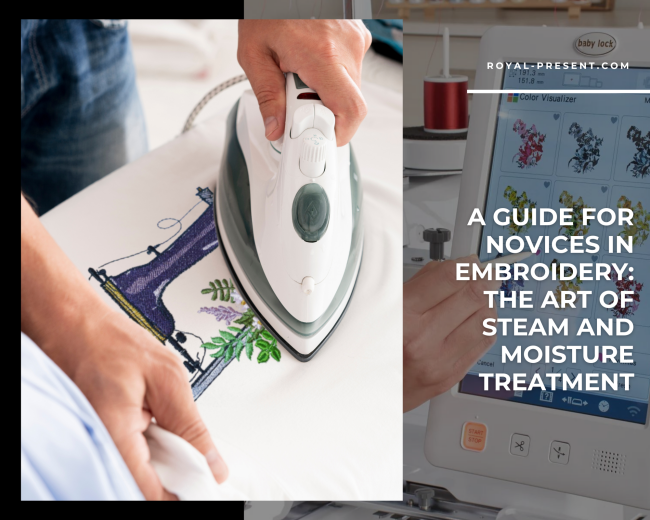
A Guide for Novices in Embroidery: The Art of Steam and Moisture Treatment
Embarking on the embroidery journey brings a world of intricate stitches and creative expression. Within this realm lies a gem of wisdom tailored for those venturing into the art of steam and moisture treatment (SMT), a technique that can significantly enhance the outcome of your embroidered masterpiece. This counsel is particularly relevant when working with stable fabrics such as percale, cotton, and satin. Let's delve into the intricacies of this technique, unearthing the reasons behind its significance and transformative impact on the embroidery process.
1. Choice of Ironing Surface: Fabrics like percale and cotton often bear subtle textural nuances. Conventional ironing on a rigid board may inadvertently create creases on the fabric due to these inherent irregularities. Opting for a supple, slightly damp substrate, such as a terry cloth towel or flannel, allows the material to harmonize more seamlessly with the raised threads of the embroidery. This, in turn, ensures a more uniform distribution of heat and pressure.
2. Softness and Moisture Content of the Substrate: Placing your embroidery on a soft, slightly moist substrate erects a shield between the unyielding surface of the ironing board and your intricate work. This stratagem permits the protruding embroidery threads to absorb moisture more effectively, making them amenable to heat's influence and facilitating alignment.
3. Preventing Wrinkles and Distortions: In the case of raised embroidery, creases on the fabric can culminate in distortions or, worse, damage to the delicate threads. The gentle embrace of the towel or flannel provides an accommodating enclave for the embroidery, permitting the foundational fabric to elongate more even-handedly.
4. Preserving the Aesthetic: The SMT process on a soft and dampened substrate is a guardian of your embroidery's aesthetic appeal. By circumventing distortions, wrinkles, and impairment, this technique safeguards the allure of your embroidered creation.
5. Elevating the Professional Finish: An embroidery that receives meticulous SMT exudes professionalism. Incorporating this counsel into your practice can yield outcomes that epitomize finesse and precision.
While this counsel doesn't wield the weight of an imperative, its potential to elevate your embroidery treatment skills and overall results is profound. As a novice, engrain this methodology in your approach and witness the transformation it imparts. As you progress to intricate fabrics and threads, this approach to SMT could prove instrumental in rendering the process more gratifying and the results still gratifying. Embrace this technique, and may your embroidery journey be adorned with stitches as smooth as they are skillful.
You may also like

Author: Ludmila Konovalova
My name is Ludmila Konovalova, and I lead Royal Present Embroidery. Embroidery for me is more than a profession; it is a legacy of my Ukrainian and Bulgarian heritage, where every woman in my family was a virtuoso in cross-stitch and smooth stitching. This art, passed down through generations, is part of my soul and a symbol of national pride.
Date: 13.12.2017


 Get Sign-In Link
 Login with Google
 Login with Facebook
 Login with Amazon
 Login with Paypal