In-the-Hoop Placemat Embroidery Design – Andalusian - 9 sizes
By knowing the speed of your embroidery machine, you can find out how long it will take to embroider a design.
To use the embroidery calculator, click on the number of stitches in the product description.
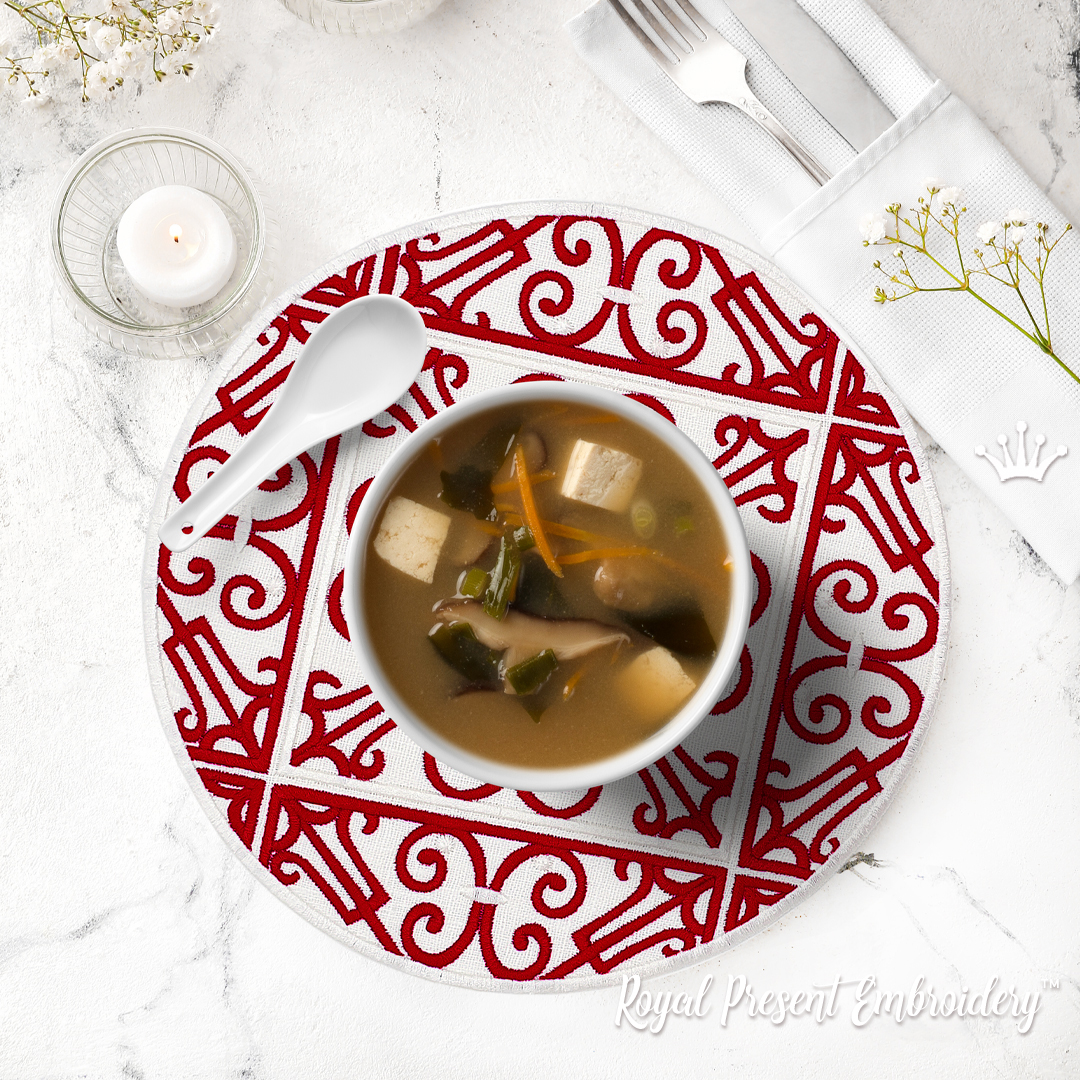
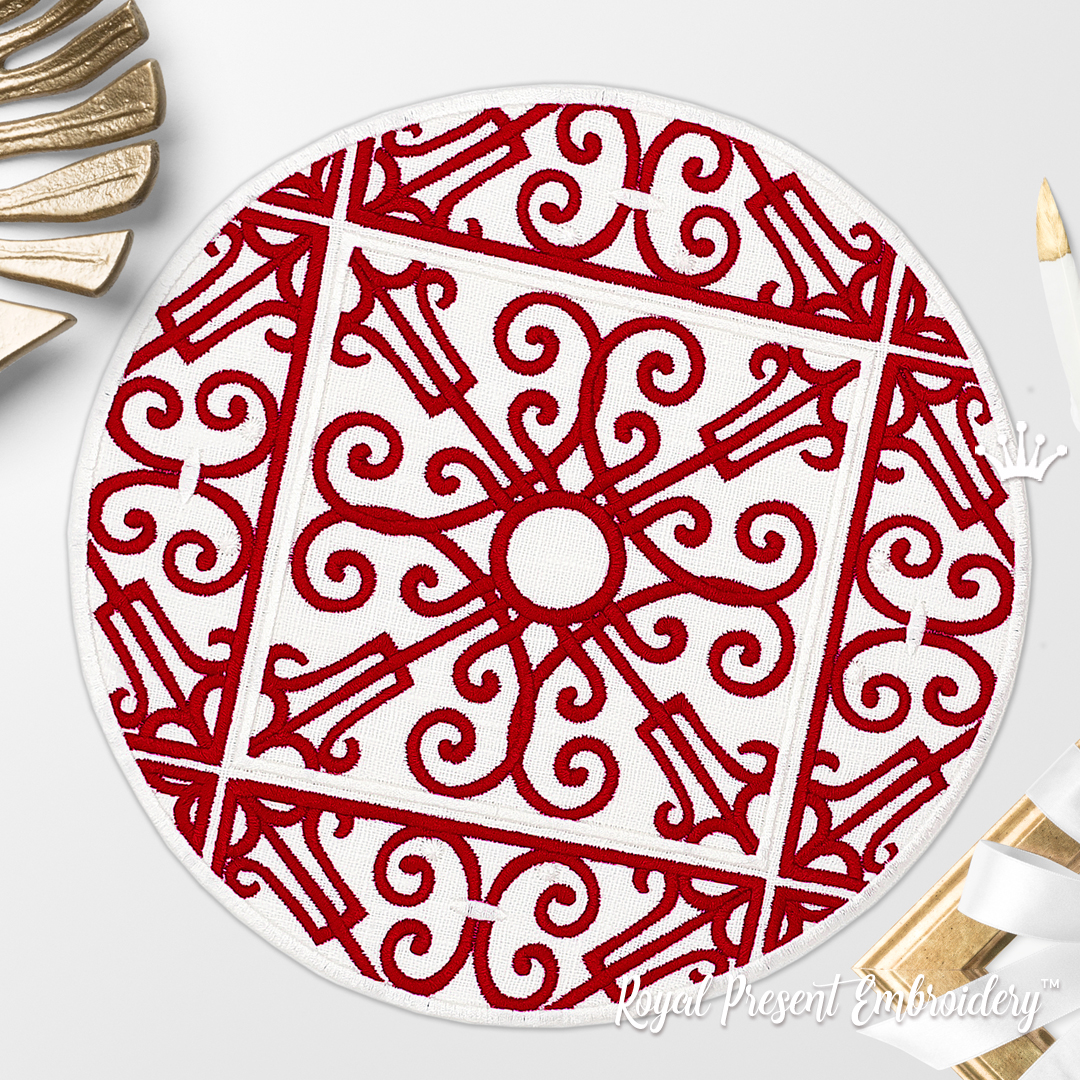
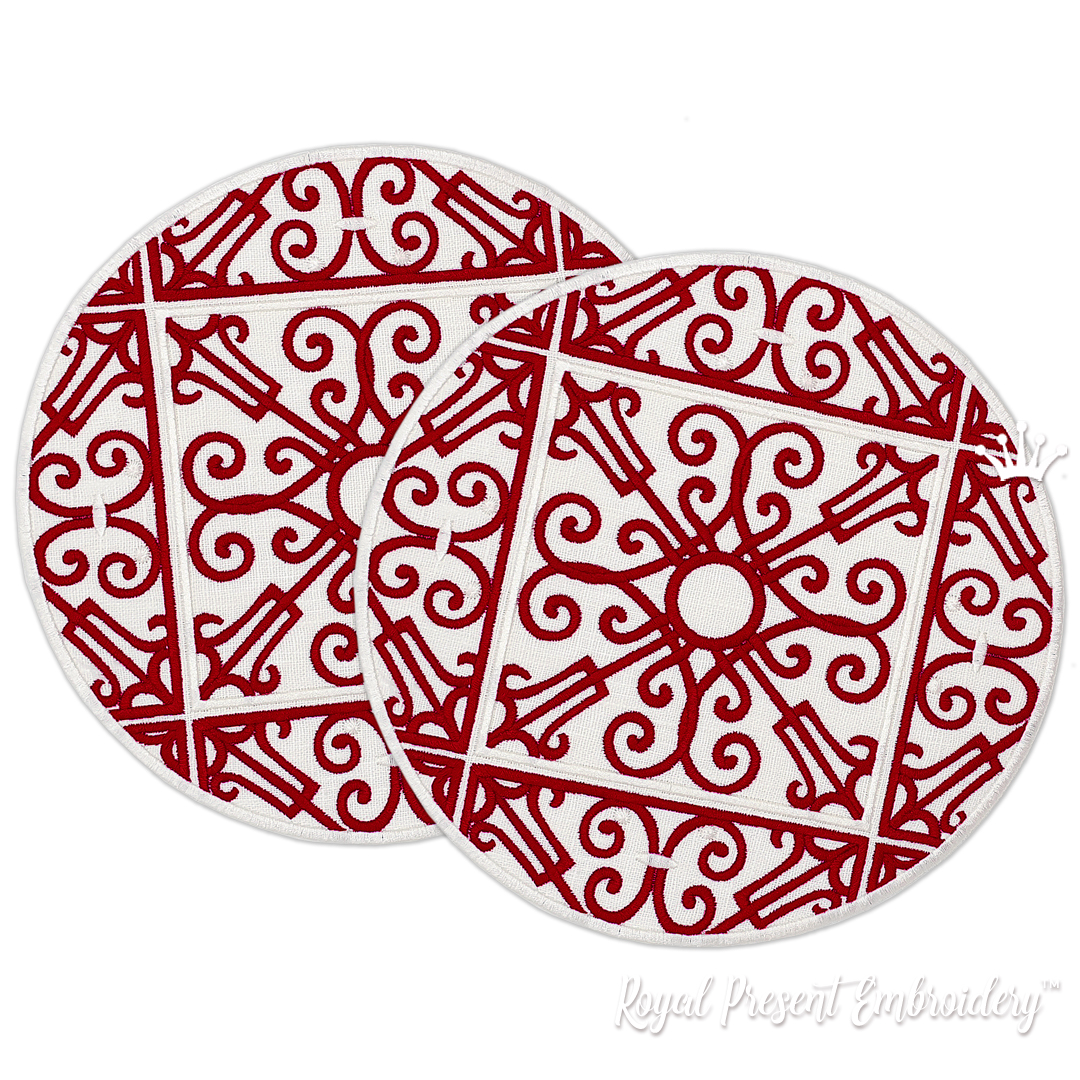
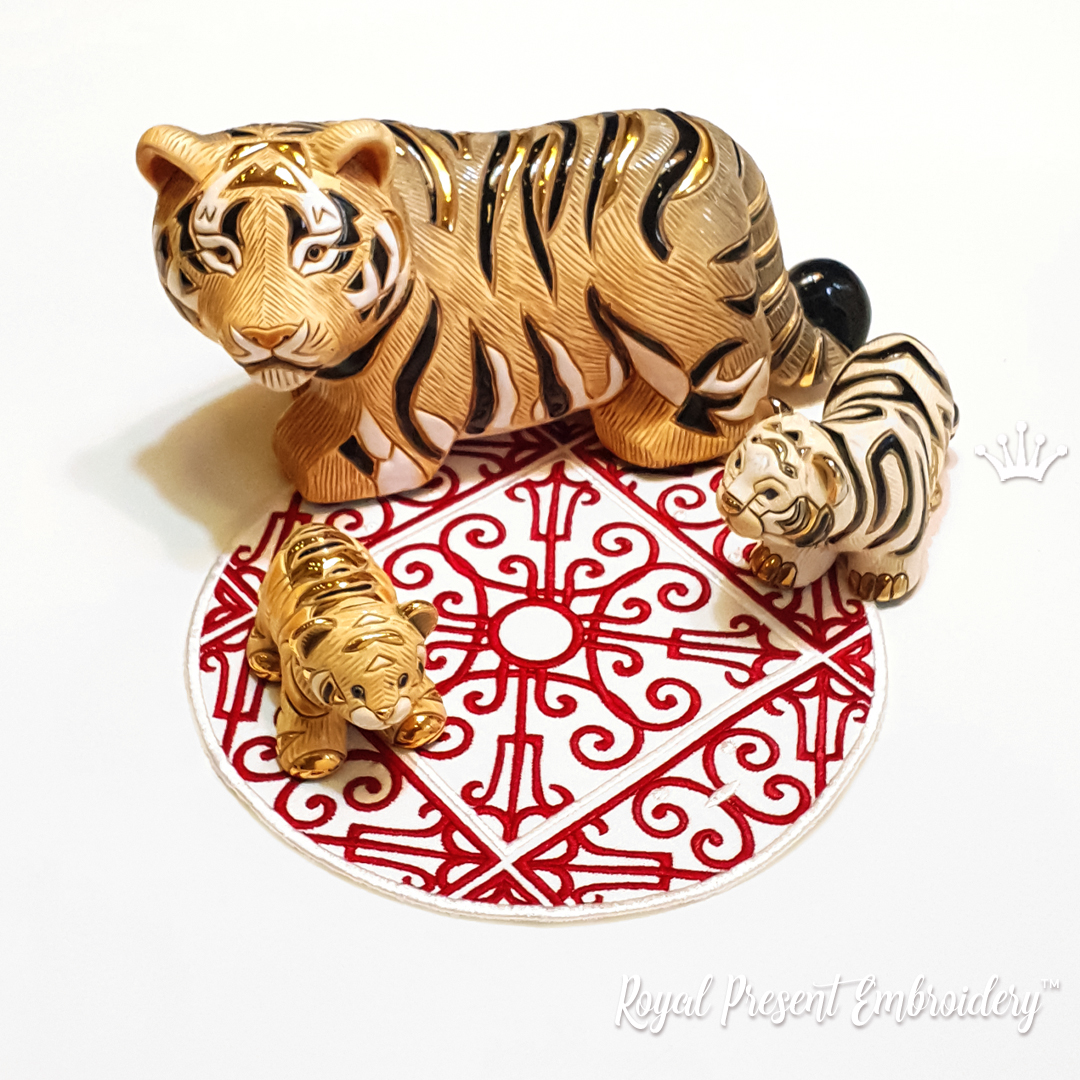
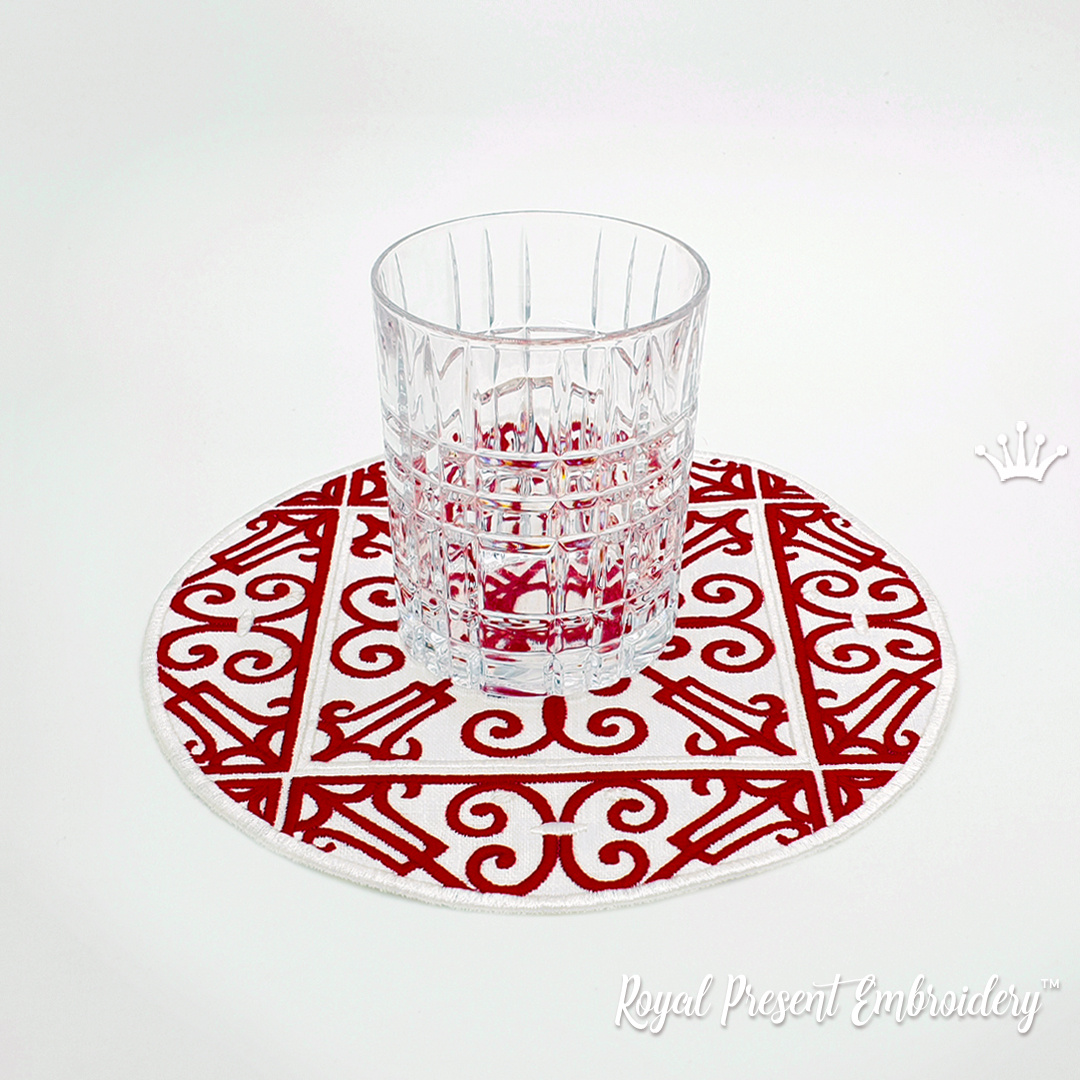
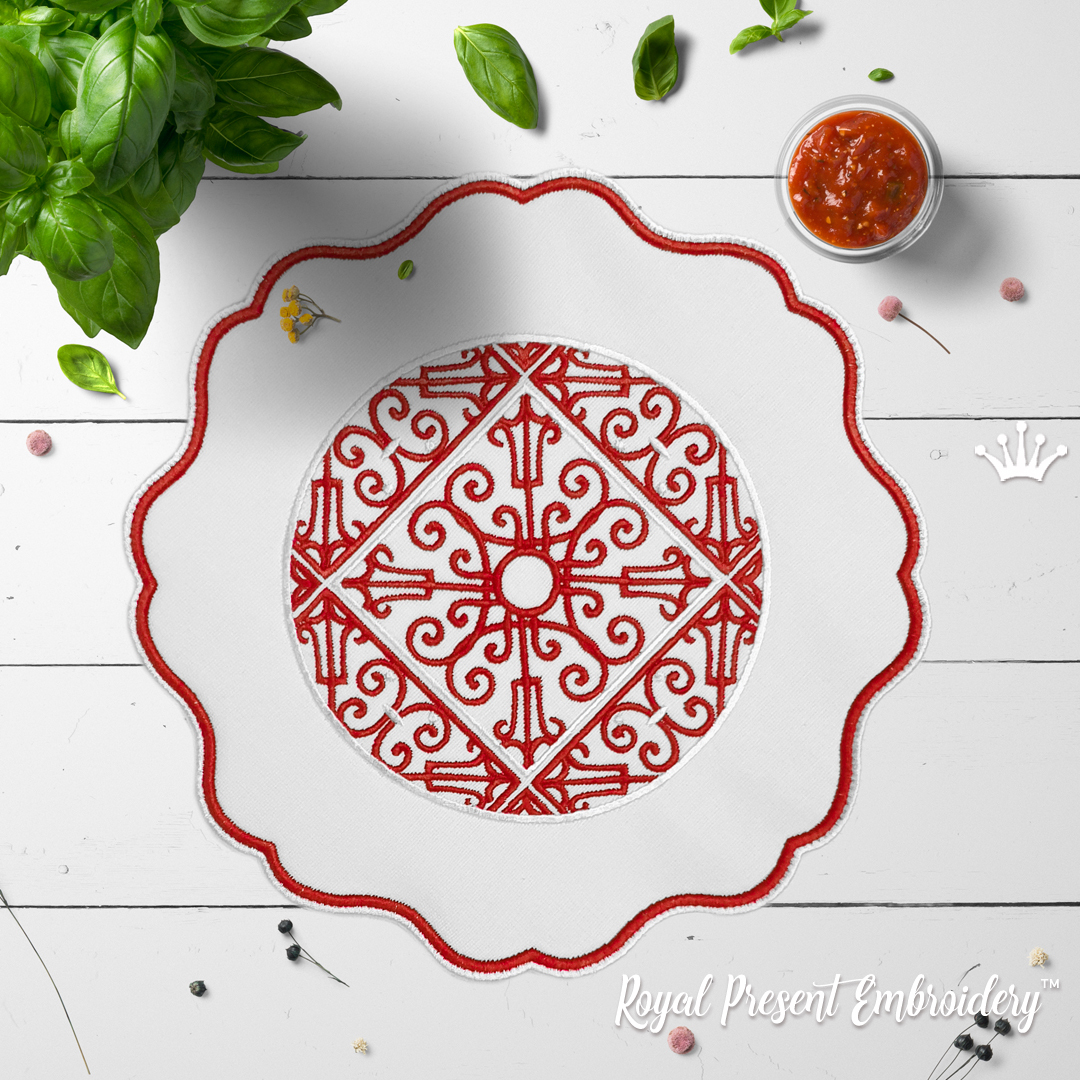
This digital in-the-hoop placemat embroidery design makes one finished round Andalusian table mat for a cup, tea setting or small plate. The download contains the design in 9 exact sizes, 11 machine formats, a Madeira color chart and illustrated PDF instructions; fabric, thread, stabilizer, tableware and a finished placemat are not included.
Exact sizes, stitches and formats
Size: 128.0x126.6mm (5.04x4.98"), Stitches: 31051
Size: 138.0x136.5mm (5.43x5.37"), Stitches: 33495
Size: 148.1x146.3mm (5.83x5.76"), Stitches: 36014
Size: 158.0x156.3mm (6.22x6.15"), Stitches: 38568
Size: 168.0x166.1mm (6.61x6.54"), Stitches: 41071
Size: 178.0x176.0 mm (7.01x6.93"), Stitches: 43885
Size: 198.1x195.8mm (7.80x7.71"), Stitches: 48775
Size: 218.0x215.6mm (8.58x8.49"), Stitches: 54330
Size: 237.0x234.3mm (9.33x9.22"), Stitches: 58928
Formats: .dst, .jef, .pec, .vip, .hus, .pes, .exp, .sew, .dat, xxx, vp3
| Specification | Exact product data |
|---|---|
| Product type | Digital in-the-hoop machine embroidery design |
| Included | One table-mat design in 9 sizes, 11 formats, Madeira chart and illustrated PDF tutorial |
| Construction | Front, backing and satin-finished edge are joined in the hoop; no sewing-machine finish is required |
| Finished uses | Cup mat, generous coaster, tea-pair mat, bread-plate mat or small dessert-plate mat |
| Stitch-count range | 31,051–58,928 stitches, depending on size |
| Original color sequence | 2 Madeira Classic 40 numbers arranged as 5 construction blocks |
| Designer and digitizer | Ludmila Konovalova, Royal Present Embroidery |
Choose the size by the visible embroidered rim
This compact series covers cups through small dessert plates. The 128.0–168.0 mm versions work as cup mats, glass coasters and bases for small bowls. Sizes 178.0–198.1 mm suit a cup with saucer or a bread plate. The 218.0–237.0 mm versions frame a small dessert plate. For a standard dinner plate, use the larger Andalusian placemat from the same collection.
Useful calculation: subtract the plate diameter from the placemat width, then divide the result by two. A 190 mm (7.48 inch) plate centered on the 237.0 mm (9.33 inch) version leaves about 23.5 mm (0.93 inch) of mat visible on each side. Cut the selected size from paper first; the actual plate will show immediately whether enough arabesque remains exposed.
Complete the Andalusian embroidery collection
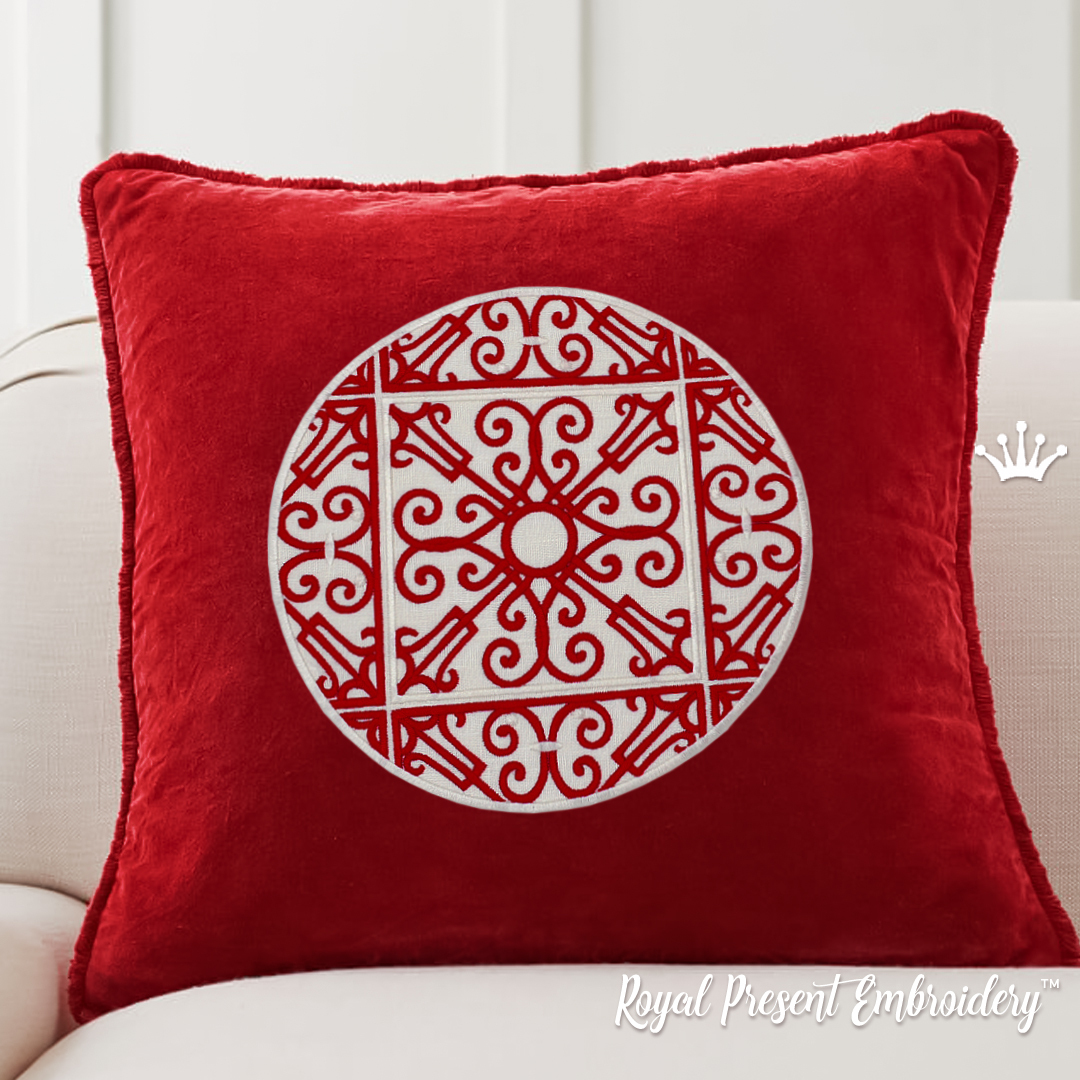
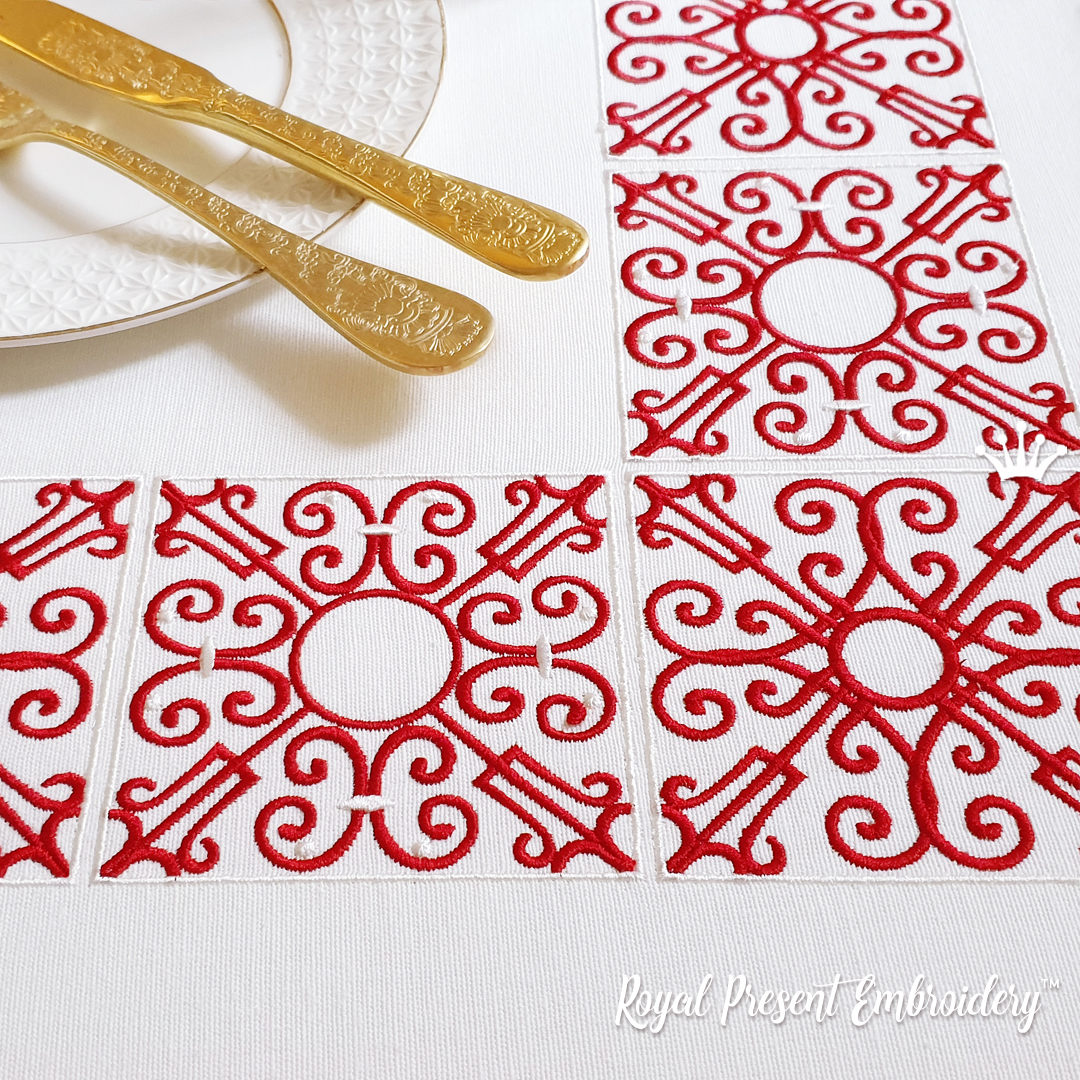
A table mat for red-and-white Hermès tableware
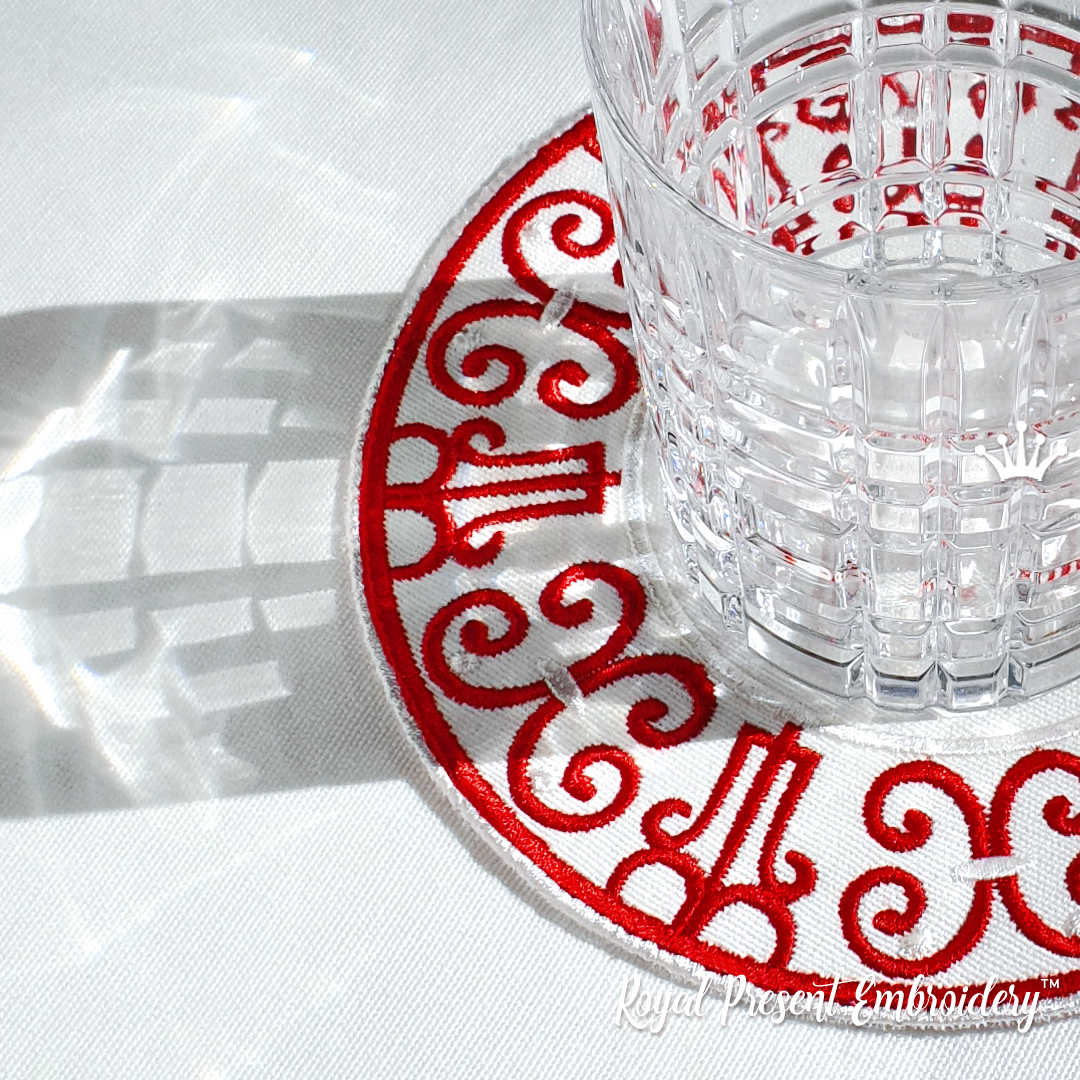
The radial arabesque, architectural scrolls and open linen ground refer to the decorative ironwork of Andalusia. In Brick Red and Cream White, the finished mat sits naturally beside Hermès Balcon du Guadalquivir porcelain: it repeats the disciplined red-and-white rhythm without turning the embroidery into a copy of the plate decoration.
This is an original Royal Present Embroidery stitch composition, not a digitized dinnerware print, Hermès product, licensed file or official collaboration. Burgundy and ecru create a softer formal version; navy and warm white make the geometry more contemporary; tone-on-tone embroidery emphasizes texture instead of contrast.
Explore more in-the-hoop placemat embroidery designs and arabesque machine embroidery designs.
Madeira Classic 40 colors for in-the-hoop placema
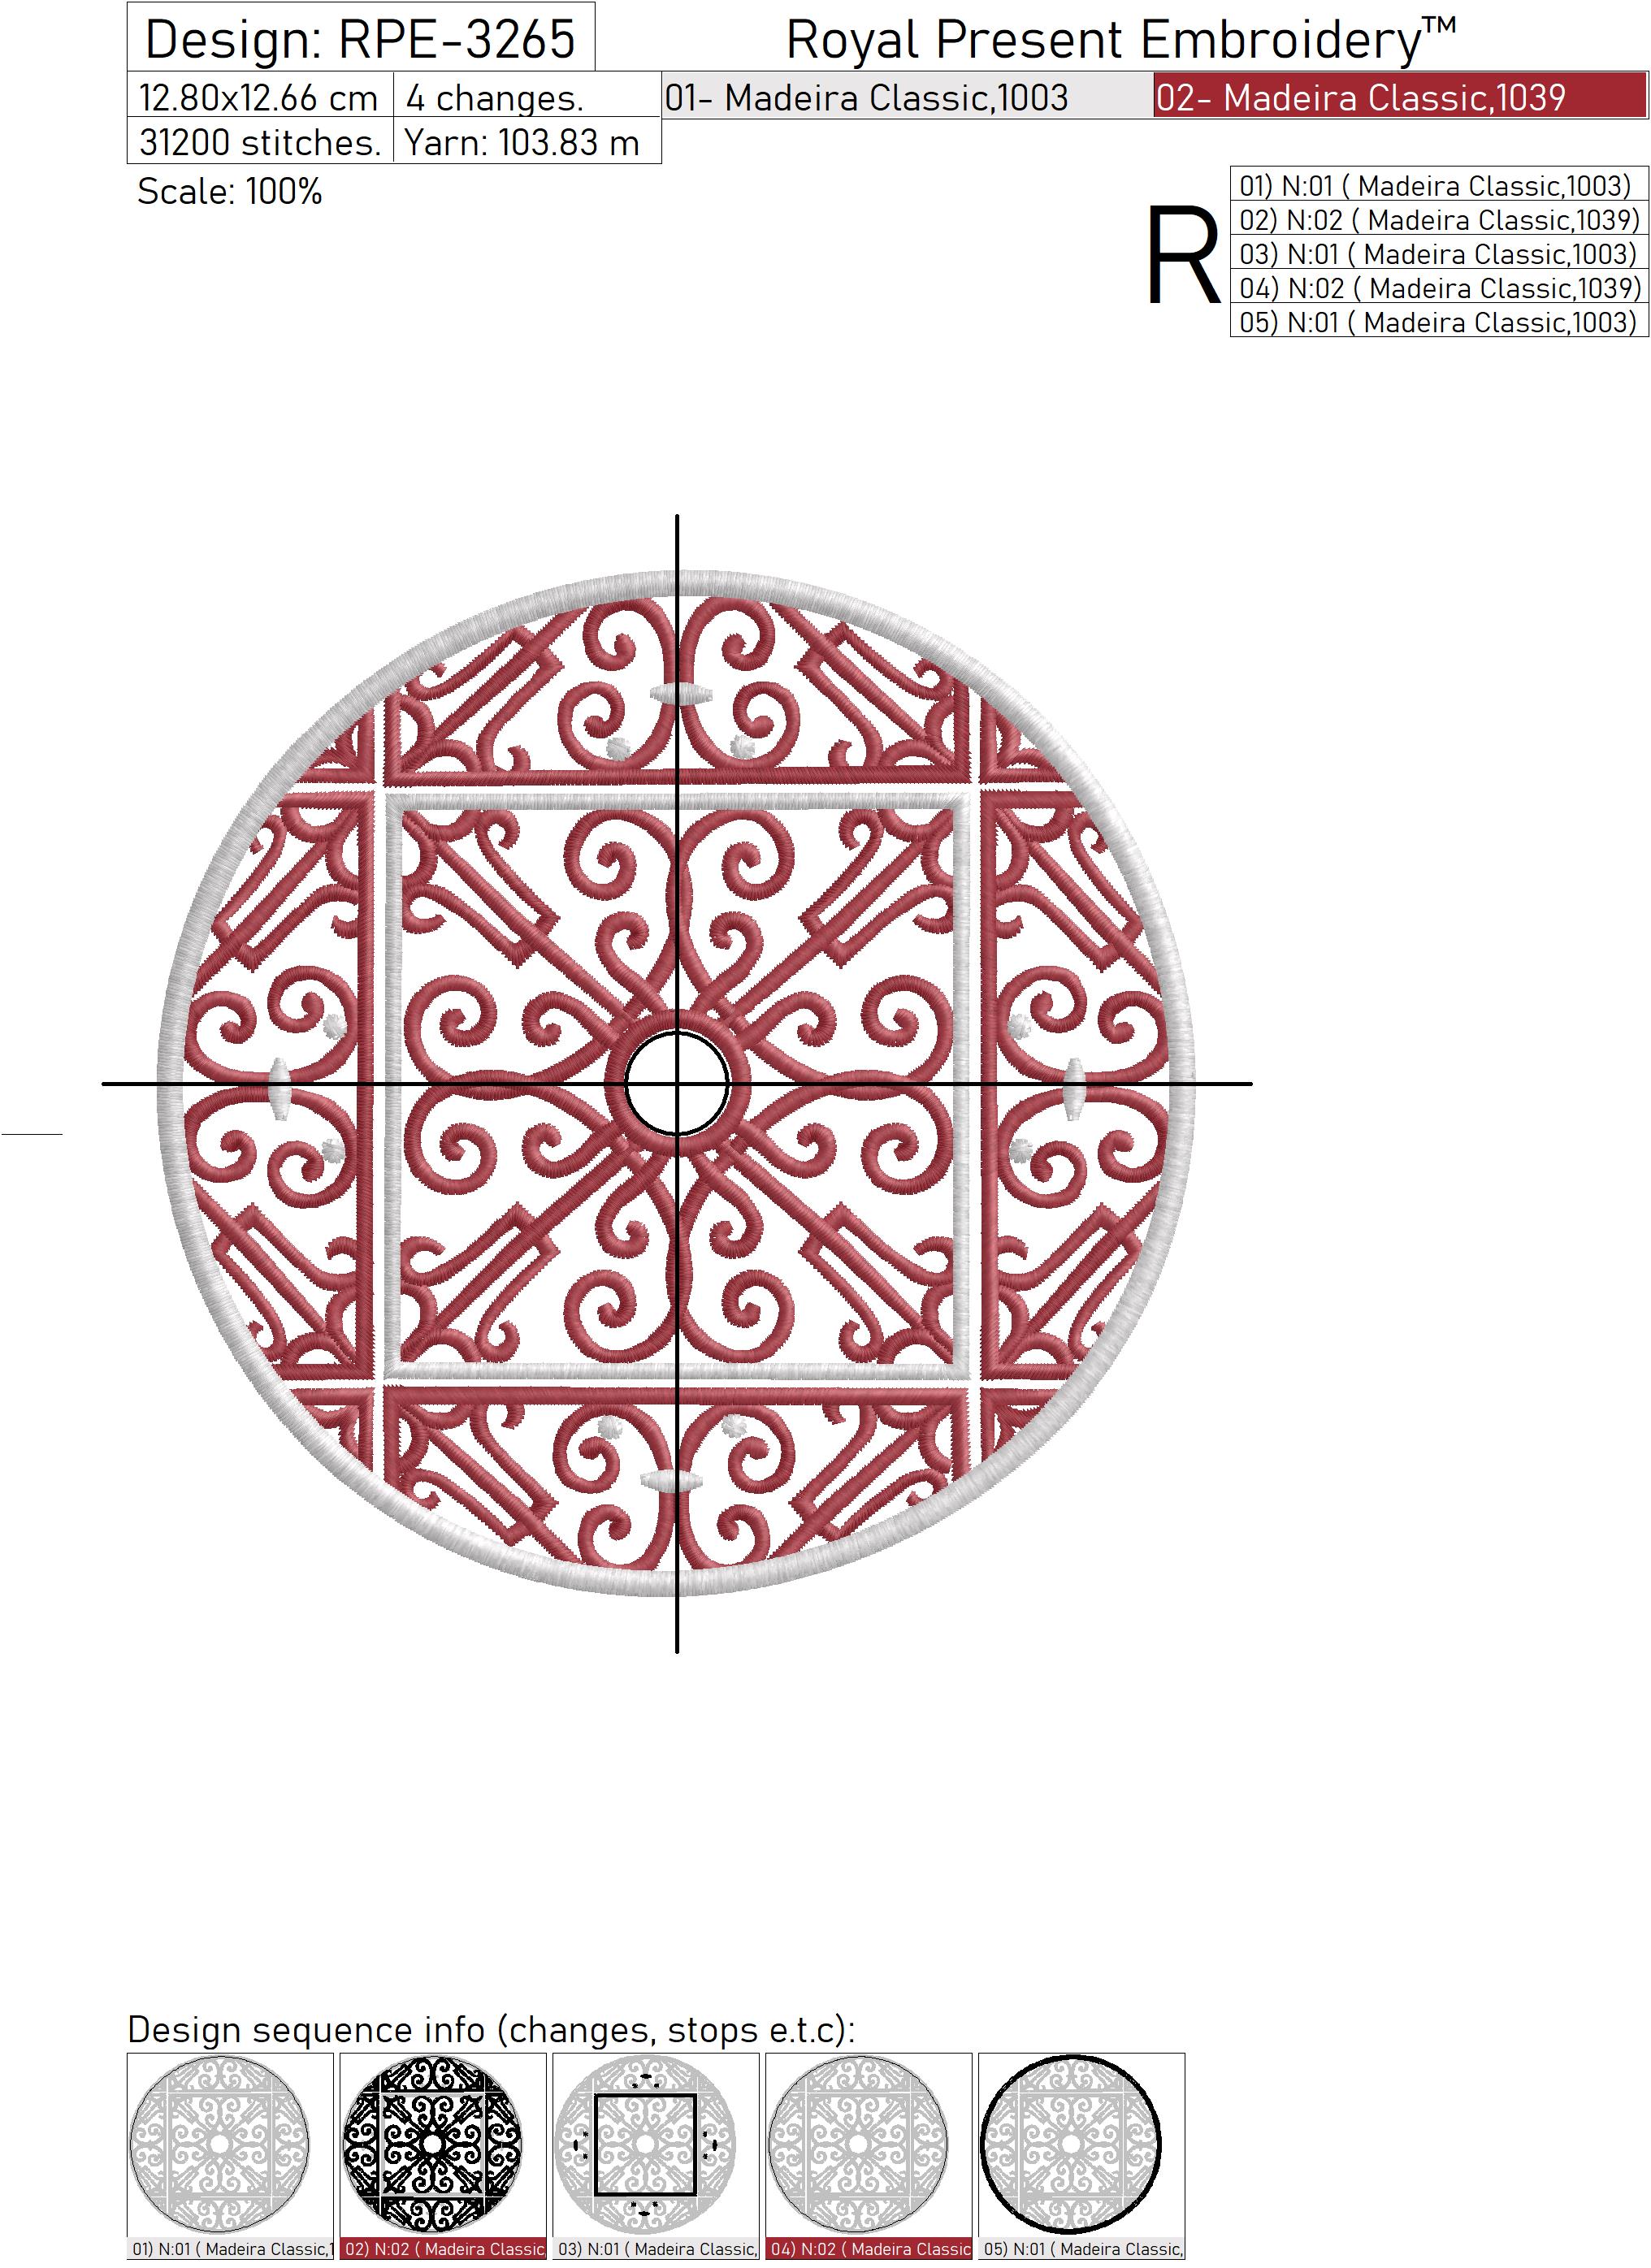
The source chart uses two Madeira numbers in five separate blocks: 1003 → 1039 → 1003 → 1039 → 1003. The repeated colors are construction stops, not accidental duplicates.
| Color | Madeira Classic 40 | Blocks and function |
|---|---|---|
| No. 1003 – Cream White | Blocks 1, 3 and 5: placement outline, light details and final satin-finished edge | |
| No. 1039 – Brick Red | Blocks 2 and 4: main Andalusian ornament and securing contour after the backing is added |
Do not apply automatic color sorting or merge identical adjacent thread colors. The five blocks create necessary stops for front-fabric placement, decorative stitching, backing attachment, trimming and edge finishing. Reordering them breaks the in-the-hoop construction sequence. Screen colors are approximate; select thread by the Madeira number and a physical chart.
Fabric, stabilizer and tools
- Front fabric: prewashed table linen or a stable linen-cotton blend around 180–240 g/m² (5.3–7.1 oz/yd²), with a close weave and no stretch.
- Backing: linen or smooth woven cotton with weight and shrinkage close to the front fabric.
- Stabilizer: two firmly hooped layers of medium-weight tear-away, as specified in the project tutorial.
- Temporary hold: a light mist of embroidery adhesive on the stabilizer or backing, applied away from the machine.
- Needle: a new 75/11 sharp embroidery needle for medium linen; test an 80/12 on a heavier, tightly woven cloth.
- Trimming: small curved or double-curved applique scissors for cutting both layers close to the securing line.
Step-by-step in-the-hoop construction
The official illustrated guide shows the placement line, front and backing attachment, two-sided trimming and final edge.
Download the illustrated PDF instructions
- Hoop two layers of tear-away stabilizer firmly and stitch the first Cream White placement outline.
- Mist the stabilizer lightly with temporary adhesive, then smooth the well-pressed front fabric over the marked area without stretching it.
- Stitch the Brick Red ornament and the following Cream White details in the supplied order. Stop when the design pauses after block 3.
- Remove the hoop from the machine without opening it. Fix the backing beneath the hoop with its right side facing outward.
- Return the hoop to the machine and sew the Brick Red securing contour. Remove the frame again, keeping the stabilizer hooped.
- Trim the front and backing close to the securing line on both sides. Rotate the frame as you cut; do not pull the fabric toward the scissors.
- Reattach the hoop, stitch the final Cream White edge and tear away the remaining stabilizer after embroidery is complete.
Six practical tips for a flat circle and clean back
- Stabilizer gets the tension; linen does not. Keep the hooped stabilizer drum-firm, but smooth the front fabric onto it without pulling. Stretched linen contracts after release and creates waves around a dense circular border.
- Trim in two passes. Remove the wide excess first, then take off the final fibers with curved scissors. Aim for less than 1 mm (about 1/32 inch) without cutting the securing stitches.
- Match the bobbin when the reverse becomes visible. Use Brick Red bobbin thread for block 4 and Cream White for block 5. This prevents a contrasting bobbin line from showing on the back.
- Support the frame during long outer curves. Keep the hoop level with the machine bed so its weight does not tug against the circular stitching path.
- Reduce speed if the frame begins to vibrate. A slower securing contour and final satin edge give the machine more control through two fabric layers and stabilizer.
- Treat the first mat as a production sample. Stitch, wash, dry, press and remeasure it before making a set. Shrinkage percentage = size lost after washing ÷ original size × 100.
For deeper troubleshooting, see how to prevent puckering in machine embroidery and how fabric, stabilizer and stitch density work together.
Washing and pressing the finished table mat
Preshrink both fabrics using the same care routine planned for the finished set. As a conservative first wash, use a delicate cycle at up to 30 °C / 86 °F with mild bleach-free detergent. Reshape the mat immediately, dry it flat and press slightly damp linen from the reverse through a cotton cloth on a padded surface. This protects the satin edge and keeps the raised embroidery from being flattened.
Rayon such as Madeira Classic 40 gives formal table linen a pronounced sheen. For mats intended for frequent washing, a quality 40-weight embroidery polyester is often the more practical choice. If the selected fabric or thread has a stricter care limit, follow that limit. More detail: washing, drying and ironing embroidered textiles.
Frequently asked questions
Is this a full-size dinner placemat?
No. The 128.0–237.0 mm range is designed for cups, tea settings, bread plates and small dessert plates. Choose the larger 11-size Andalusian version when you need a broad frame around a standard dinner plate.
Do I need a sewing machine to finish the edge?
No. The backing, securing contour and final satin-finished edge are completed before the project leaves the embroidery hoop.
Why do two thread colors appear as five blocks?
Identical colors perform different construction jobs before and after the backing is added. Keep all five blocks and their stops in the supplied order; do not color-sort them into two continuous sections.
Does it coordinate with Hermès Balcon du Guadalquivir?
Yes. The Brick Red and Cream White palette and Andalusian architectural rhythm complement this porcelain. The embroidery is an independent Royal Present design and does not reproduce the dinnerware decoration.
How do I keep every mat in a set the same size?
Preshrink the front and backing fabrics, cut all pieces on the same grain and make one washed test sample. Measure that finished sample before stitching the rest of the set.

 Get Sign-In Link
 Login with Google
 Login with Facebook
 Login with Amazon
 Login with Paypal