Checkered Christmas Star Ornament with Red Bow Machine Embroidery Design
By knowing the speed of your embroidery machine, you can find out how long it will take to embroider a design.
To use the embroidery calculator, click on the number of stitches in the product description.
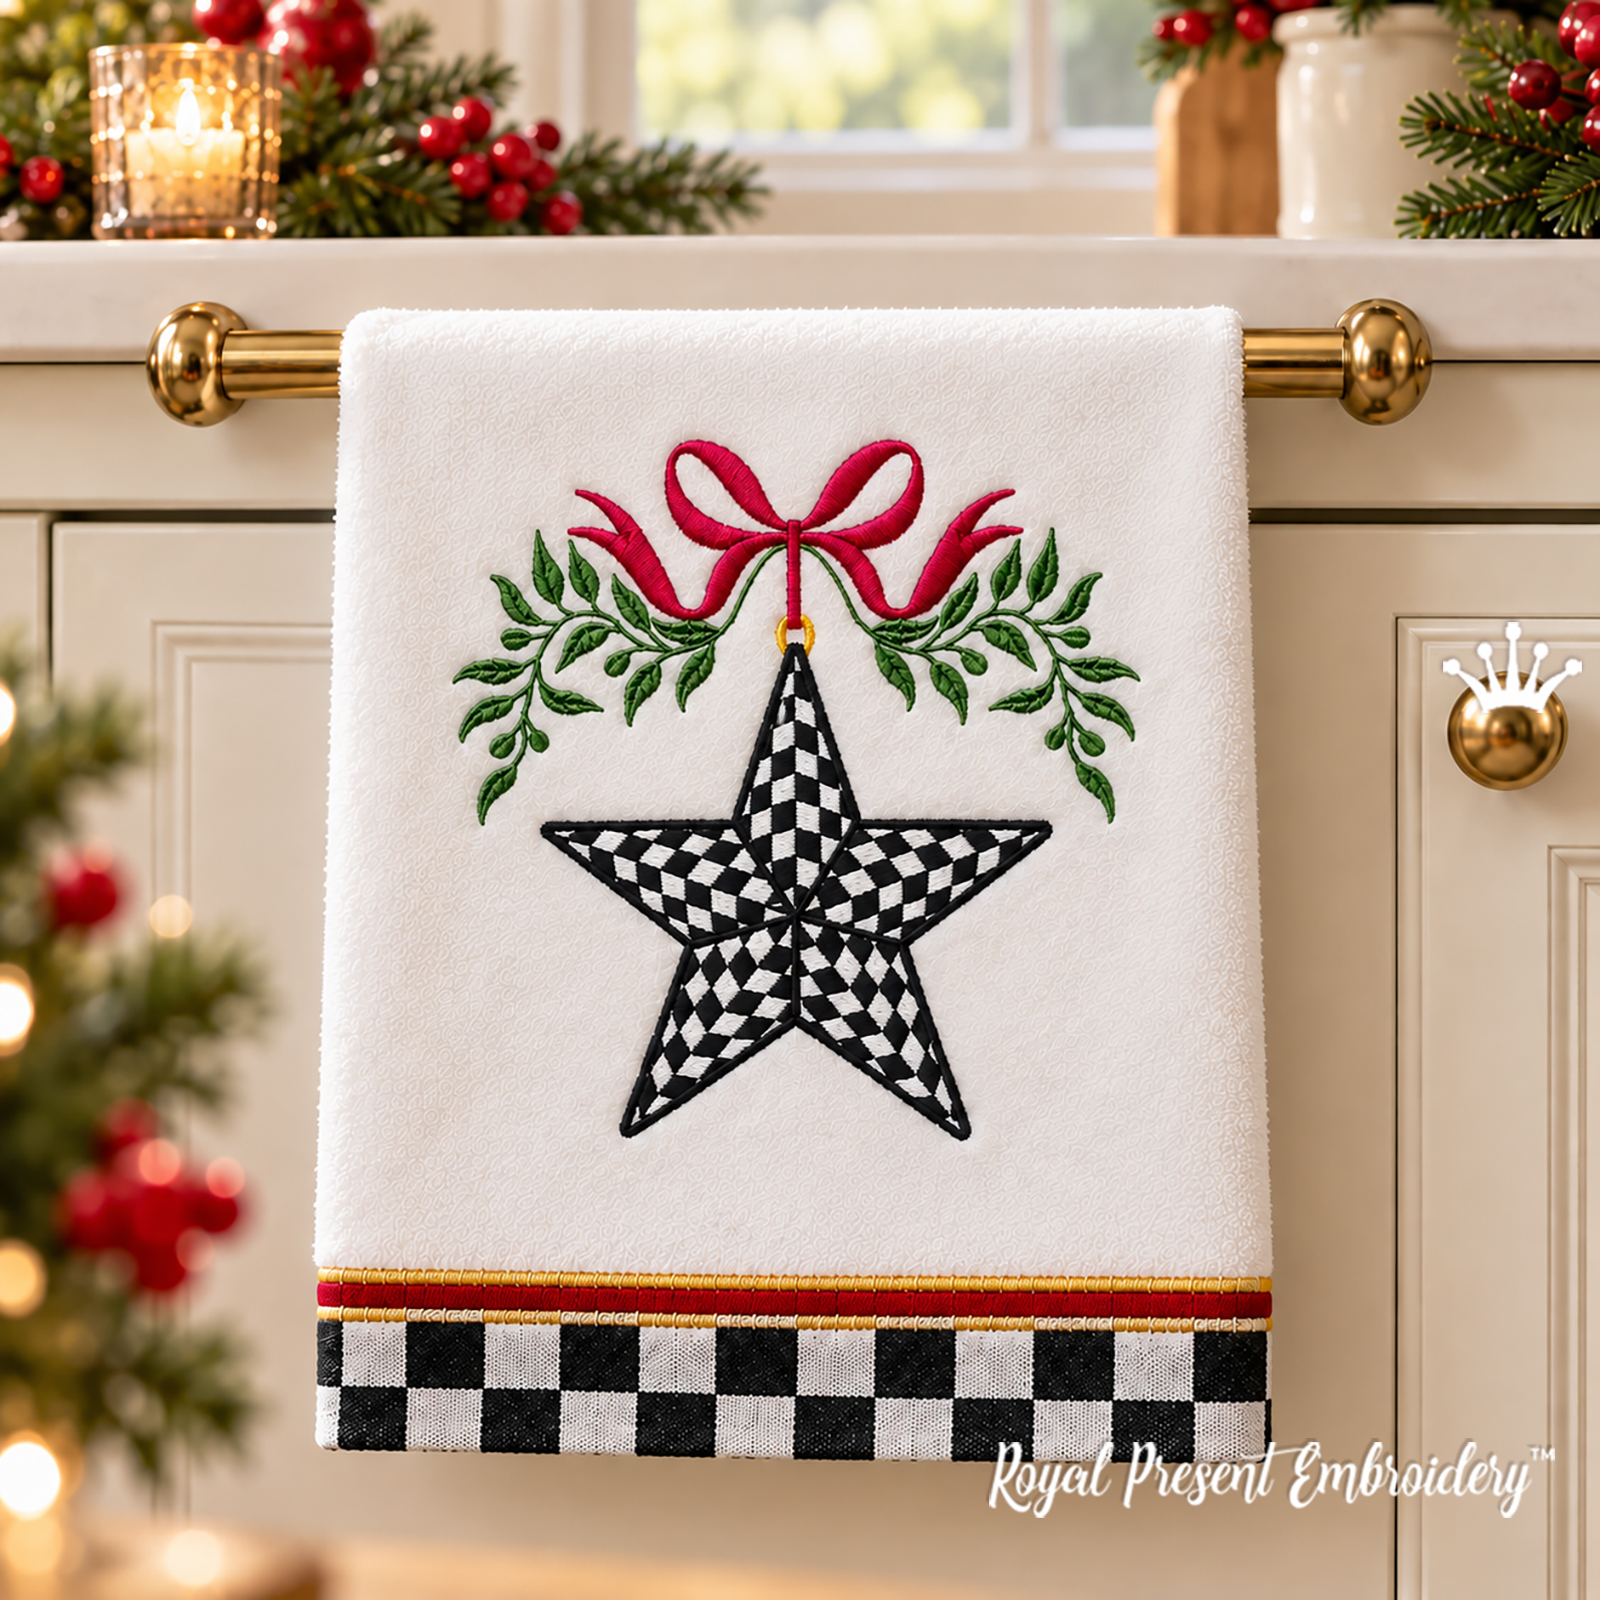
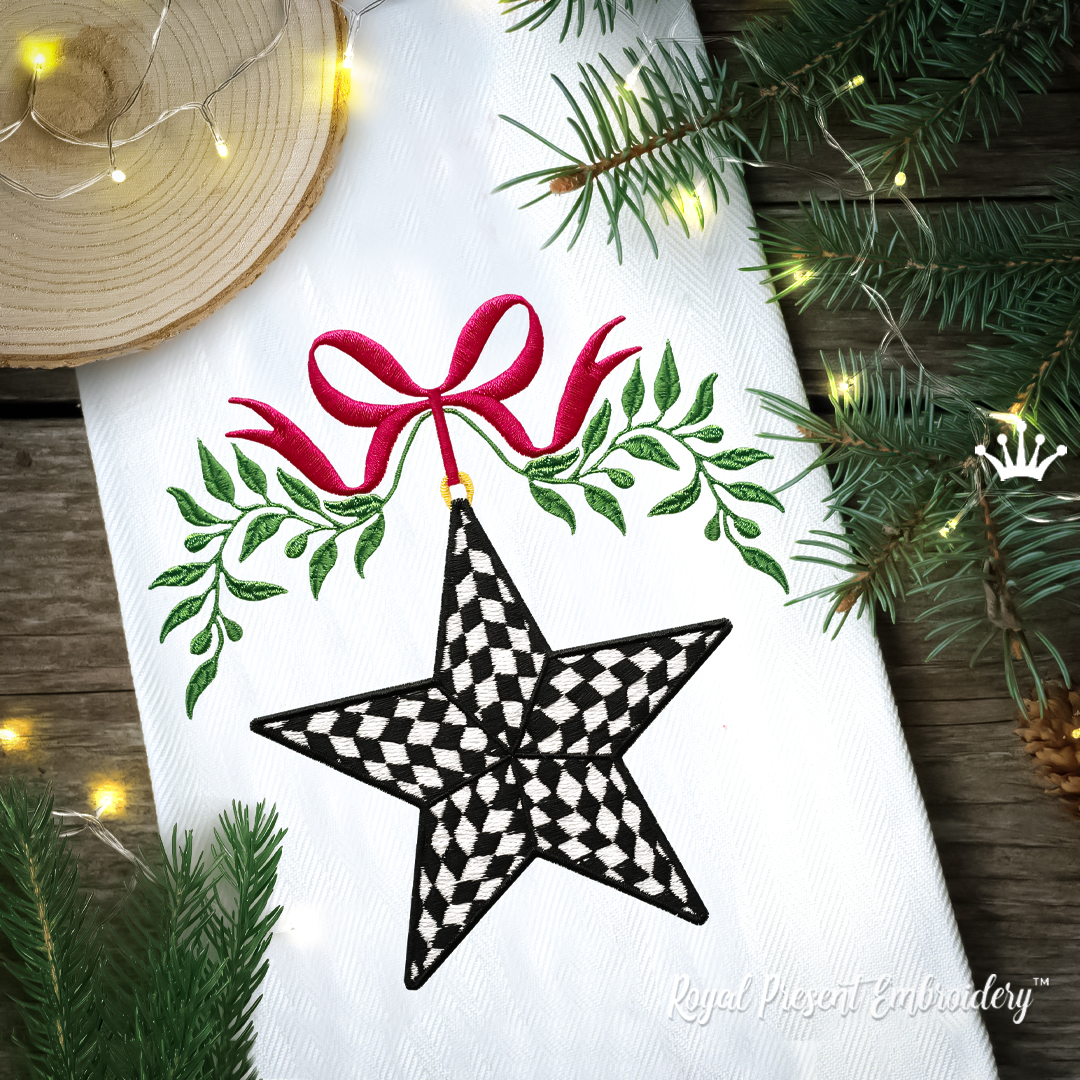
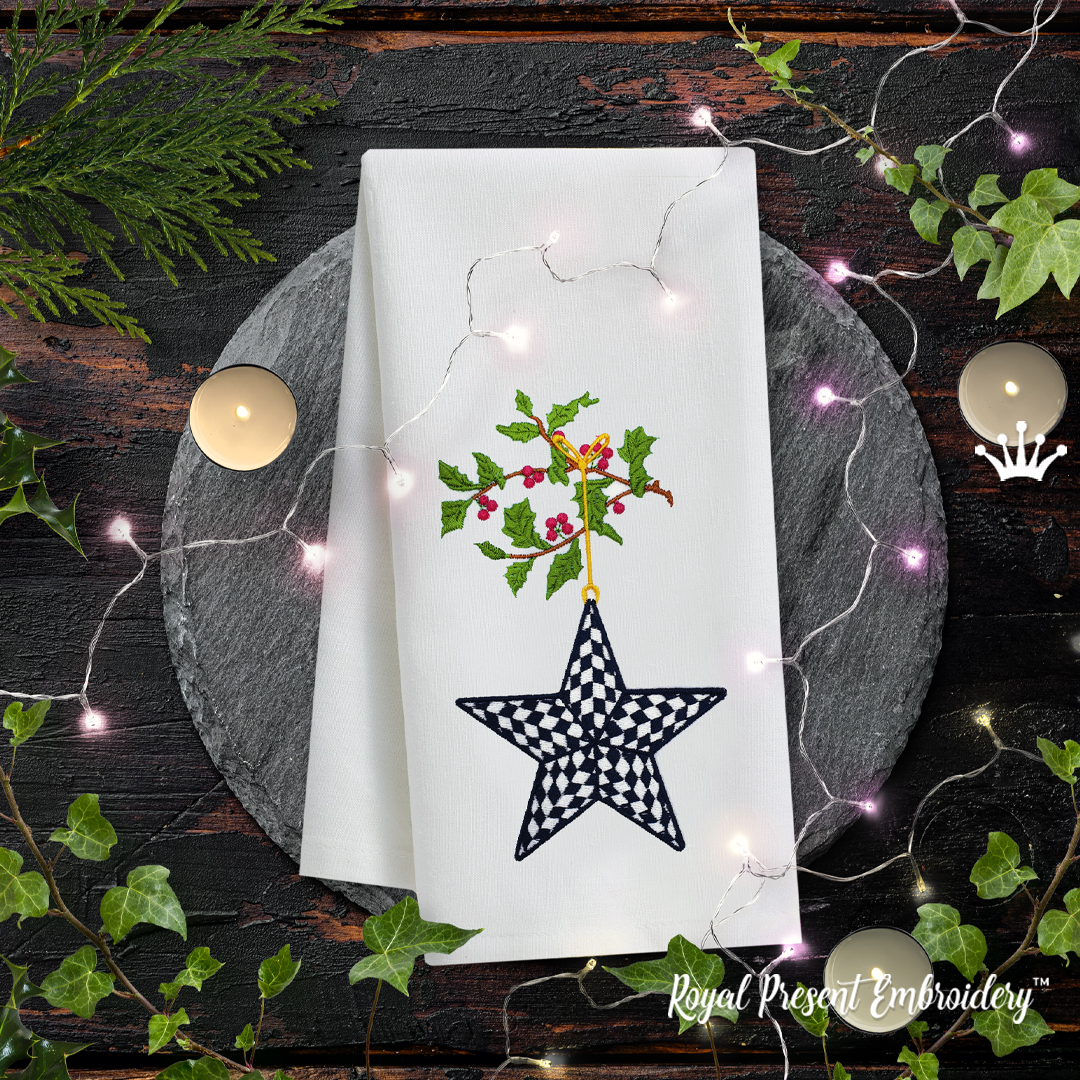
Checkered Christmas Star Ornament with Red Bow is a digital machine embroidery design featuring a black-and-white harlequin star, a gold hanging loop, a solid red bow and symmetrical green branches. Use it on Christmas towels, decorative pillows, table runners, gift bags and framed textile panels.
This is a multicolor filled design for an embroidery machine, not applique, FSL or an in-the-hoop construction project. No finished or physical product is shipped.
Design Specifications
| Product type | Digital machine embroidery design |
| Number of designs | 1 |
| Sizes per design | 1 |
| Total file variants | 1 size variant in each included machine format |
| Minimum hoop | 130x180 mm / 5x7" or larger |
| Theme | Christmas, checkered star, red bow, green branches and holiday textiles |
| Embroidery style | Dense multicolor five-point star with filled checkerboard sections and open areas between the outer elements |
| Delivery | Instant digital download supplied as a ZIP archive |
Size, Stitch Count and Compatible Hoop
| Design | Exact design size and stitch count | Minimum compatible hoop |
| Checkered star with bow | Size: 128.0x131.4 mm (5.04x5.17"). Stitches: 26449 | 130x180 mm / 5x7" |
Formats: .pes, .pec, .hus, .vip, .dst, .exp, .sew, .dat, .vp3, .jef, .xxx
Design Construction and Suggested Projects
The central element is a five-point star filled with alternating light and dark checkerboard sections. A red bow, gold hanging loop and symmetrical green branches form the upper part of the composition. Open areas remain between the star, ribbon and foliage, allowing the fabric color to become part of the finished embroidery.
Place the design in the center of a guest towel band, square pillow panel, Christmas gift bag or framed textile picture. On a table runner, stitch one star near each end and keep both motifs facing the same direction. Use the same red, green, black, white and gold threads throughout the matching series to create a coordinated collection.
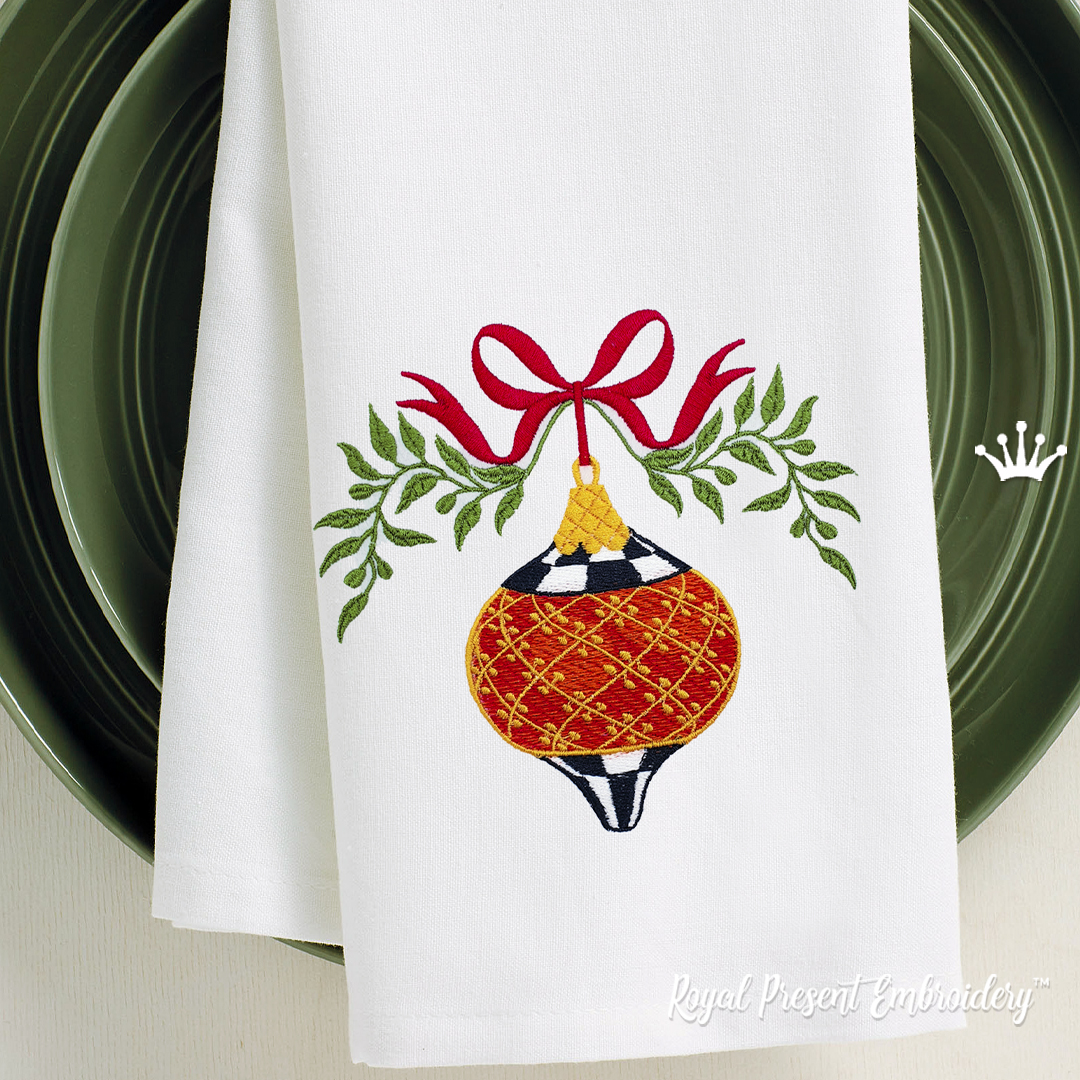
Matching Checkered Christmas Designs
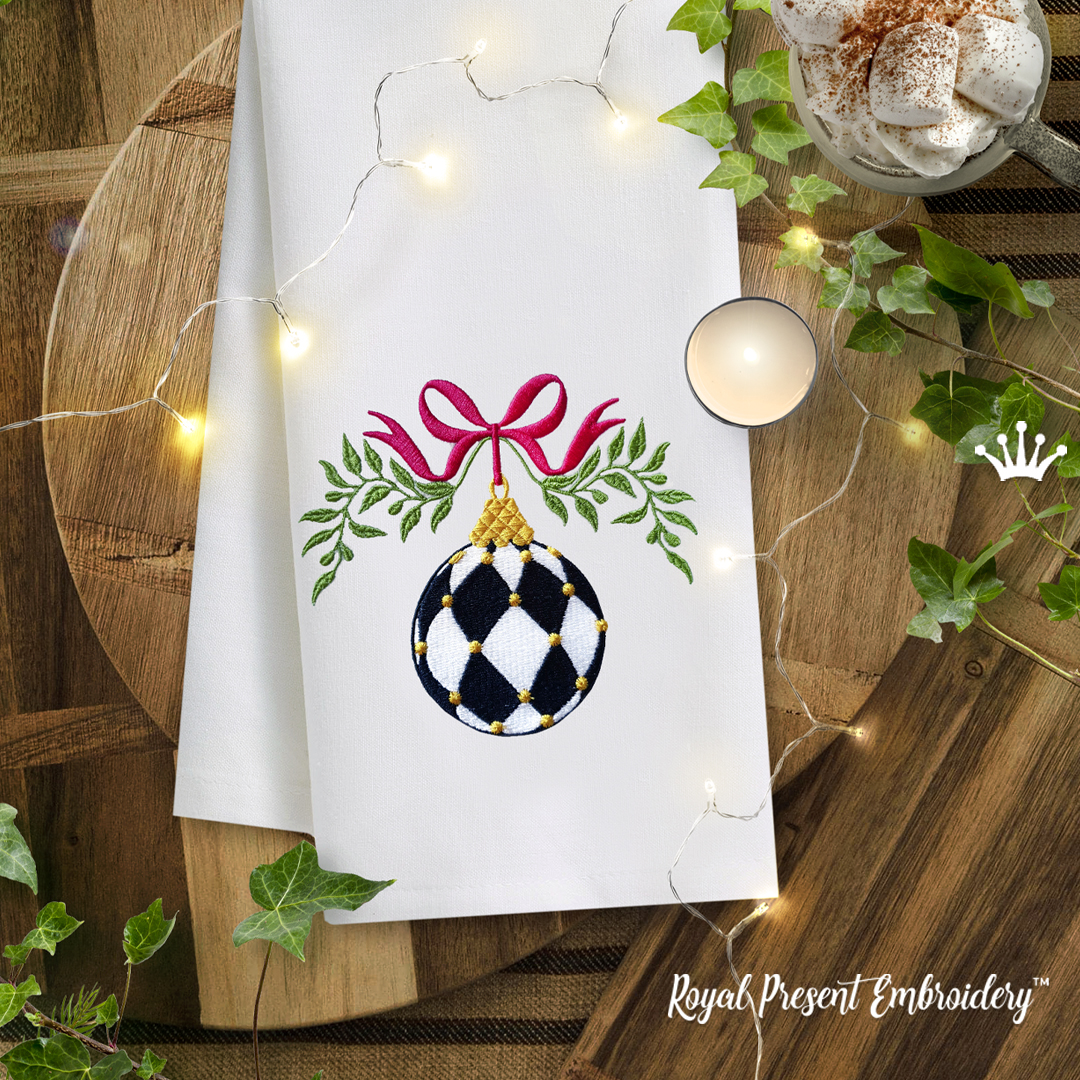
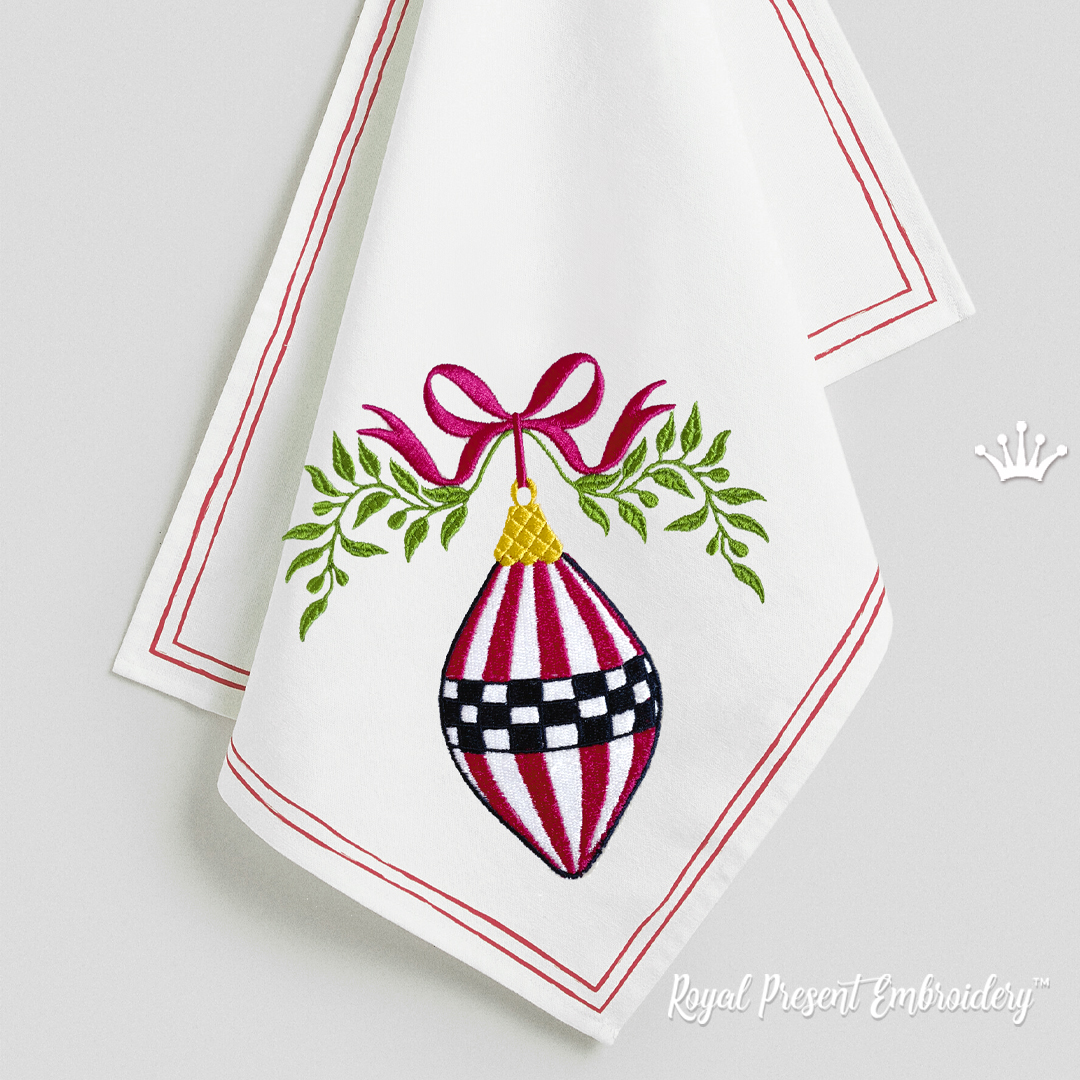
Combine these designs on towels, pillows, table linens, gift bags or a coordinated Christmas wall panel.
|
|
|
|
Madeira Classic 40 Thread Chart
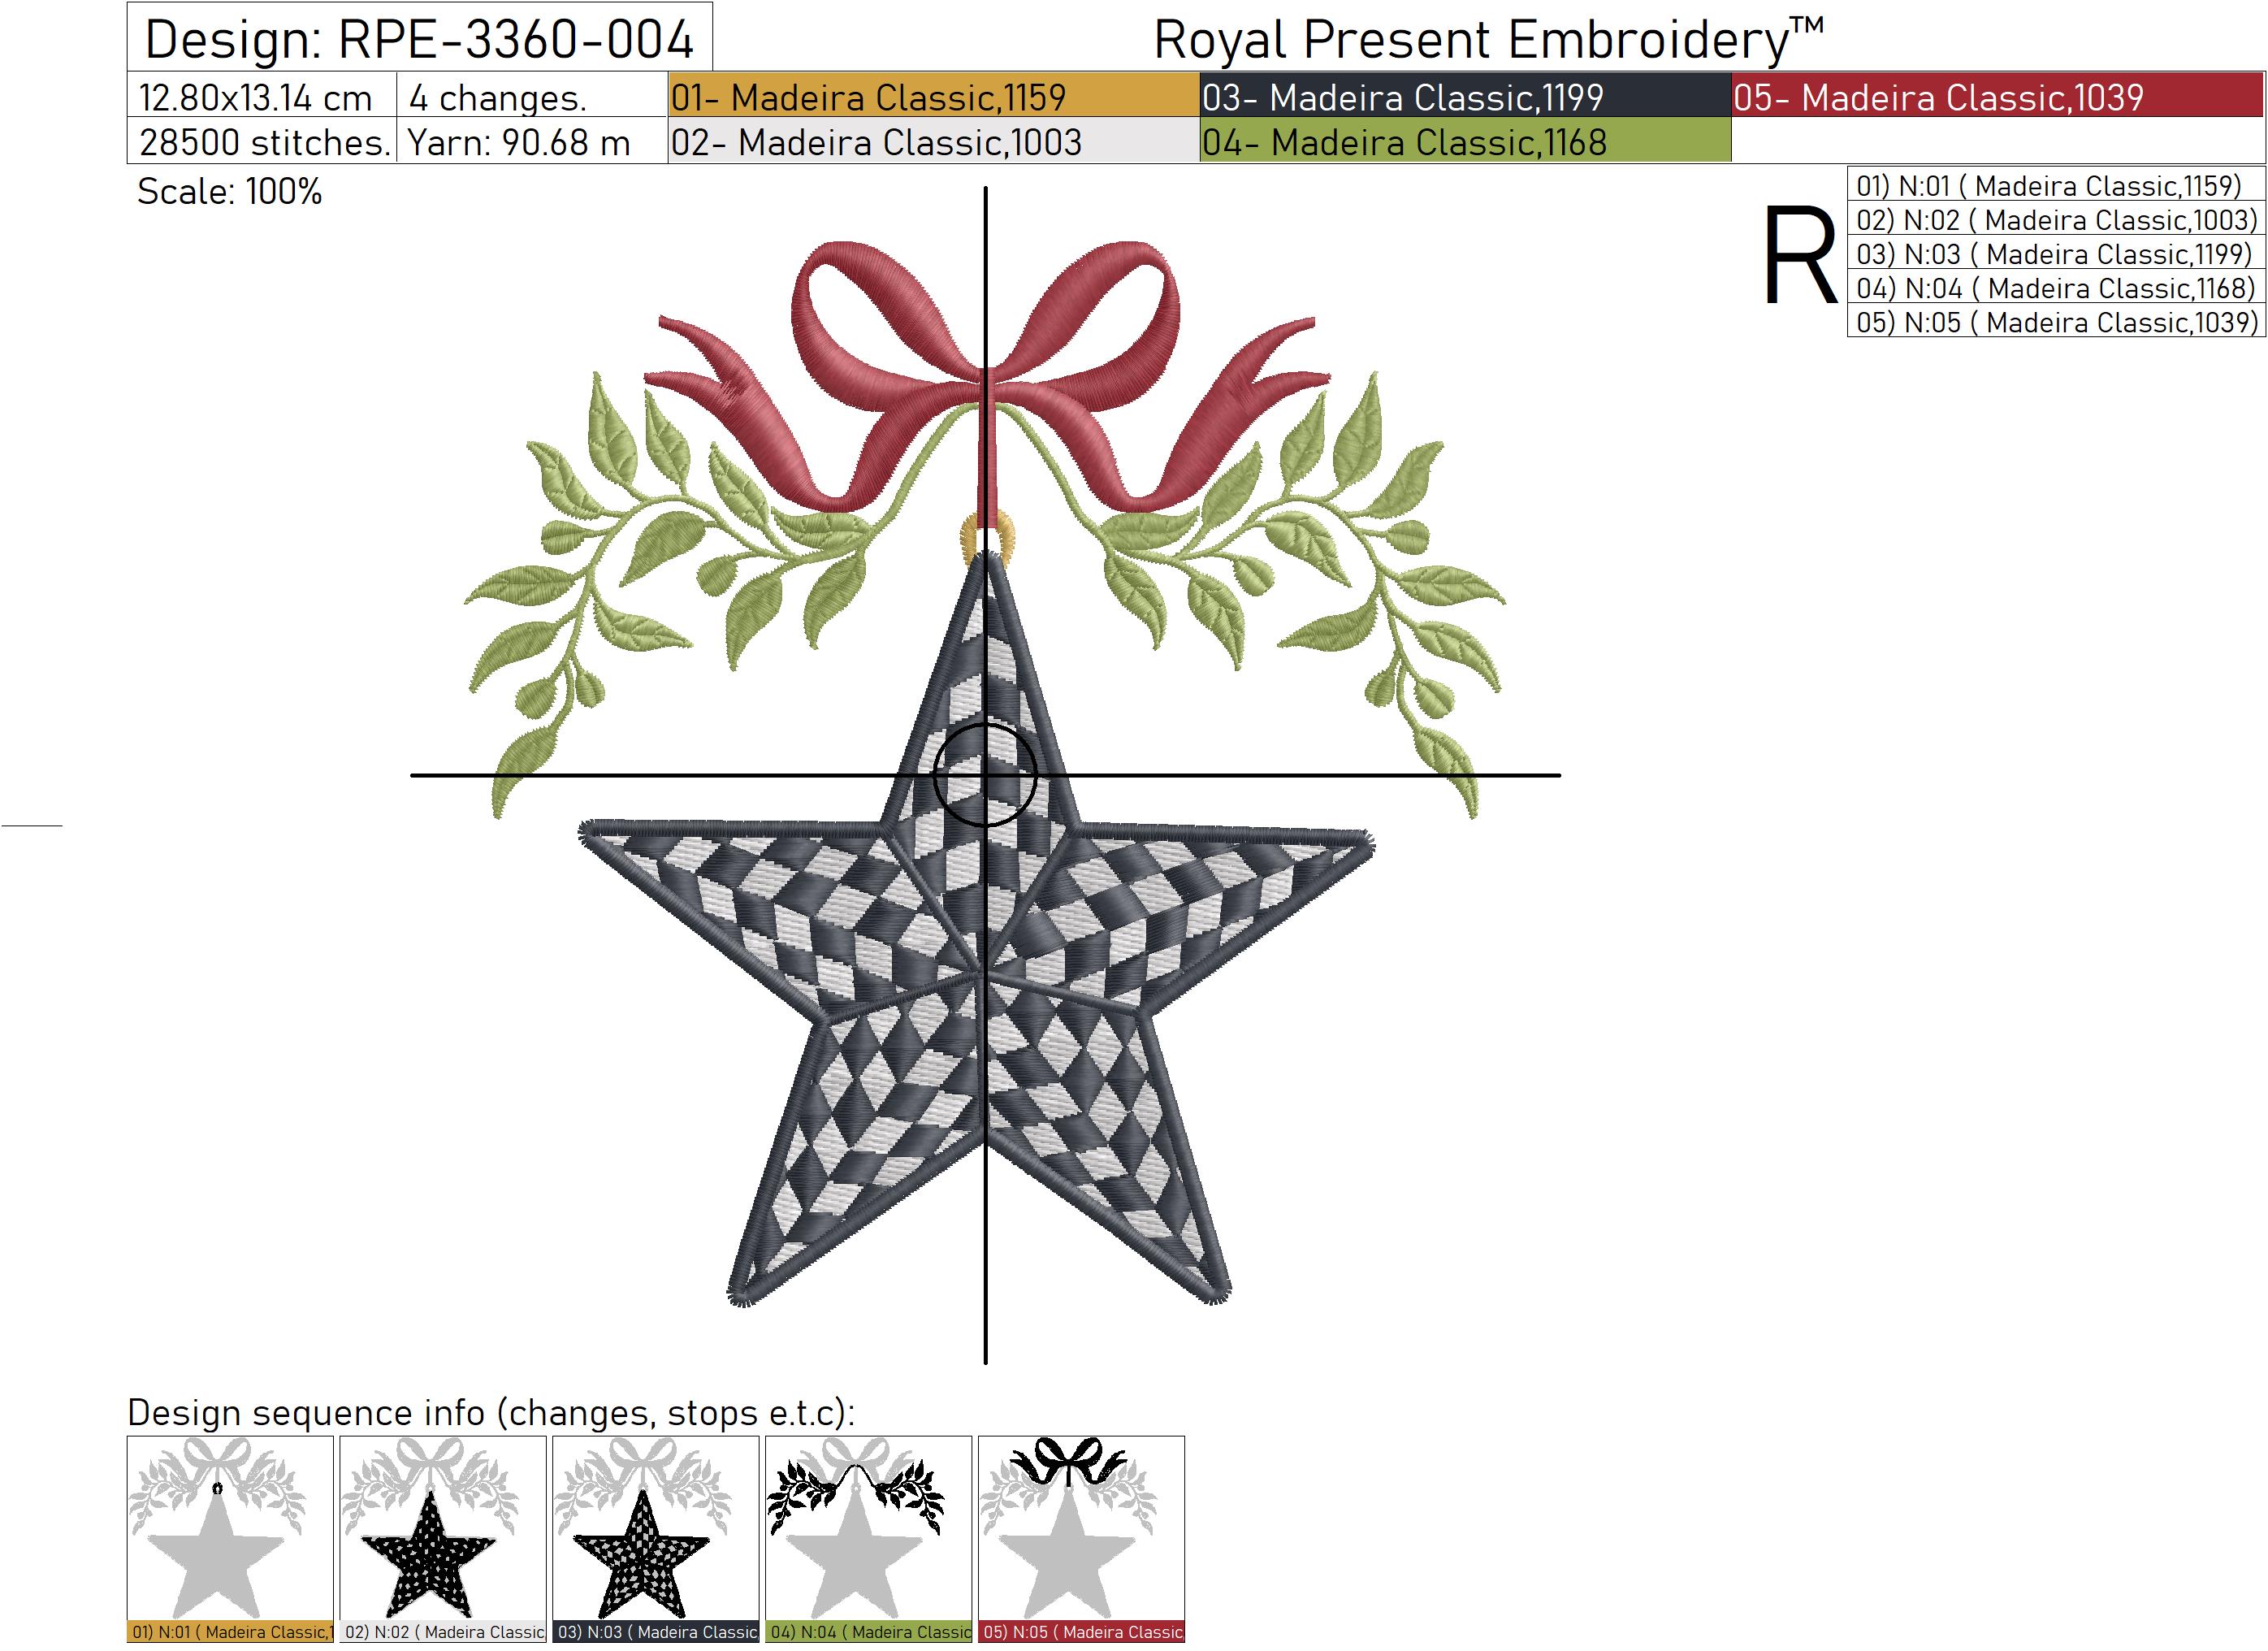
The original technical chart specifies five Madeira Classic 40 colors. The colored cells are provided for visual guidance; use the Madeira numbers as the primary thread references.
| Madeira Classic 40 | Design element | |
| 1159 | gold hanging loop | |
| 1003 | light checkerboard sections | |
| 1199 | dark checkerboard sections and star outlines | |
| 1168 | green stems, branches and leaves | |
| 1039 | red bow and ribbon |
Color-block sequence: 1159 → 1003 → 1199 → 1168 → 1039.
Conversions to Isacord, Sulky, Brother or another thread brand should be treated as nearest-color suggestions rather than guaranteed exact matches. Compare the selected threads with a physical color card before stitching coordinated items.
Fabric, Stabilizer and Machine Settings
For cotton, linen, twill and decorative woven fabrics weighing approximately 160–240 g/m², use a medium cut-away stabilizer weighing about 60–80 g/m². It helps the five star points remain symmetrical while the dense checkerboard sections are stitched.
Hoop the fabric and stabilizer together without stretching either layer. If the finished item cannot be hooped, hoop Madeira Cotton Fix 9439, Gunold Filmoplast or another self-adhesive embroidery stabilizer and place the marked fabric over it without pulling the grain out of alignment.
For terry towels weighing approximately 350–500 g/m², use a 70–90 g/m² cut-away stabilizer underneath and a thin water-soluble topping above the fabric. Madeira Avalon Film or Sulky Solvy will prevent the star outlines and narrow leaf details from sinking between the loops.
Use a new 75/11 embroidery needle for smooth cotton or an 80/12 needle for dense linen, terry cloth and layered projects. Begin at approximately 550–650 stitches per minute and check that the fabric remains flat after the first checkerboard section is completed.
For more information, read Machine Embroidery: Stitch Density, Fabric and Stabilizer Balance.
Frequently Asked Questions and Practical Tips
Why can the five points lose their symmetry after the fabric is removed from the hoop?
The checkerboard sections stitch in different directions and place unequal stress on the fabric. If the material was stretched during hooping or supported only with a light tear-away, the points may relax unevenly. Hoop the fabric in its natural state and use cut-away support extending beyond the complete stitched area.
How should I center the star on a square pillow or textile panel?
Print the design template at 100% scale and draw its vertical axis through the center of the bow and the lower star point. Mark the center of the finished panel after subtracting the seam allowances. Centering the raw fabric instead of the finished sewing area can leave the completed embroidery visibly off-center.
Should I use rayon or polyester thread?
Rayon 40 produces a softer decorative shine and works well on pillows and framed panels. Polyester 40 is more practical for kitchen towels, table linens and other items that will be washed frequently or exposed to stain removers.
How should the finished embroidery be pressed without flattening the checkerboard texture?
Place the embroidery face down on a folded terry towel and press from the reverse through a clean pressing cloth. Use moderate heat suitable for the fabric and lift the iron instead of sliding it across the design. Direct pressure from the front can flatten the filled sections and leave a shine on dark thread.
What should I change if the outer edges become slightly wavy?
Do not stretch the finished fabric in an attempt to flatten it. Press the project from the reverse first. For the next stitch-out, use firmer cut-away support, reduce the embroidery speed and test the upper-thread tension on the same fabric and stabilizer combination.

 Get Sign-In Link
 Login with Google
 Login with Facebook
 Login with Amazon
 Login with Paypal