Easter Chicks with Red Painted Egg Machine Embroidery Design – 4x4
By knowing the speed of your embroidery machine, you can find out how long it will take to embroider a design.
To use the embroidery calculator, click on the number of stitches in the product description.
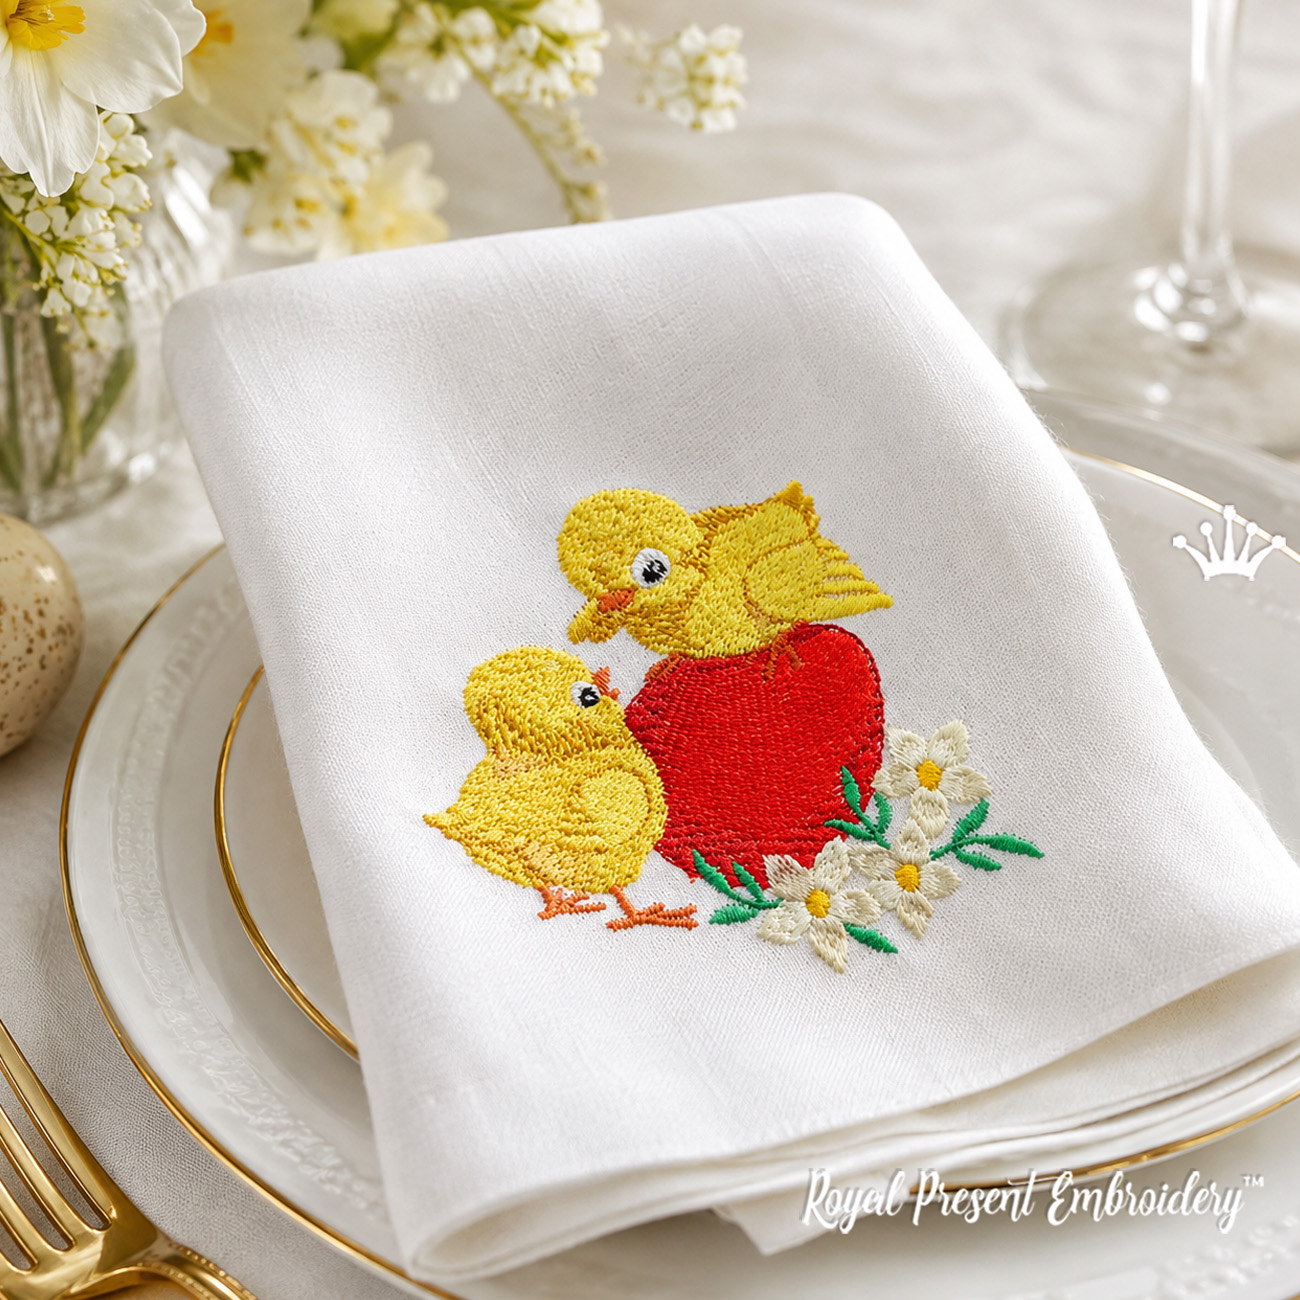
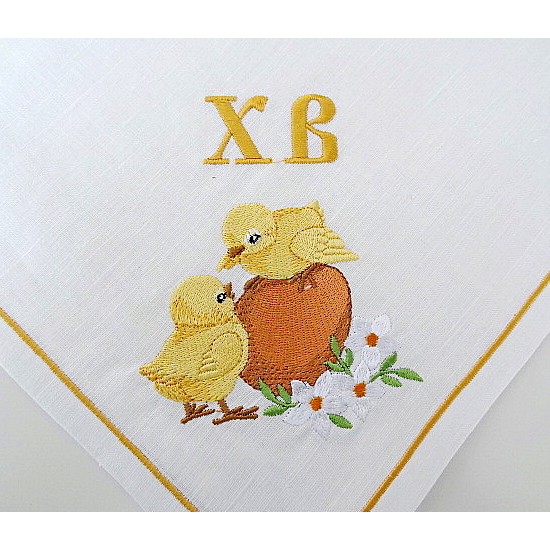
The Easter Chicks with Red Painted Egg Machine Embroidery Design brings together two cheerful yellow chicks, a bright red decorated egg and delicate spring flowers in one compact festive composition. The red egg creates a strong focal point, while the chicks and floral details make the motif suitable for both traditional Easter table linens and playful family décor.
The file measures 98.8x85.3 mm / 3.89x3.36 in and is prepared as one complete design for a 100x100 mm / 4x4 in embroidery field. Its landscape proportions work especially well on napkin corners, tea towels, Easter basket liners, placemats, table-runner ends, small pillows and framed textile panels.
This listing includes digital machine-embroidery files only. A finished napkin, towel, basket liner, fabric, thread, stabilizer and physical embroidery are not included.
Size: 98.8x85.3 mm (3.89x3.36 "), Stitches: 10850
Formats: .dst, .jef, .pec, .vip, .hus, .pes, .exp, .sew, .dat, .vp3
SKU: RPE-050. The product page lists one complete Easter-chicks composition in one prepared size, not separate chick, egg or flower files.
Exact Size and 4x4 Hoop Fit
| Design size | Stitches | Recommended usable field | Best placements |
|---|---|---|---|
| 98.8x85.3 mm 3.89x3.36 in |
10,850 | 100x100 mm / 4x4 in or larger | napkin, tea towel, basket liner, placemat, table-runner end or small panel |
The design fits mathematically inside a 100x100 mm field, but it is 98.8 mm wide. This leaves only 1.2 mm of total horizontal clearance, approximately 0.6 mm on each side when the file is perfectly centered. Some machines reserve an internal safety margin and may reject a file that sits this close to the field boundary.
Check the machine's actual maximum embroidery area, load the correct format and run a boundary trace before stitching. Do not judge the fit from the hoop's commercial name alone. The hoop size and usable embroidery field guide explains why two hoops described as 4x4 can have different working limits.
How to Use the Easter Chicks Design
The horizontal composition is easiest to place where the full scene can remain visible. On a napkin, position it diagonally across one corner or parallel to the hem. On a tea towel or basket liner, place the design above the finished edge and leave enough space for folding, lace, binding or a decorative border.
- Napkins and placemats: use the motif as an individual place-setting accent or repeat it across a coordinated Easter table set.
- Easter basket liners: embroider the flat fabric panel before sewing or gathering the liner. Keep the design clear of elastic channels, ties and basket folds.
- Tea towels: center the motif above the lower hem so the chicks remain visible when the towel hangs or is folded.
- Table runners: mirror the placement at both ends, but rotate the complete file rather than editing individual elements.
- Small pillows and framed textiles: leave generous blank fabric around the motif so the red egg remains the visual center after sewing or framing.
For more coordinating bunnies, eggs, chicks, lambs, flowers and religious motifs, browse the Easter machine embroidery designs collection.
Fabric, Stabilizer, Needle and Speed
| Fabric | Stabilizer | Practical note |
|---|---|---|
| linen, cotton or cotton-linen blend | medium tear-away | hoop fabric and stabilizer together without stretching the weave |
| small napkin or basket-liner panel | self-adhesive tear-away when conventional hooping is impractical | mark both centerlines and secure the fabric smoothly |
| terry towel | firm backing below plus water-soluble topping above | the topping prevents small chick and flower details from sinking into the loops |
| knit or stretch fabric | light or medium cut-away | do not stretch the fabric while hooping; test the filled egg area first |
For stable woven table linen, a useful starting point is a stabilizer weight close to one-third of the fabric weight. Use temporary spray adhesive only as a light, even mist and keep it away from the machine, hoop and needle area. The detailed tear-away stabilizer guide explains the main backing options for woven embroidery projects.
Use good-quality 40-weight rayon or polyester embroidery thread and a new 75/11 embroidery needle for medium-weight linen or cotton. Begin around 500–650 stitches per minute. Slow the machine if the edges of the red egg begin to pull inward or if small facial and floral details lose definition.
Color Planning for the Red Egg and Yellow Chicks
The red painted egg is the strongest color mass in the composition. Keep the chicks in warm yellow and gold families so they remain distinct from the egg, then use orange or warm brown accents for small features. The spring flowers can be lighter and cooler than the egg to frame the scene without competing with it.
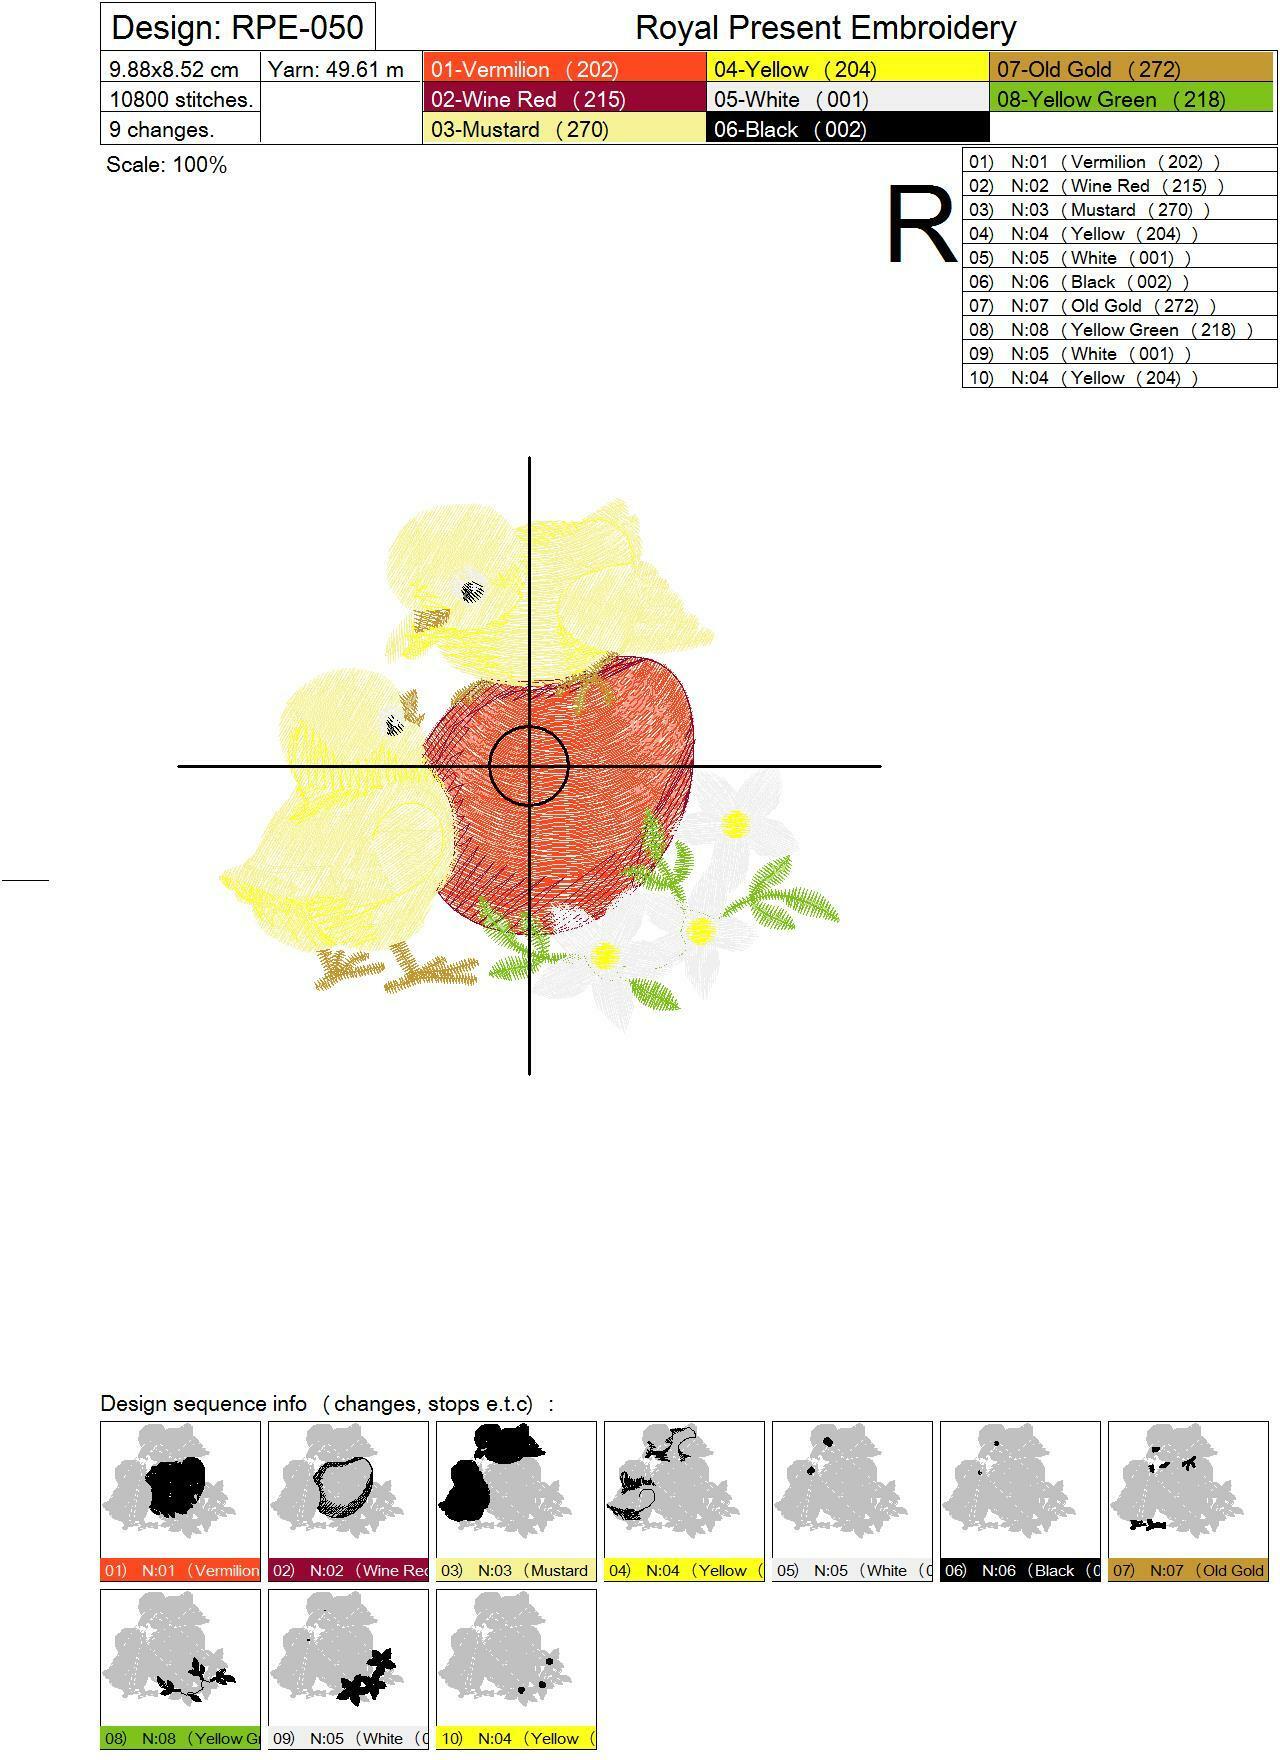
An exact numbered thread chart and complete programmed color order are not published on the accessible product page or archived article. For that reason, no Madeira numbers, color-block count or thread-change count are presented here as original technical data. Follow the sequence shown by the embroidery file and use the gallery image as a visual reference. If the machine displays substitute colors, assign the chosen palette manually before stitching.
Clean Stitch-Out Checklist
- Print or open the template at 100% and verify the exact 98.8x85.3 mm boundary.
- Confirm that the machine accepts the full 98.8 mm width inside its usable field.
- Press the fabric, mark horizontal and vertical centerlines and keep the weave square.
- Hoop the fabric with the chosen backing whenever the item allows it.
- Run the boundary trace and check that the needle does not approach the hoop edge.
- Make a complete test stitch with the same fabric, stabilizer, needle, thread and speed planned for the finished item.
- Remove tear-away backing by supporting the stitched area with one hand instead of pulling against the embroidery.
Do not enlarge or reduce the file directly at the machine when the software does not recalculate stitches. Scaling can change density, underlay, satin-column width and outline registration. Use the original prepared dimensions for the most predictable result.
Frequently Asked Questions
Does this Easter chicks design fit a 4x4 hoop?
It fits a full 100x100 mm embroidery field mathematically because the file measures 98.8x85.3 mm. The width leaves only 1.2 mm of total clearance, so confirm the machine's exact usable field and run the boundary trace before stitching.
How many sizes are included?
The active product page lists one prepared size: 98.8x85.3 mm / 3.89x3.36 in with 10,850 stitches.
Are the chicks, egg and flowers separate files?
No separate elements are listed. The product is presented as one complete composition with two chicks, the red painted egg and spring flowers.
What stabilizer should I use on an Easter napkin?
For stable linen or cotton, begin with medium tear-away backing. Hoop the fabric and stabilizer together without stretching. Use self-adhesive tear-away when the small item cannot be hooped conventionally.
Can I embroider the design on a terry towel?
Yes. Use firm stabilizer underneath and water-soluble topping above the pile. The topping helps the small chick and flower details remain visible instead of sinking between the loops.
Which thread colors should I use?
The reference composition uses yellow chicks and a red painted egg with spring flowers. An exact numbered source chart is not published on the accessible page, so choose thread shades from a physical color card and follow the programmed sequence in the embroidery file.
Can I resize this design in my embroidery machine?
Use the original 98.8x85.3 mm file whenever possible. Resizing without stitch recalculation can alter density, pull compensation and alignment, especially around the filled egg and small details.
Which machine formats are listed?
The active product page lists DST, JEF, PEC, VIP, HUS, PES, EXP, SEW, DAT and VP3.
Is this appliqué or an in-the-hoop project?
No appliqué or in-the-hoop construction is listed. Treat it as a standard machine-embroidery design stitched onto the prepared fabric.

 Get Sign-In Link
 Login with Google
 Login with Facebook
 Login with Amazon
 Login with Paypal