Three Halloween Gnomes Machine Embroidery Design Set – 2 Sizes
By knowing the speed of your embroidery machine, you can find out how long it will take to embroider a design.
To use the embroidery calculator, click on the number of stitches in the product description.
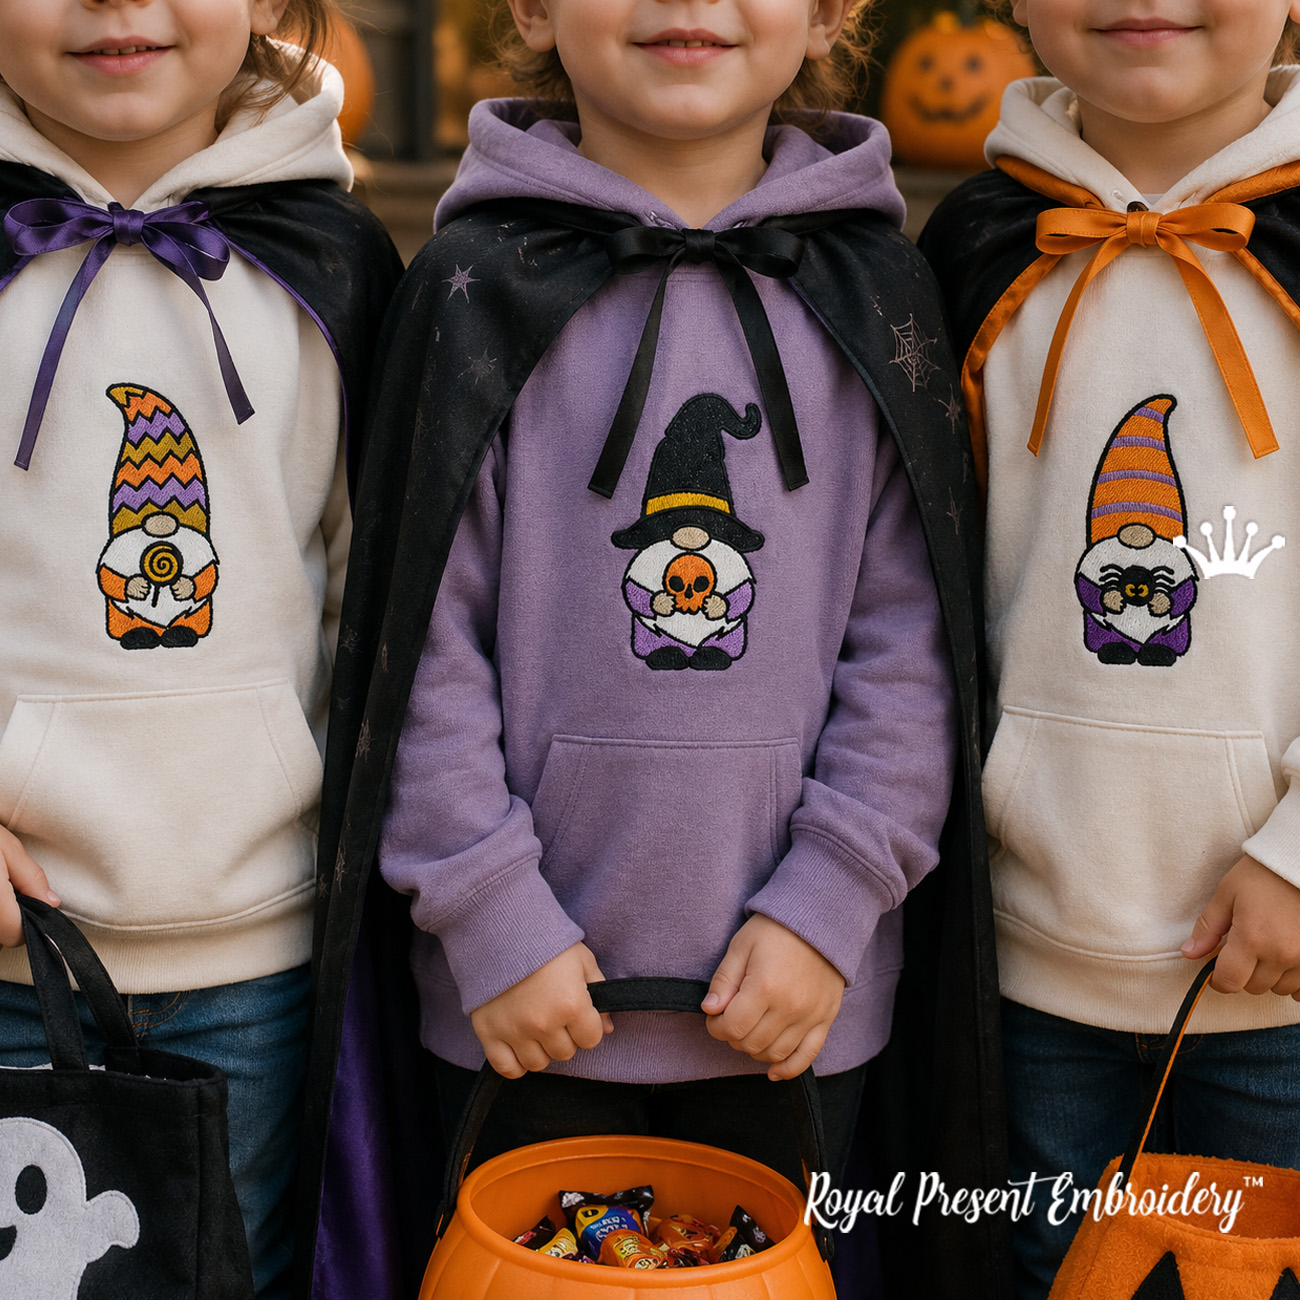
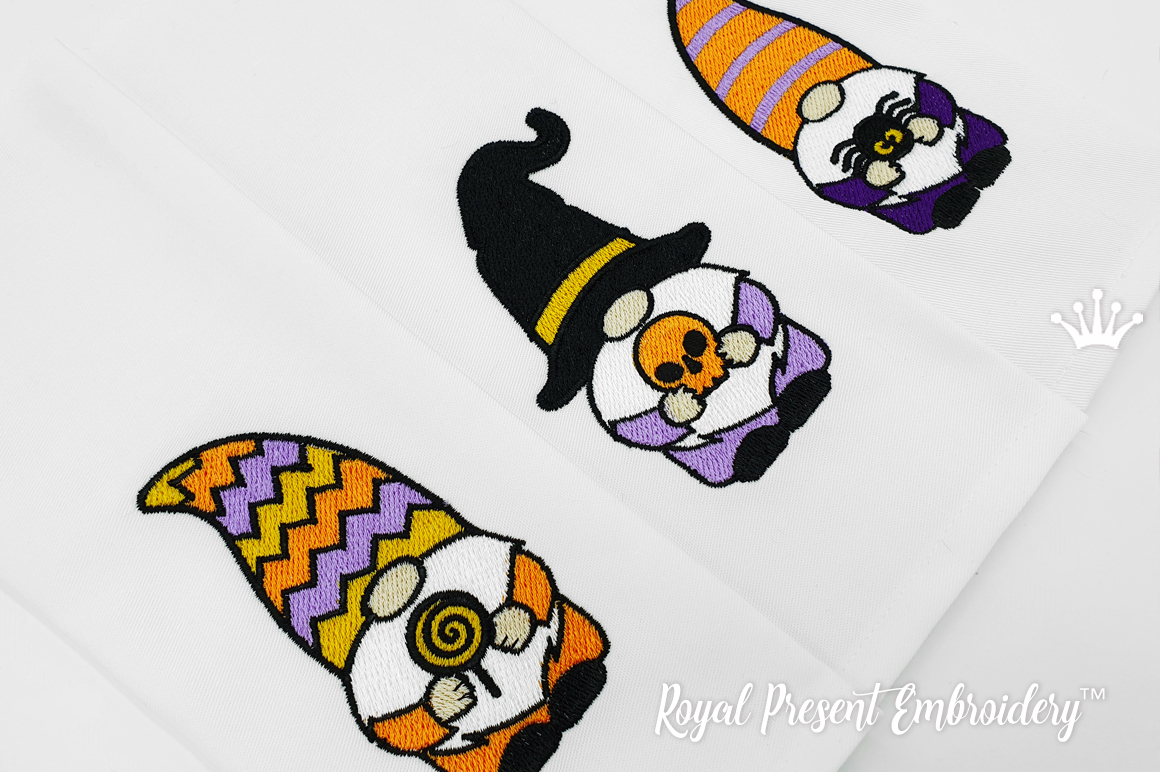
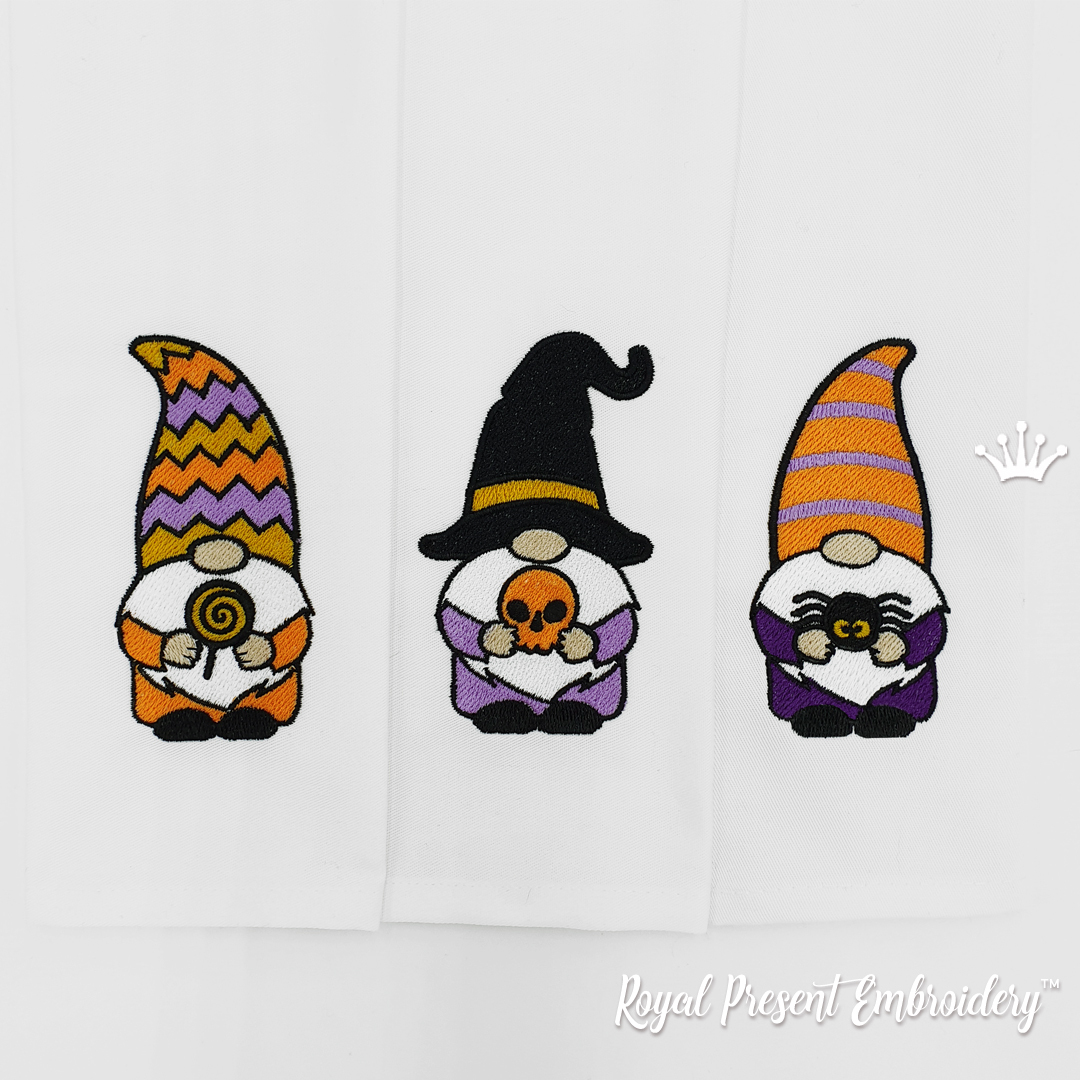
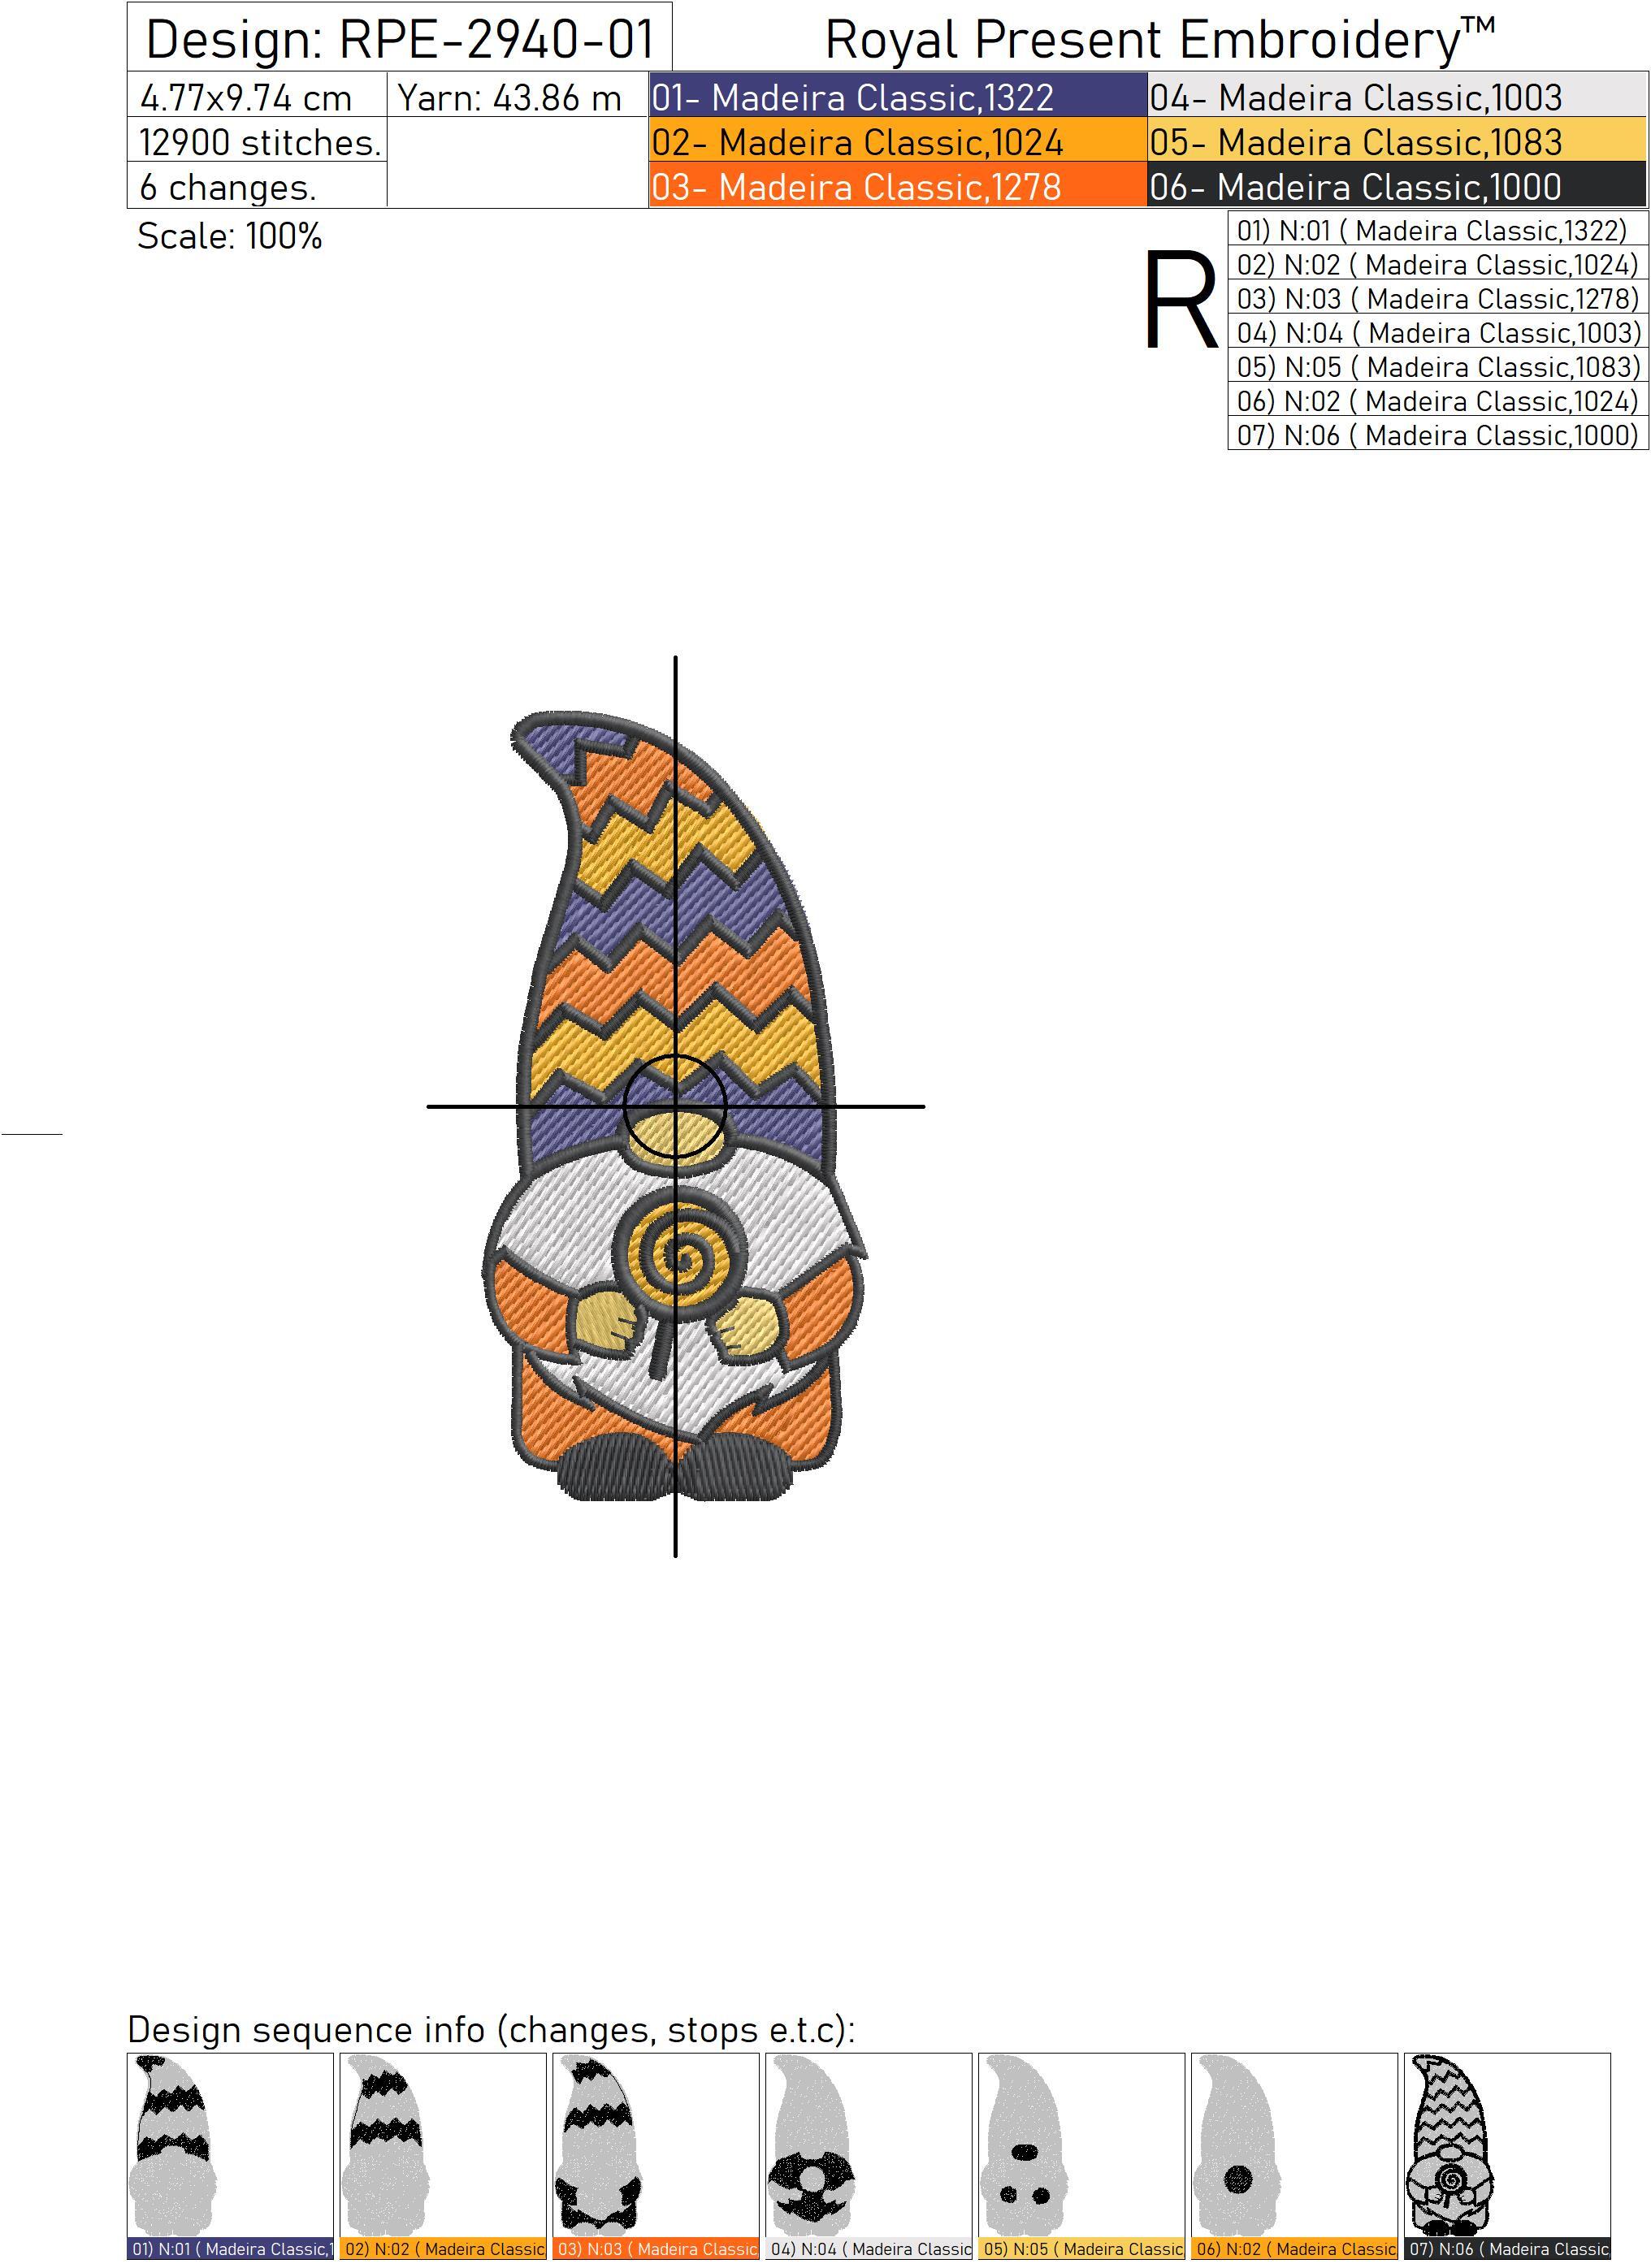
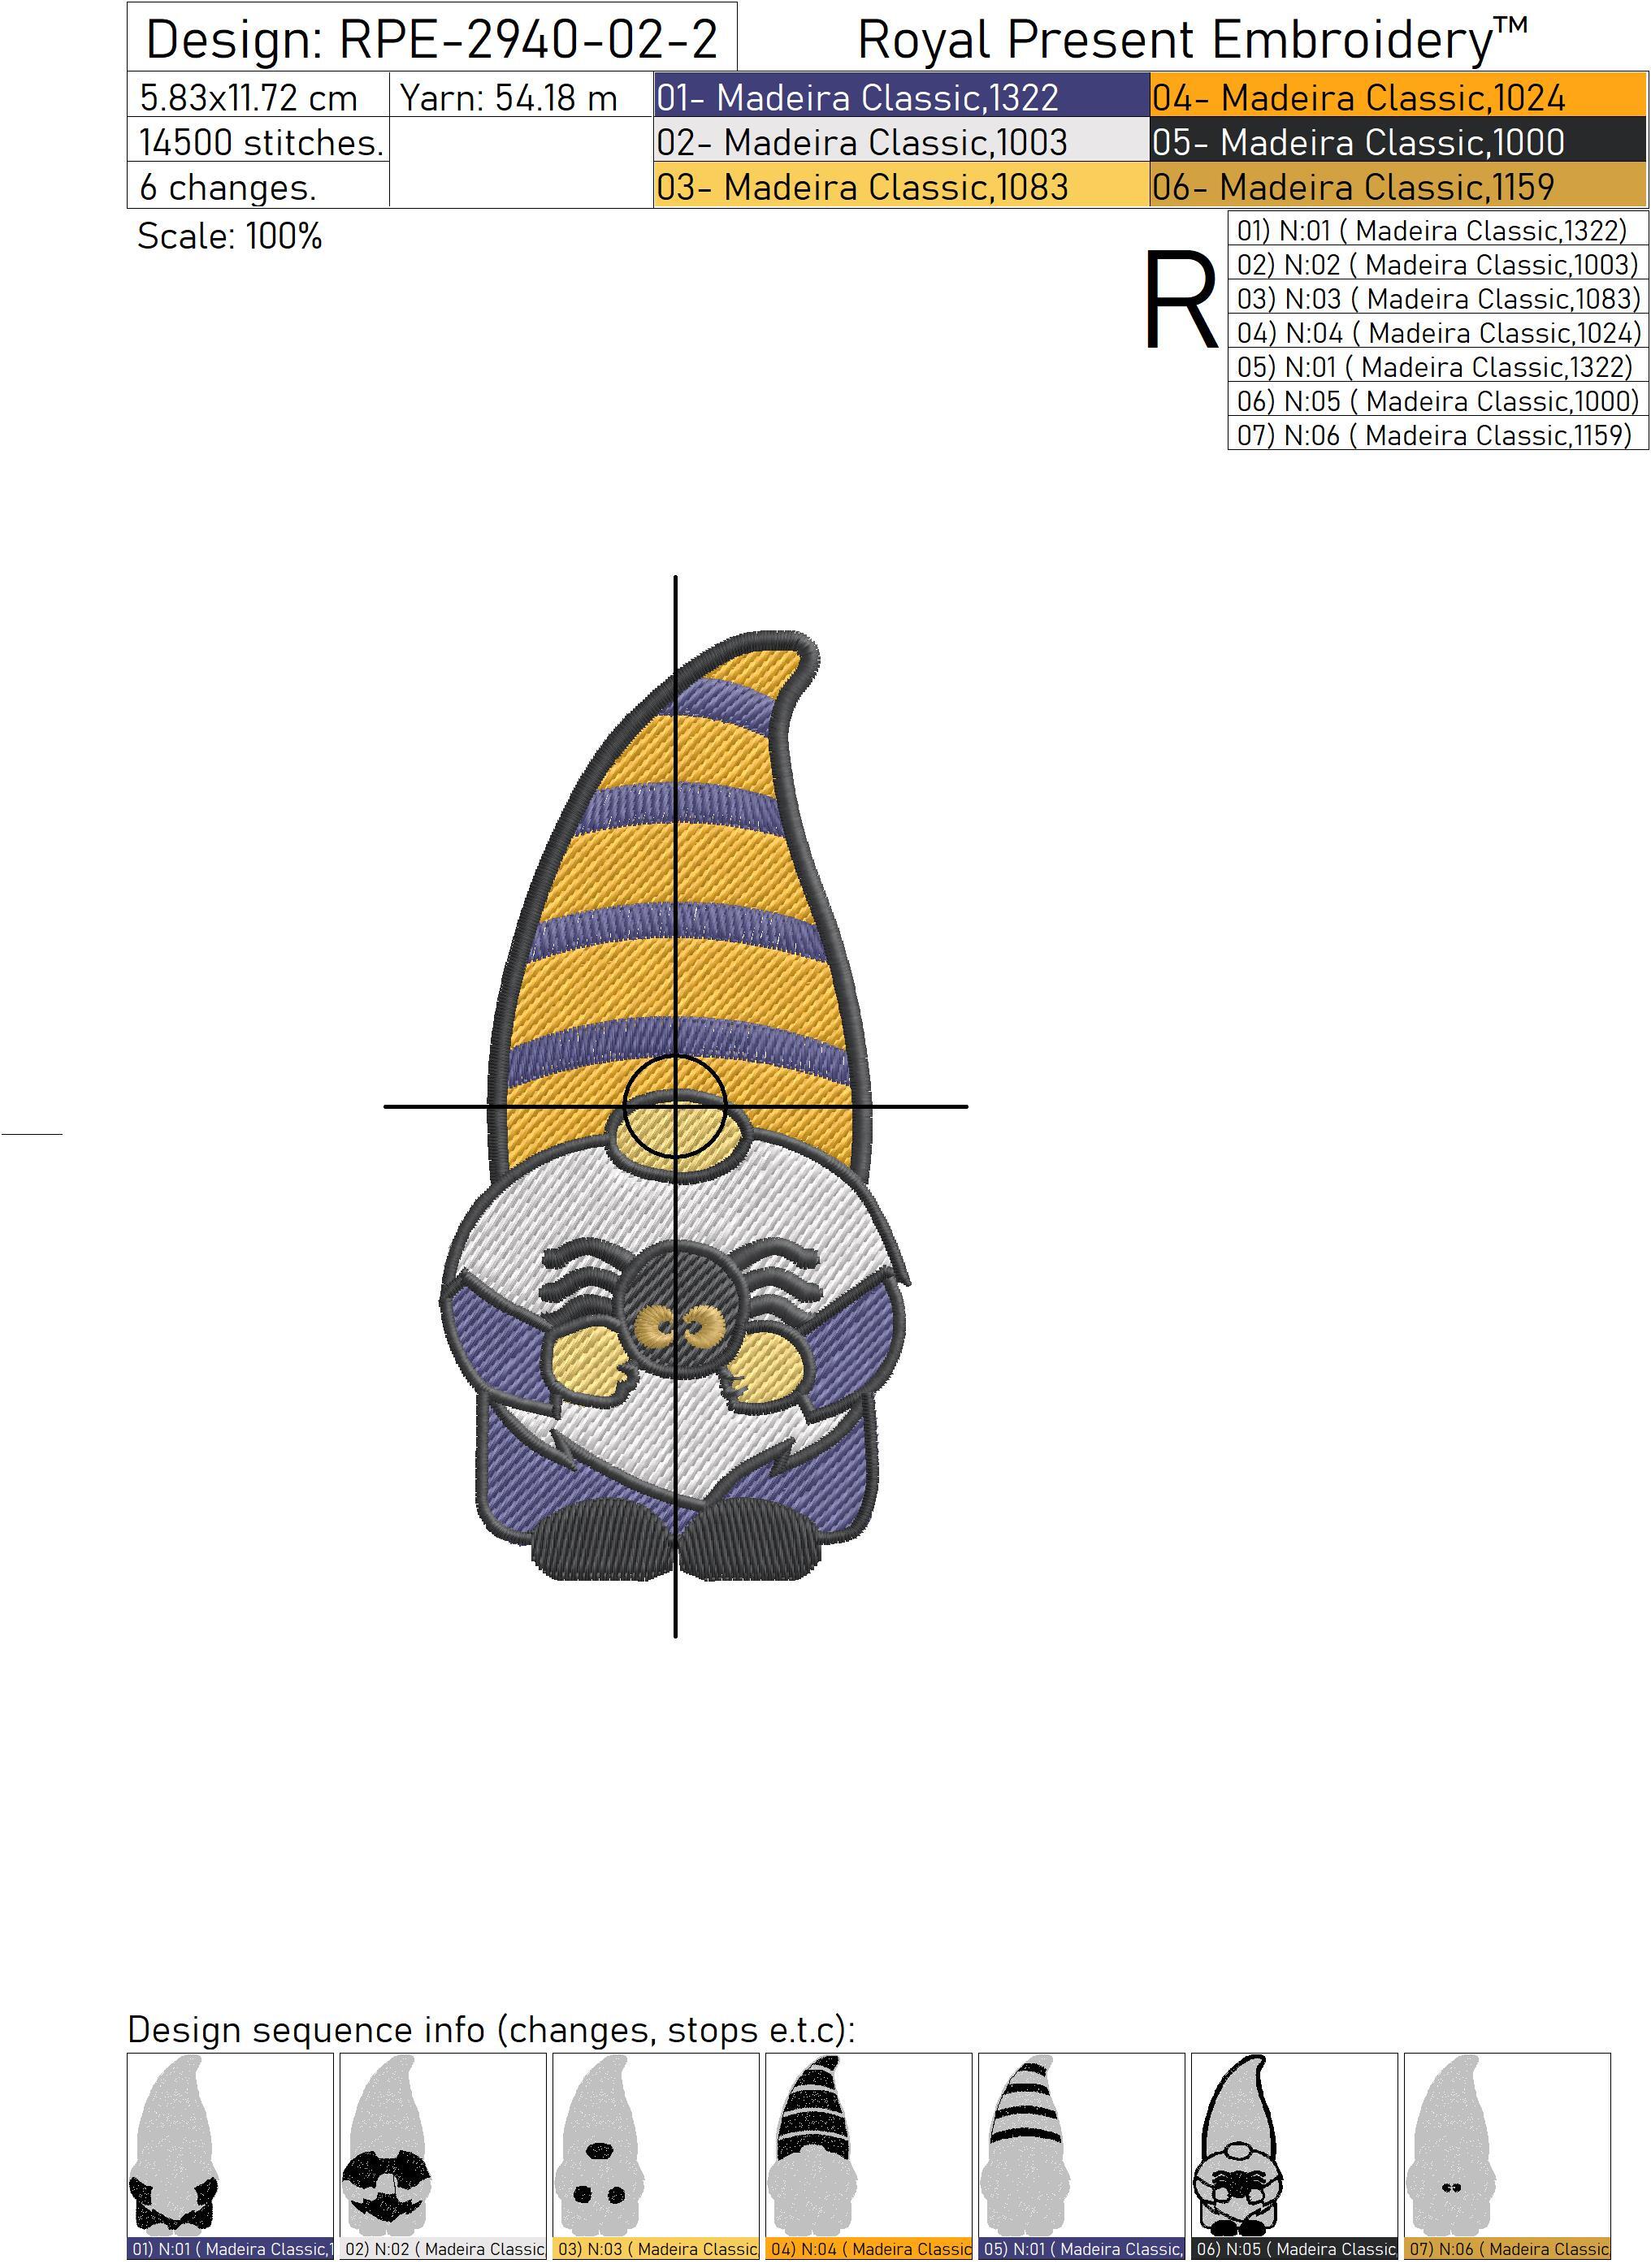
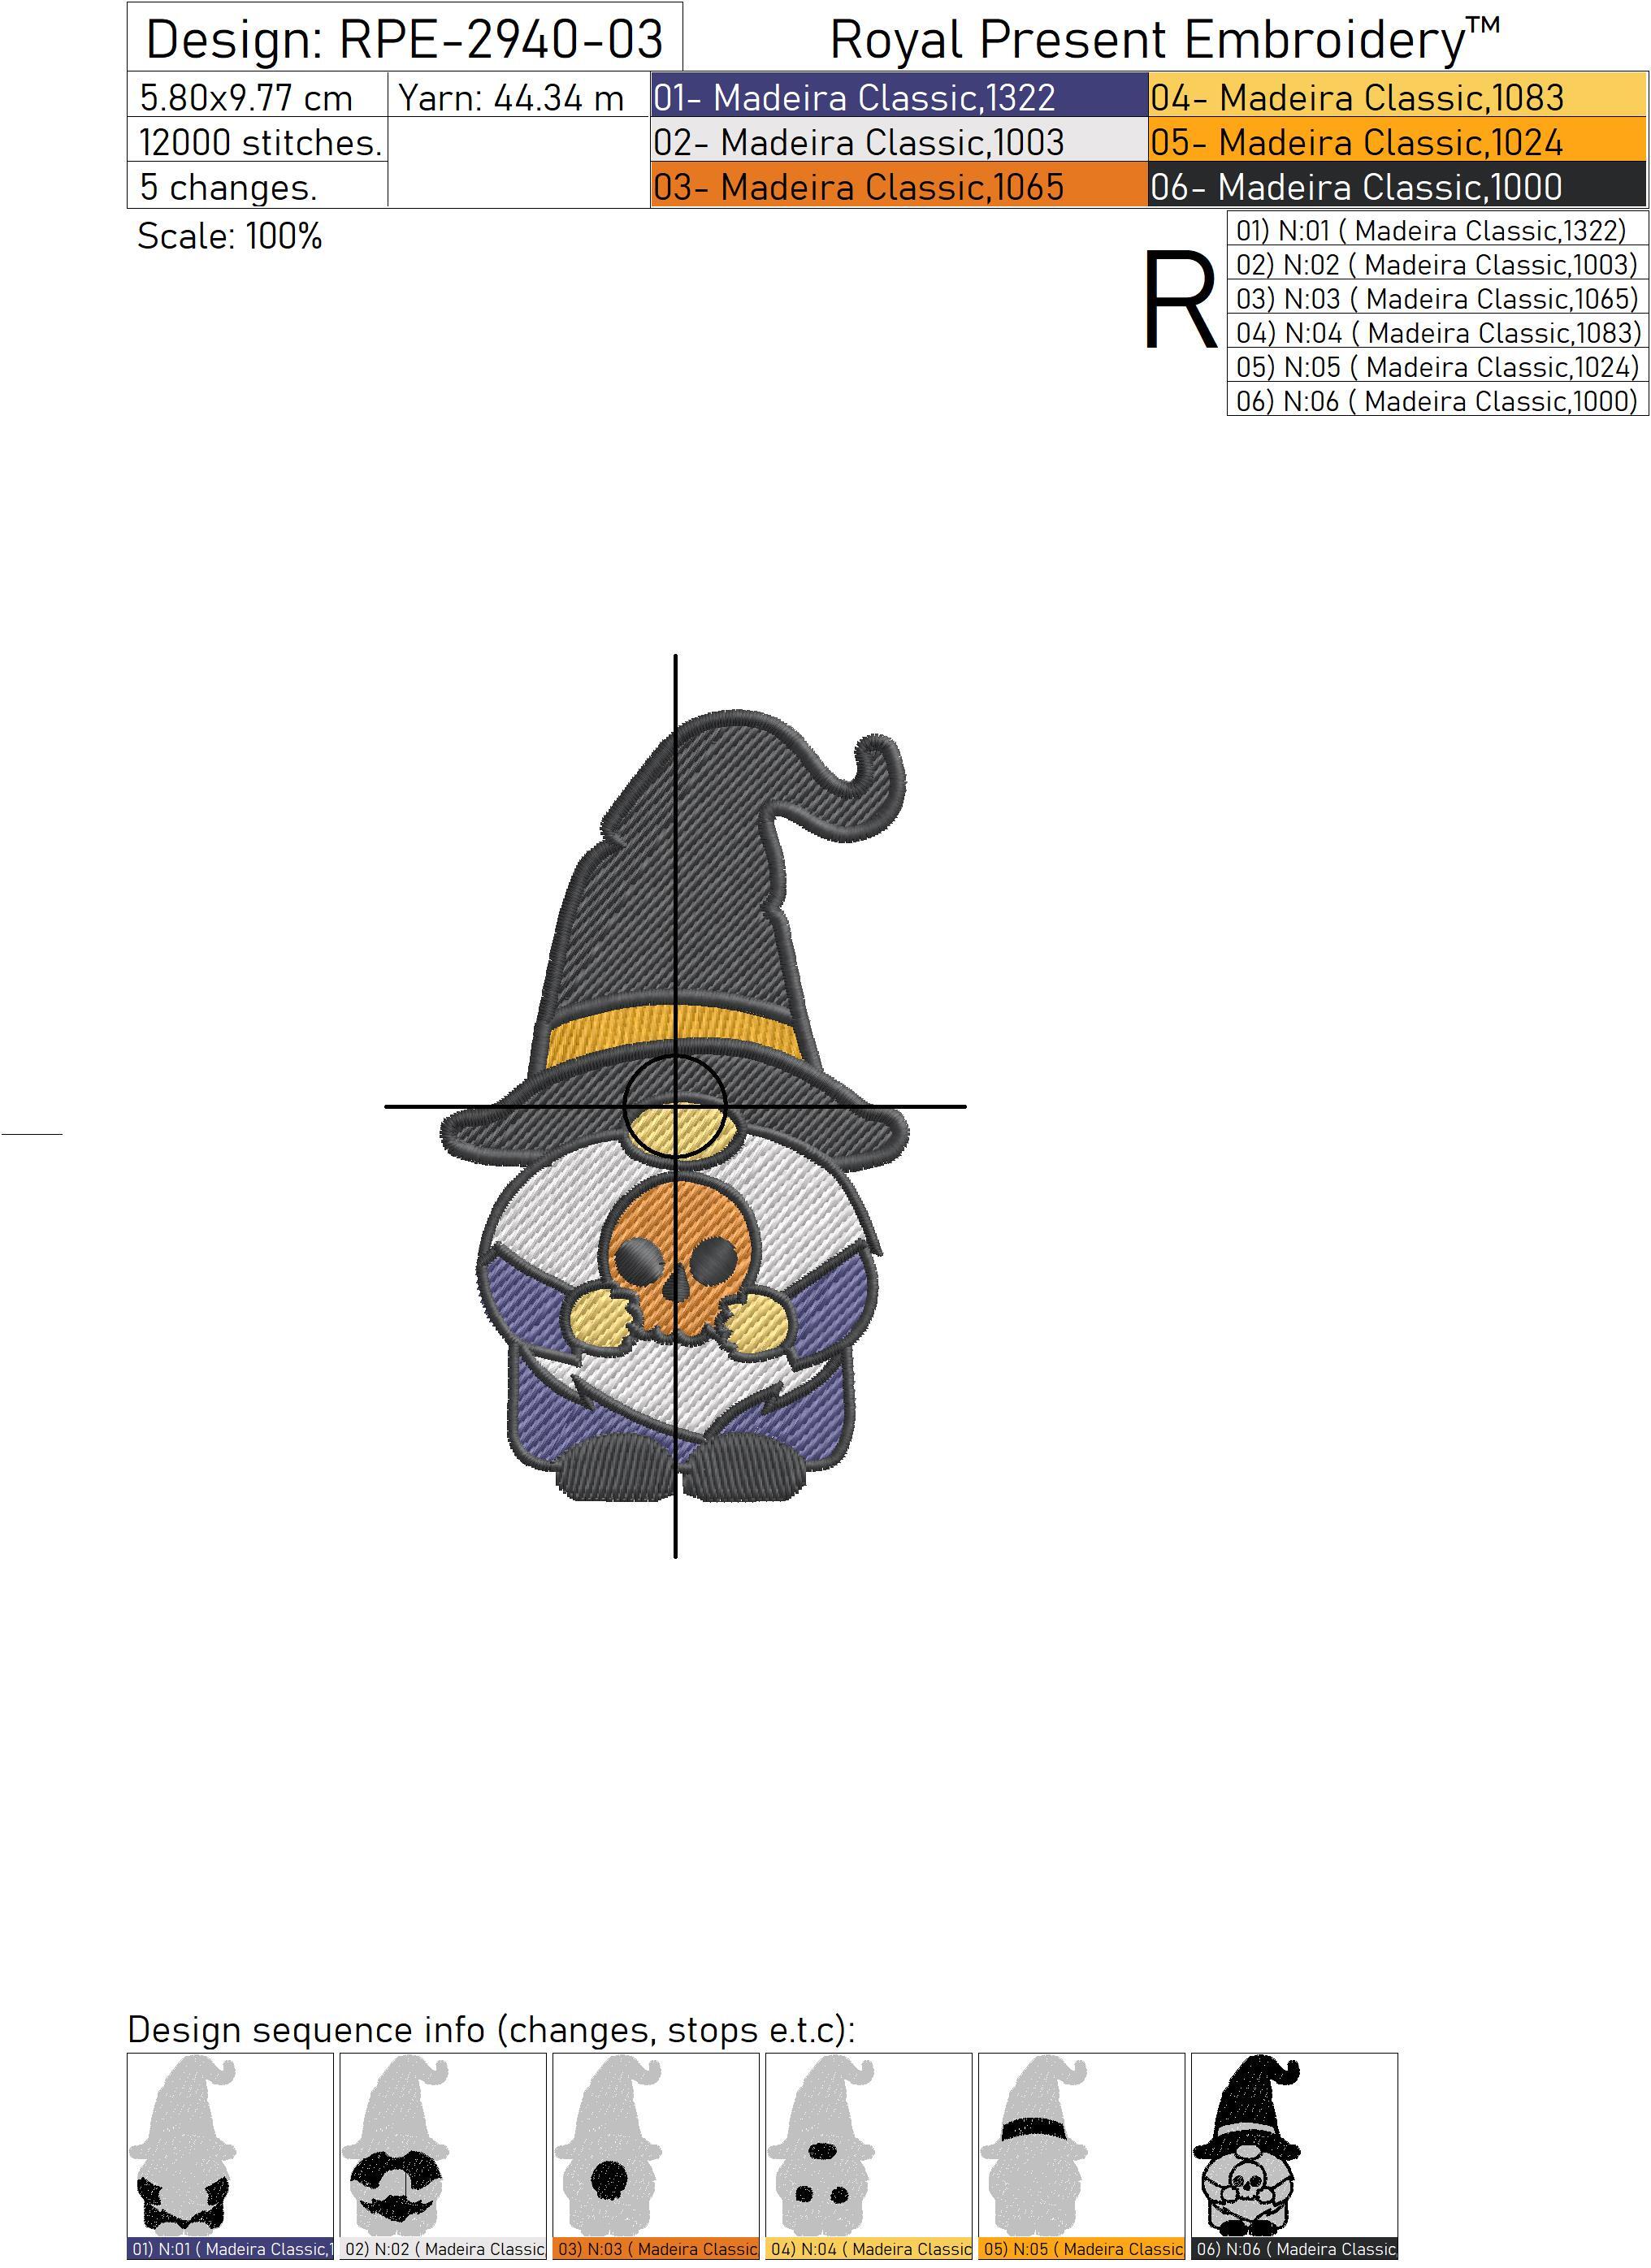
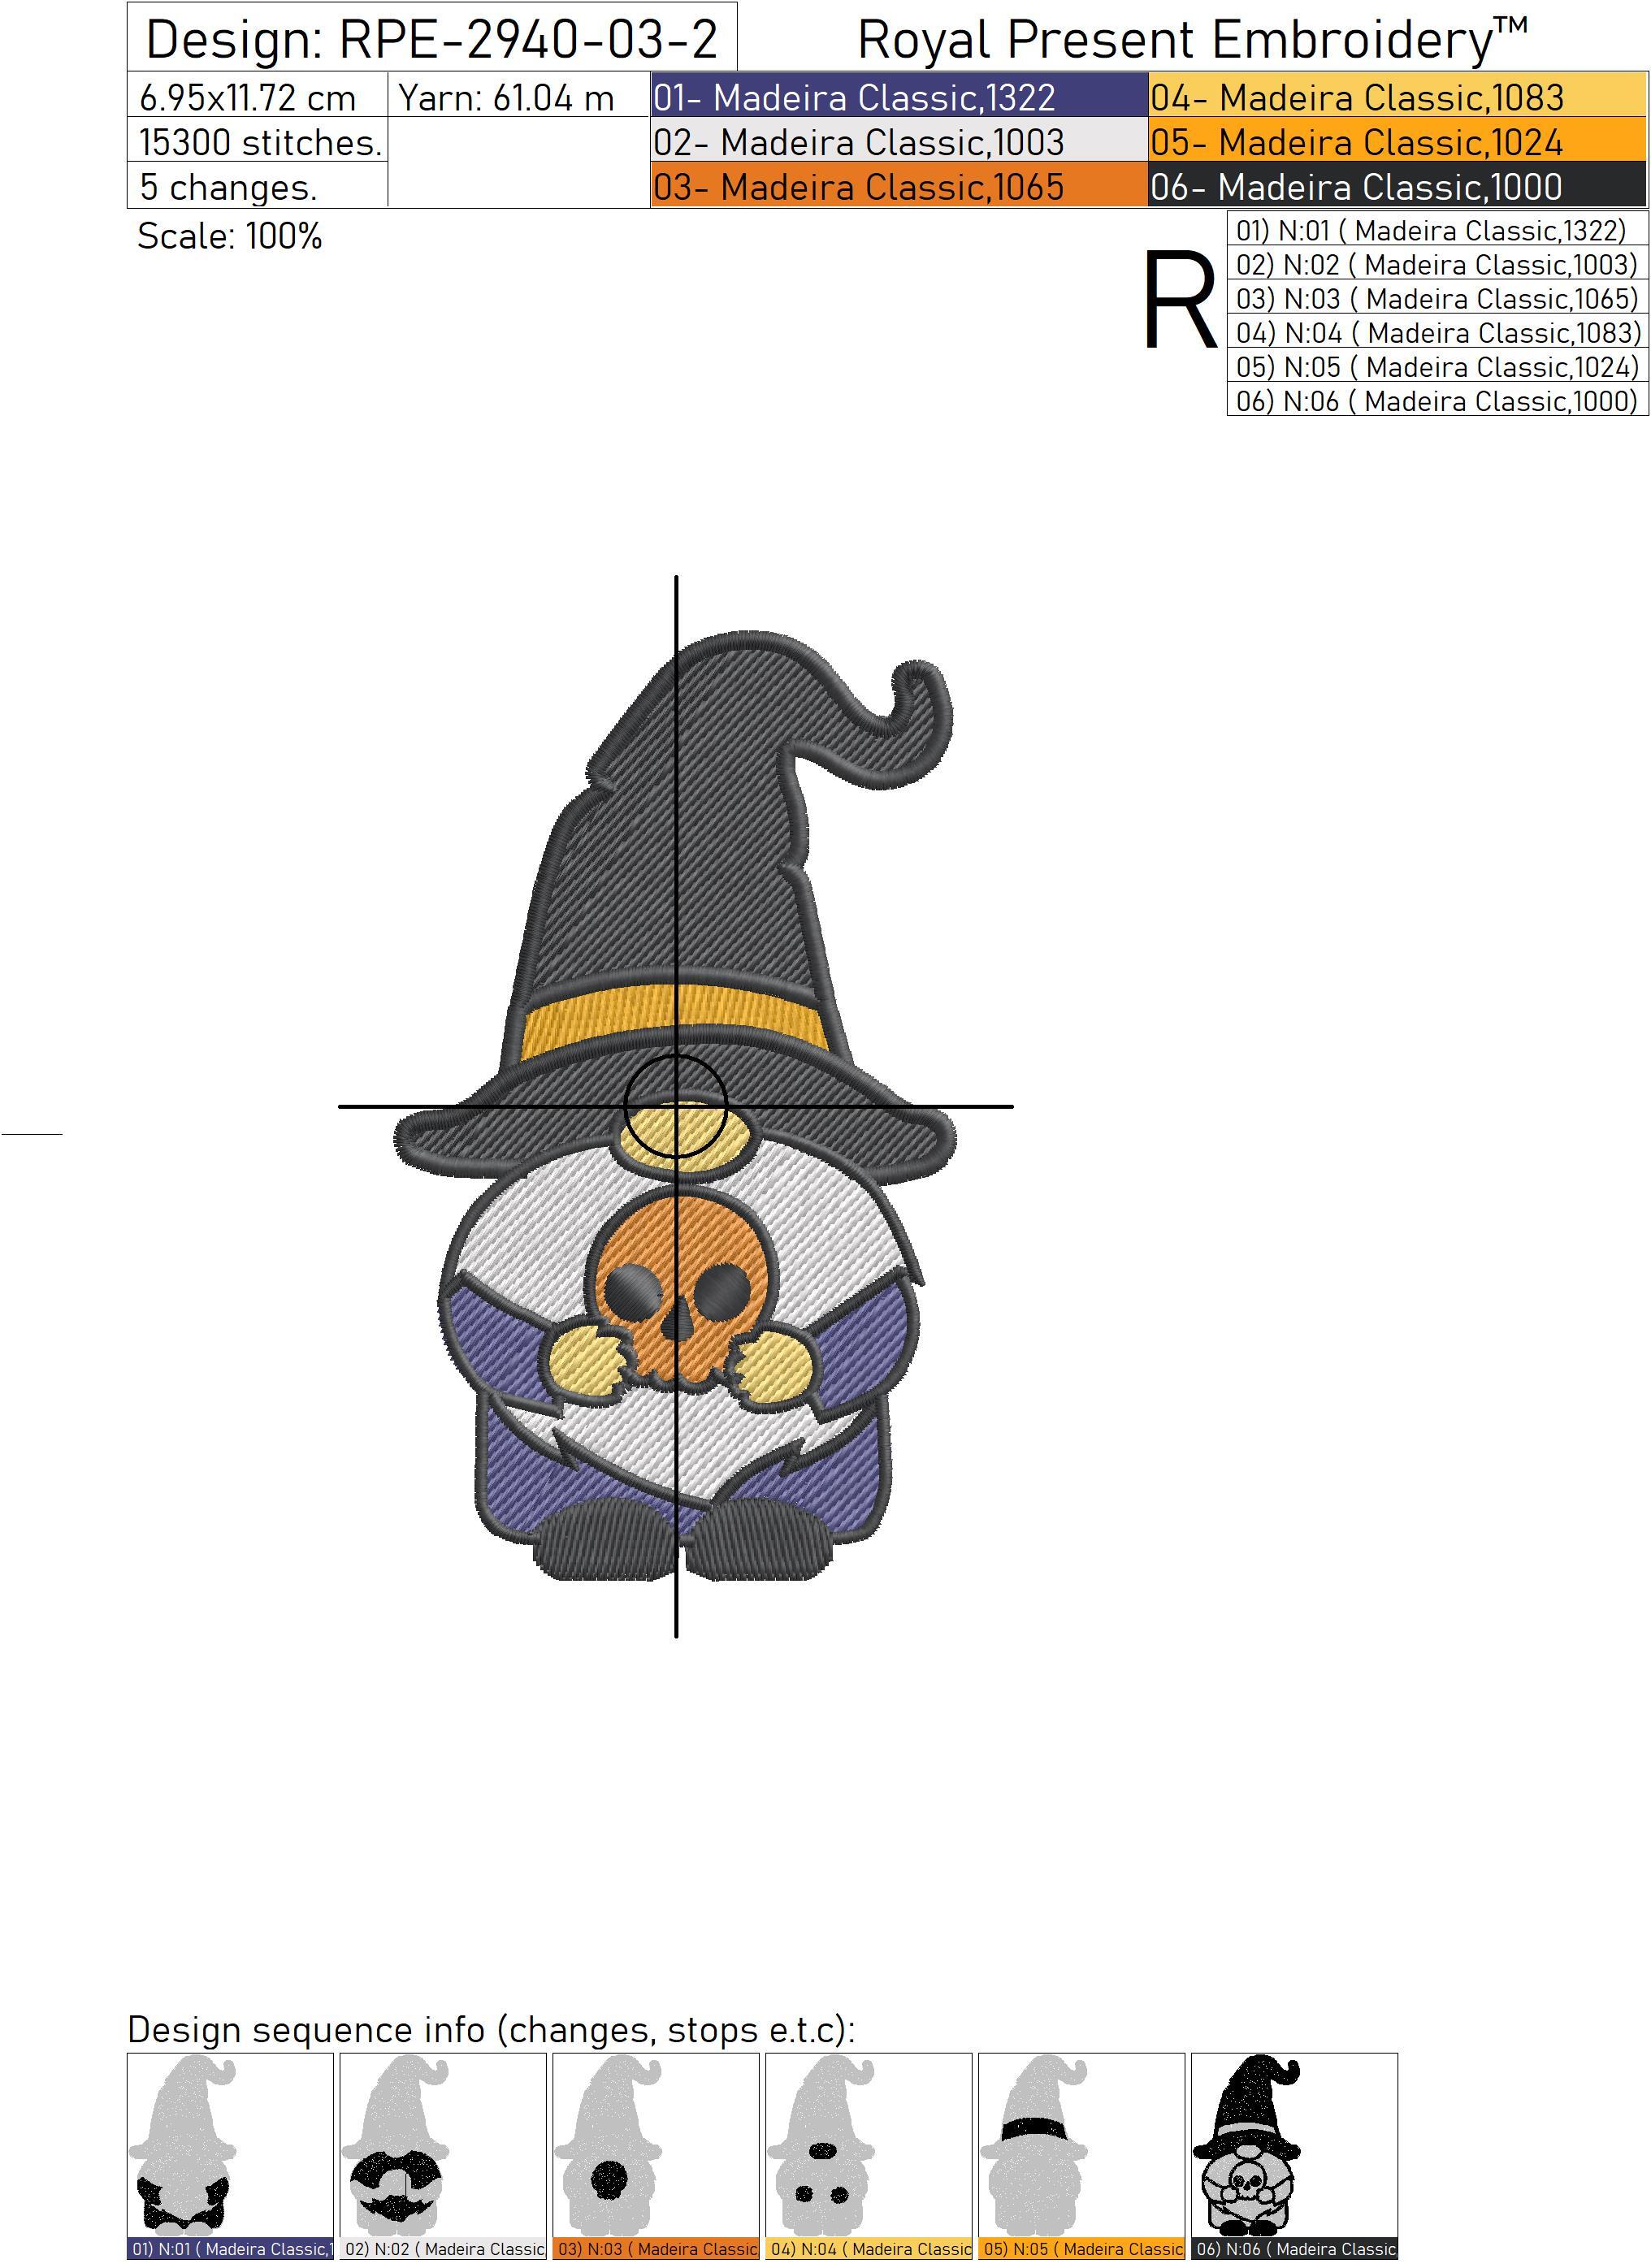
Three Halloween Gnomes Machine Embroidery Design Set contains three separate characters: a gnome with a lollipop, a gnome holding a spider and a witchy gnome with a skull motif. Their coordinated orange, purple, yellow, black and ivory palette makes it easy to create a matching group or use each character on a different project.
Every gnome is supplied in two separately digitized sizes, giving six design variants in each listed machine format. All three small versions fit a true 100x100 mm (4x4") embroidery field. The larger versions are taller than 100 mm and require a 130x180 mm (5x7") field or another compatible hoop.
First Gnome
Size: 47.7x97.4 mm (1.88x3.83 "), Stitches: 13979
Size: 57.3x116.9 mm (2.26x4.60 "), Stitches: 17747
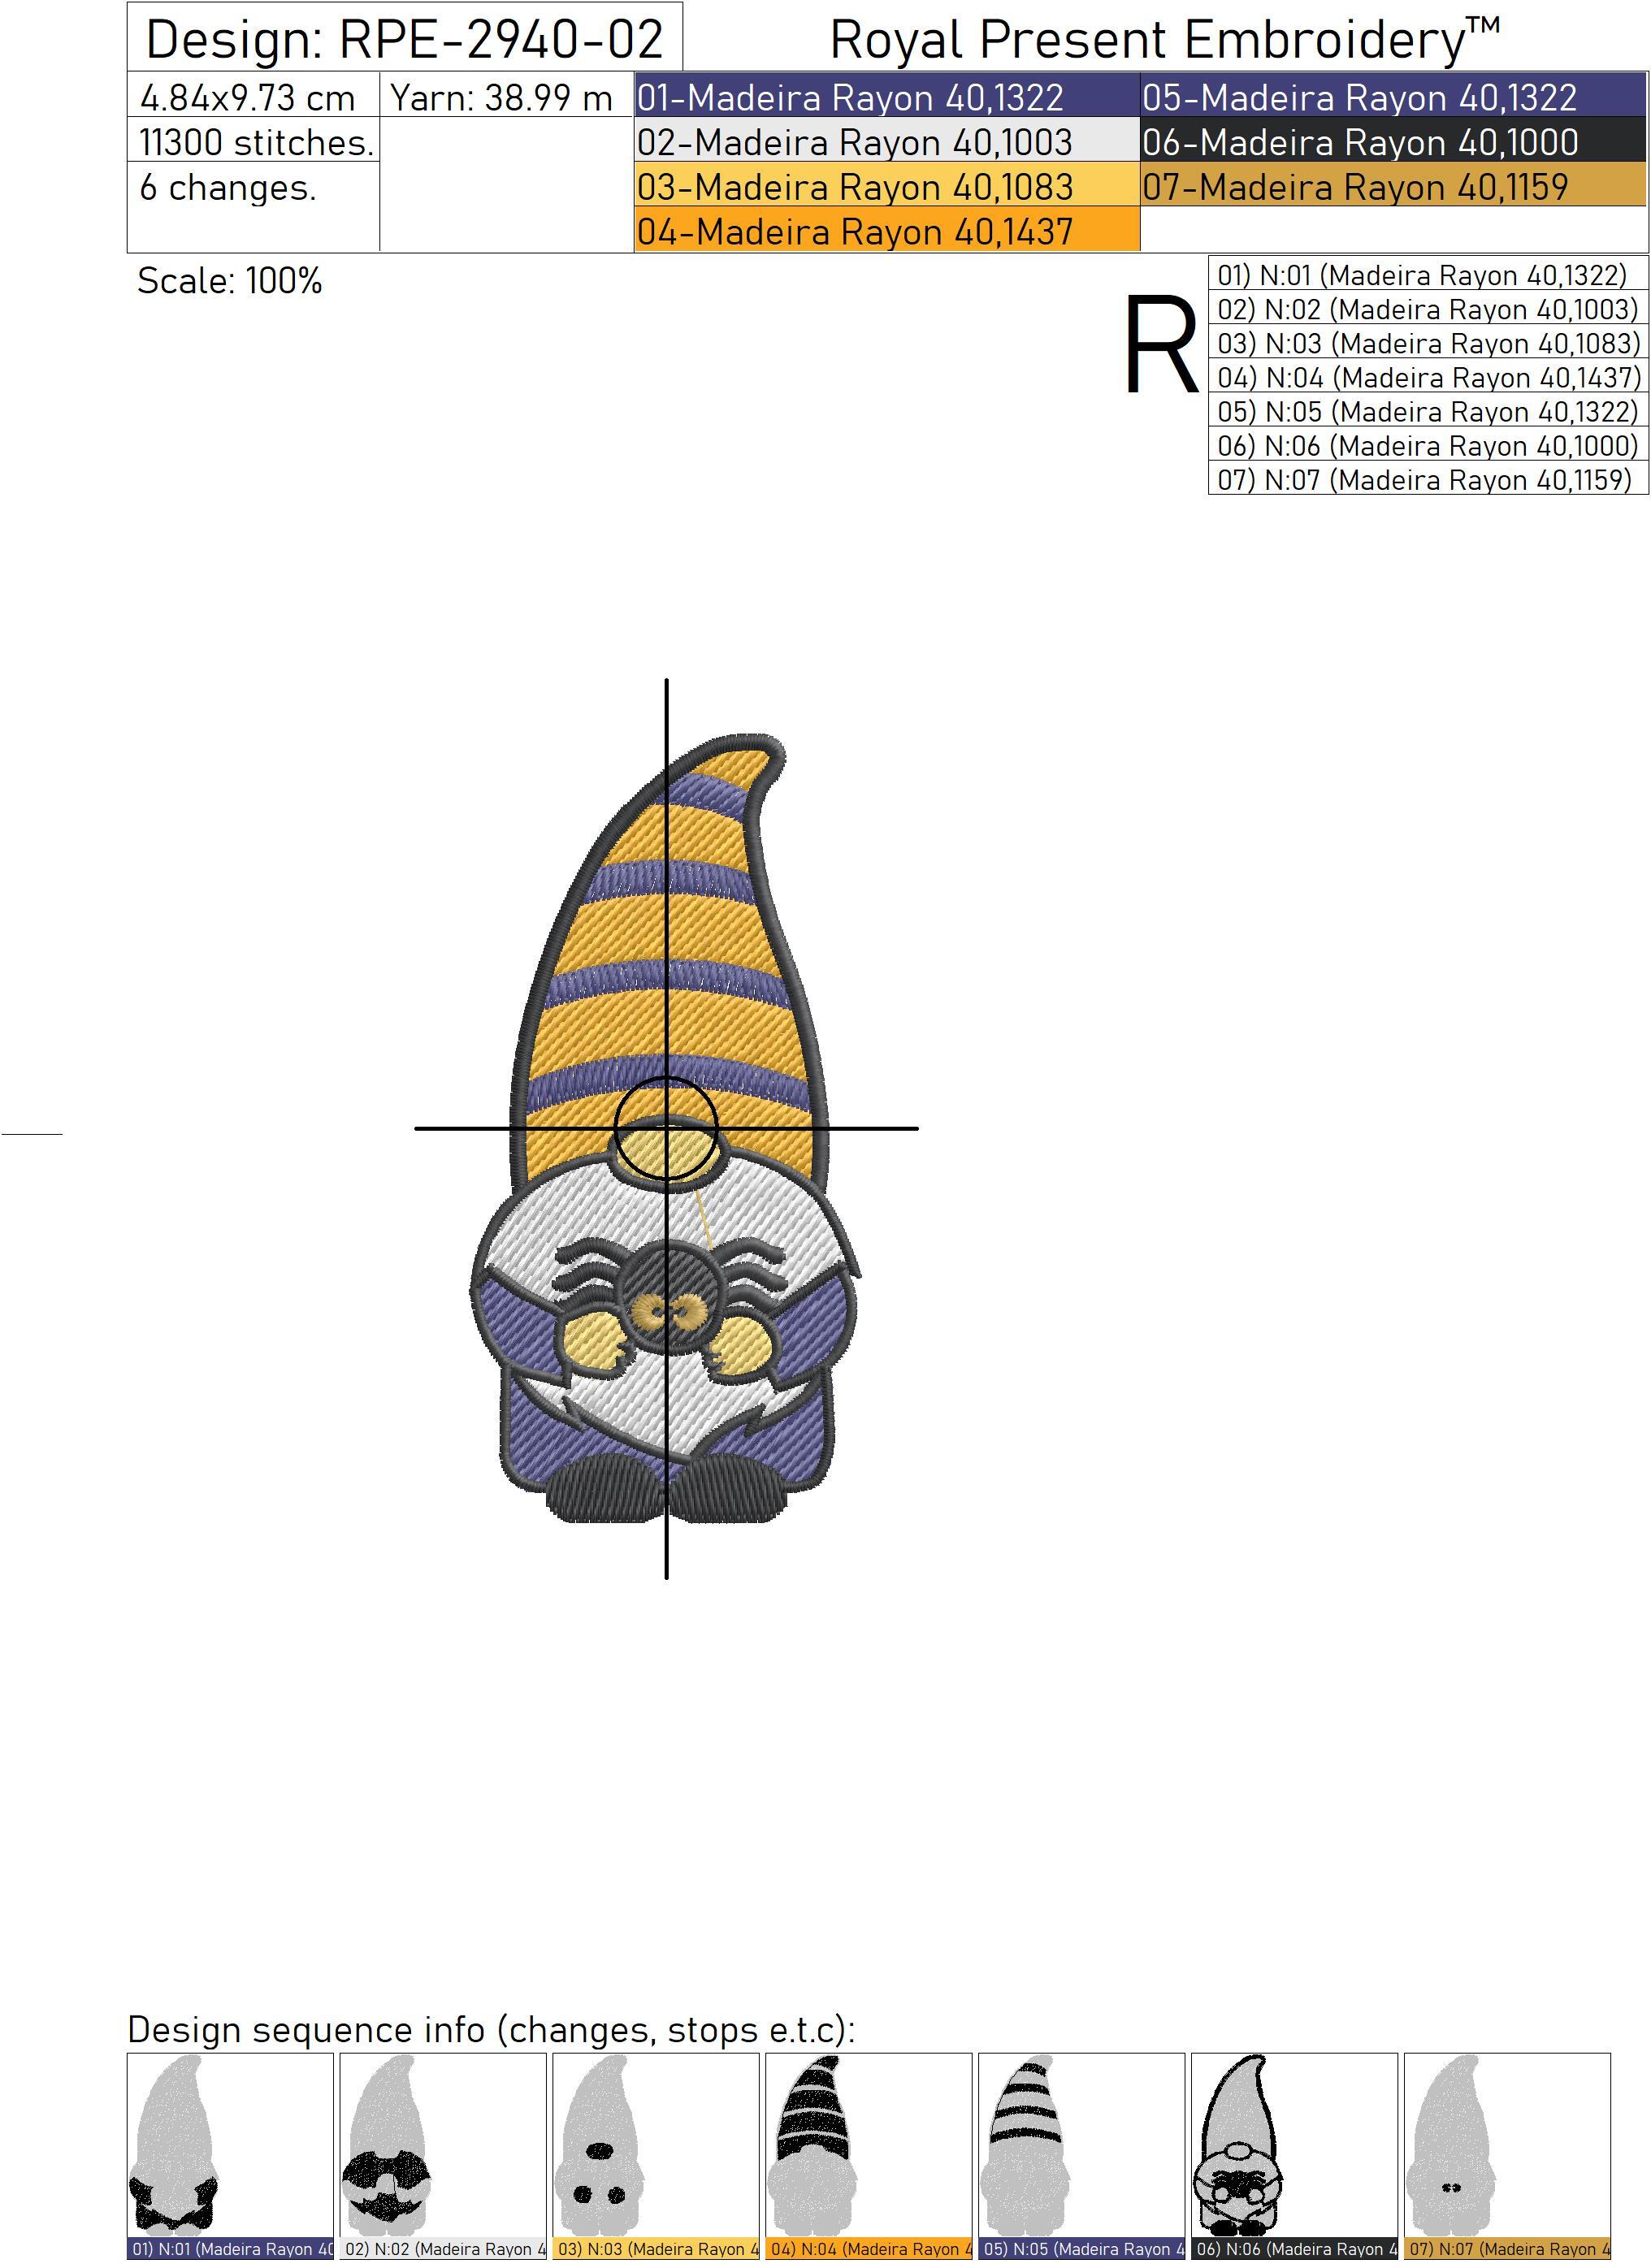
Second Gnome
Size: 49.1x98.3 mm (1.93x3.87 "), Stitches: 12483
Size: 58.8x118.0 mm (2.31x4.65 "), Stitches: 15783
Third Gnome
Size: 47.8x97.5 mm (1.88x3.84 "), Stitches: 14252
Size: 57.3x116.9mm (2.26x4.60 "), Stitches: 17897
Formats: .dst, .jef, .pec, .vip, .hus, .pes, .exp, .sew, .dat, .vp3, xxx
Hoop compatibility
| Files | Suitable embroidery field | Important check |
|---|---|---|
| Three small gnomes | 100x100 mm, 4x4" | The tallest small file is 98.3 mm, leaving very little vertical margin |
| Three large gnomes | 130x180 mm, 5x7" or larger | The files are 116.9–118.0 mm high and cannot be loaded by a true 4x4 machine |
The small designs fit 4x4 by less than 2 mm vertically, so compare the exact file dimensions with the machine’s real stitching field rather than the outside size of the plastic frame. The guide to hoop sizes and actual embroidery fields explains why those measurements are not always identical.
Thread plan for clear Halloween details
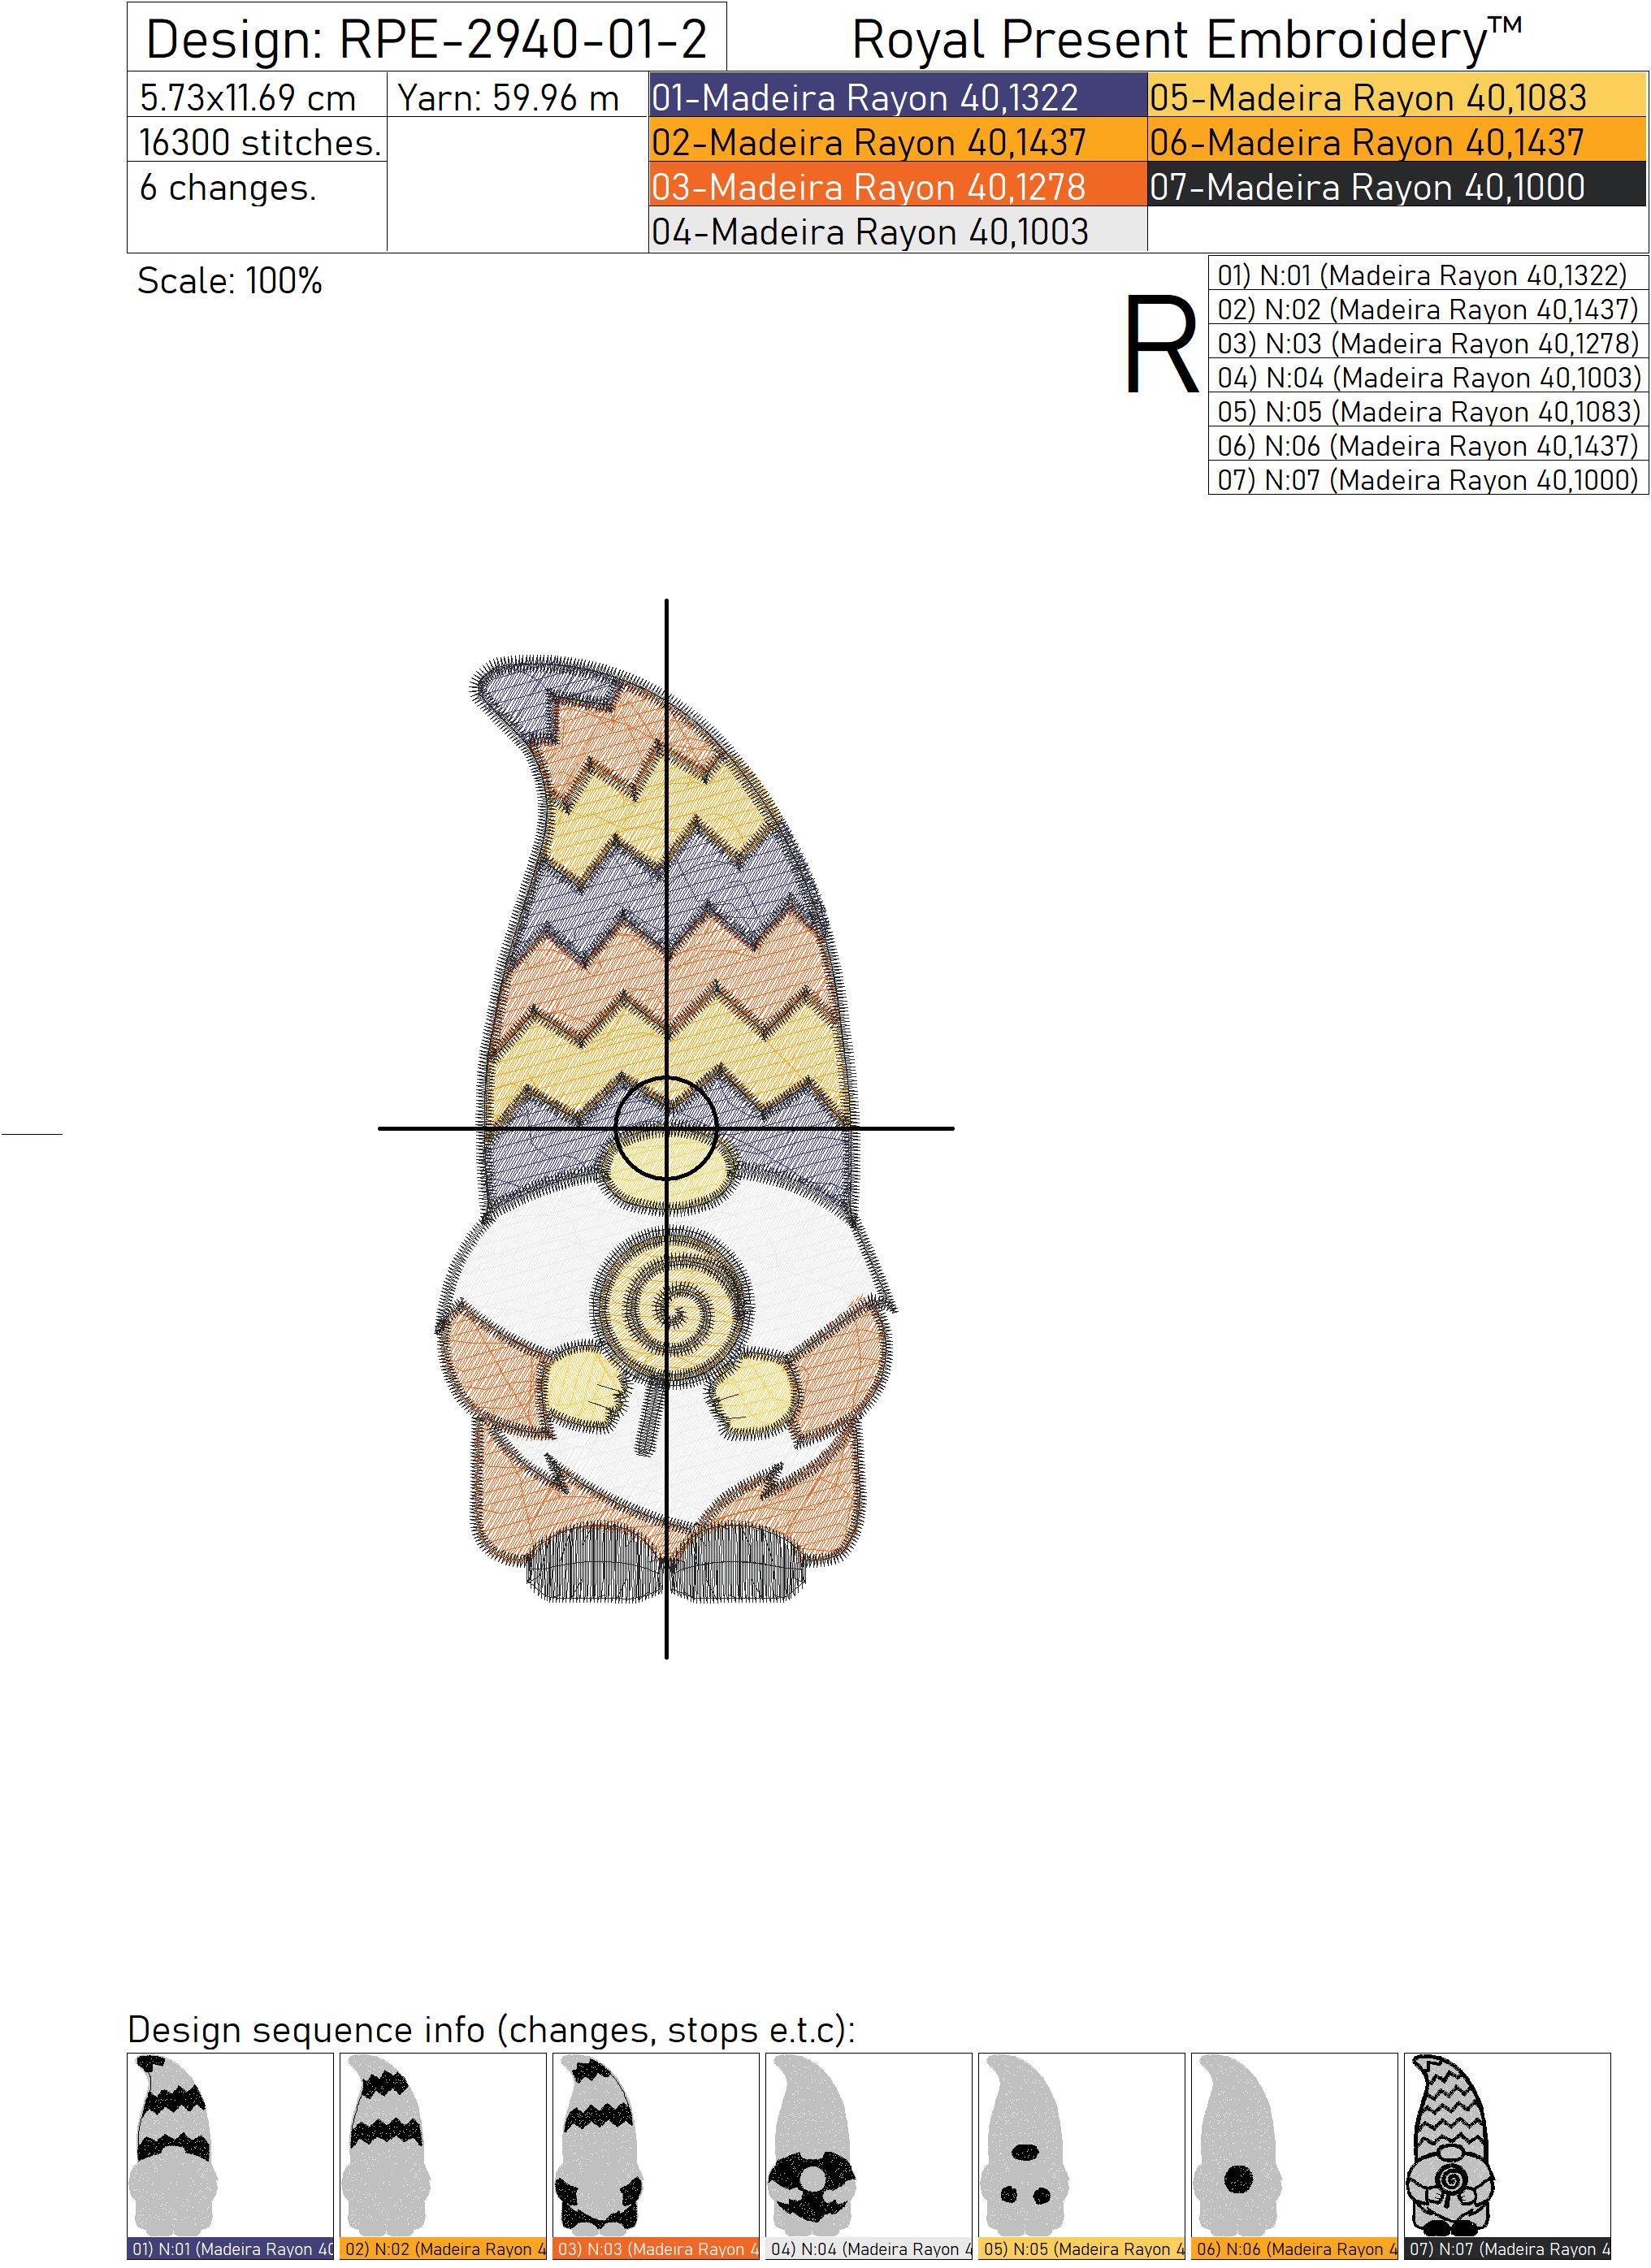
Use quality 40-weight machine embroidery thread for the main design. The squares below show the visible color families and their functions; follow the color-change chart supplied for the selected file for the programmed order and exact thread numbers.
| Color | Use in the designs | Contrast note |
|---|---|---|
| ivory beard, shirt and skull details | use a clean opaque white or warm ivory on dark fabric | |
| hat, shoes and dark outlines | change to charcoal on black fabric so the silhouette remains visible | |
| pumpkin-orange clothing and hat accents | keep clearly separated from yellow and skin tones | |
| purple hat and clothing sections | use a saturated mid-to-dark purple | |
| yellow stripes, zigzags and skull accents | avoid a very pale yellow beside ivory | |
| gray shadows and hat sections | choose a cool gray that remains distinct from black | |
| blue stripes and clothing accents | a medium blue reads better than navy beside black | |
| nose and skin | test against the fabric before committing to the finished item | |
| brown shading and small accessory details | do not let brown collapse into black outlines | |
| candy and small bright accents | a clear red or berry tone adds a controlled focal point |
- Guest towels, children’s clothing and treat bags: 40-weight embroidery polyester is the practical choice because it tolerates frequent washing and abrasion.
- Decorative cushions and framed panels: 40-weight rayon gives the beards and satin details a softer sheen.
- Bobbin: use the fine embroidery bobbin thread recommended for the machine, commonly No. 60–90, and check that black upper thread is not being pulled visibly to the reverse.
- Special effect: glow-in-the-dark thread can replace one light skull or spider accent after a test stitch. Do not replace every beard block automatically because specialty thread may cover differently.
If another thread brand is being substituted, compare the physical shade cards and use the Madeira thread converter after checking the numbers in the supplied color chart. Do not use automatic color sorting: repeated shades can be separate technical blocks that secure later details and outlines.
Fabric, stabilizer and needle
| Material | Stabilizer | Needle | Key technique |
|---|---|---|---|
| T-shirt or jersey | Medium-weight cut-away or no-show mesh | Jersey/Ballpoint 75/11 | Hoop without stretching and leave support beneath the entire gnome |
| Sweatshirt, hoodie or fleece | Medium-weight cut-away; add thin water-soluble topping over a raised or brushed surface | Ballpoint 75/11 or 80/12 | Topping controls the surface but does not replace backing underneath |
| Smooth cotton, linen or flat-weave towel | Medium-weight tear-away; use cut-away for a thin or loose weave | Embroidery 75/11 | Prewash fabric that may shrink and hoop it on grain |
| Terry towel | Medium-weight backing underneath plus thin water-soluble film on top | Embroidery 75/11 or 80/12 | The topping keeps the beard, lollipop and spider above the loops |
| Canvas treat bag or backpack pocket | Firm tear-away on stable canvas or medium cut-away on softer fabric | Embroidery 75/11 or 80/12 | Embroider a flat panel before assembling the bag whenever possible |
Fabric stretch determines the stabilizer type, while stitch concentration determines how much support is needed. See the guide to choosing stabilizers for machine embroidery. For knit garments, follow the detailed workflow for machine embroidery on T-shirts.
Tips for crisp small details
- Test the small file first. Use the same fabric, backing, topping, needle, thread and washing plan as the finished project.
- Use the smallest compatible hoop. These are narrow, vertical designs; reducing unsupported fabric helps the final outlines stay aligned.
- Place with a printed template. Mark the vertical center and the intended floor line so three towels or shirts look like a deliberate set.
- Do not stretch knit fabric. Jersey that is stretched during hooping contracts afterward and can pull the beard and face details out of registration.
- Slow the machine to approximately 500–650 stitches per minute around the lollipop, spider, skull and final dark outlines if thread begins to shred or the fabric moves.
- Keep the original color-block order. Combining repeated colors may place an outline or highlight before the section it is meant to cover.
- Build a trio from one baseline. When all three gnomes share one panel, align their feet rather than their design centers and leave about 20–30 mm between the outermost stitches.
If the fabric begins to ripple, review hooping tension, backing strength and stitch concentration using the guide to balancing stitch density, fabric and stabilizer.
Halloween project ideas
- three coordinated guest towels, one gnome on each towel;
- matching children’s T-shirts or sweatshirts for trick-or-treating;
- individual candy bags, backpack pockets and zipper pouches;
- a trio of small Halloween cushions or one long lumbar pillow;
- napkins, placemats or a seasonal table runner;
- fabric banners, party garlands and framed textile panels;
- apron pockets and kitchen towels for Halloween baking.
More coordinated characters are collected in the Gnomes Machine Embroidery Designs category.
If another size is required
Use one of the two supplied versions whenever possible. Automatic scaling can change satin-column width, fill density and the alignment of small facial details. For a specific custom dimension, request the professional embroidery design resizing service with stitch recalculation.
Frequently asked questions
How many designs and sizes are included?
The set contains three independent Halloween gnomes. Each character is supplied in two separately digitized sizes, giving six design variants in every listed machine format.
Do all three small gnomes fit a 4x4 hoop?
Yes. The small files measure 47.7x97.4 mm, 49.1x98.3 mm and 47.8x97.5 mm. Because the tallest file is close to the 100 mm limit, confirm the machine’s actual embroidery field before transferring the design.
Can the large files be stitched on a 4x4 machine?
No. Their heights range from 116.9 to 118.0 mm, so they exceed a true 100x100 mm field. Use the supplied small versions or a machine with a larger embroidery field.
Which thread is best for towels and children’s clothing?
Quality 40-weight embroidery polyester is the most practical choice for items that will be washed frequently. Rayon is an attractive alternative for decorative cushions, framed panels and other lower-wear projects.
What stabilizer should be used on a terry towel?
Place a medium-weight supporting stabilizer underneath and a thin water-soluble film on top. The lower layer controls fabric movement; the topping prevents small stitches in the beard, candy, spider and skull from sinking into the loops.
Can these gnomes be stitched on dark fabric?
Yes, but preserve contrast. Use opaque ivory for the beard and skull, replace black sections with charcoal only when the fabric is black, and test the full palette on the project fabric before stitching the finished item.
How should all three gnomes be arranged on one project?
Print templates at 100% scale, establish one common floor line and leave approximately 20–30 mm between the outermost stitches. Support the complete composition with one continuous piece of stabilizer.
Can I automatically change the size in embroidery software?
Minor software scaling is not equivalent to true resizing. These gnomes contain small satin and outline details that can become too dense, too loose or misaligned. Use one of the supplied sizes or request professional stitch recalculation.

 Get Sign-In Link
 Login with Google
 Login with Facebook
 Login with Amazon
 Login with Paypal