Large Christmas Carousel Reindeer
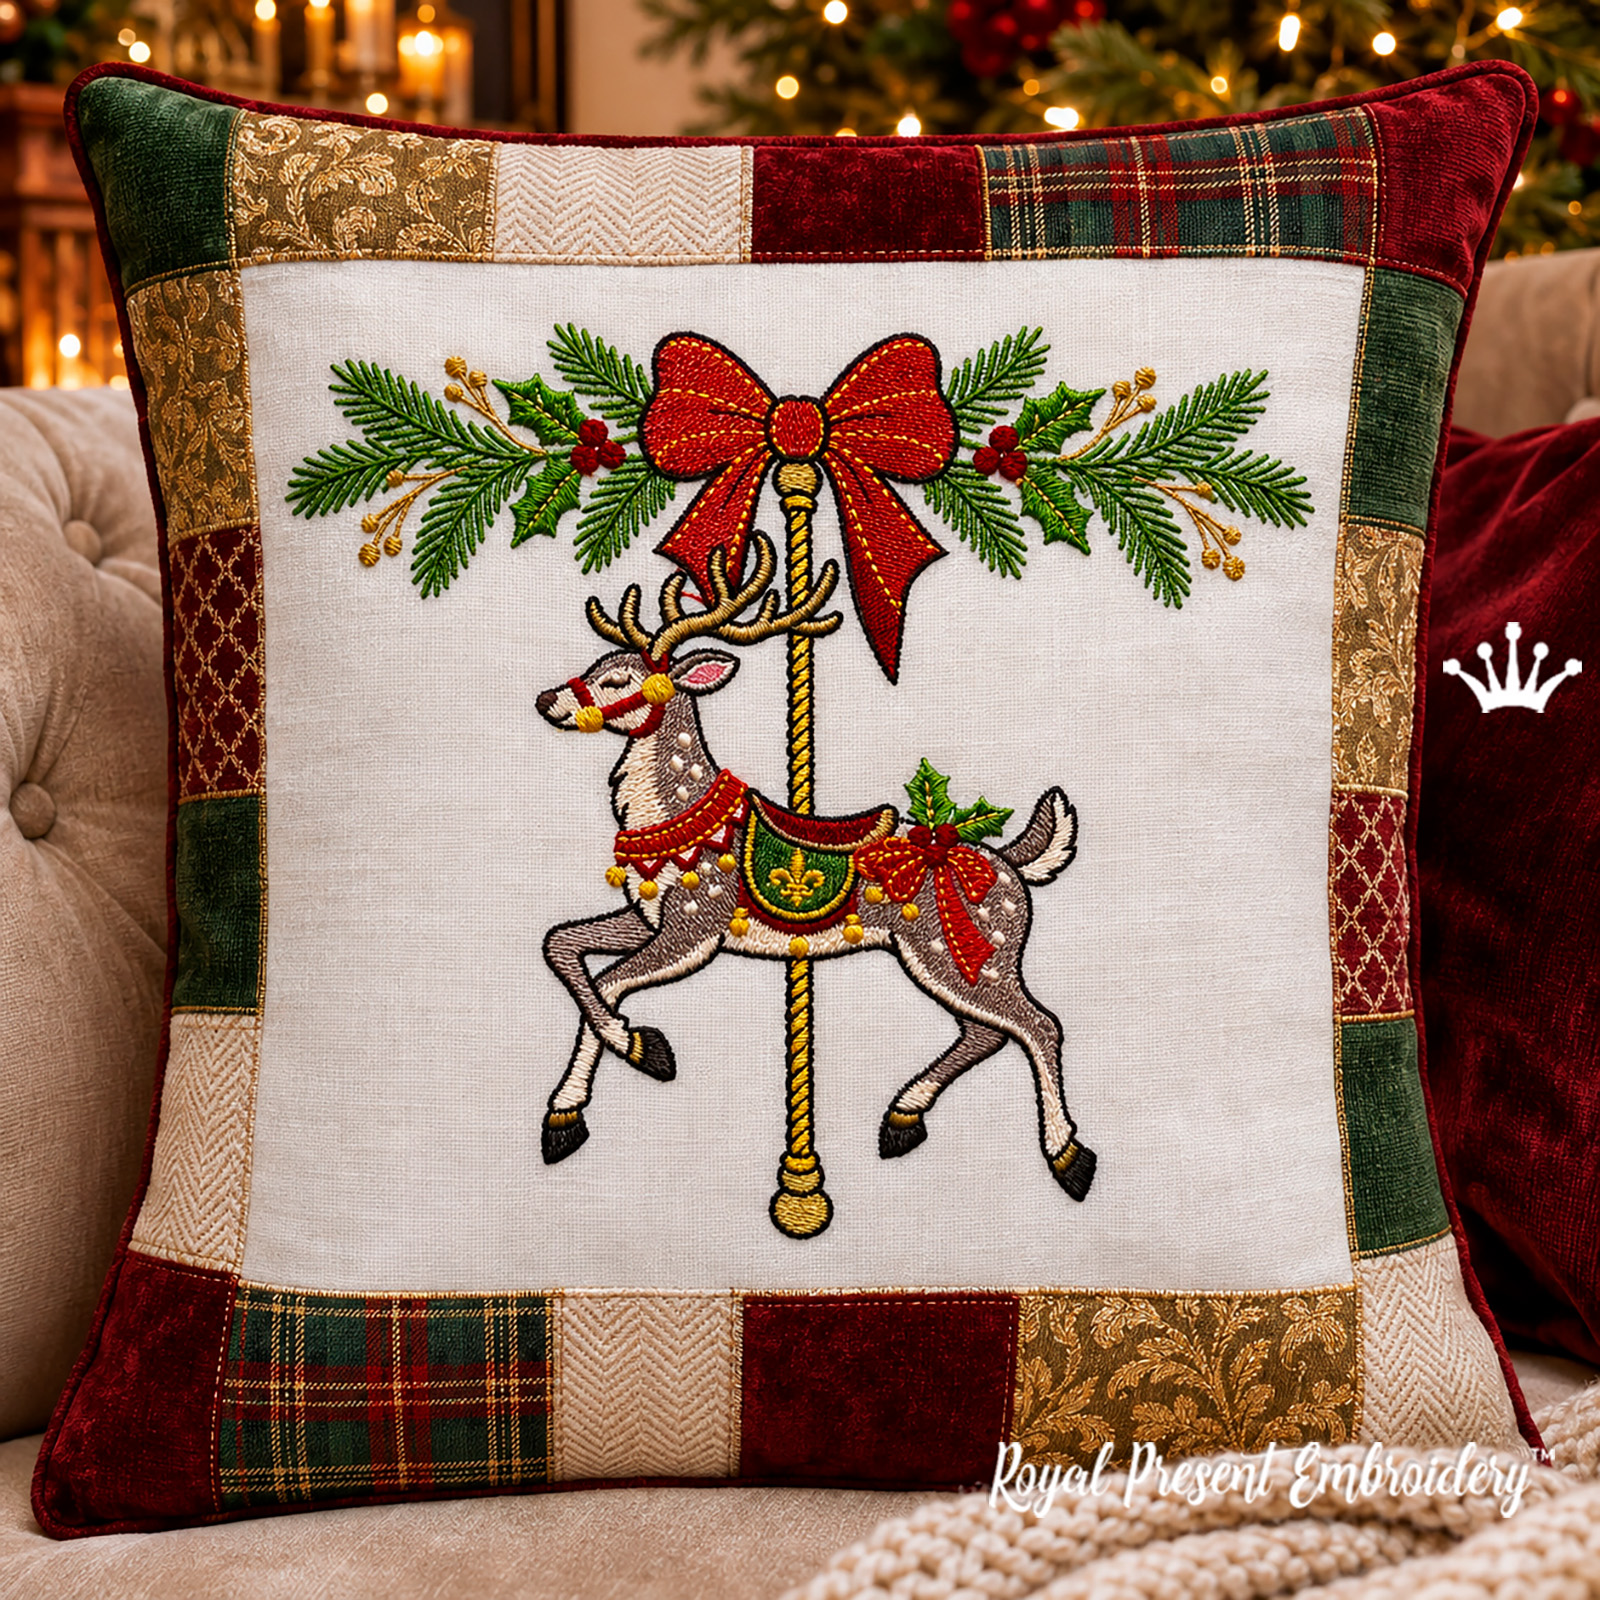
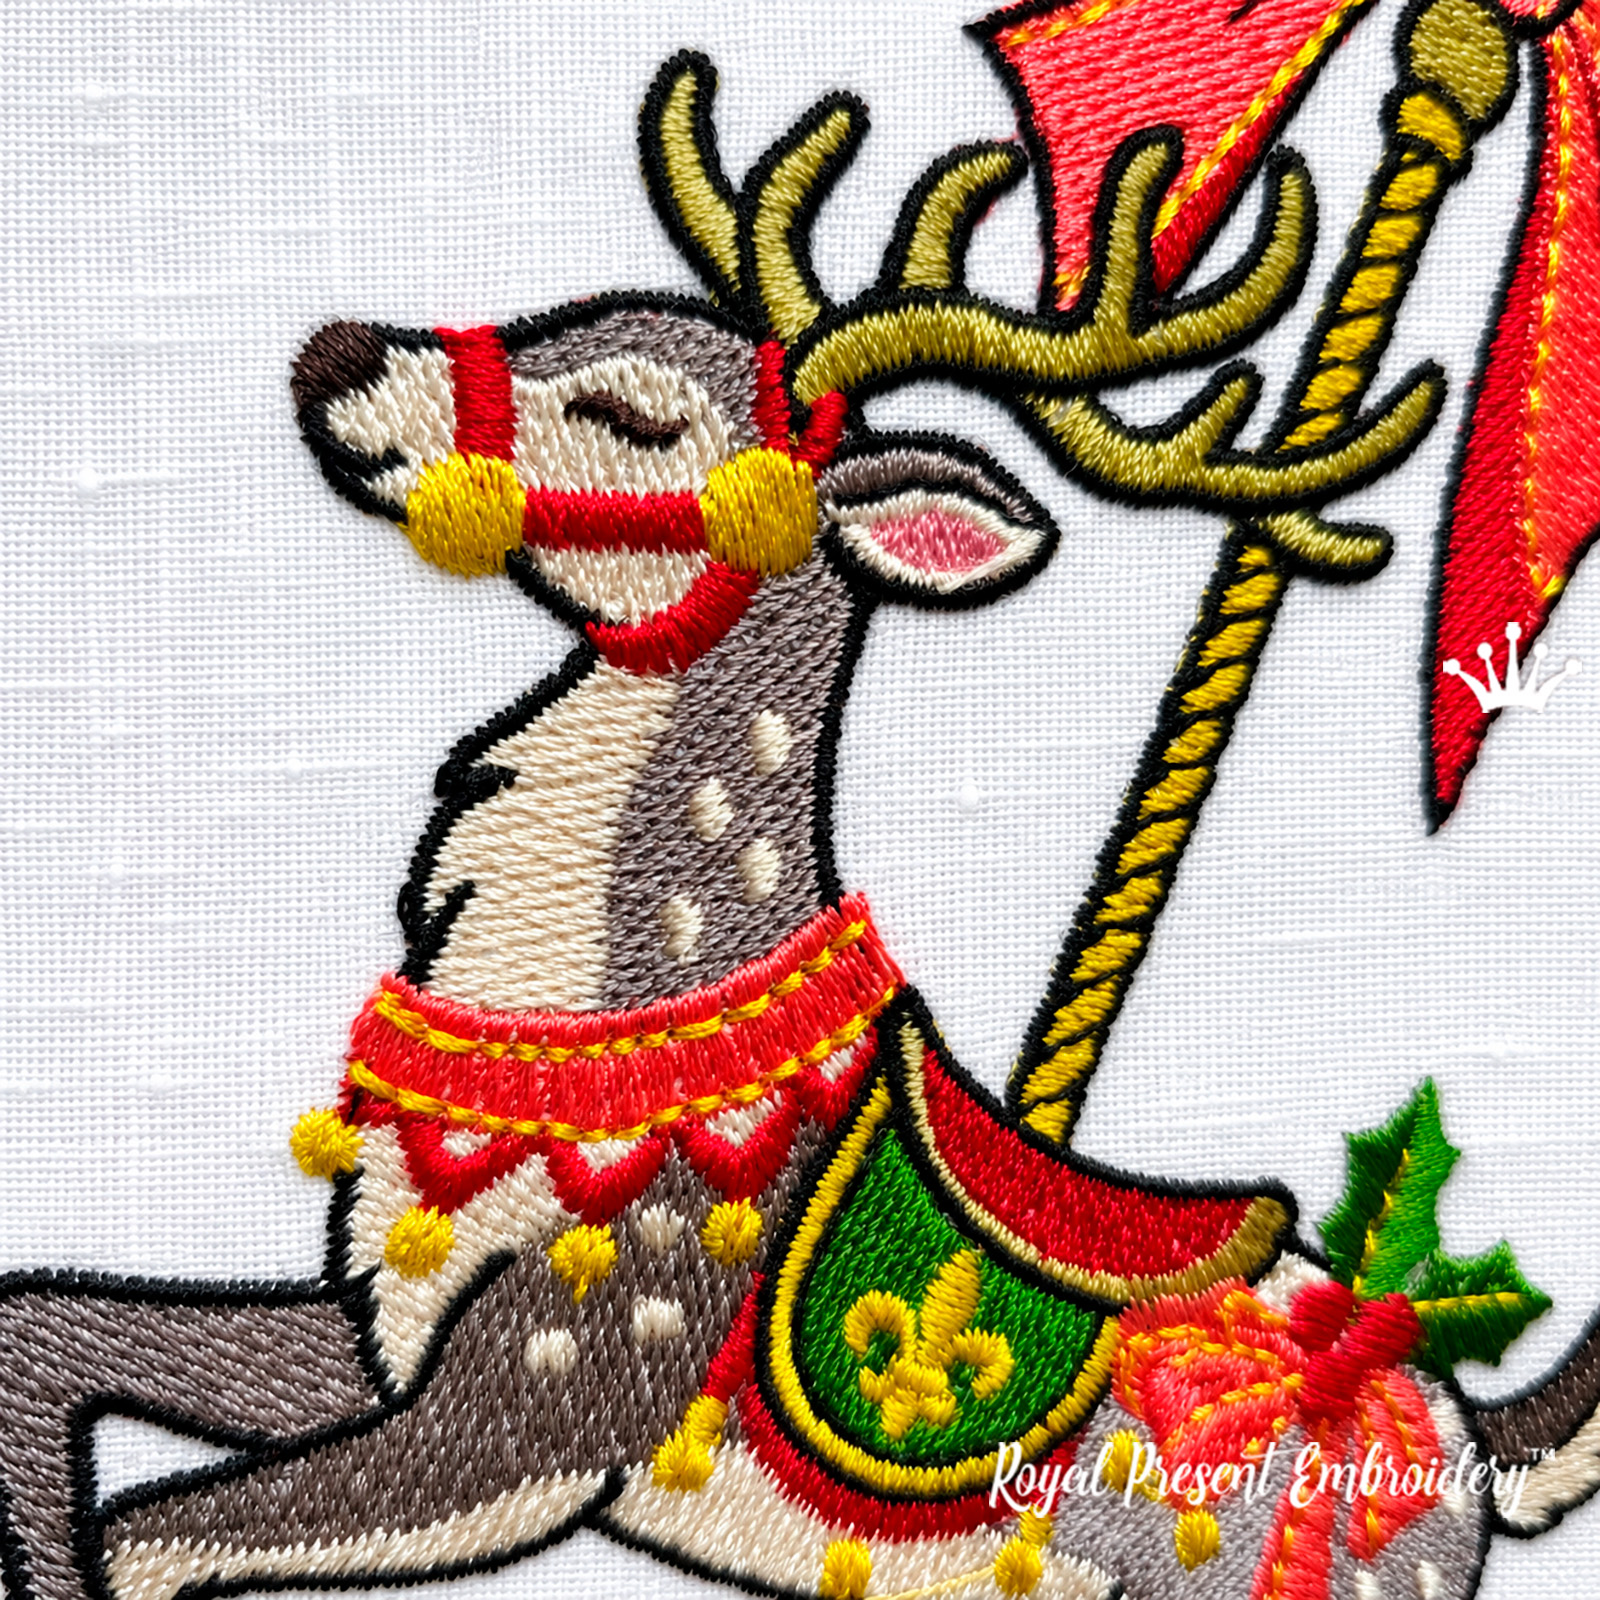
A carousel reindeer in a red harness and green saddle blanket stands beneath a large bow, evergreen branches, holly, and red berries. Its dark outline and twisted, gold-colored pole give the large design the look of a painted carousel figure. Use it as the centerpiece of a Christmas cushion or stitch it on a textile wall hanging.
The project photo shows a light center surrounded by patchwork. The guide below explains how to make a version with a velvet center. The download includes seven sizes of the embroidery motif only; the patchwork border, sewing pattern, fabric, and finished cushion are not included.
Design sizes and hoop requirements
Size 1
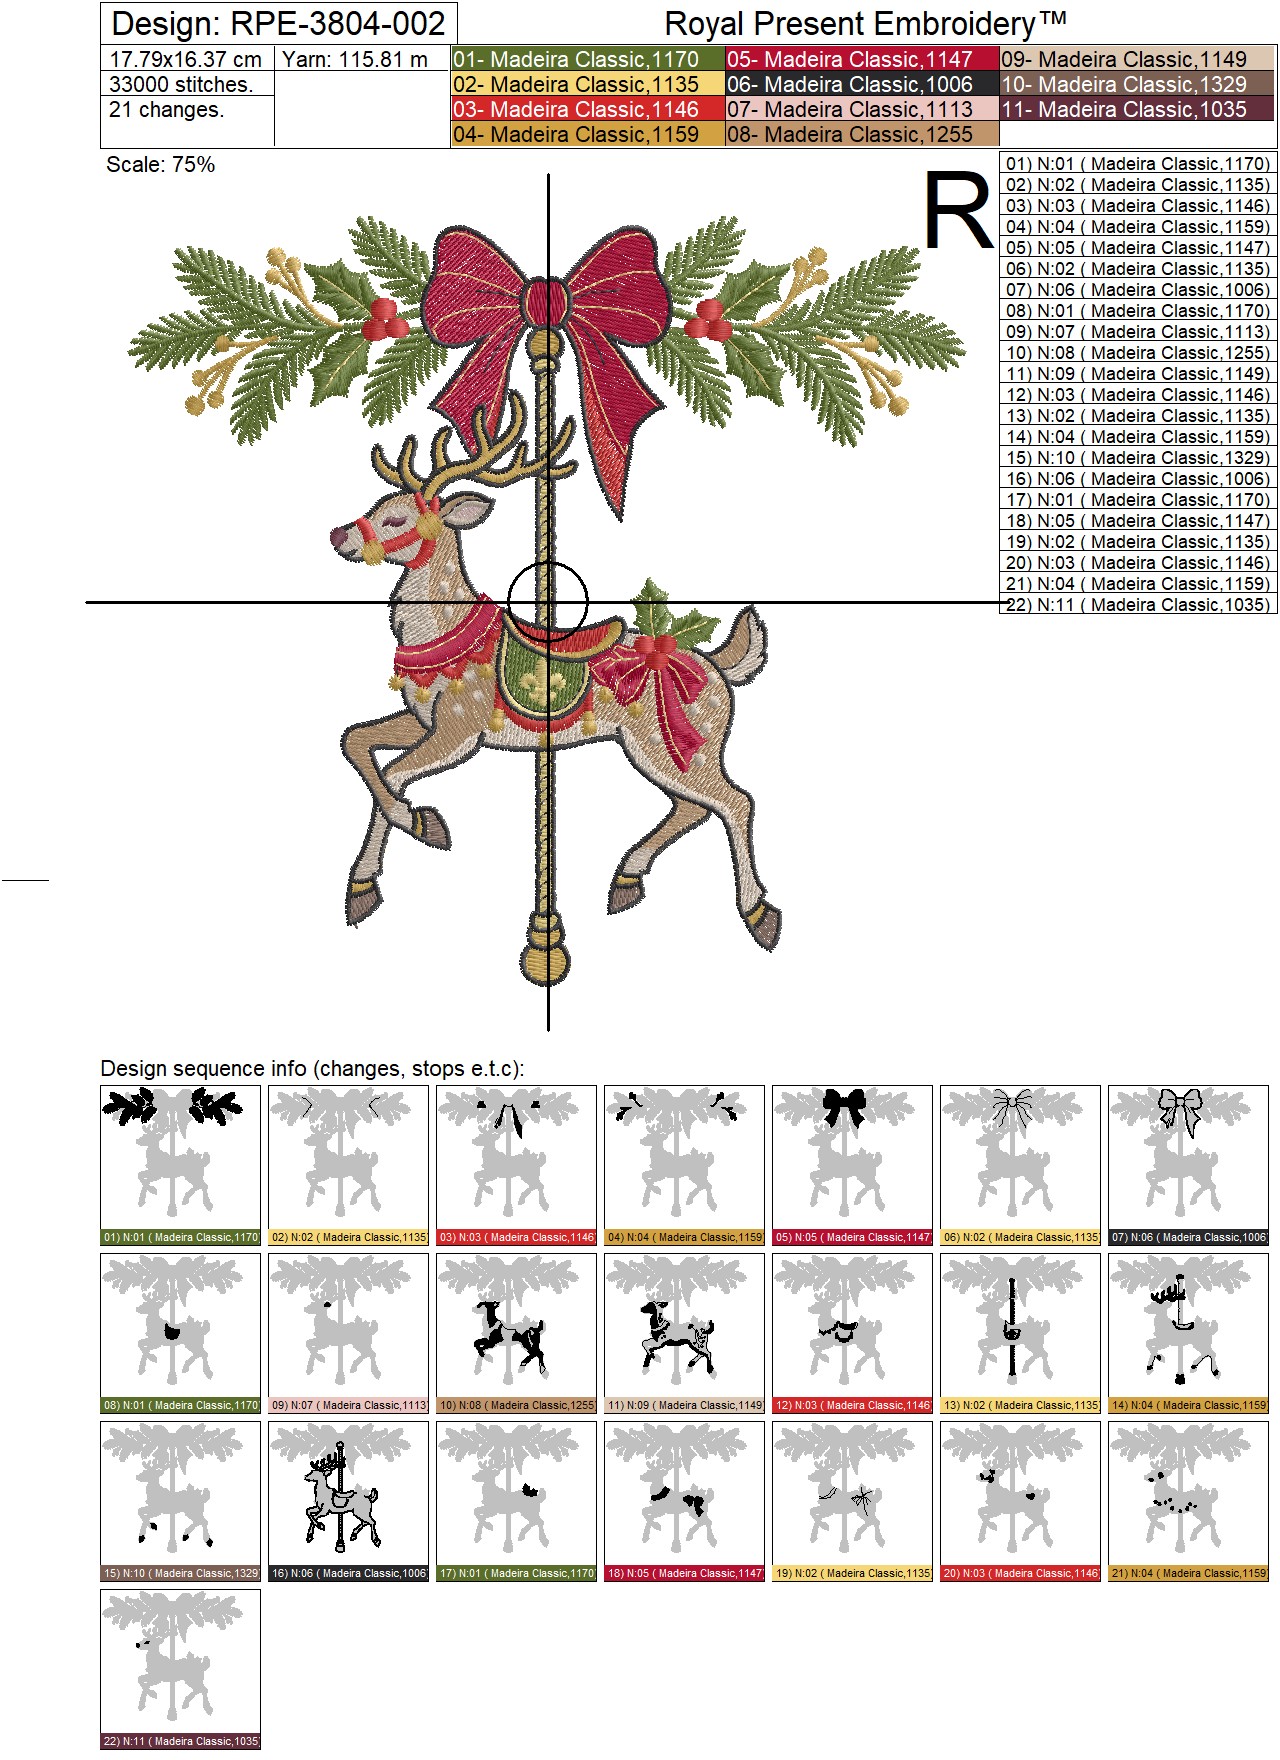
Size: 177.9x163.7 mm (7.00x6.44 "), Stitches: 33000
Hoop: 200x200 mm (7.87x7.87").
Size 2
Size: 194.0x178.5 mm (7.64x7.03 "), Stitches: 36400
Hoop: 200x200 mm (7.87x7.87").
Size 3
Size: 215.7x198.5 mm (8.49x7.81 "), Stitches: 41300
Hoop: 200x280 mm (7.87x11.02"), with a 90° rotation if the hoop is shown in portrait orientation.
Size 4
Size: 237.5x218.5 mm (9.35x8.60 "), Stitches: 46500
Hoop: 260x260 mm (10.24x10.24").
Size 5
Size: 259.3x238.5 mm (10.21x9.39 "), Stitches: 51800
Hoop: 260x260 mm (10.24x10.24").
Size 6
Size: 281.1x258.4 mm (11.07x10.17 "), Stitches: 57500
Hoop: 280x460 mm (11.02x18.11"), with a 90° rotation if the hoop is shown in portrait orientation.
Size 7
Size: 298.2x274.2 mm (11.74x10.80 "), Stitches: 62000
Hoop: 280x460 mm (11.02x18.11"), with a 90° rotation if the hoop is shown in portrait orientation.
These are examples of suitable embroidery fields. Check your machine’s actual field and align the long side of the motif with the long side of a rectangular hoop. Size 5 has only 0.7 mm (0.03 in) of total width clearance in a 260 × 260 mm (10.24 × 10.24 in) field, and size 6 does not fit a 280 × 280 mm (11.02 × 11.02 in) field. For close fits, use the exact metric dimensions. Trace the design before stitching.
Formats: .dat, .dst, .exp, .hus, .jef, .jef+, .pec, .pes, .sew, .shv, .tap, .vip, .vp3, .vp4, .xxx
Companion designs
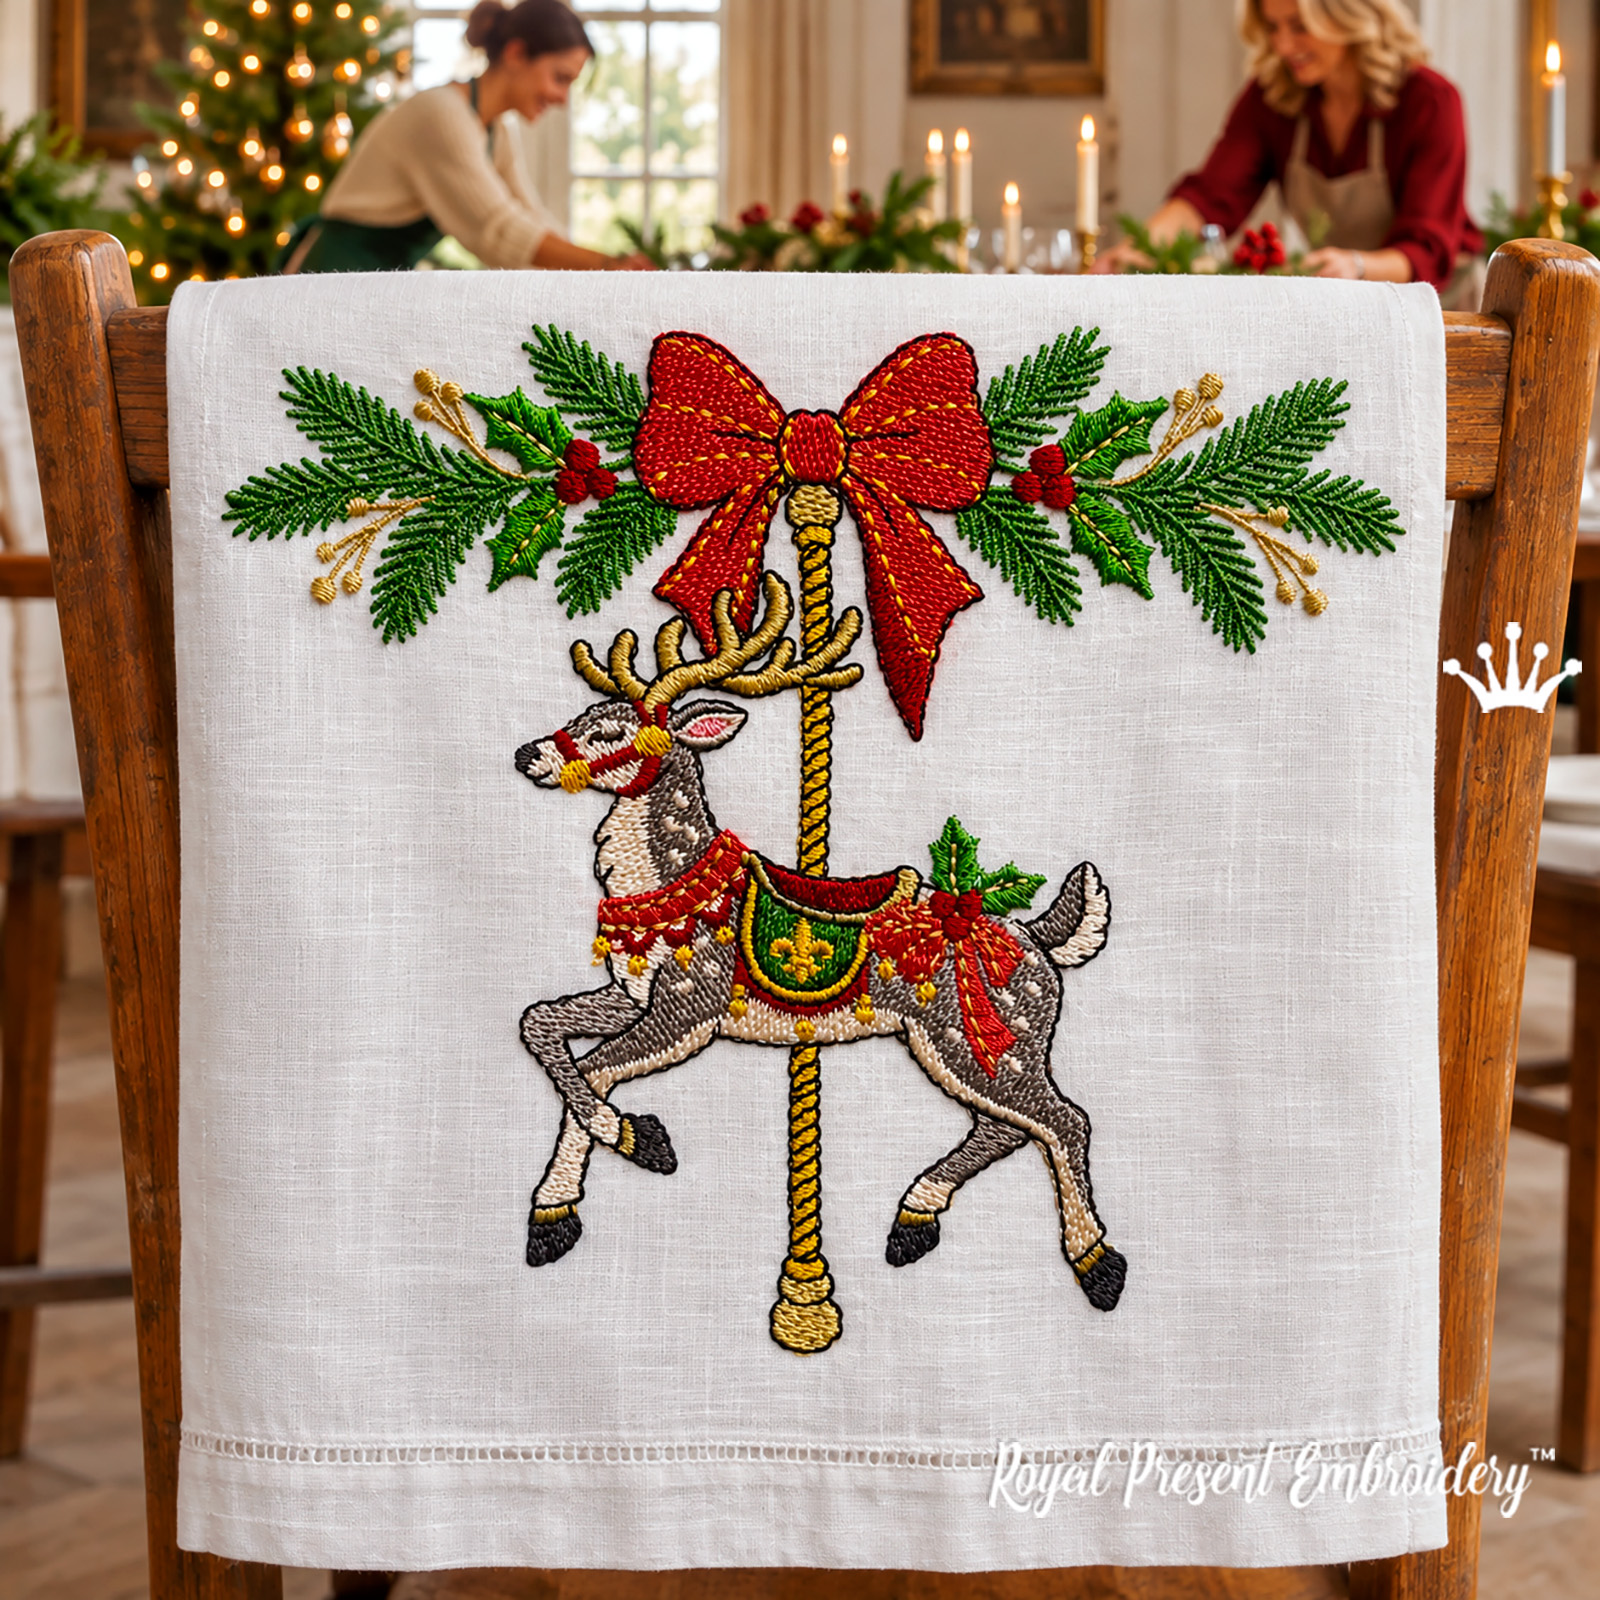
Use the smaller reindeer for a matching towel, the nutcracker for a second cushion, and the holly bow for a gift bag, and the fir sprigs for table linens. The five-size reindeer is sold separately.
 Carousel Reindeer – 5 Sizes |
 Nutcracker with Ribbon |
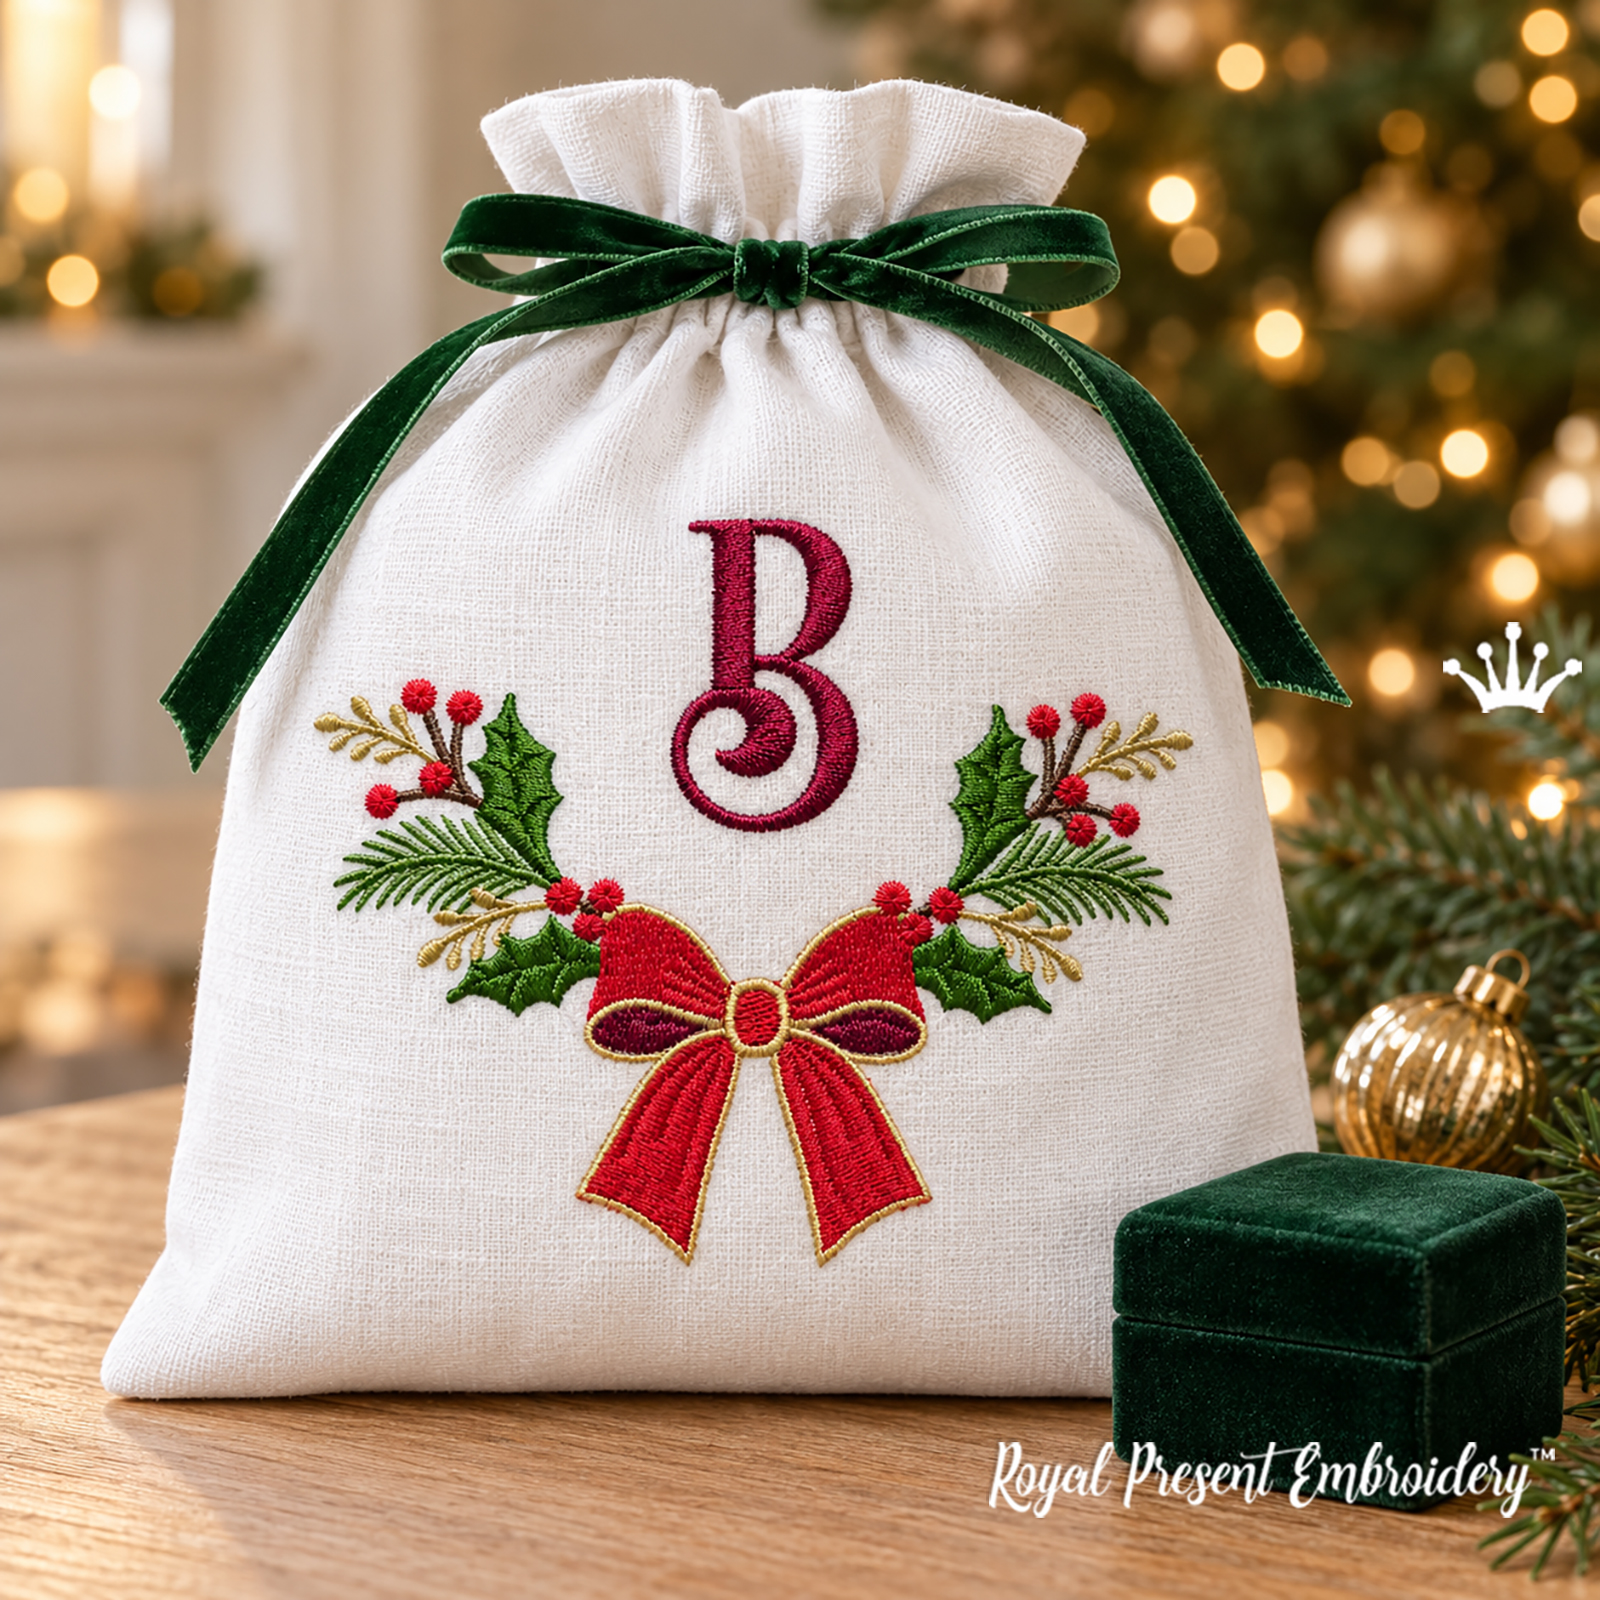 Christmas Bow with Holly |
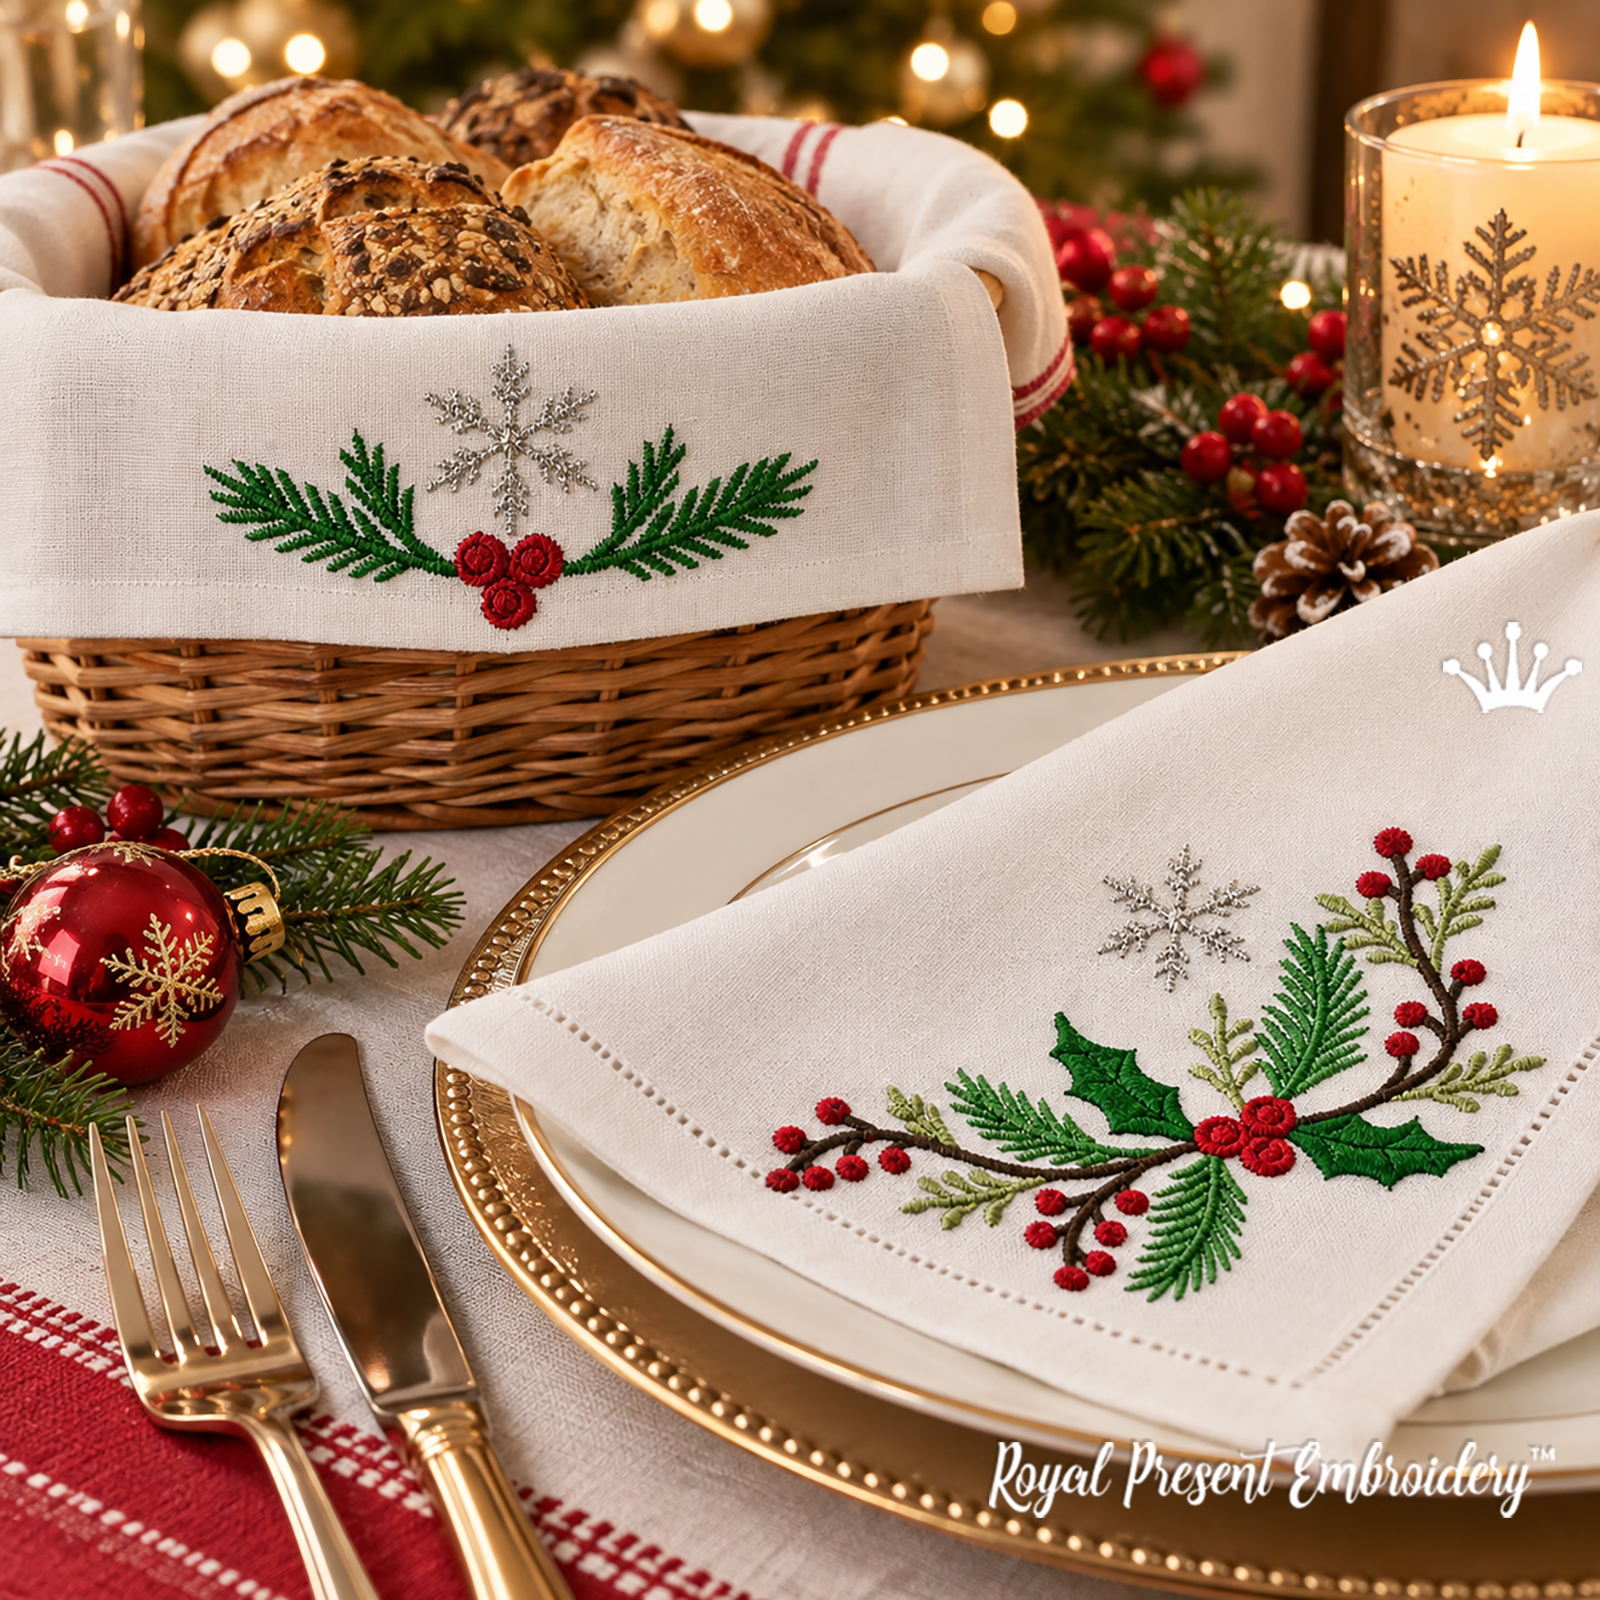 Napkin Corner and Fir Sprigs |
Madeira Classic thread colors
The same 11 Madeira Classic shades are used in all seven sizes. The squares show Madeira’s digital swatches. Pantone references appear only where Madeira lists a match. Use Madeira thread numbers to select the shades; screen colors may vary.
| Color | Madeira | Stitched area | |
|---|---|---|---|
|
1170 Pantone 370 C |
Evergreen needles, holly leaves, and green saddle blanket | |
|
1135 Pantone 1205 C |
Twisted carousel pole, fine lines on the bow, and light saddle blanket details | |
|
1146 Pantone 485 C |
Red berries and details on the bridle and saddle | |
|
1159 Pantone 117 C |
Antlers, gold-colored sprigs, and harness trim | |
|
1147 Pantone 1795 C |
Main shade of the bows and the red chest strap | |
|
1006 | Dark outline of the bow, reindeer, and carousel pole | |
|
1113 | Pink detail inside the ear | |
|
1255 | Beige areas of the coat | |
|
1149 Pantone 9202 C |
Light areas of the coat on the neck, belly, and legs | |
|
1329 Pantone 7614 C |
Hooves | |
|
1035 Pantone 505 C |
Nose and eye of the reindeer |


Make a patchwork cushion cover with an embroidered velvet center
Basic sewing skills are required for this project. You should be comfortable measuring and cutting fabric, sewing straight seams with a consistent allowance, and making a double-fold hem. Embroider the center first, then use a regular sewing machine to piece the border and sew the cover.
1. Embroider the velvet before cutting the center to size
- Plan the placement. Choose a stable, woven short-pile velvet. On a scrap, test the same velvet, thread, backing, and adhesive. Print a full-size template, mark the center of the oversized velvet, and keep the carousel pole upright in the finished cover. Leave enough fabric around the motif to secure it in the hoop and trim it later.
- Float the velvet. Hoop medium-weight cutaway stabilizer by itself so the hoop does not crush the pile. Away from the machine, apply temporary embroidery adhesive to the stabilizer according to its instructions. Smooth the velvet wrong side down onto the backing without stretching it. If the pile obscures fine stitches, use a thin water-soluble topping only after checking that its removal will not mark the fabric.
- Secure, trace, and stitch. Make sure the velvet and any topping cannot shift. Use a basting box only if your machine supports it and the hoop leaves enough room outside the motif. Trace the full design boundary and support the excess fabric so it does not pull the hoop. After stitching, remove the basting and any topping as directed, keep the cutaway behind the stitches, and trim the center to size. Do not press the velvet face.
2. Cut the pieces for a 45 × 45 cm (17.72 × 17.72 in) cushion cover
The finished cover has a 34 × 34 cm (13.39 × 13.39 in) center and a 5.5 cm (2.17 in) border on each side. The cutting sizes below include 1 cm (0.39 in) seam allowances. Inch equivalents are rounded. Use one unit system throughout and check each pieced strip against the edge it will be sewn to.
| Piece | Quantity | Cut size, width × height |
|---|---|---|
| Embroidered velvet center, trimmed after stitching | 1 | 36 × 36 cm 14.17 × 14.17 in |
| Patches for the left and right strips | 8 | 7.5 × 10.5 cm 2.95 × 4.13 in |
| Patches for the top and bottom strips | 10 | 11 × 7.5 cm 4.33 × 2.95 in |
| Panels for the envelope back | 2 | 47 × 33 cm 18.50 × 12.99 in |
Draw the finished center square around the embroidery before trimming, leaving room for the evergreen tips and the bottom of the pole. For another cushion size, subtract the finished center width from the finished cover width, then halve the difference to get the finished border width. Recalculate the patch lengths and add seam allowances to each piece.
3. Piece the border and sew the cover
- Lay out and join the patches. Arrange the colors in the order you want. If any patches are velvet, keep their pile running in the same direction as the center. With right sides together and a 1 cm (0.39 in) allowance, join four side patches along their 7.5 cm (2.95 in) edges for each side strip. Join five top or bottom patches along their 7.5 cm (2.95 in) edges for each horizontal strip.
- Frame the center. The side strips should measure 7.5 × 36 cm (2.95 × 14.17 in) before attachment. Sew them to the left and right sides of the velvet. Next, sew a 47 × 7.5 cm (18.50 × 2.95 in) strip across the full top edge and another across the bottom. Check that the assembled front measures 47 × 47 cm (18.50 × 18.50 in) before adding the back. If the velvet creeps, hand-baste the seam before machine sewing; avoid ironing the pile.
- Hem the envelope back. On each backing panel, fold one 47 cm (18.50 in) edge to the wrong side twice, by 1 cm (0.39 in) per fold. Stitch the folded hem. Lay the front right side up, place both back panels right side down, and align their raw outer edges with the front so the hemmed edges overlap by about 15 cm (5.91 in).
- Finish the cover. Sew around all four edges with a 1 cm (0.39 in) allowance. Trim the corner bulk without cutting the stitches, then turn the cover right side out through the envelope opening and insert the cushion pad.
Questions about the large design
Which sizes fit a 180 × 300 mm (7.09 × 11.81 in) hoop?
Only the first two sizes fit that embroidery field. Rotate size 2 so its 194.0 mm (7.64 in) side runs along the 300 mm (11.81 in) side. Its 178.5 mm (7.03 in) side leaves just 1.5 mm (0.06 in) of total clearance. The shorter side of size 3 is too wide. If you want to baste outside the motif, check the total footprint and select a larger compatible hoop if needed.
Can I use linen or quilting cotton instead of velvet?
Yes. Use a stable woven fabric and test it with your cutaway stabilizer before sewing the center panel. Hoop a smooth cotton or linen fabric with the backing if it can be held flat without stretching. For a dense design, check that the dark outline stays aligned on your test stitch-out.
Do I need to quilt the patchwork border?
No. This example uses pieced strips attached to the embroidered center. The strips do not need batting or quilting to make the envelope cushion cover.

 Get Sign-In Link
 Login with Google
 Login with Facebook
 Login with Amazon
 Login with Paypal

