12 Days of Christmas ITH Ornaments – Machine Embroidery Design Bundle - 3 Sizes
By knowing the speed of your embroidery machine, you can find out how long it will take to embroider a design.
To use the embroidery calculator, click on the number of stitches in the product description.
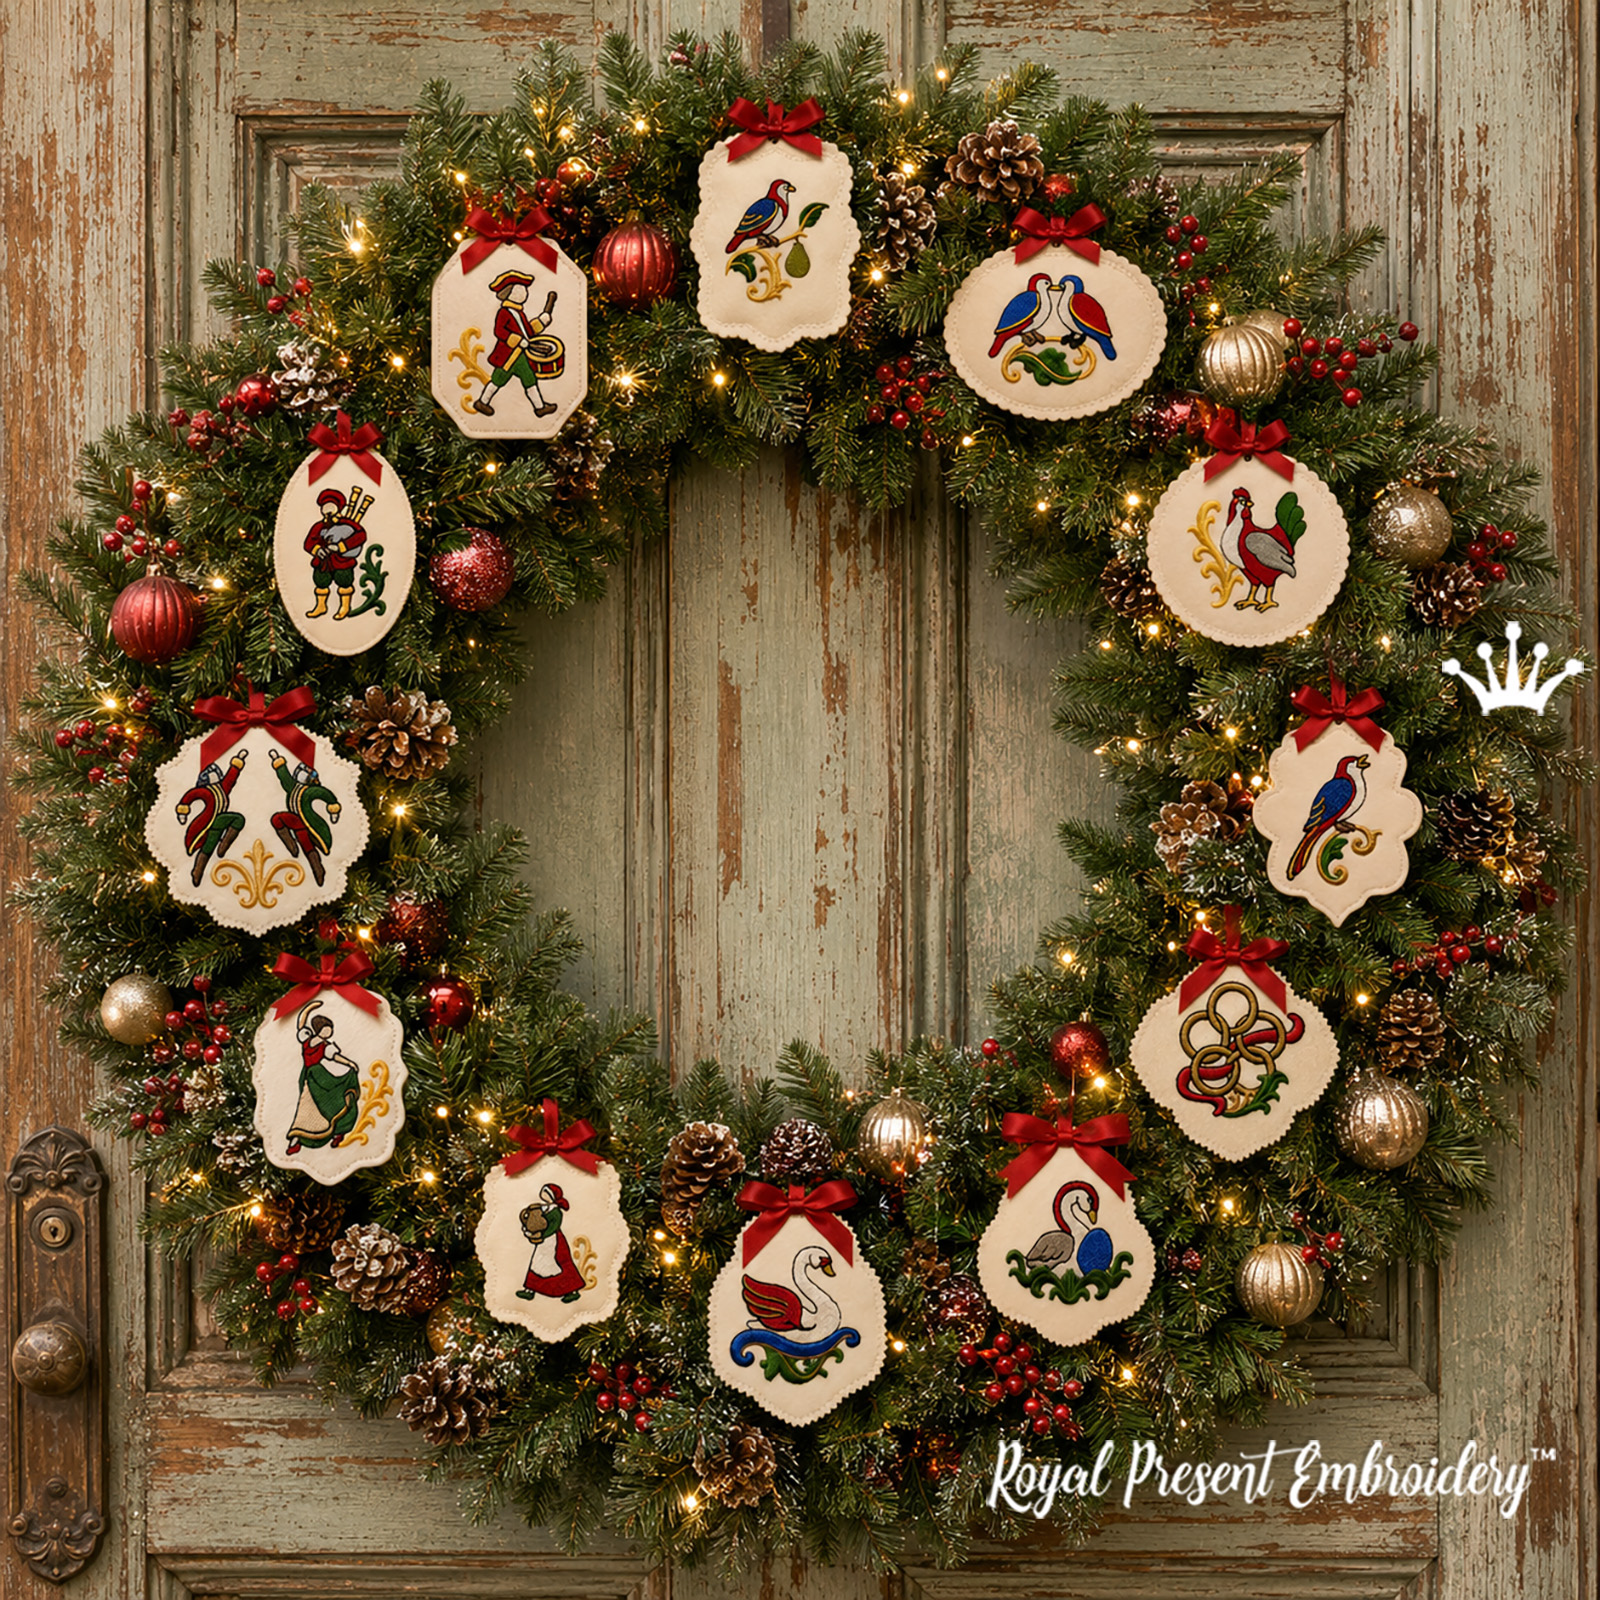
The Twelve Days of Christmas ITH Ornaments is a digital bundle of 12 raw-edge machine embroidery designs inspired by every gift in the traditional English Christmas carol. Baroque birds, gold rings, dancing figures and musicians share a coordinated red, blue, green, ivory and antique-gold palette.
Each design is supplied in three original sizes, giving you 36 machine files per embroidery format. The placement line, front-piece tackdown, decorative embroidery and final joining seam are programmed into the files, so every flat ornament is assembled in the hoop without turning, stuffing or hand-closing.
What Is Included
- 12 different designs representing all twelve verses of the carol;
- three original sizes of every design — 36 size options in total;
- machine files in 14 embroidery formats;
- printable cutting templates for the front and back pieces;
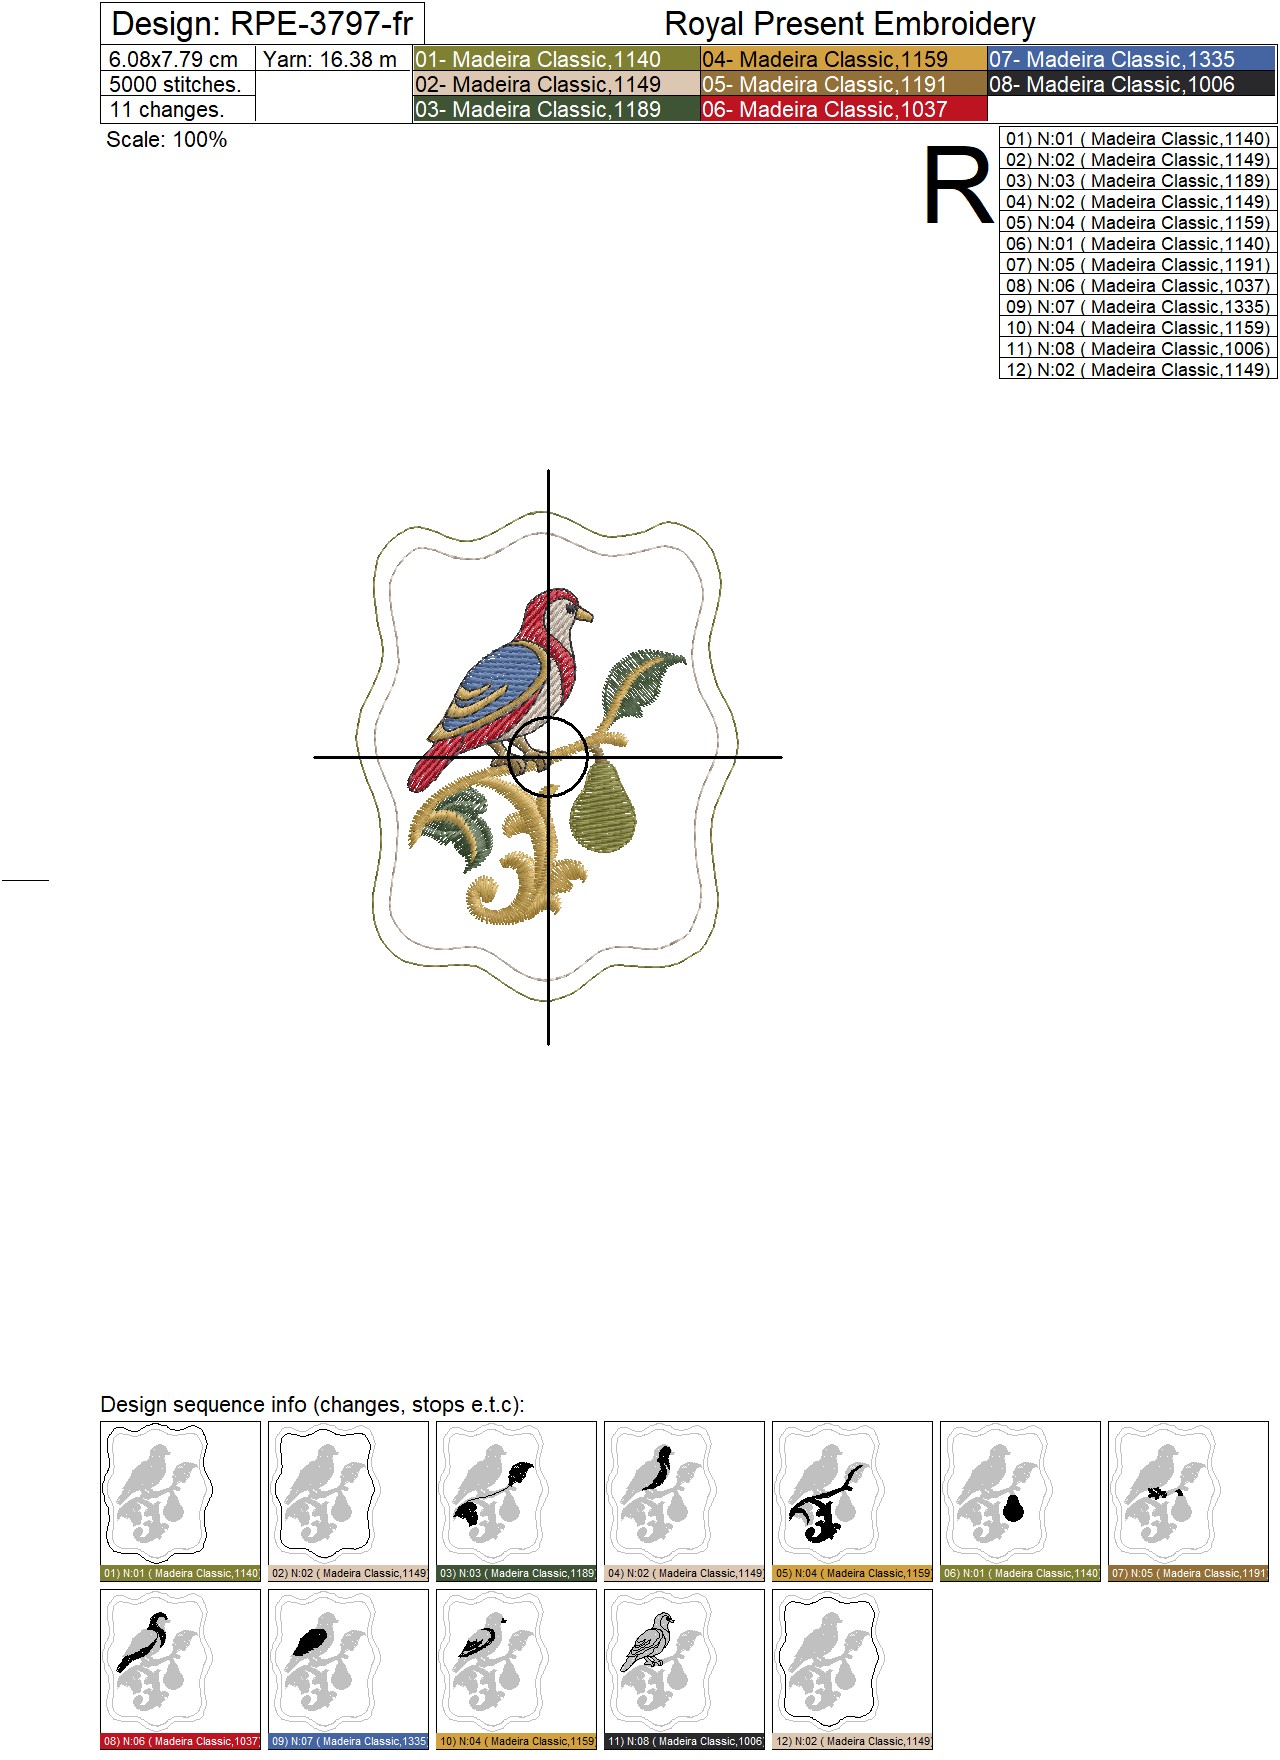
- size, thread-use and stitch-sequence charts for every ornament;
- illustrated raw-edge ITH ornament instructions.
This is a digital product. Finished ornaments, felt, ribbon, stabilizer and thread are not shipped.
Sizes and Stitch Counts
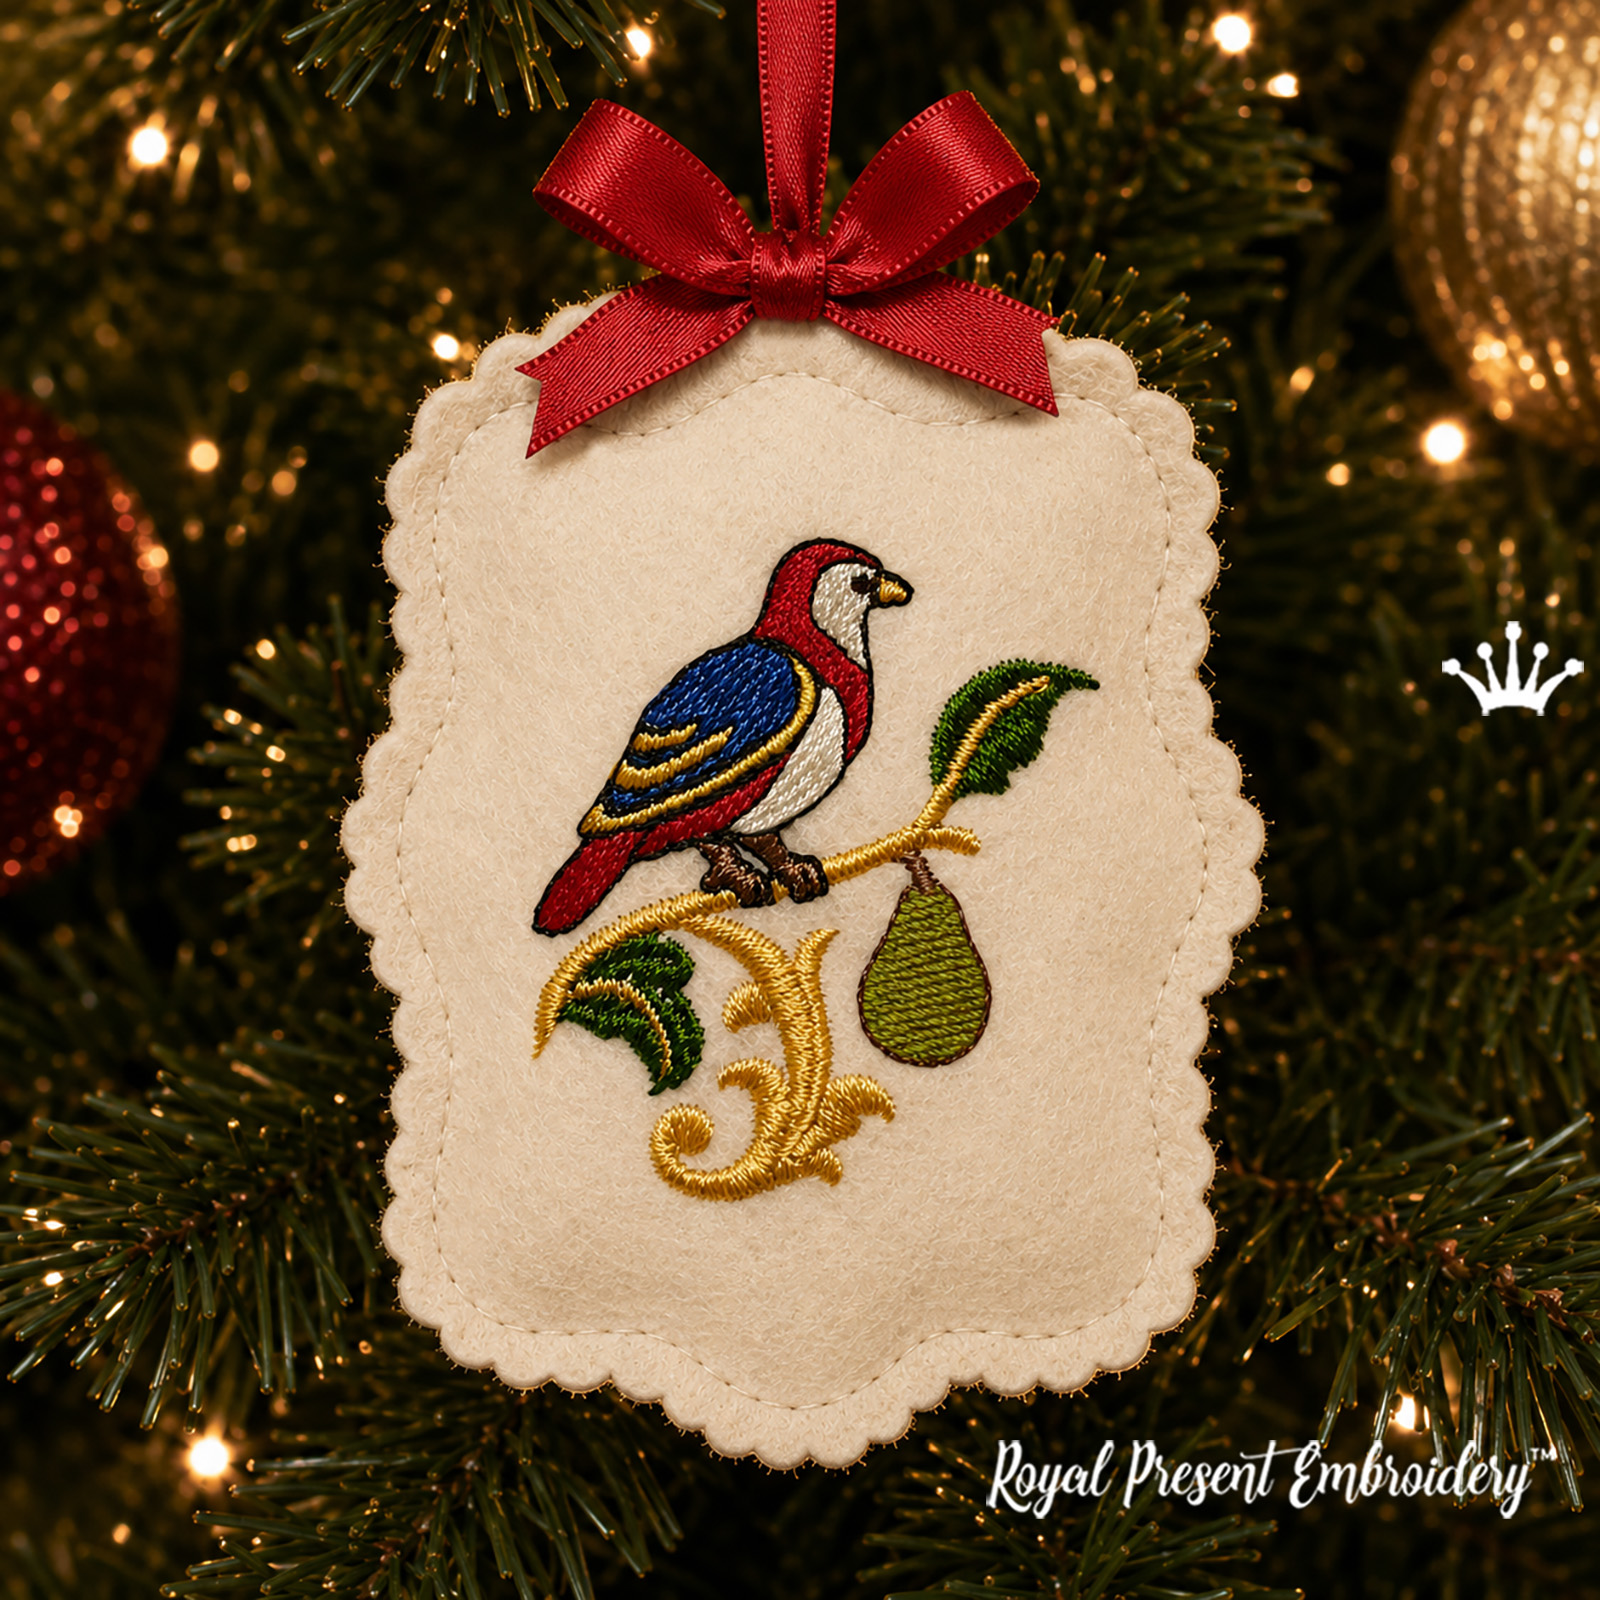
1. Partridge in a Pear Tree
Size: 60.8x77.9 mm (2.39x3.07"), Stitches: 5000
Size: 68.6x87.9 mm (2.70x3.46"), Stitches: 5700
Size: 76.4x97.9 mm (3.01x3.85"), Stitches: 6400
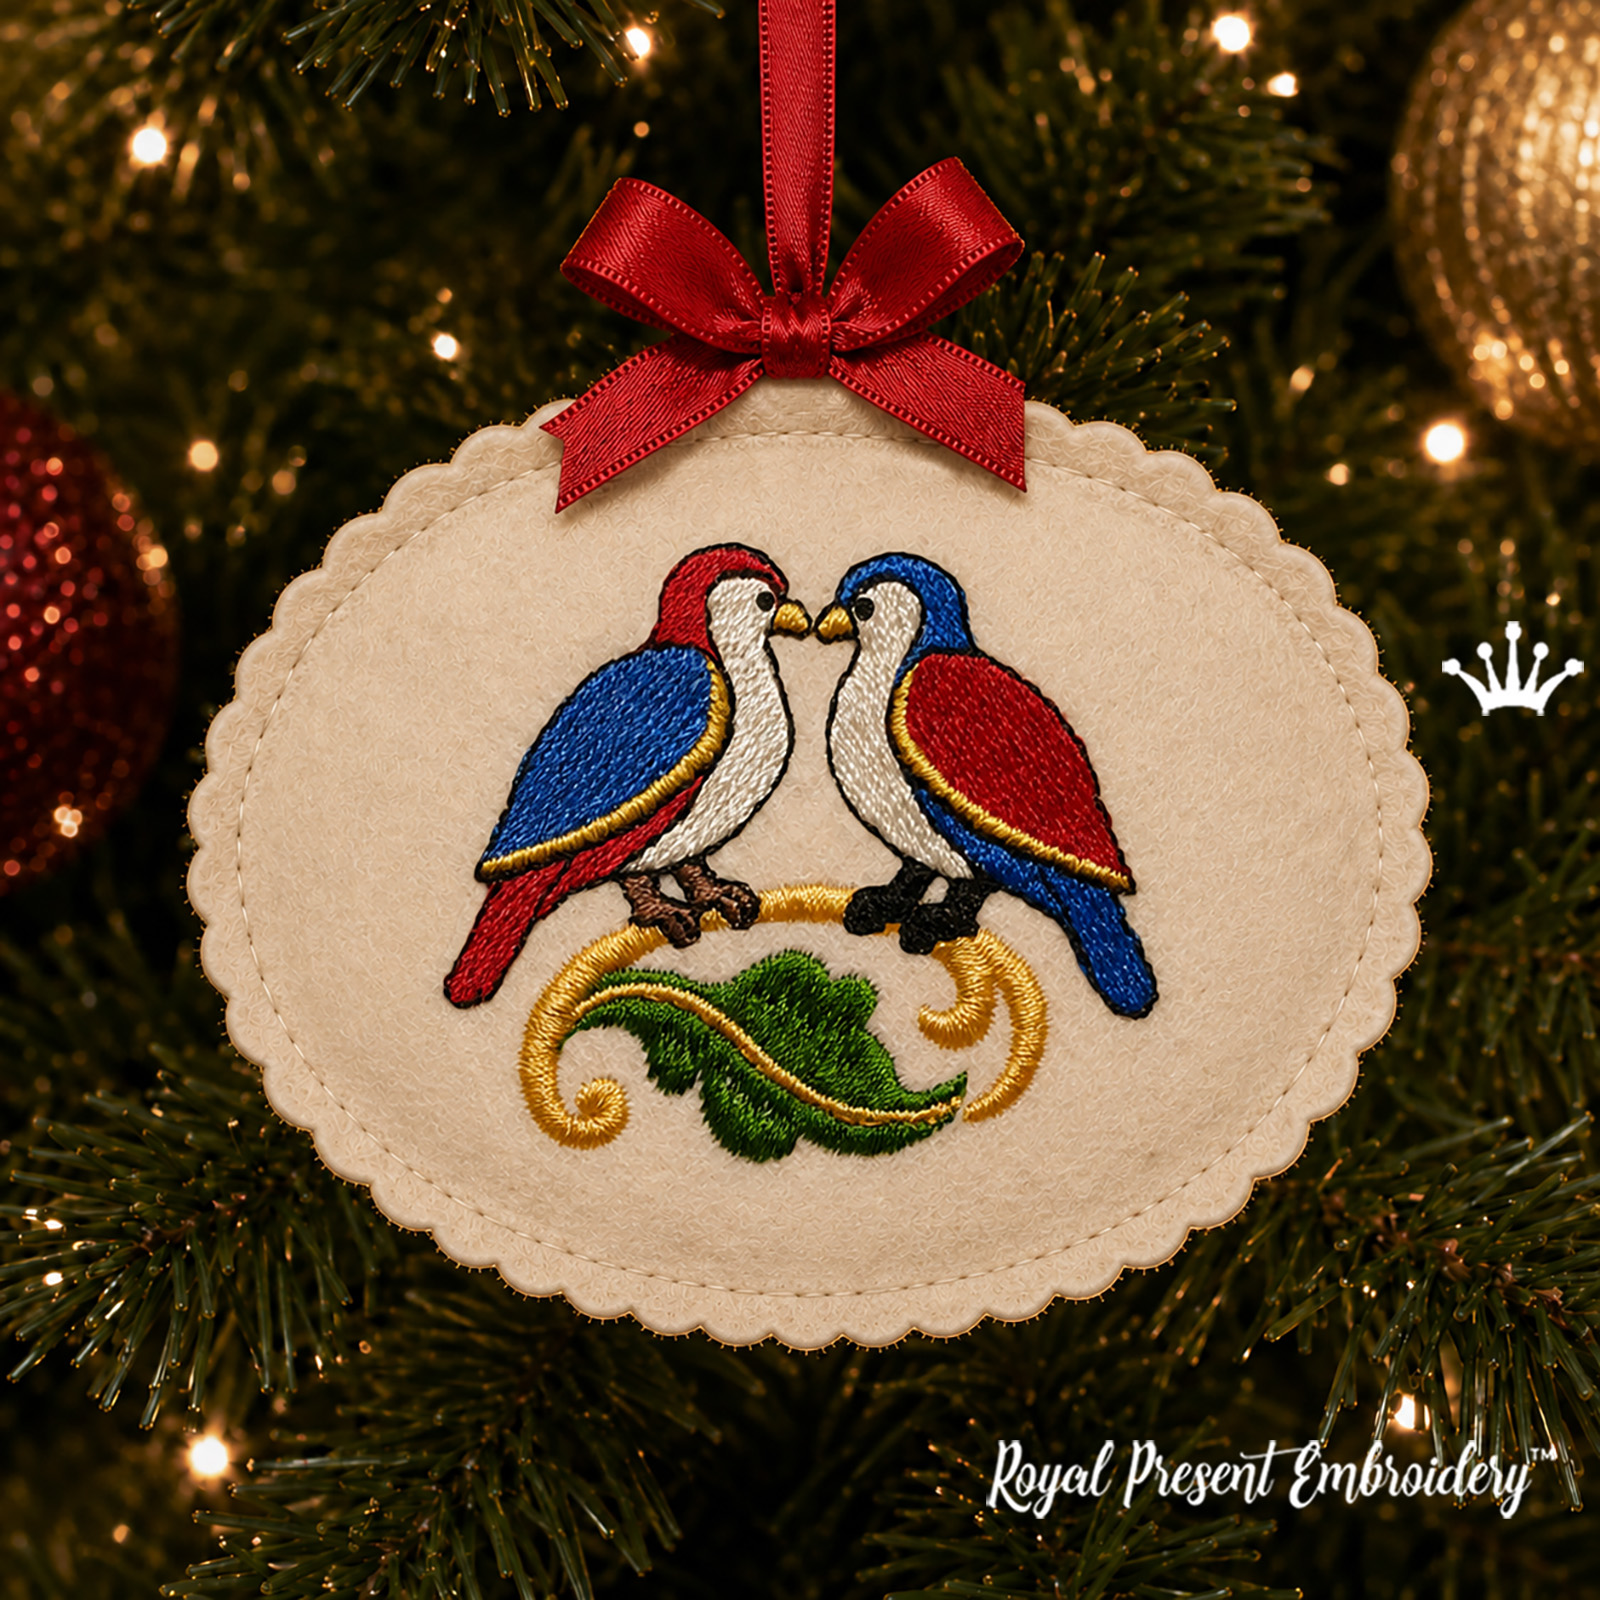
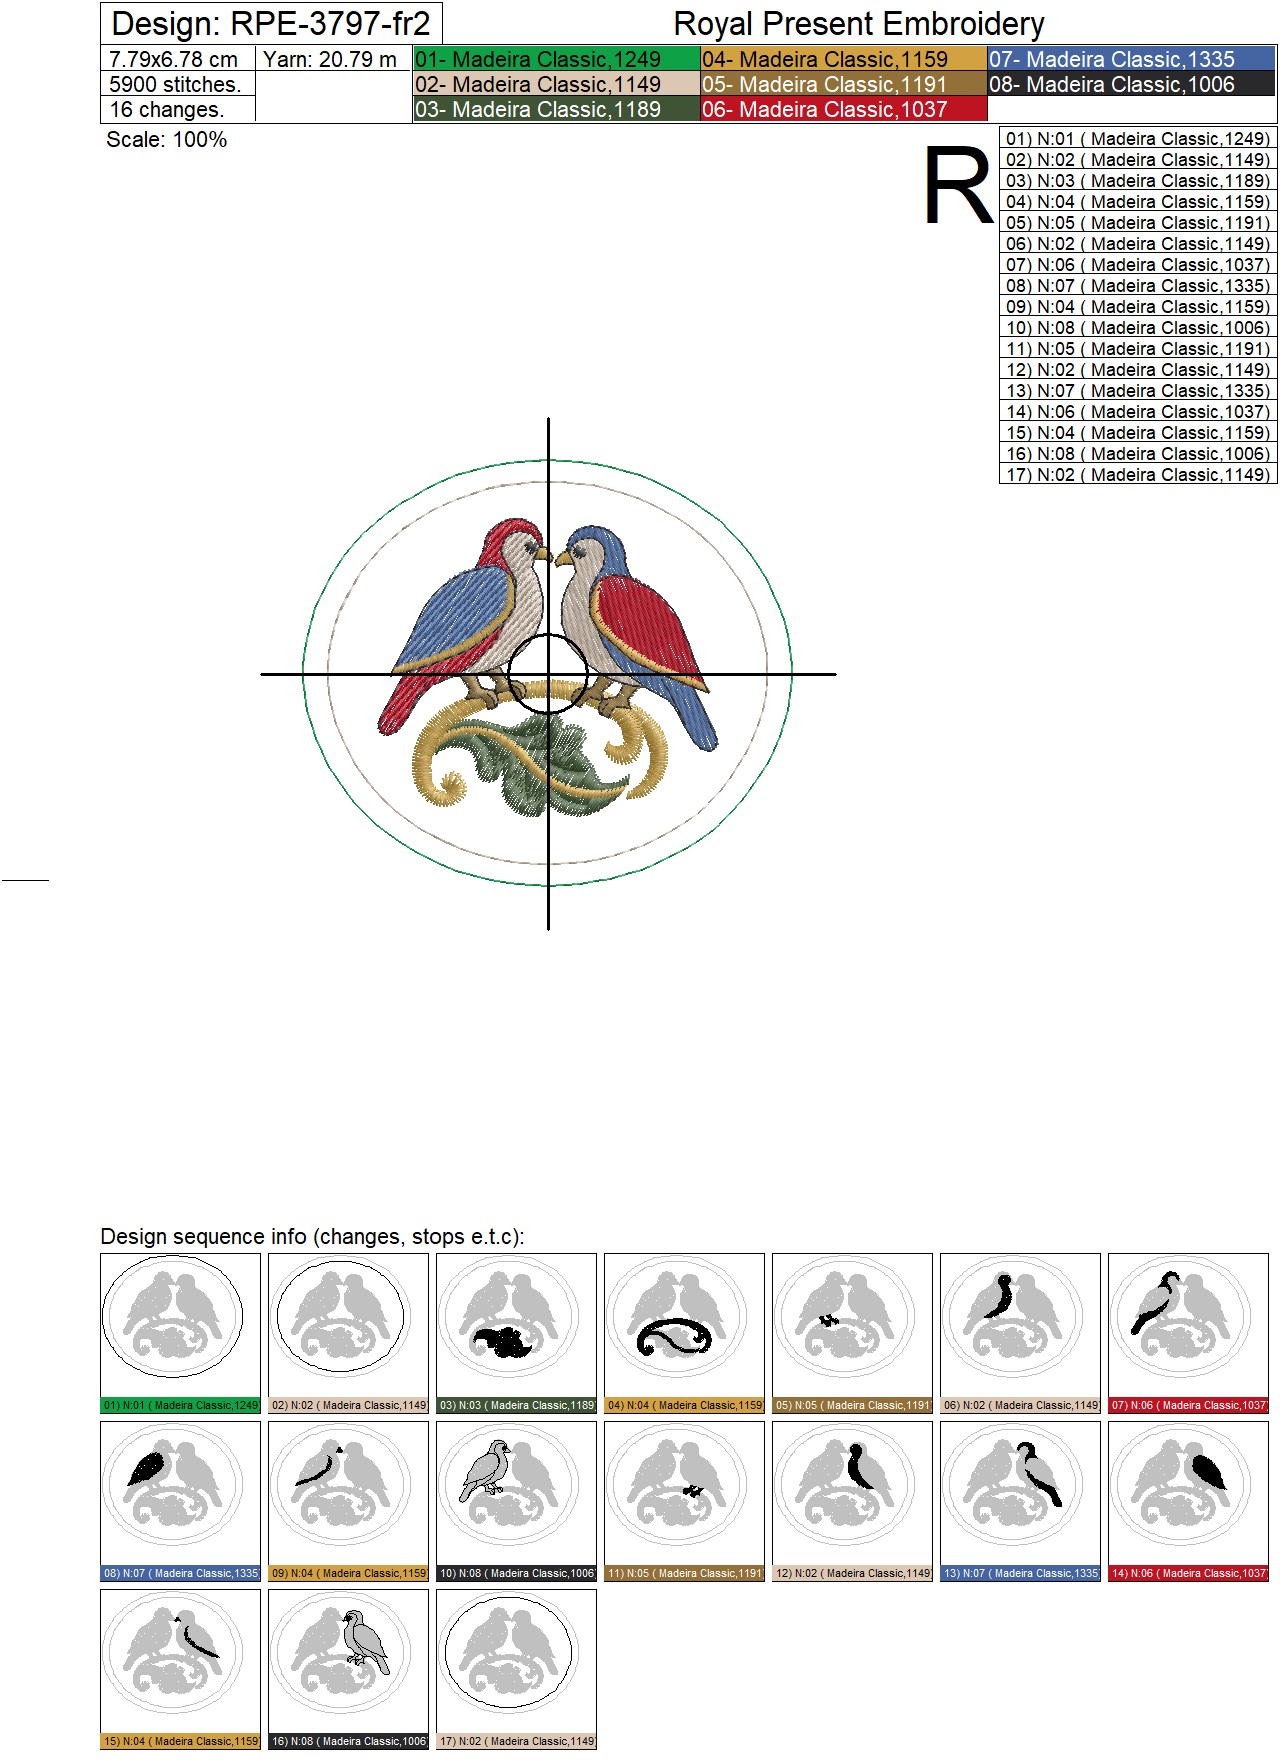
2. Two Turtle Doves
Size: 77.9x67.8 mm (3.07x2.67"), Stitches: 5900
Size: 87.9x76.5 mm (3.46x3.01"), Stitches: 6800
Size: 98.1x85.1 mm (3.86x3.35"), Stitches: 7600
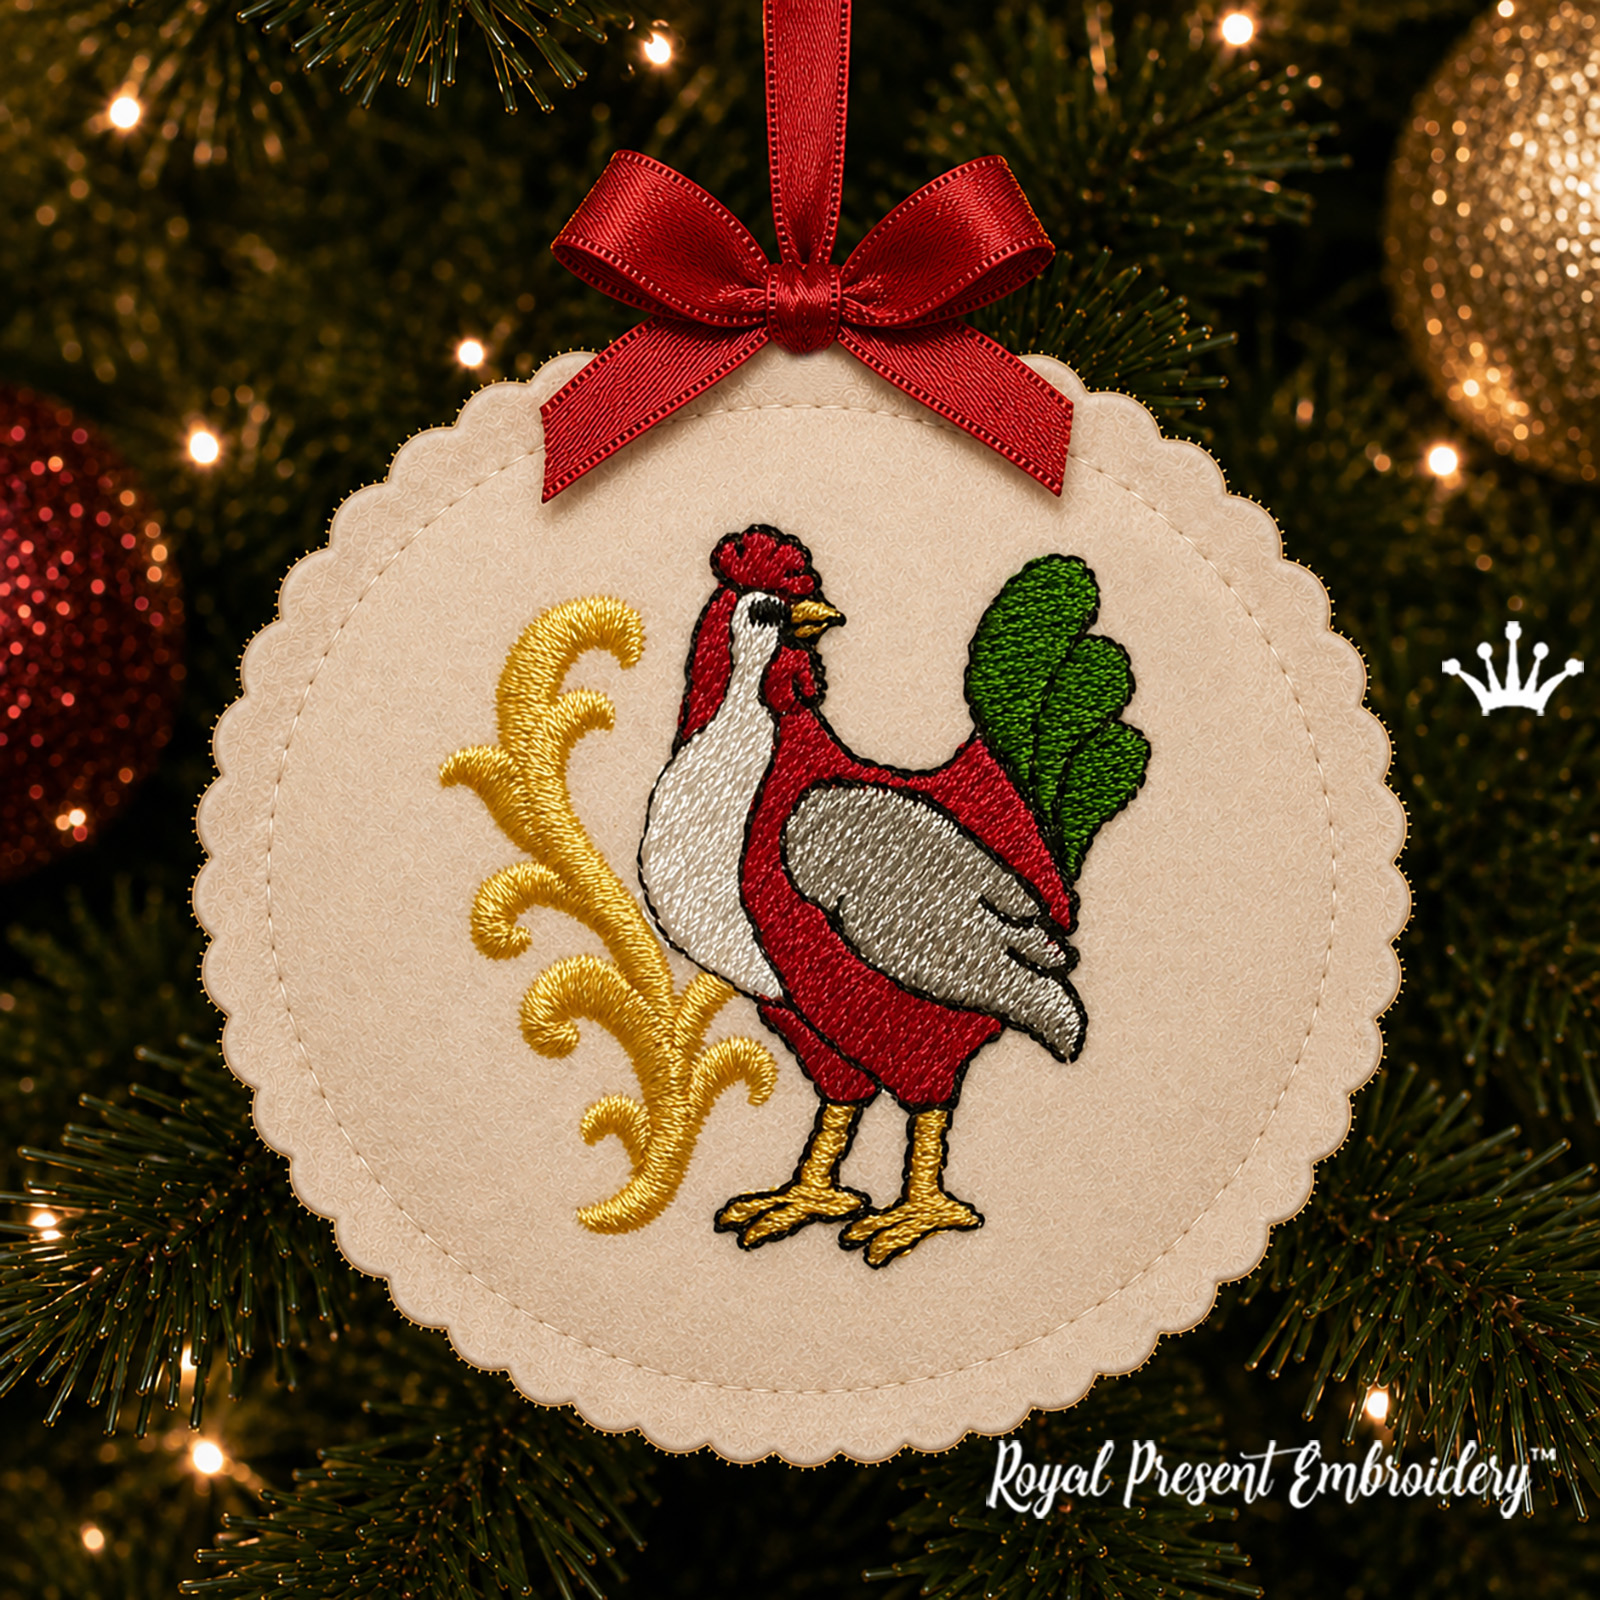
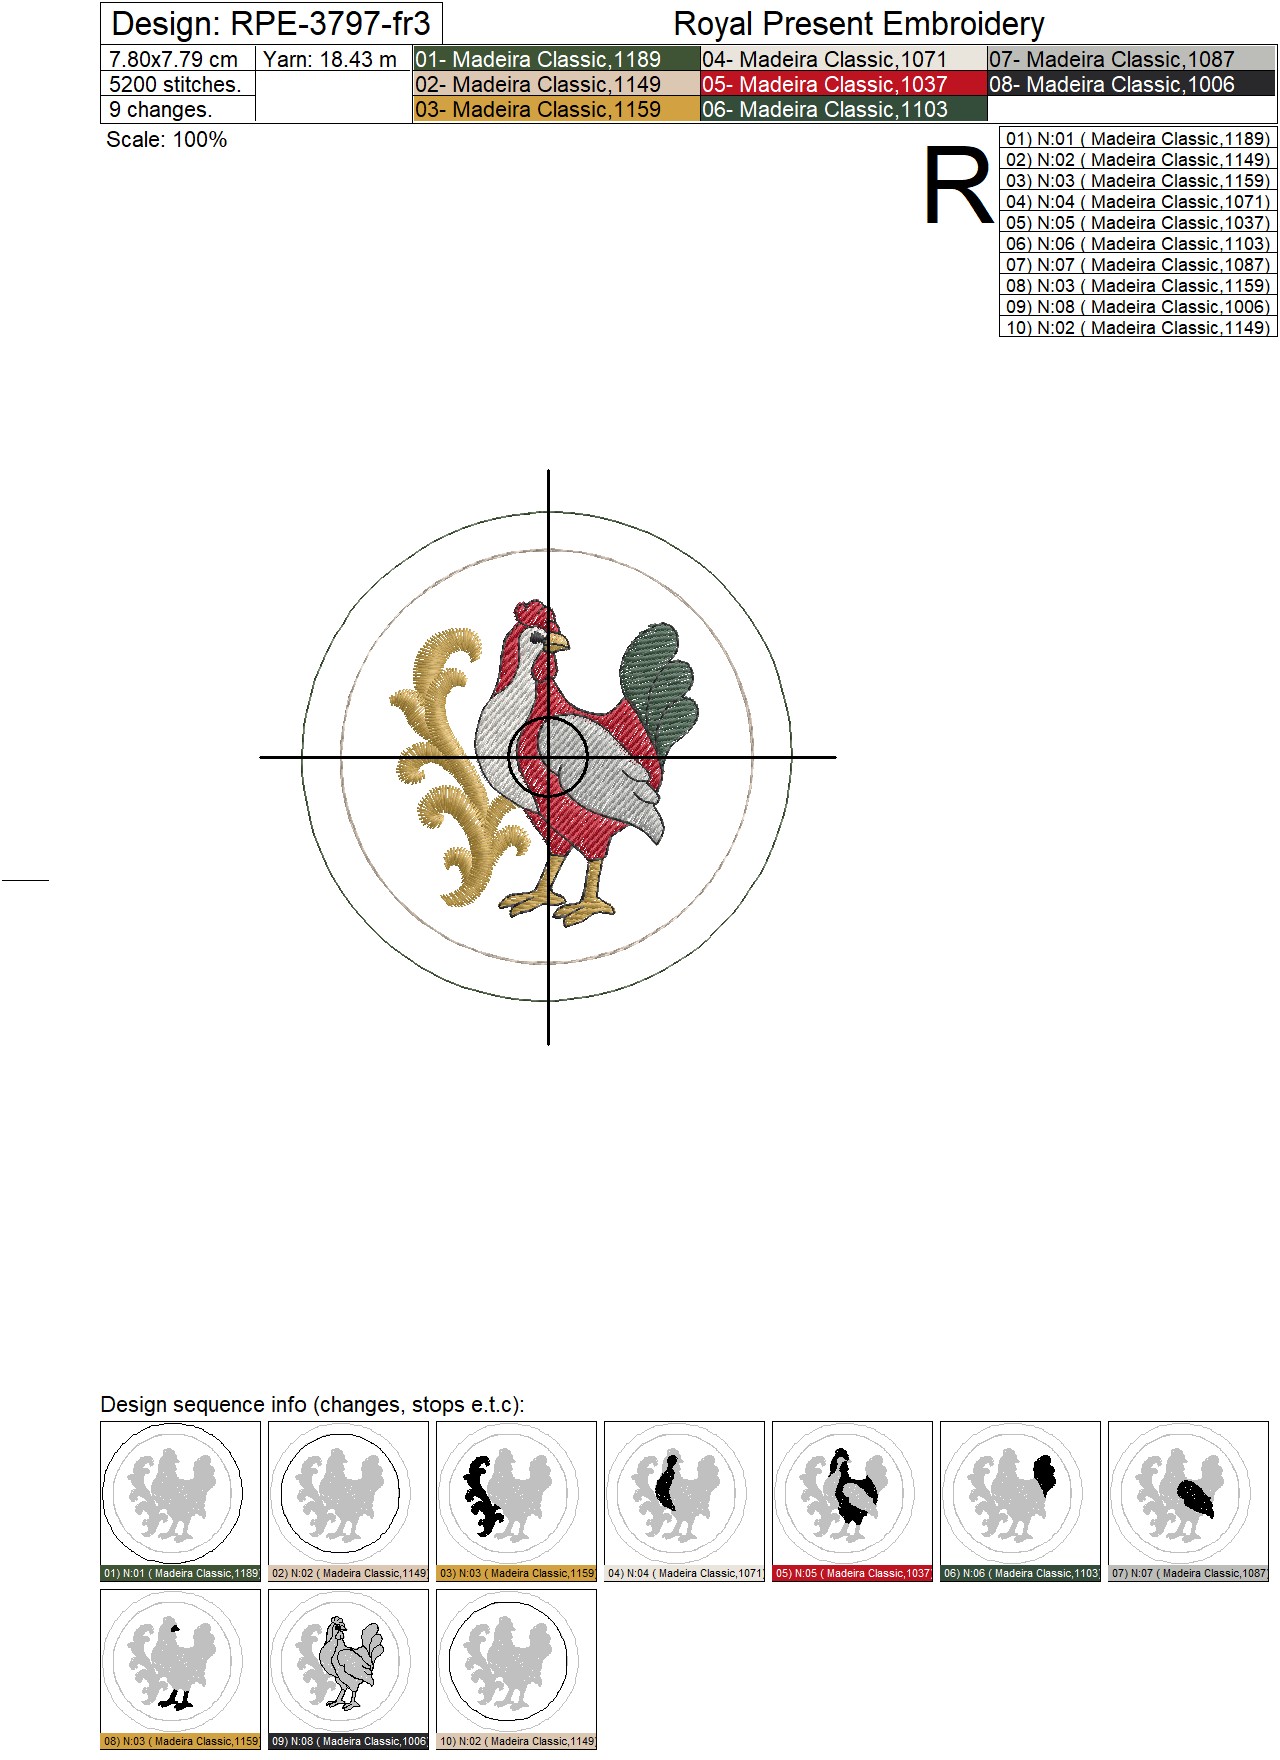
3. Three French Hens
Size: 78.0x77.9 mm (3.07x3.07"), Stitches: 5200
Size: 87.9x87.9 mm (3.46x3.46"), Stitches: 6000
Size: 97.9x97.9 mm (3.85x3.85"), Stitches: 6800
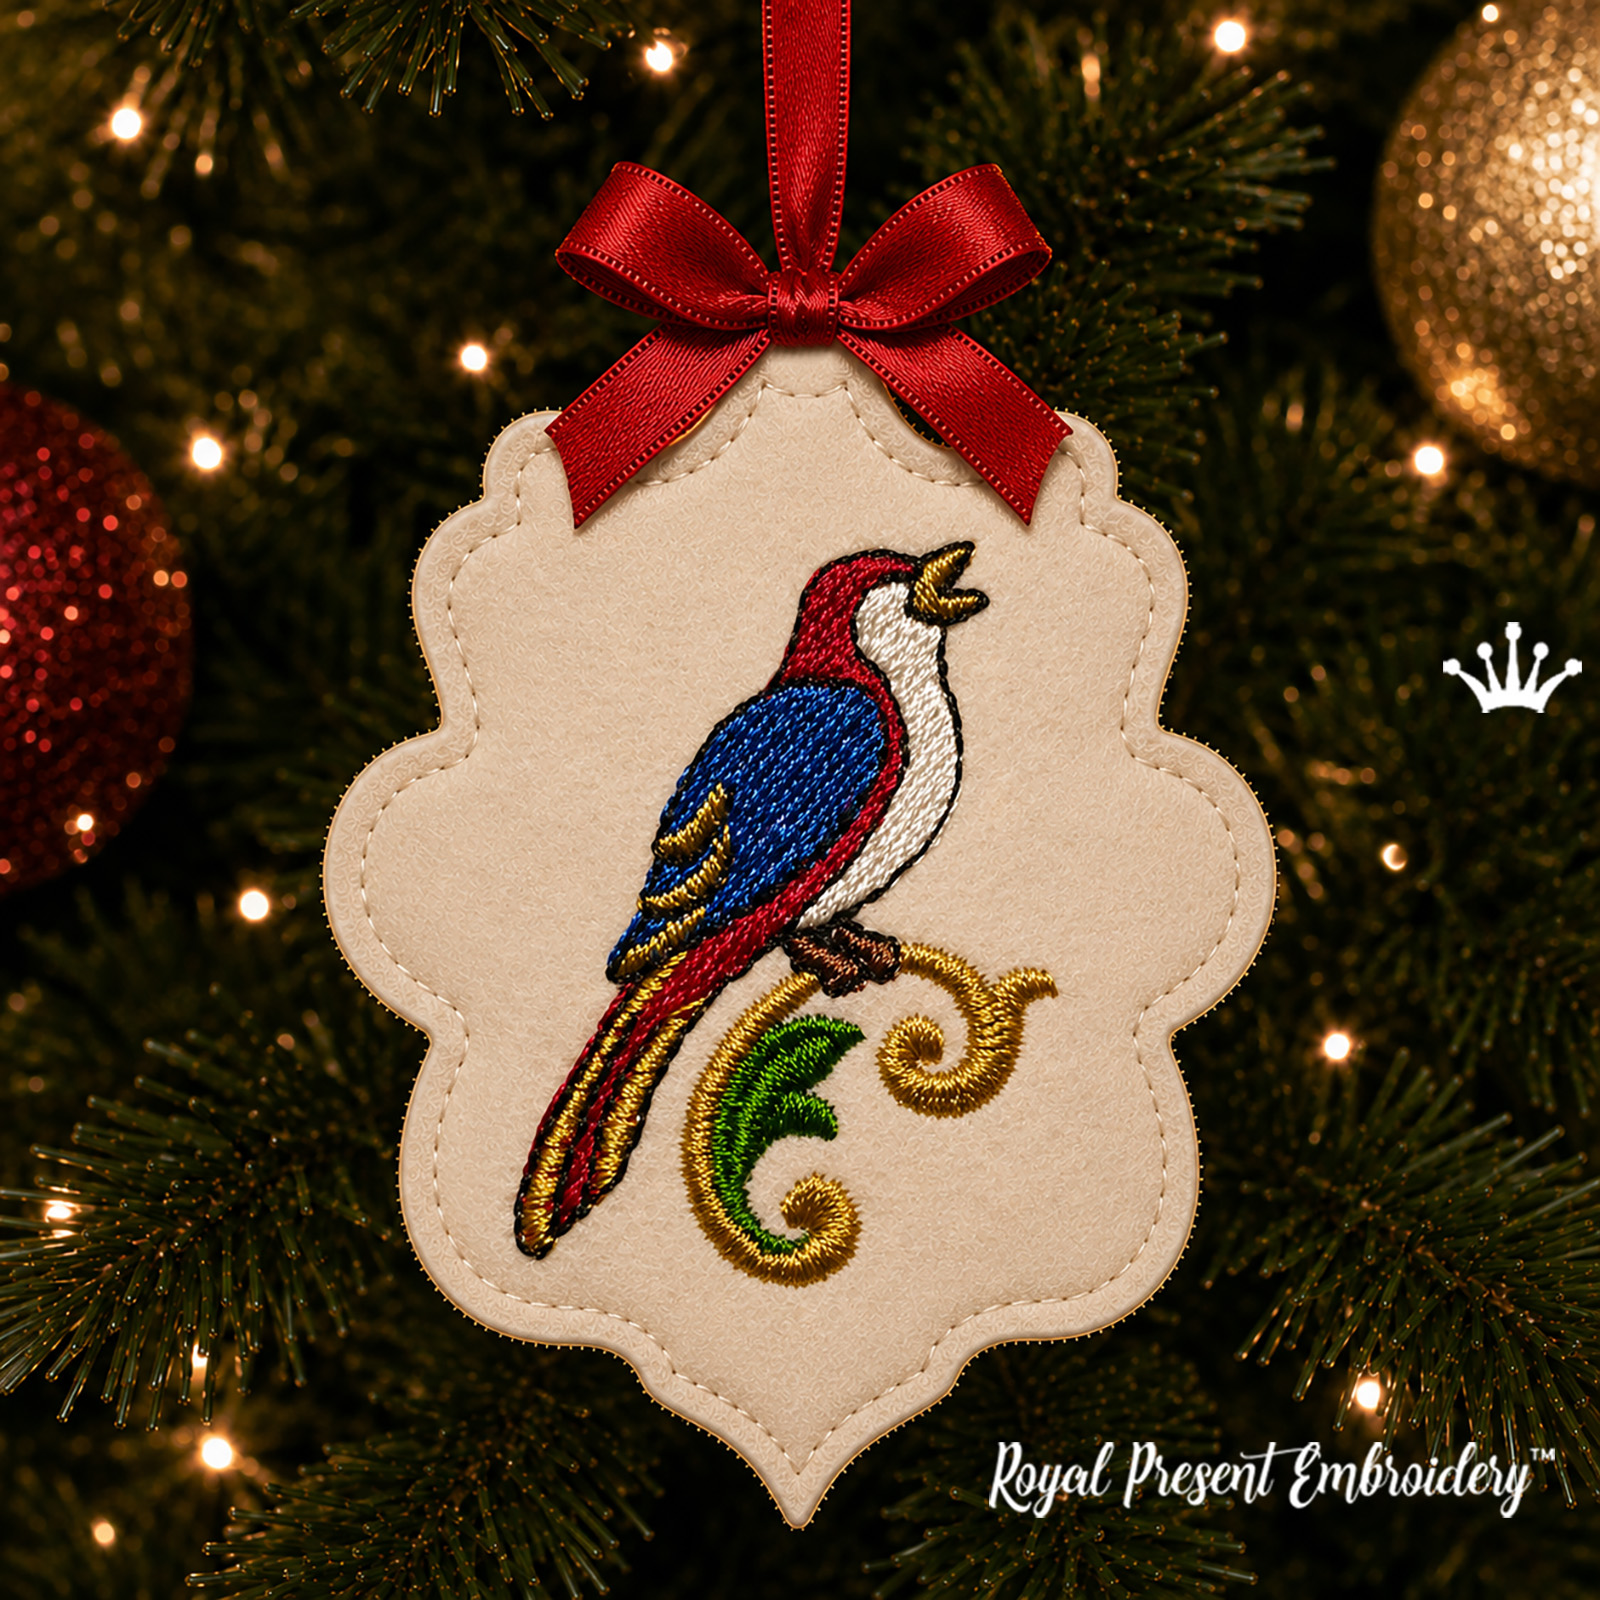
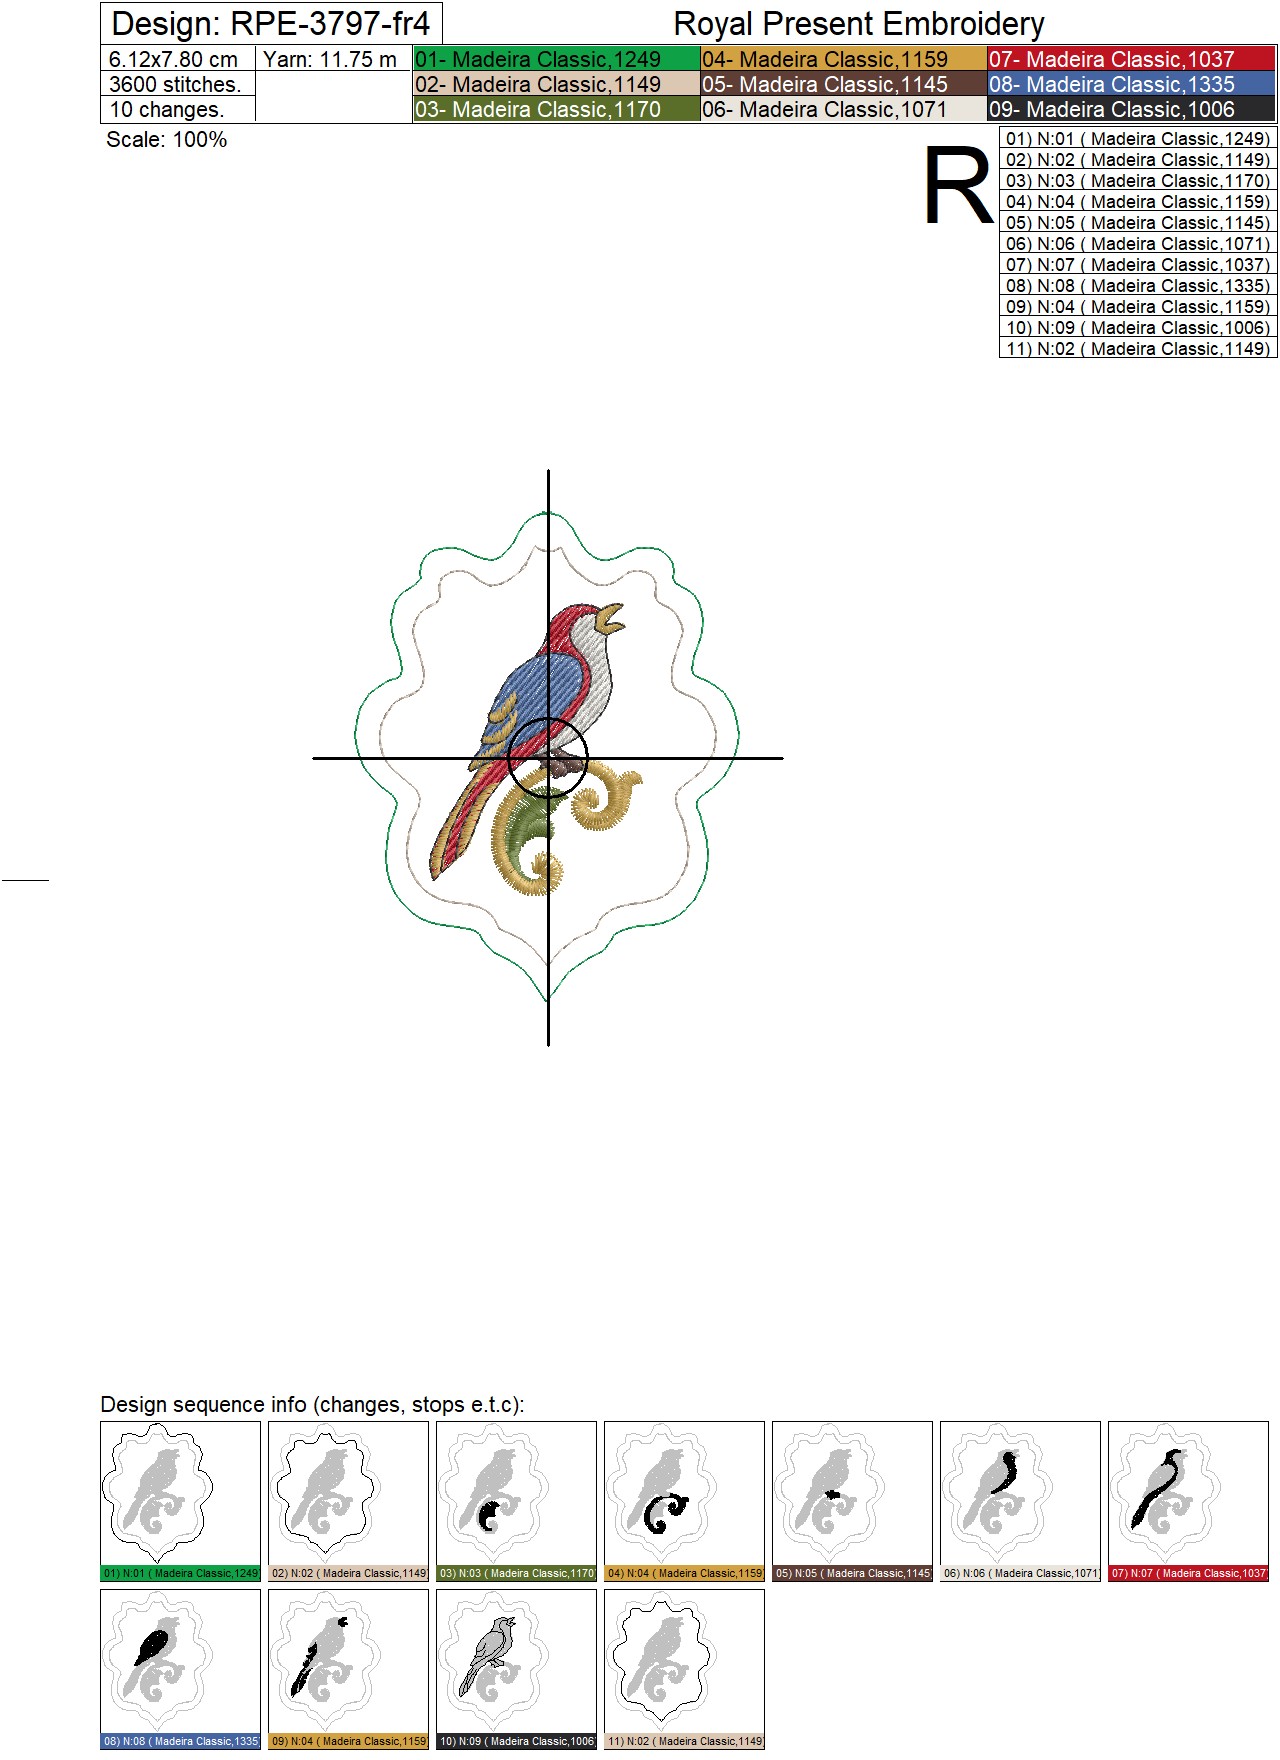
4. Four Calling Birds
Size: 61.2x78.0 mm (2.41x3.07"), Stitches: 3600
Size: 69.0x88.0 mm (2.72x3.46"), Stitches: 4100
Size: 77.0x98.0 mm (3.03x3.86"), Stitches: 4500
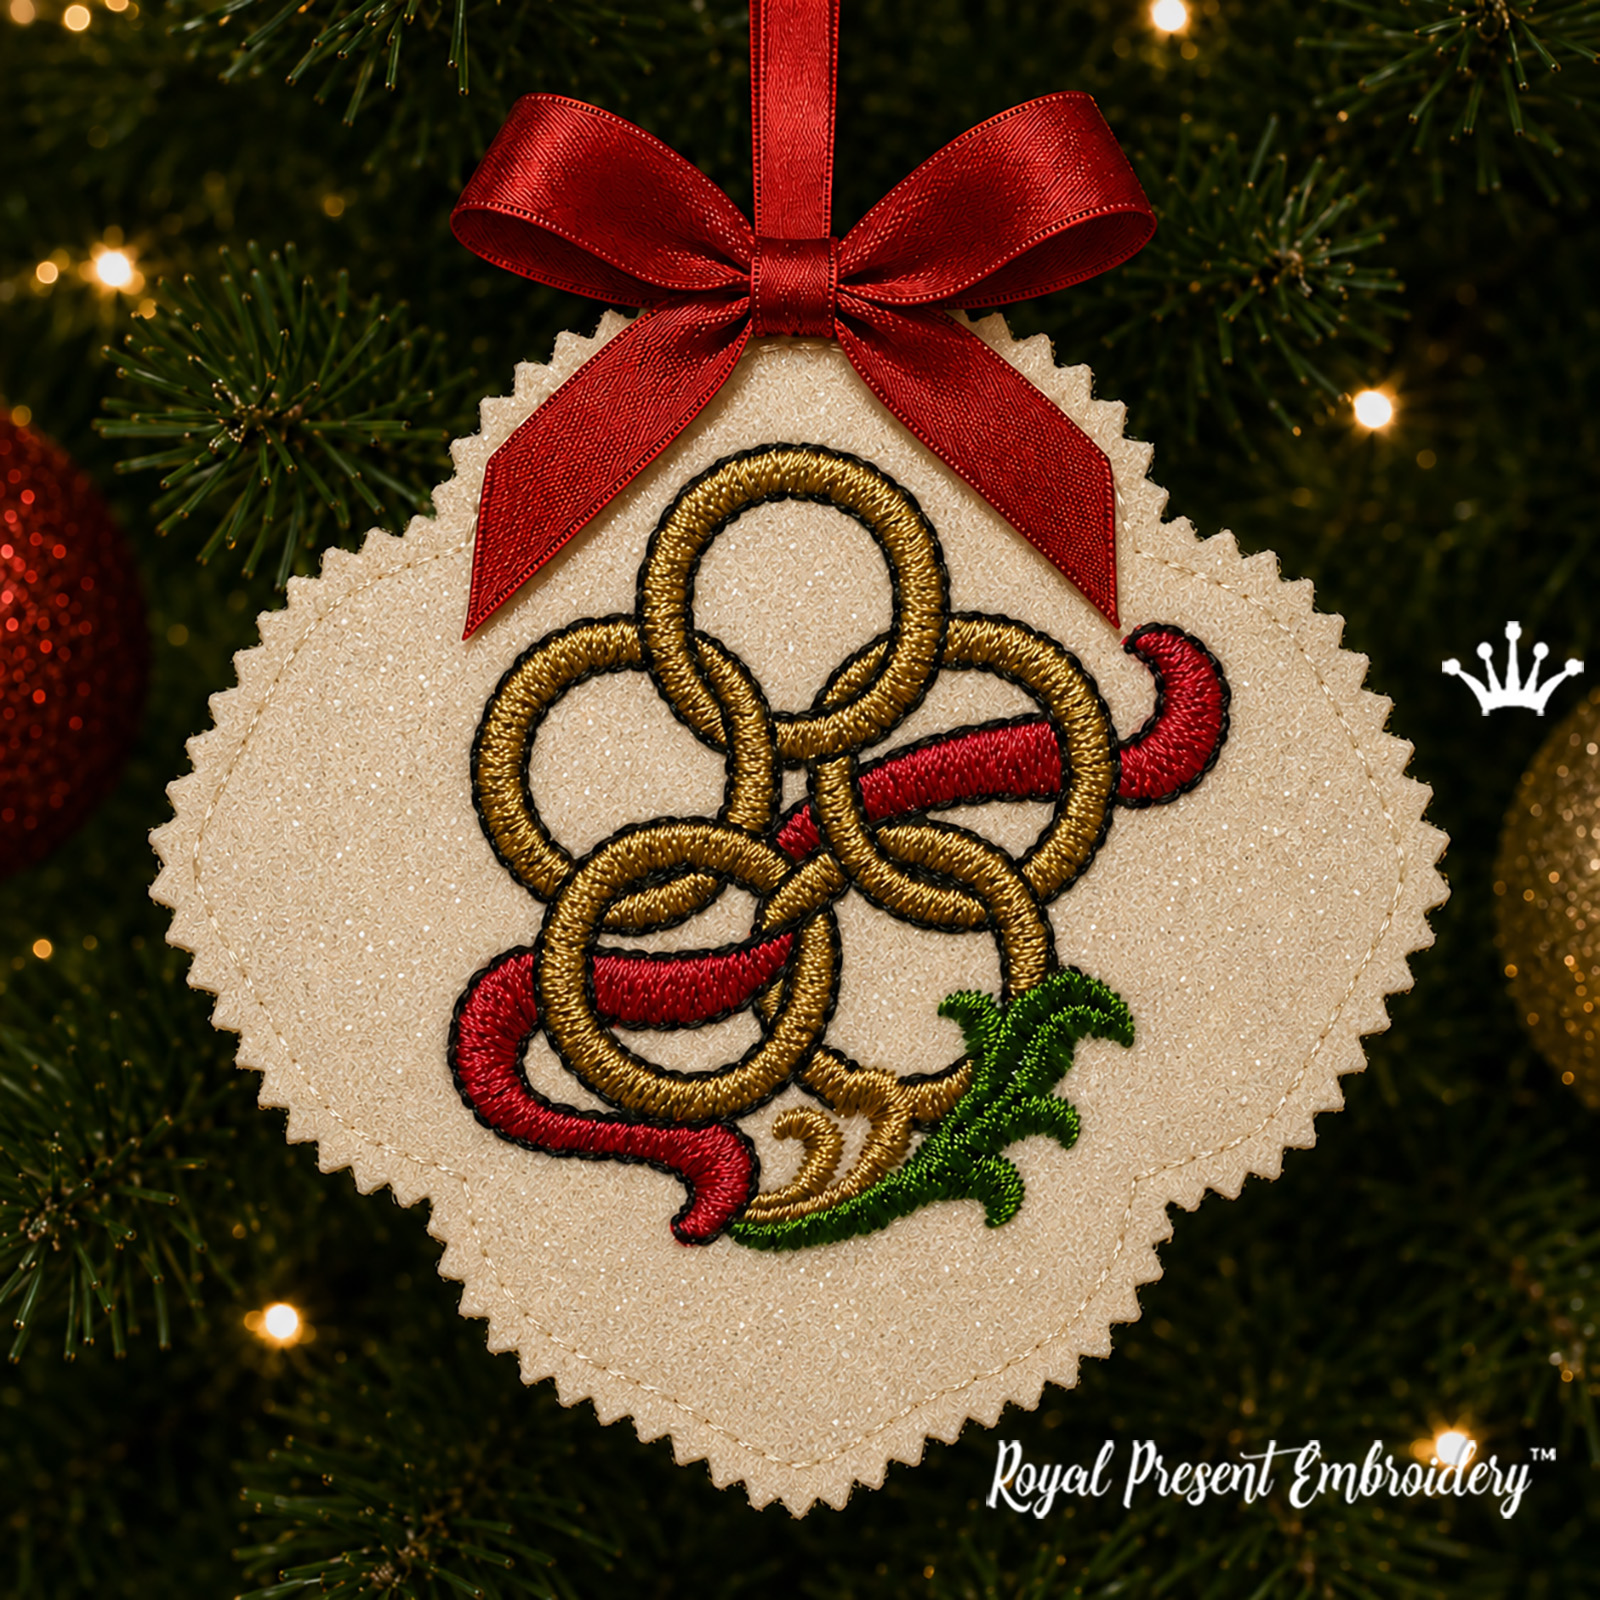
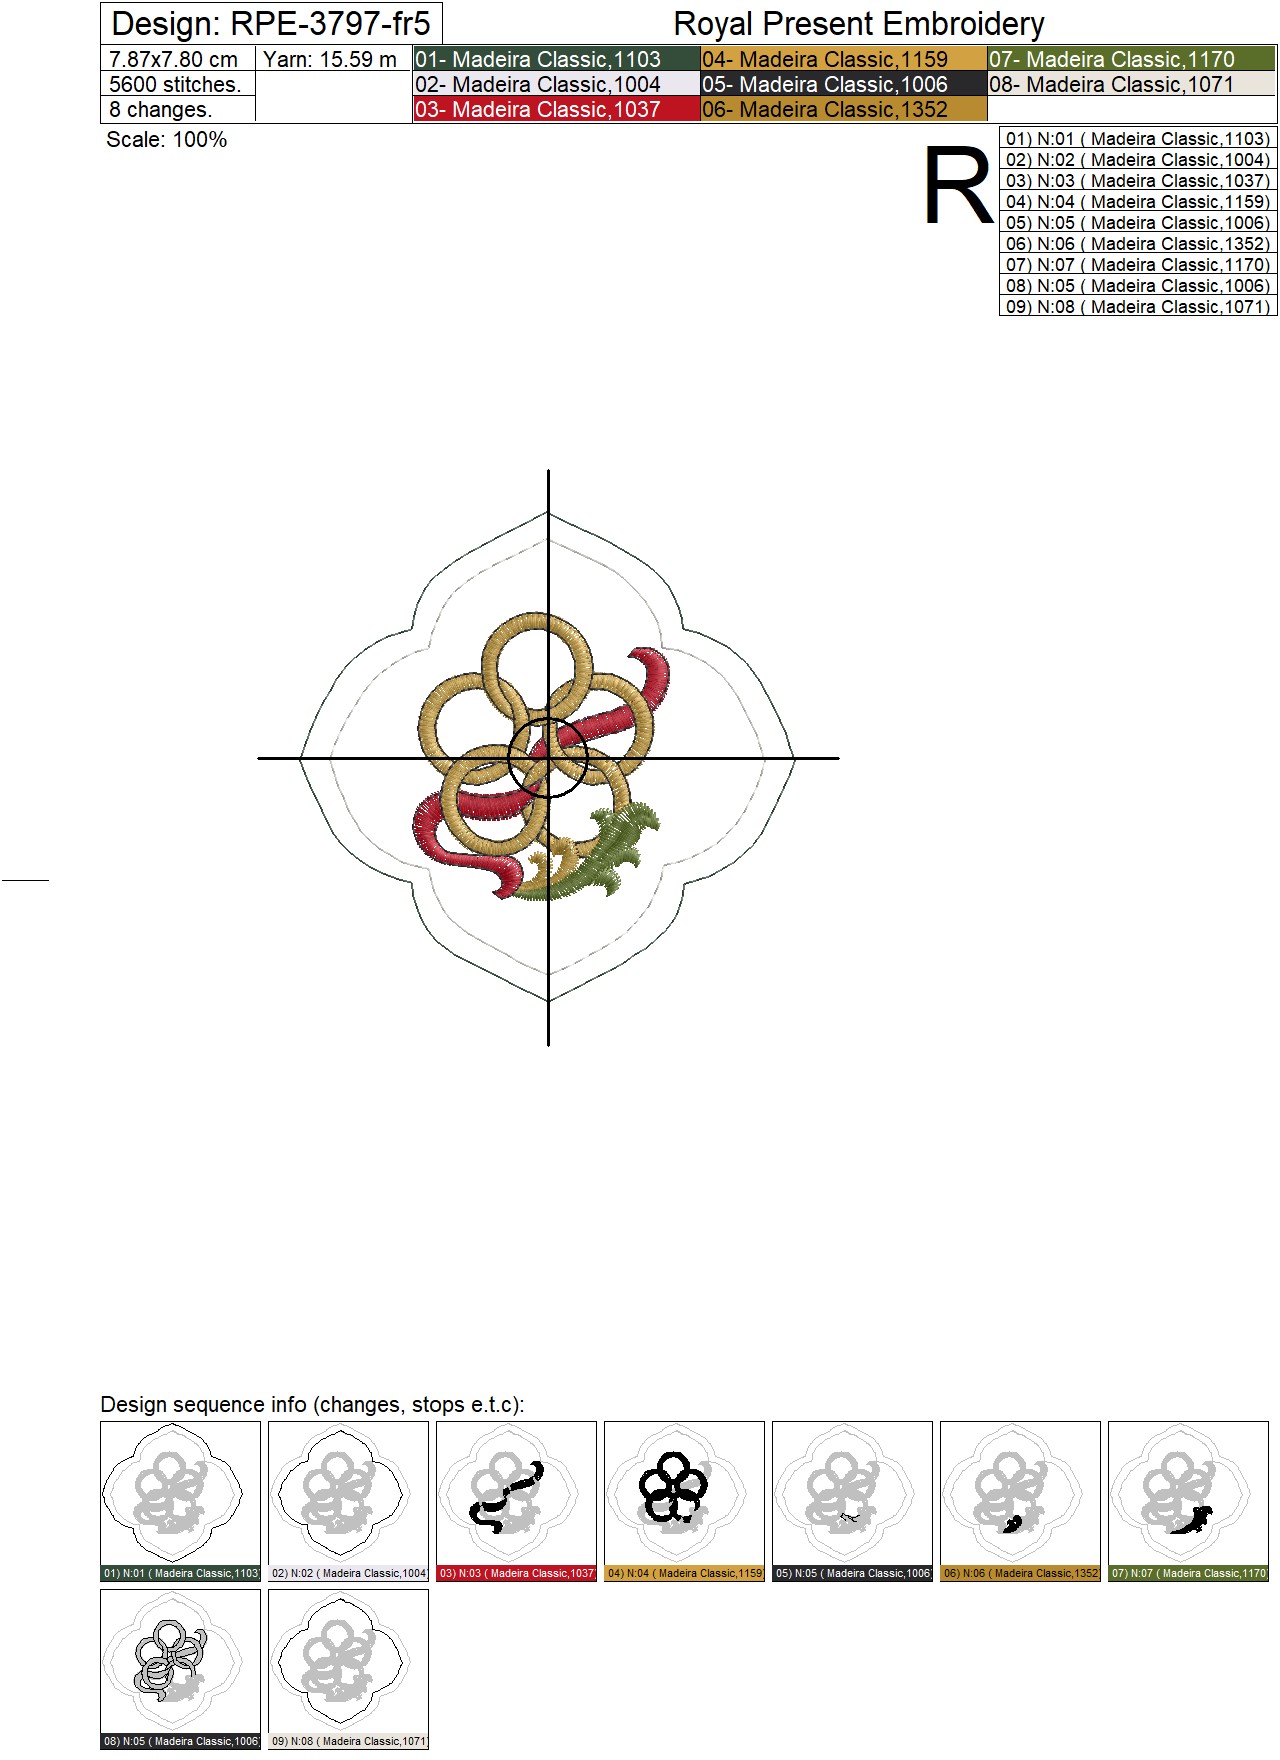
5. Five Gold Rings
Size: 78.7x78.0 mm (3.10x3.07"), Stitches: 5600
Size: 89.0x88.3 mm (3.50x3.48"), Stitches: 6100
Size: 98.0x97.2 mm (3.86x3.83"), Stitches: 6700
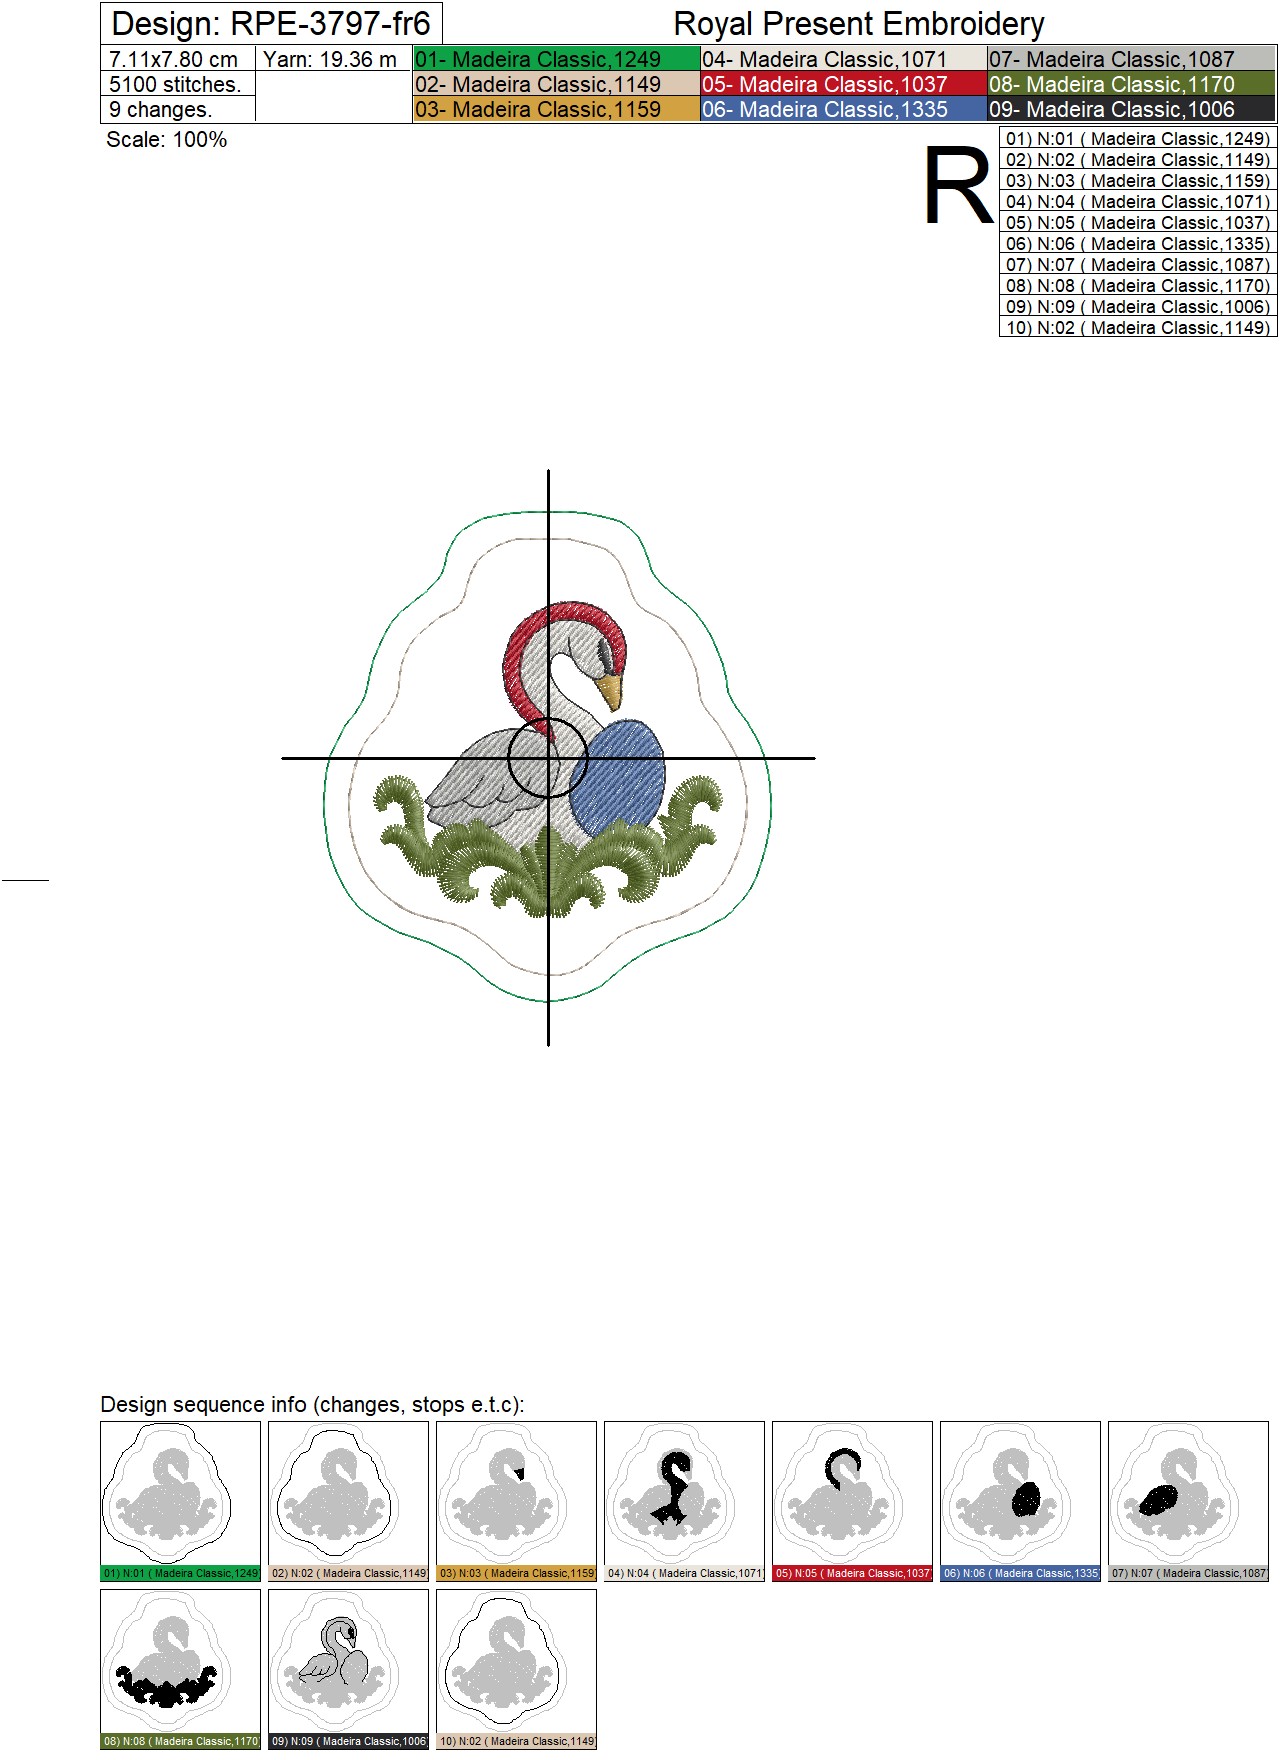
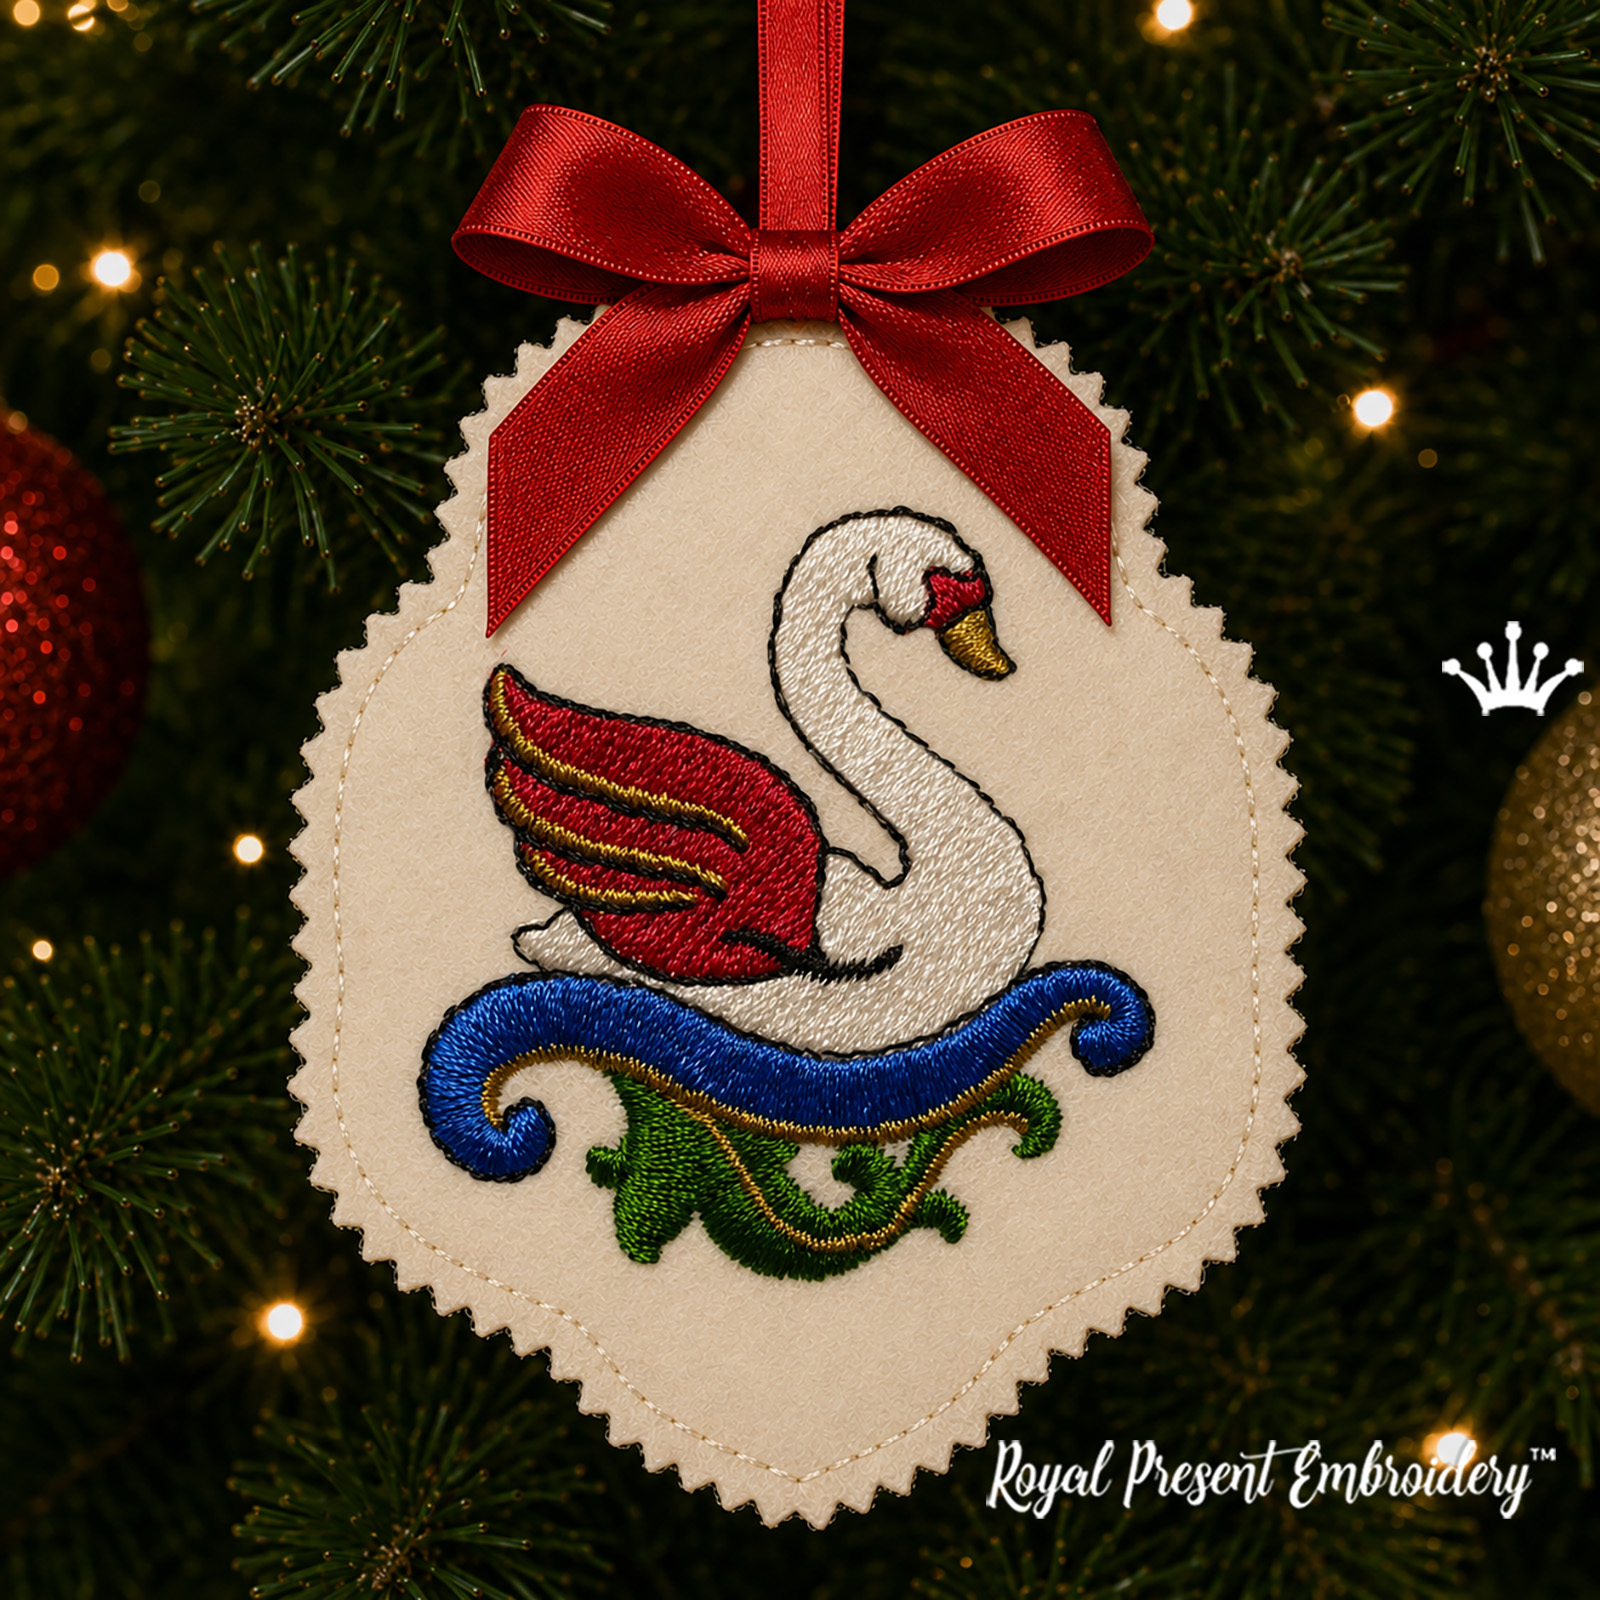
6. Six Geese a-Laying
Size: 71.1x78.0 mm (2.80x3.07"), Stitches: 5100
Size: 80.8x88.6 mm (3.18x3.49"), Stitches: 5800
Size: 88.9x97.5 mm (3.50x3.84"), Stitches: 6500
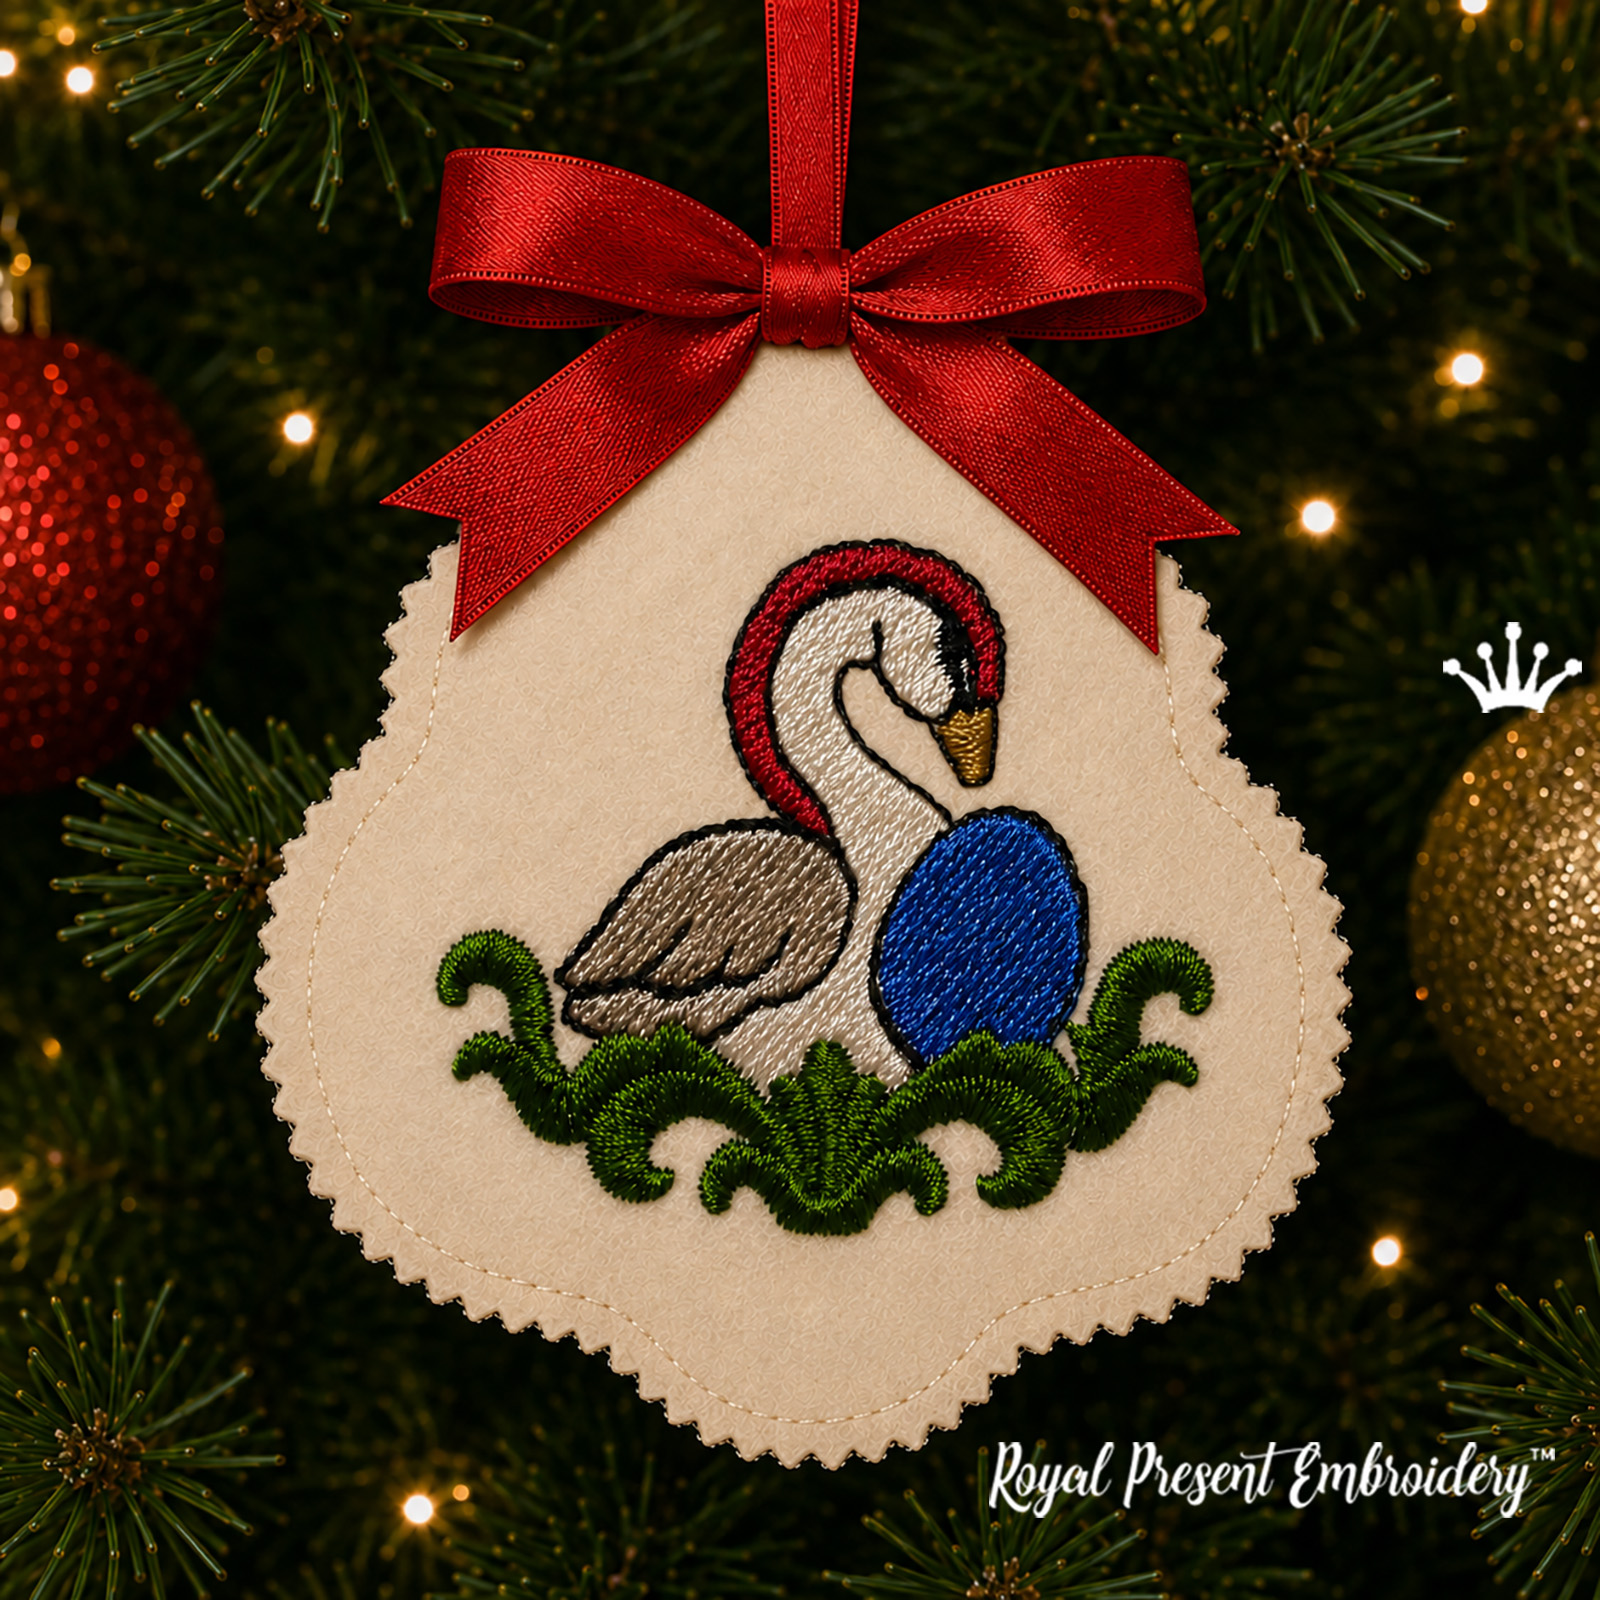
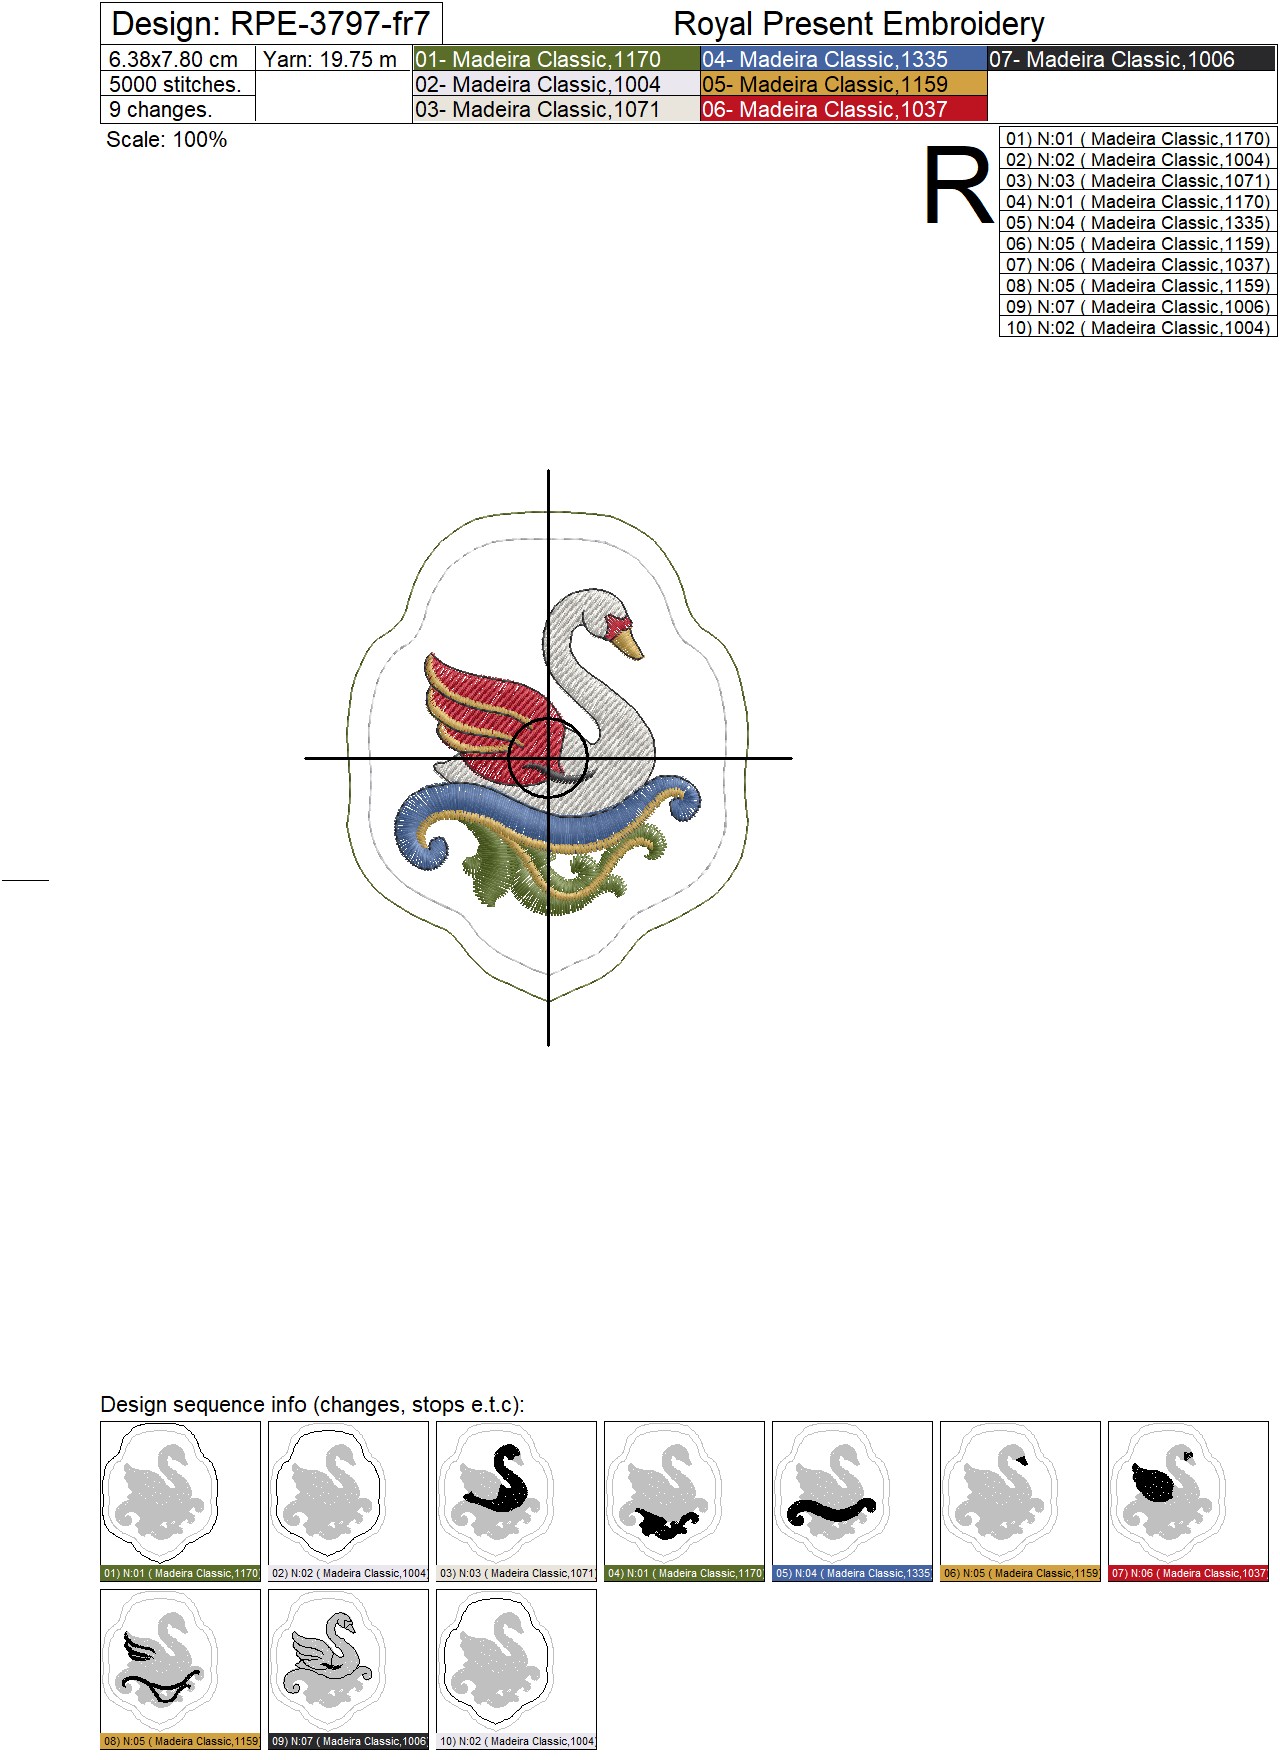
7. Seven Swans a-Swimming
Size: 63.8x78.0 mm (2.51x3.07"), Stitches: 5000
Size: 70.3x85.8 mm (2.77x3.38"), Stitches: 5600
Size: 77.3x94.4 mm (3.04x3.72"), Stitches: 6600
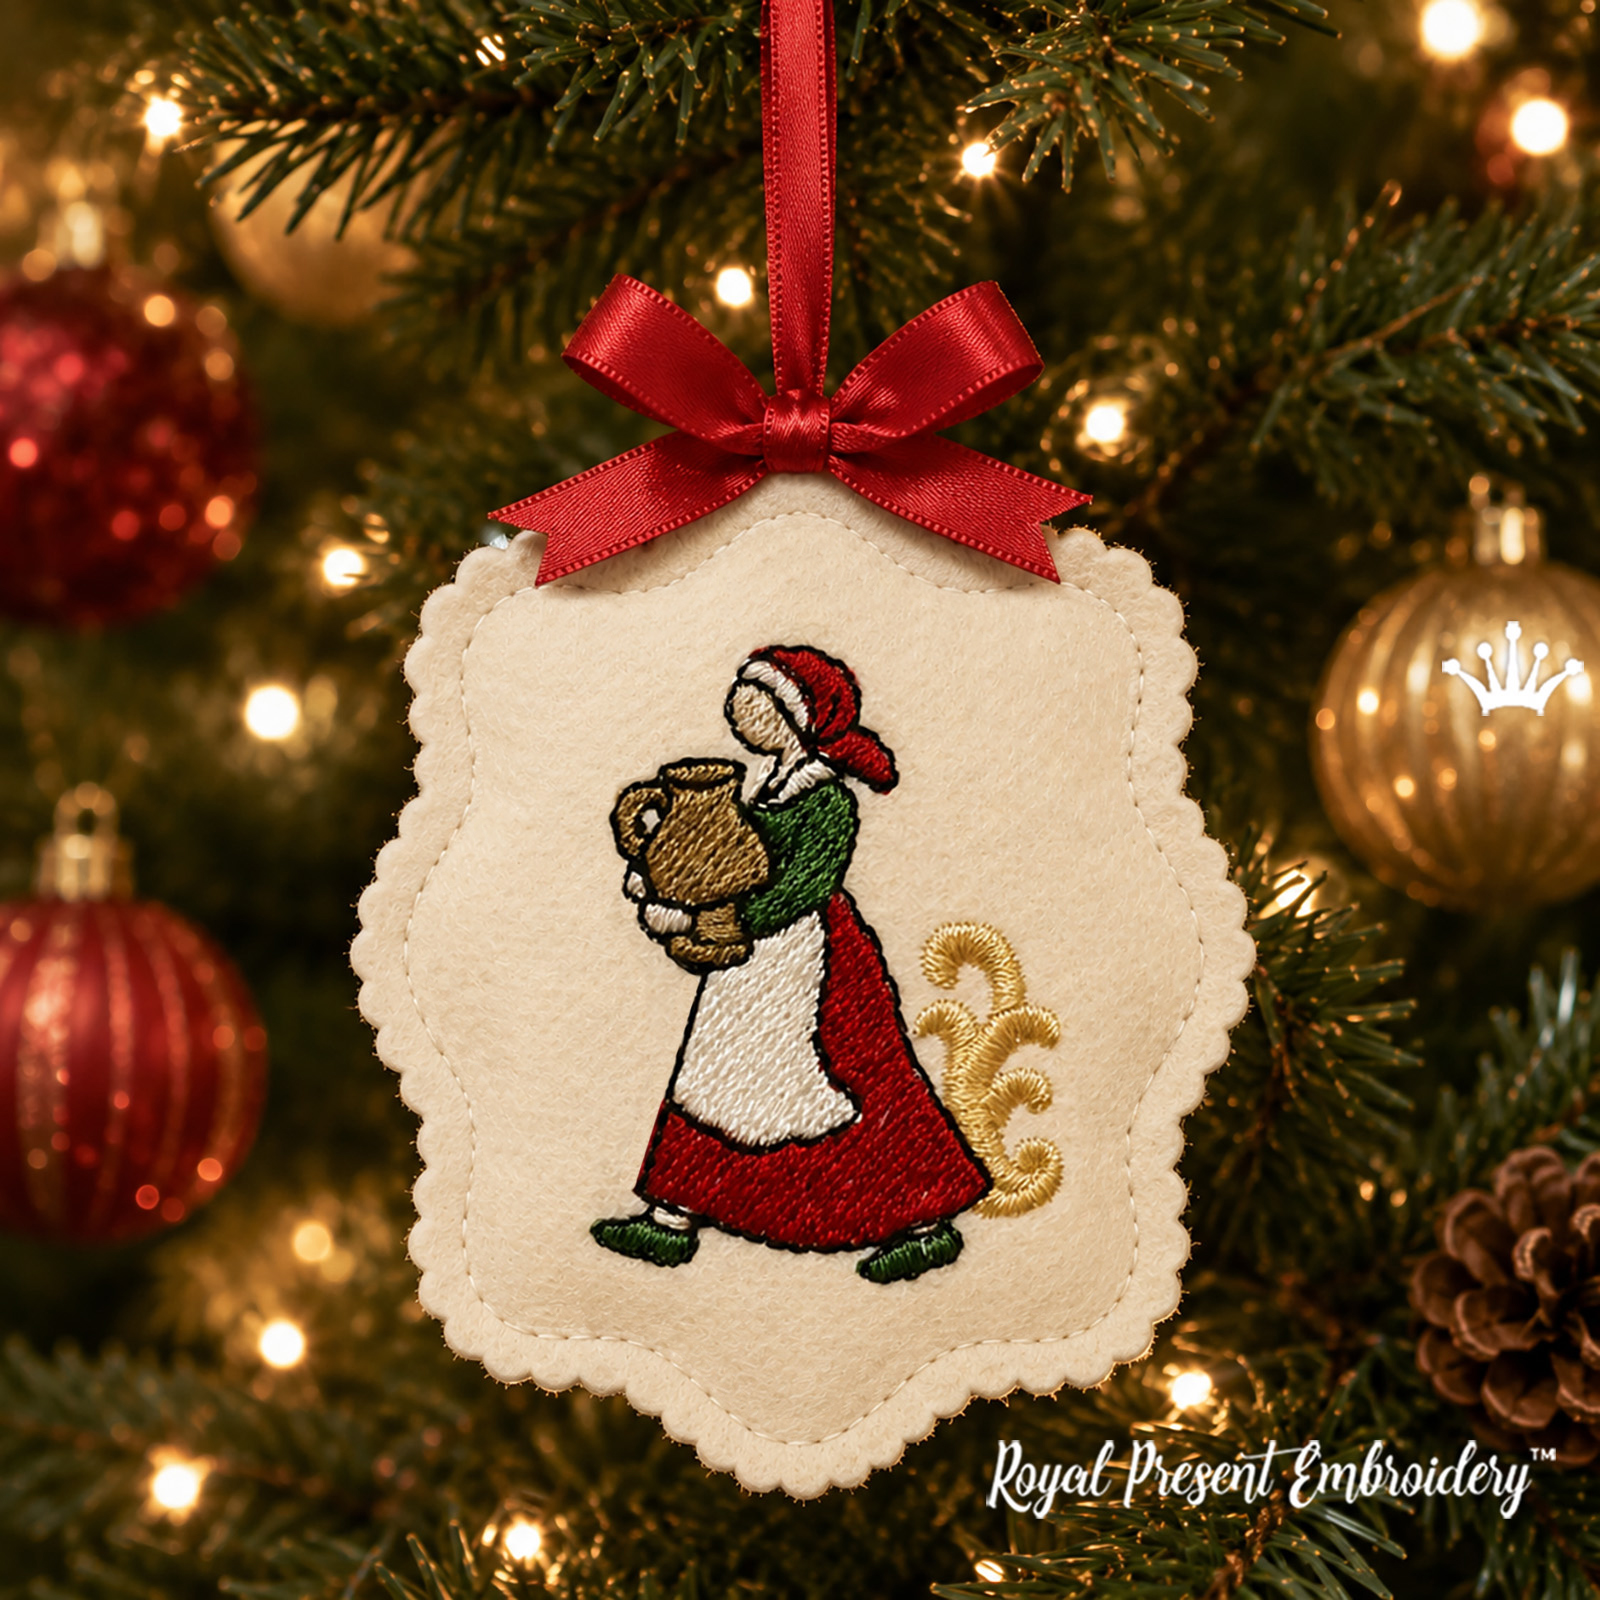
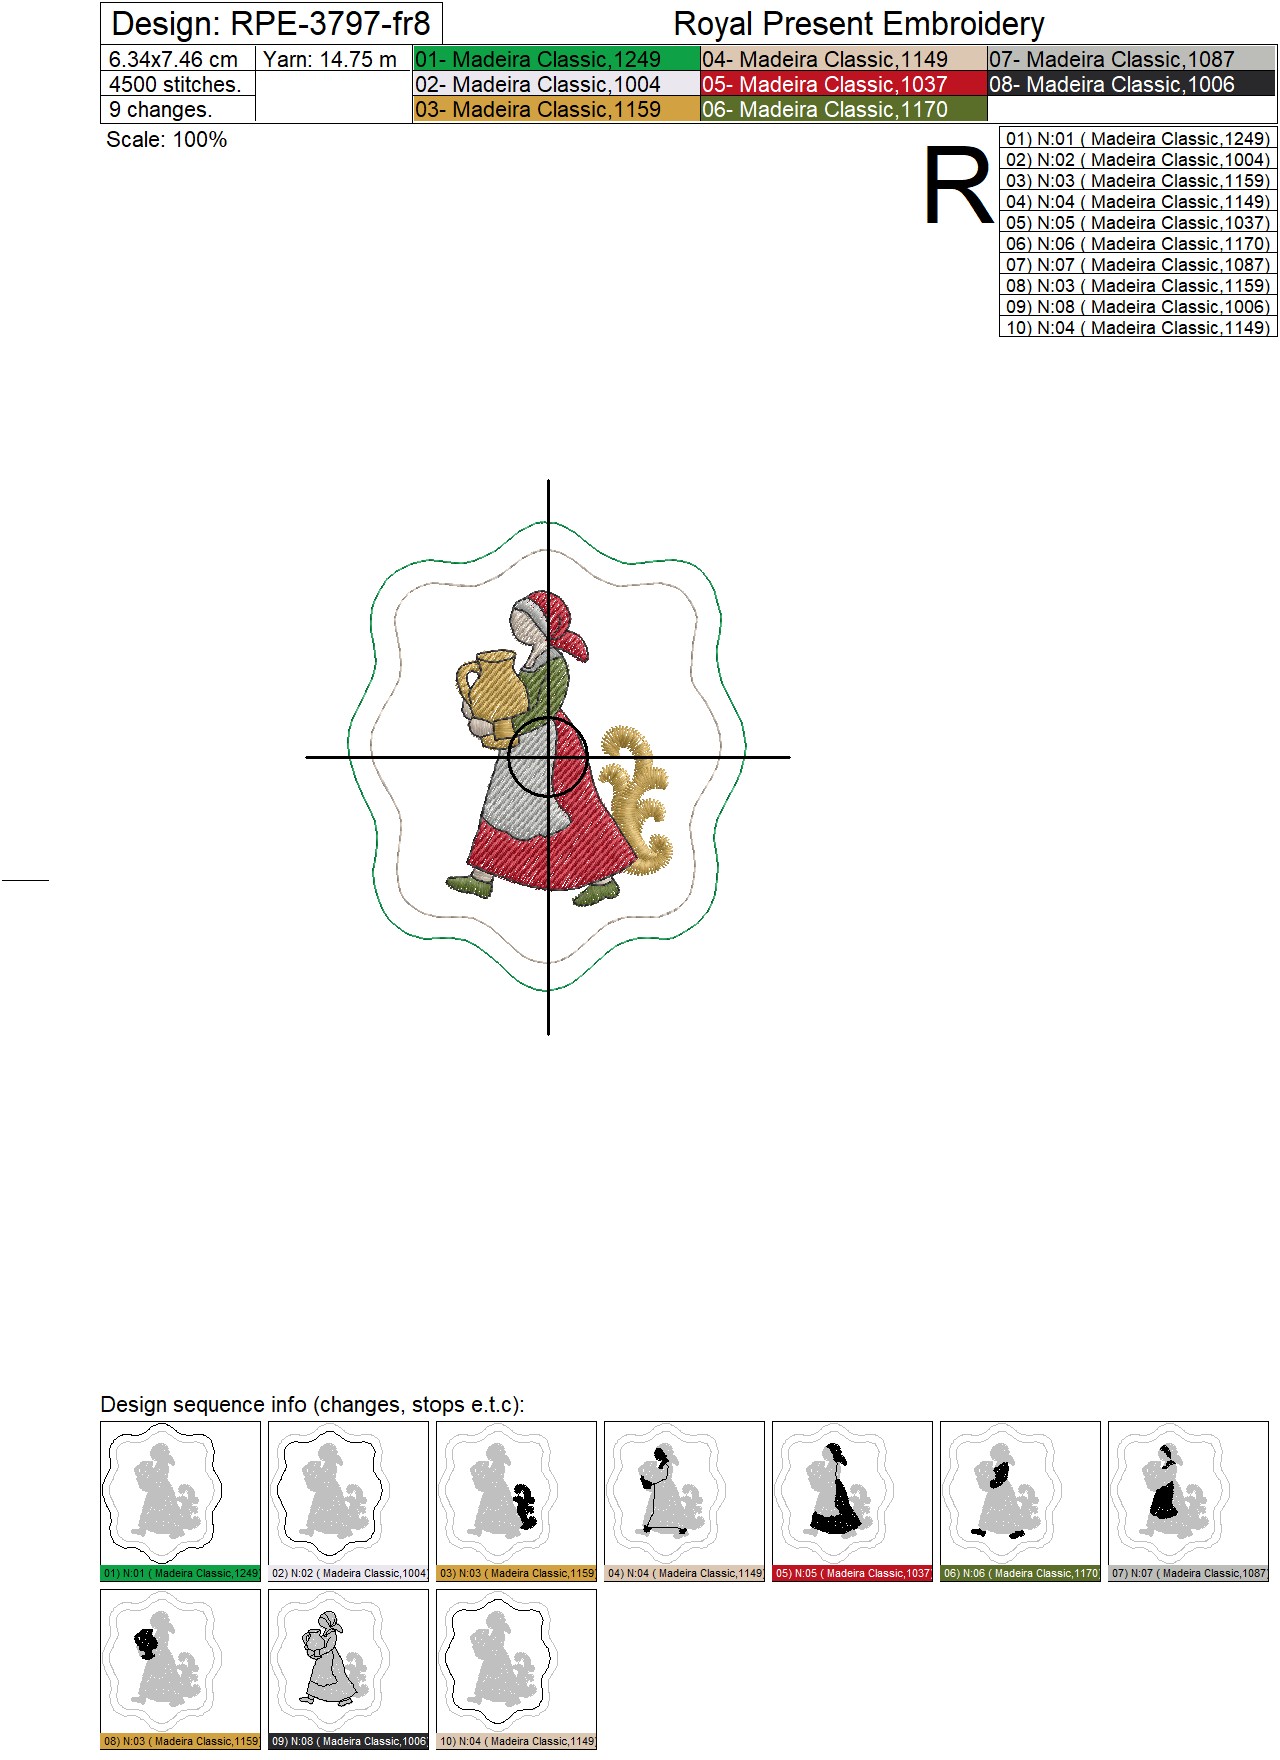
8. Eight Maids a-Milking
Size: 63.4x74.6 mm (2.50x2.94"), Stitches: 4500
Size: 69.8x82.0 mm (2.75x3.23"), Stitches: 4900
Size: 81.5x96.0 mm (3.21x3.78"), Stitches: 5800
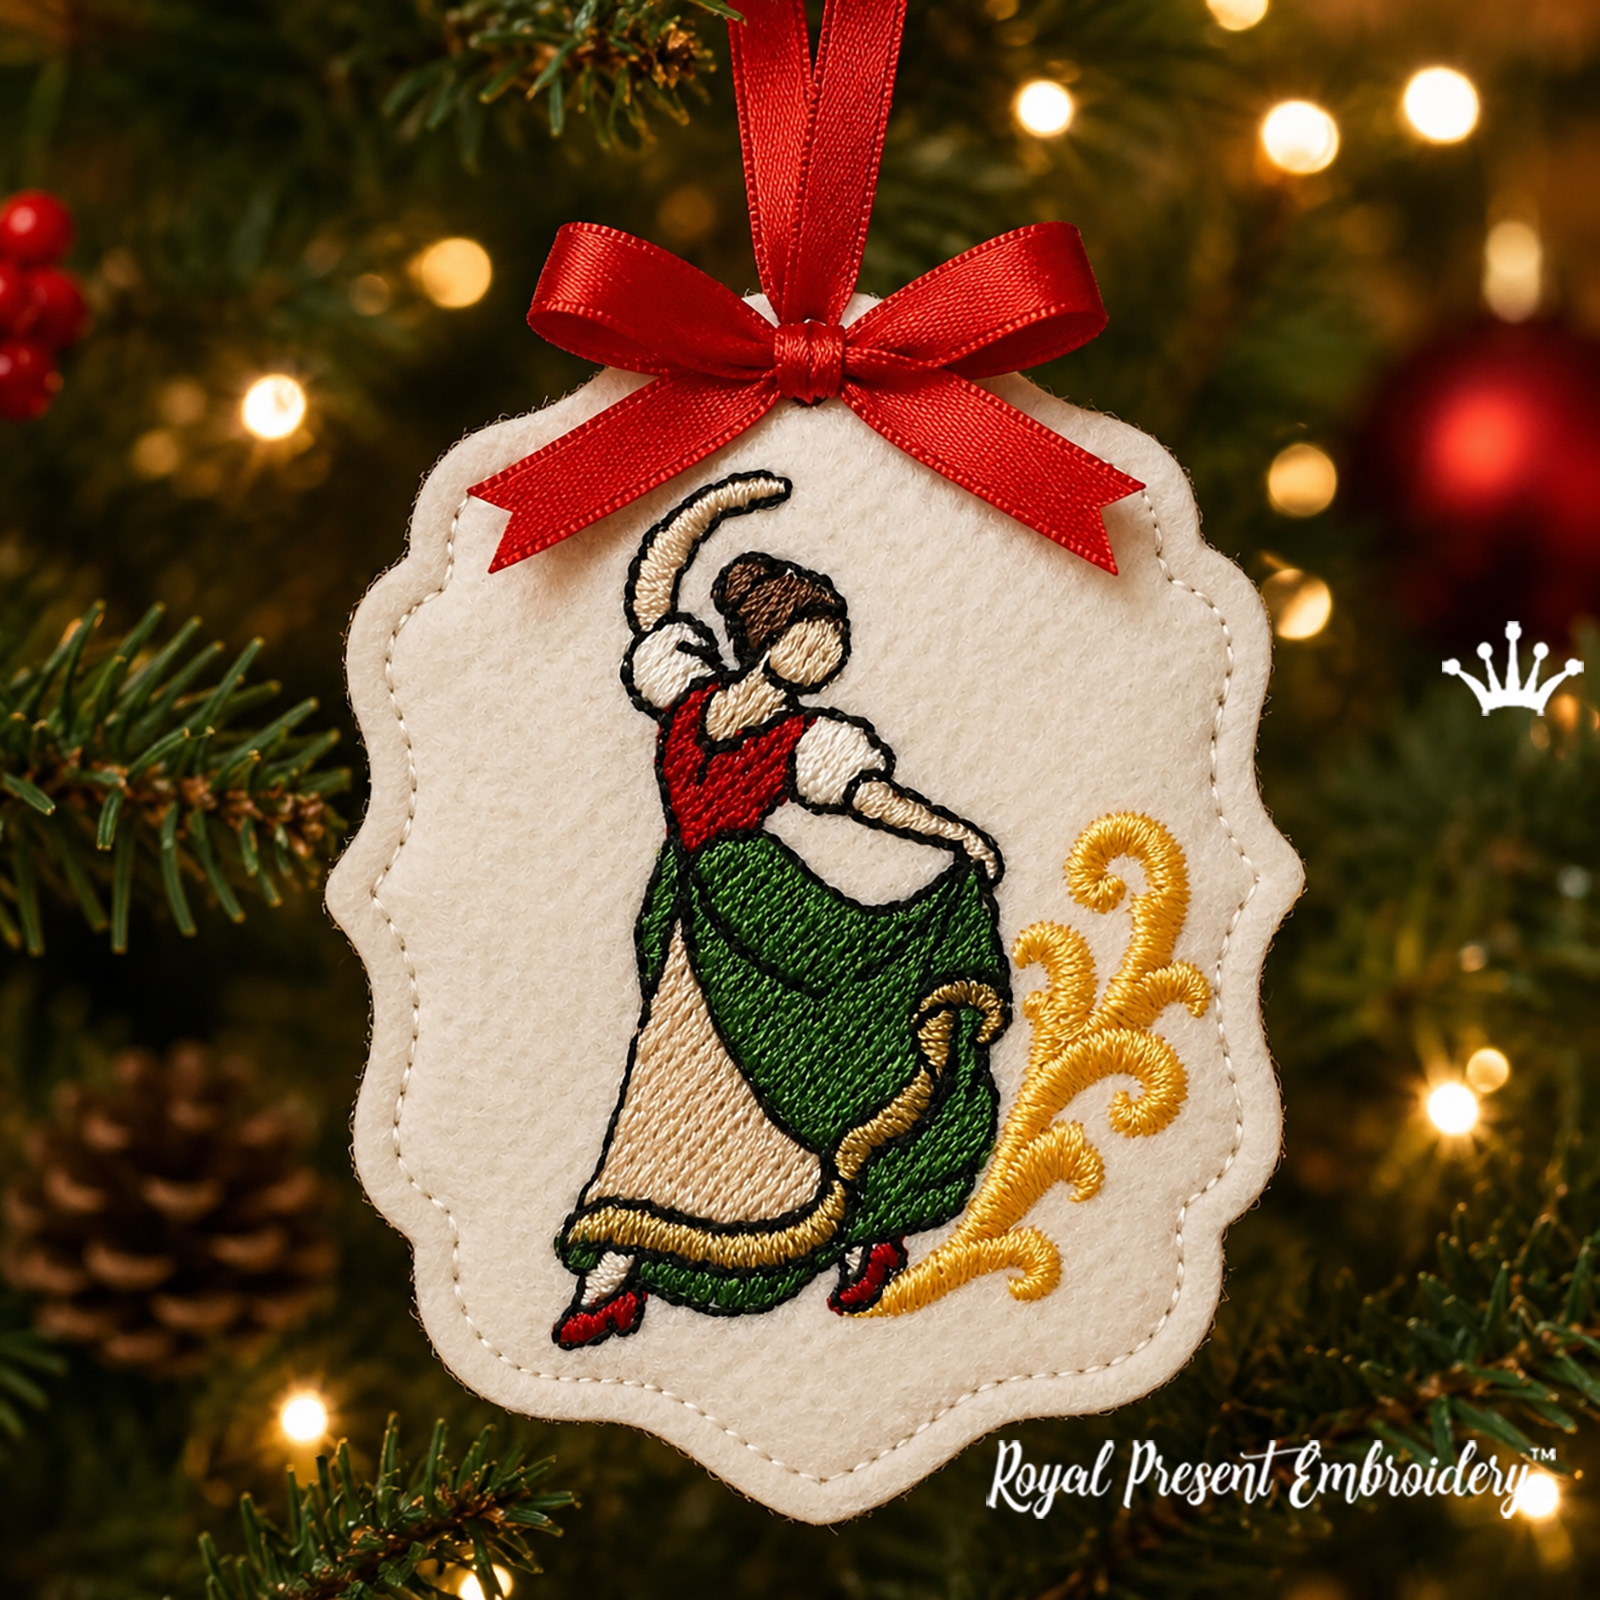
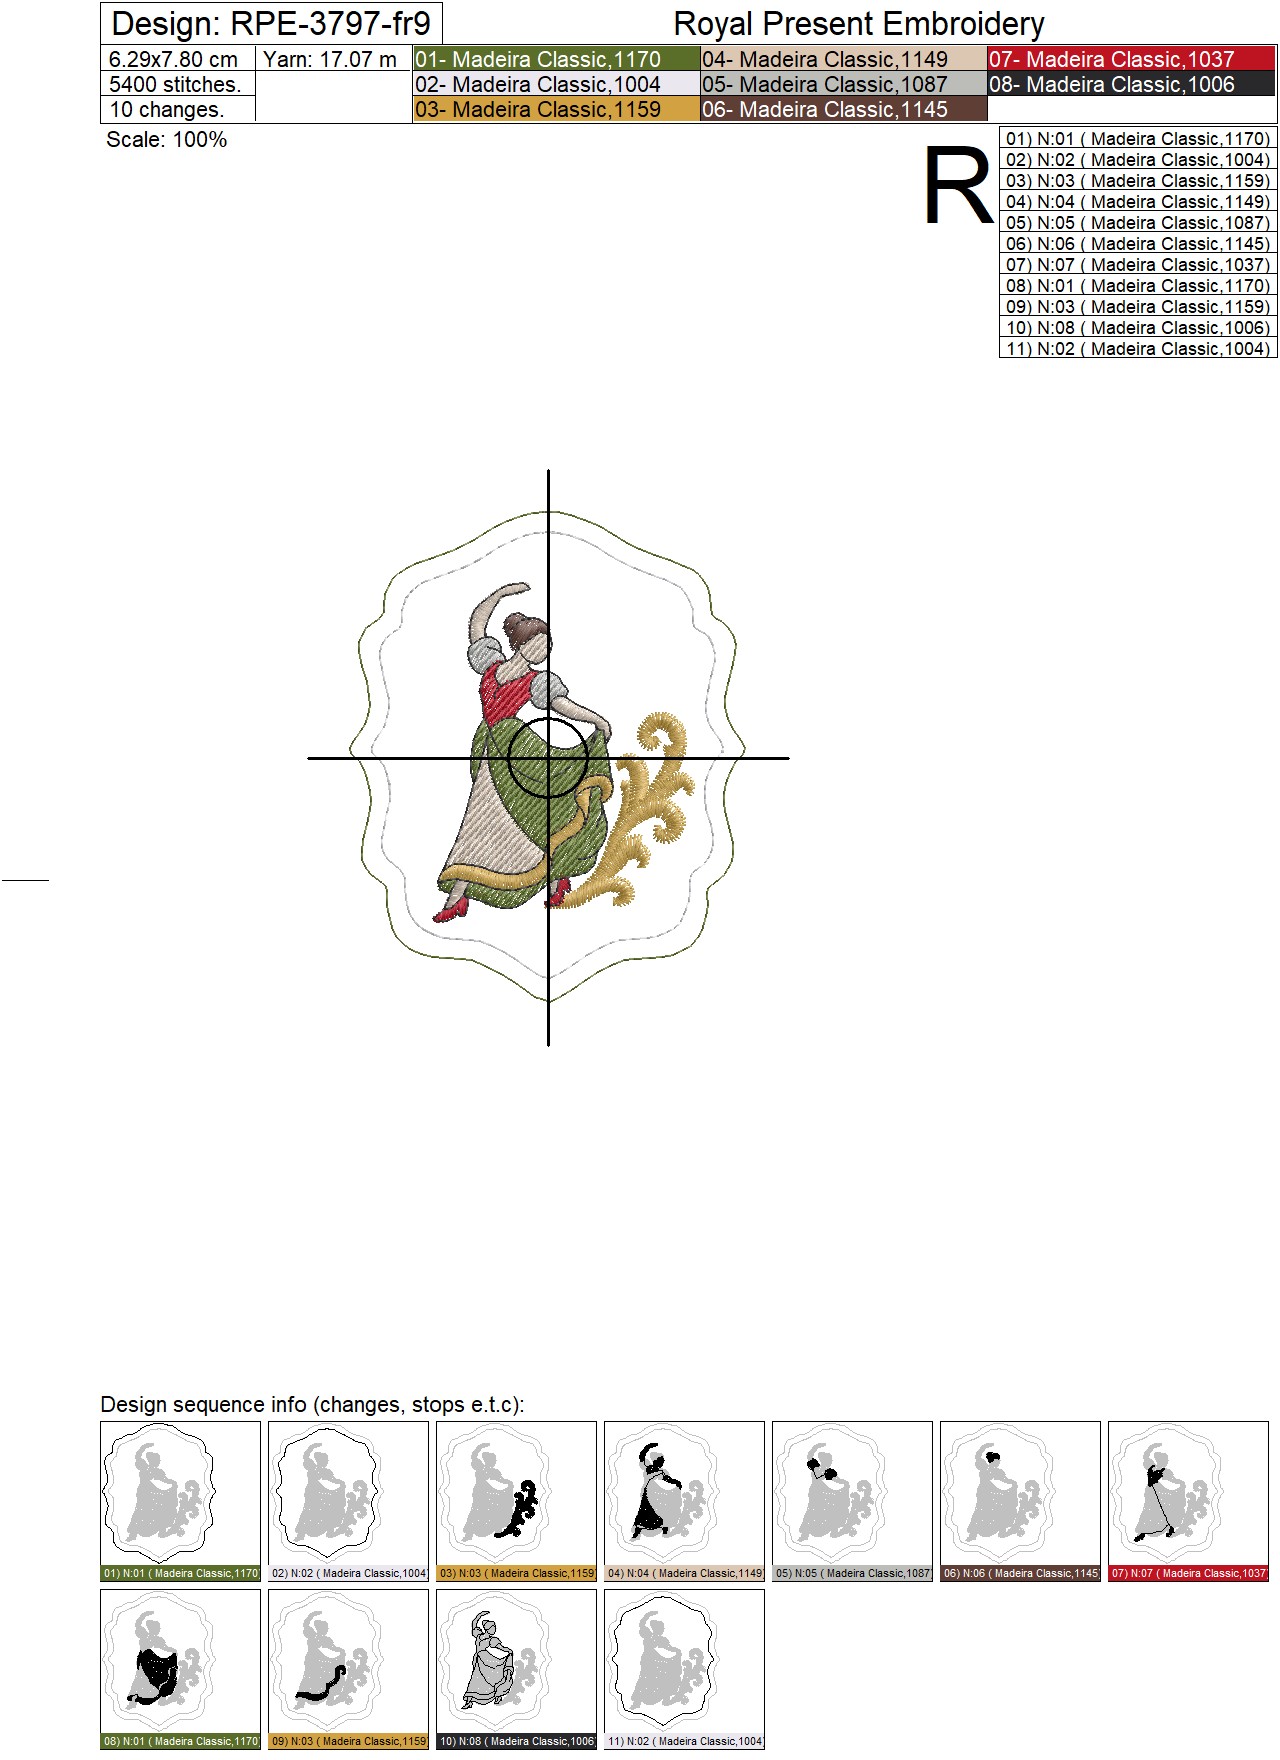
9. Nine Ladies Dancing
Size: 62.9x78.0 mm (2.48x3.07"), Stitches: 5320
Size: 72.7x90.0 mm (2.86x3.54"), Stitches: 6134
Size: 79.1x98.0 mm (3.11x3.86"), Stitches: 6679
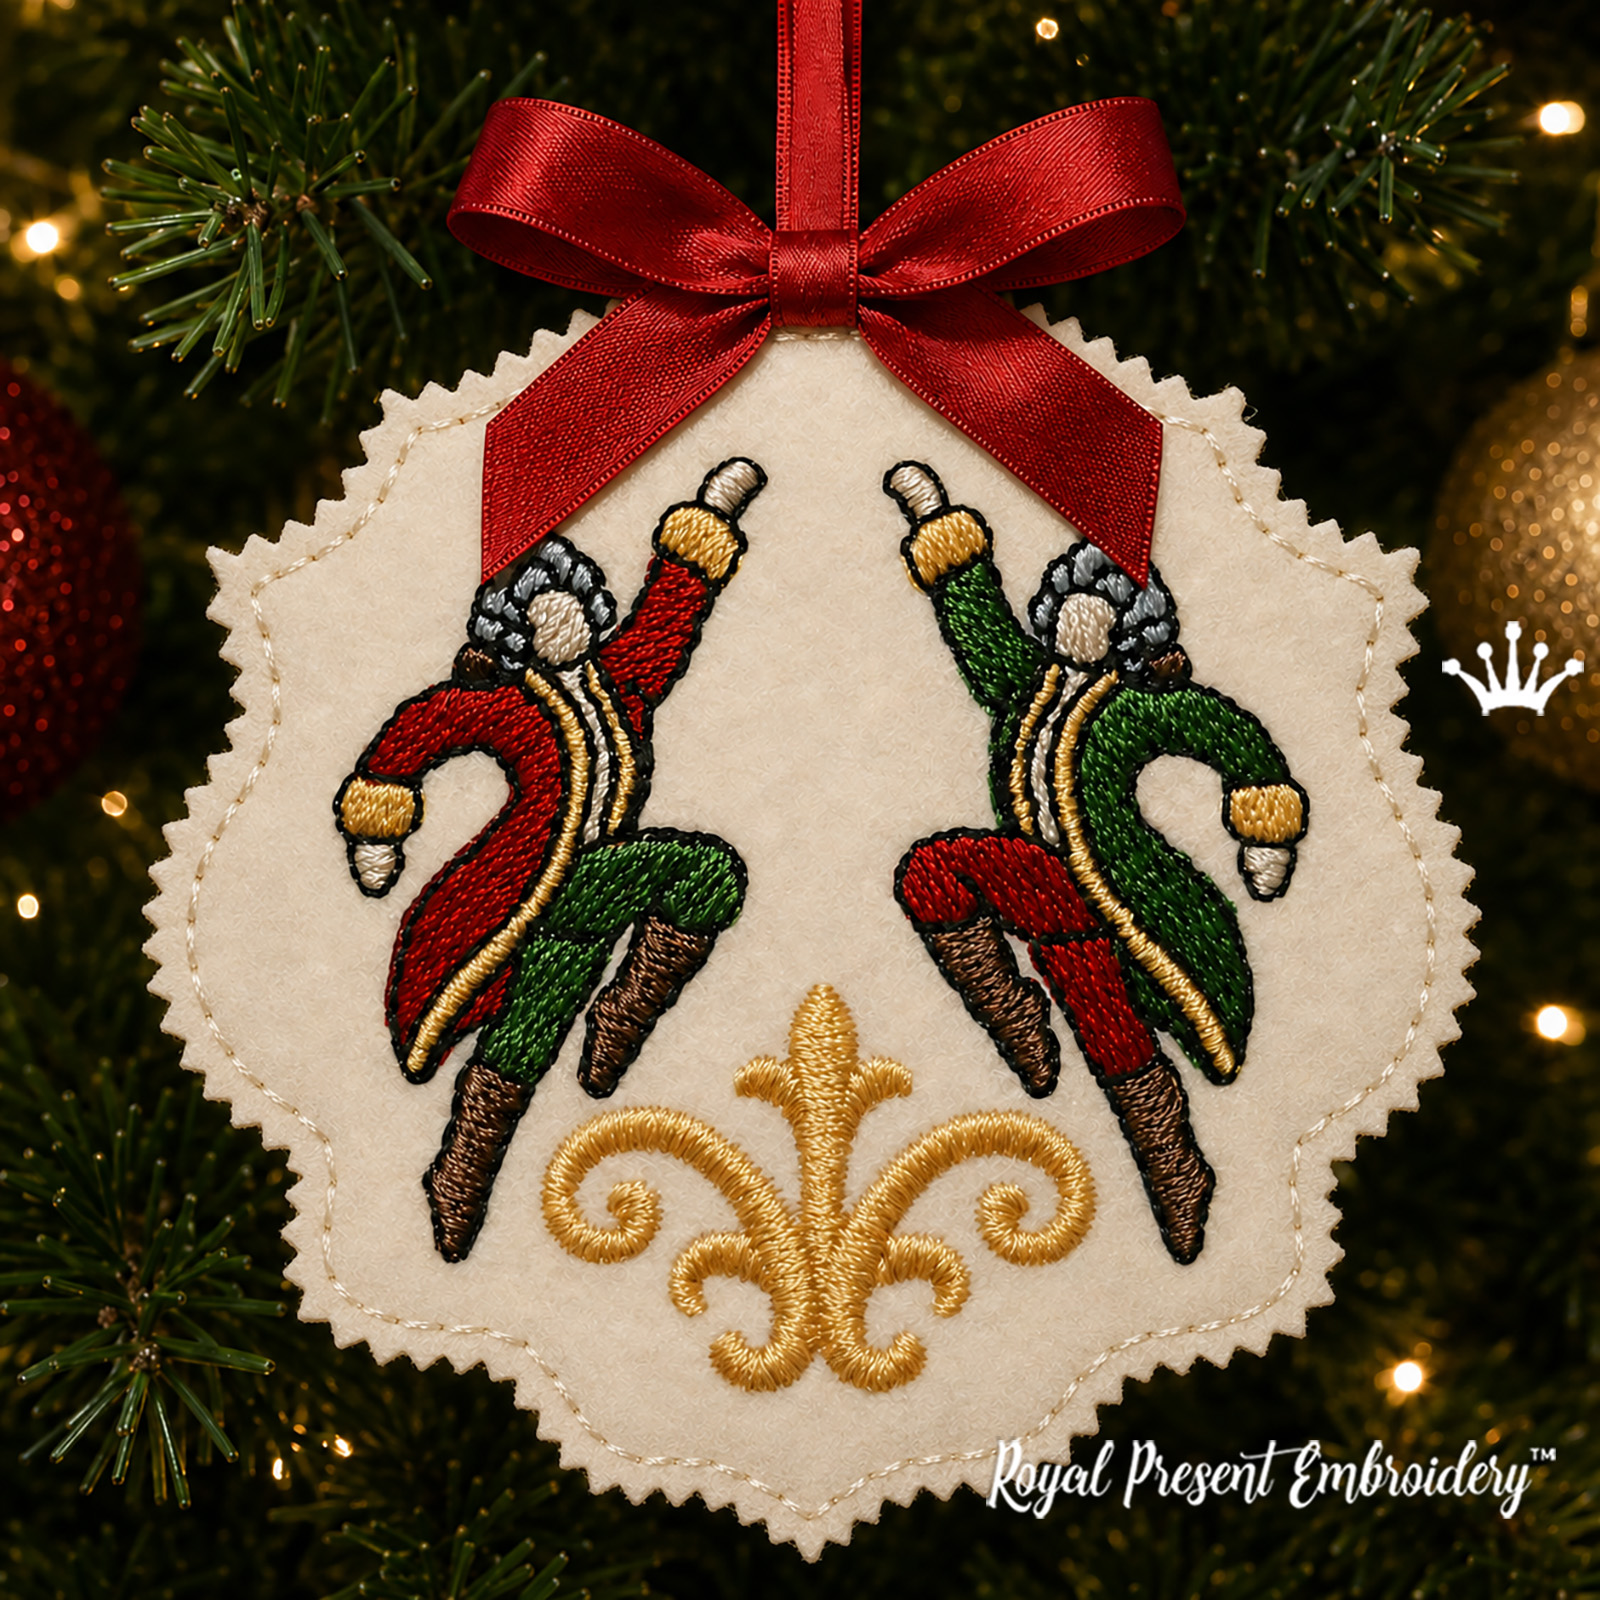
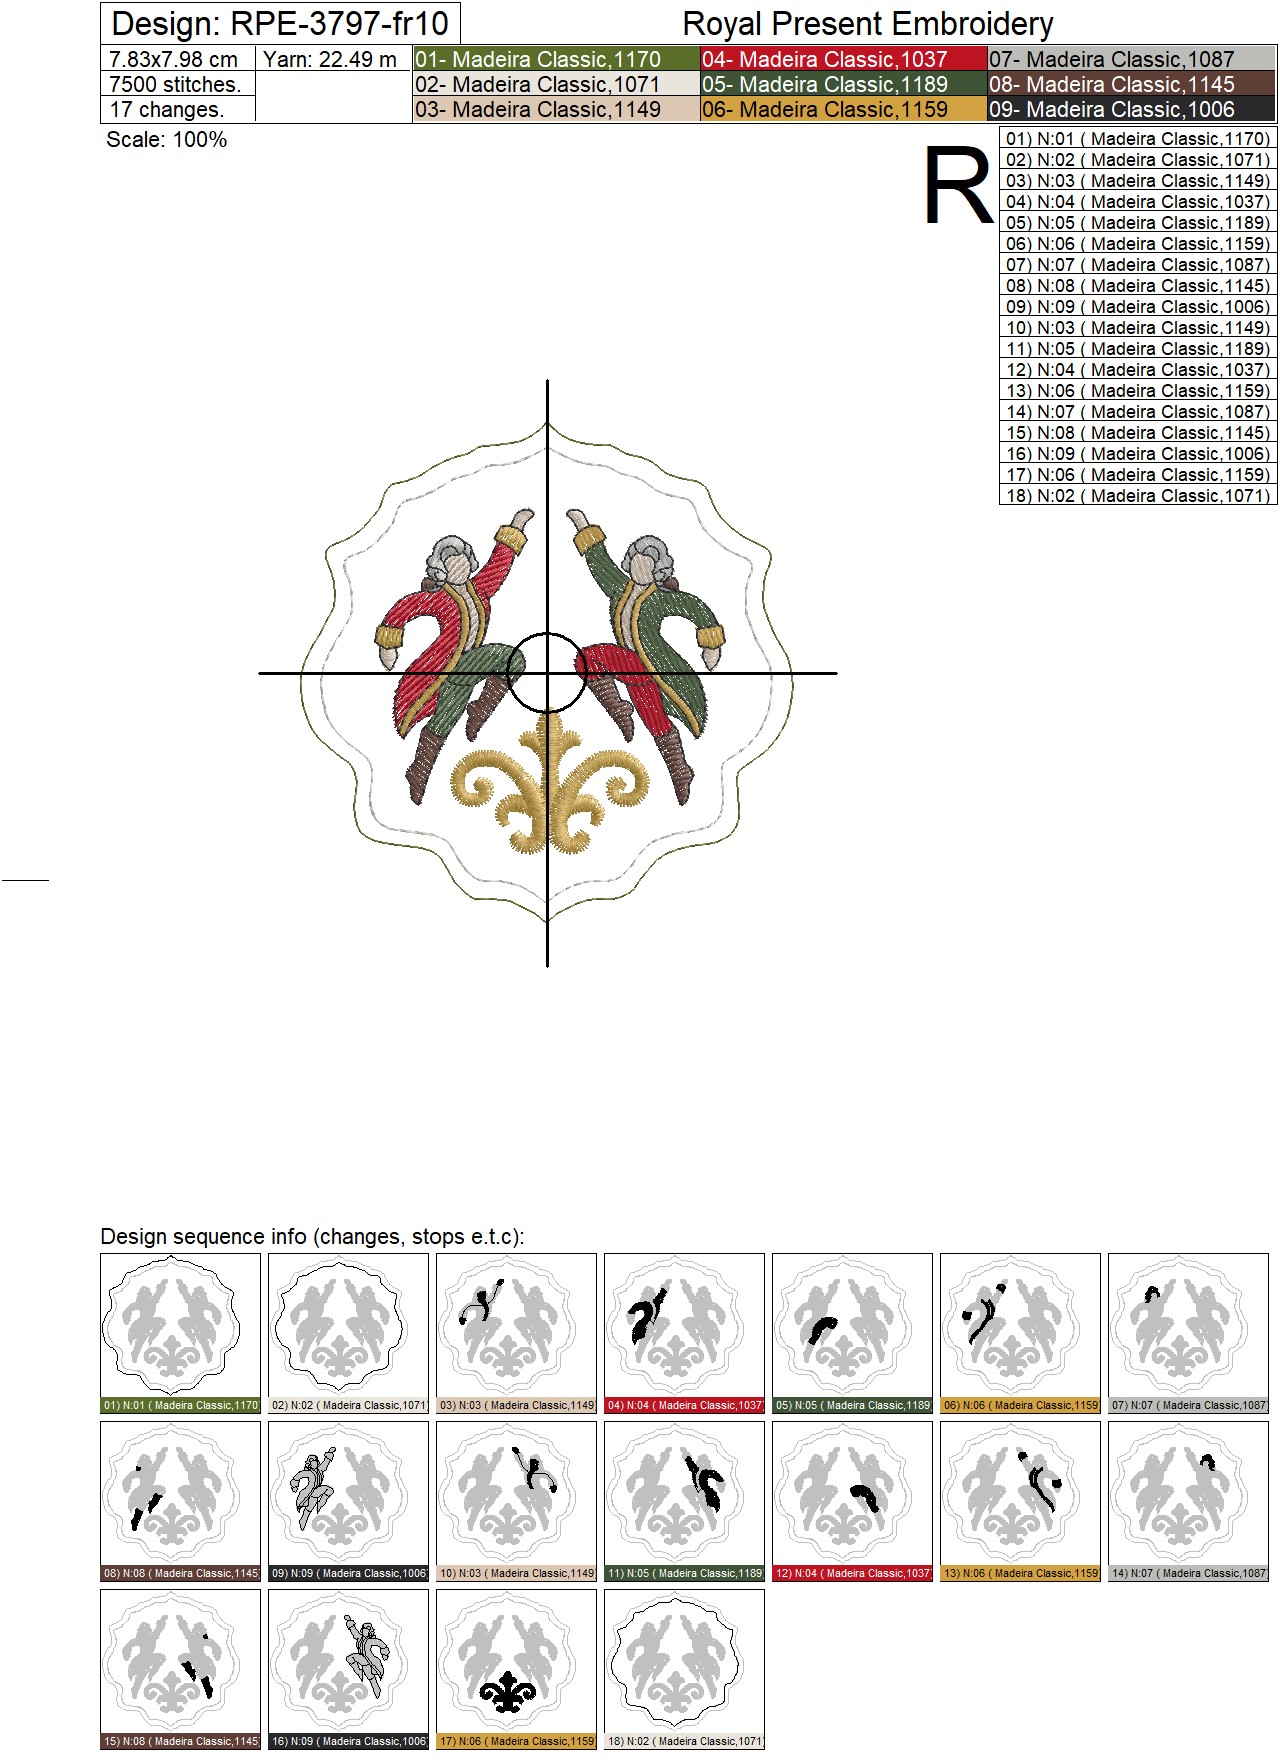
10. Ten Lords a-Leaping
Size: 78.3x79.8 mm (3.08x3.14"), Stitches: 7506
Size: 86.2x87.8 mm (3.39x3.46"), Stitches: 8112
Size: 94.8x96.6 mm (3.73x3.80"), Stitches: 8999
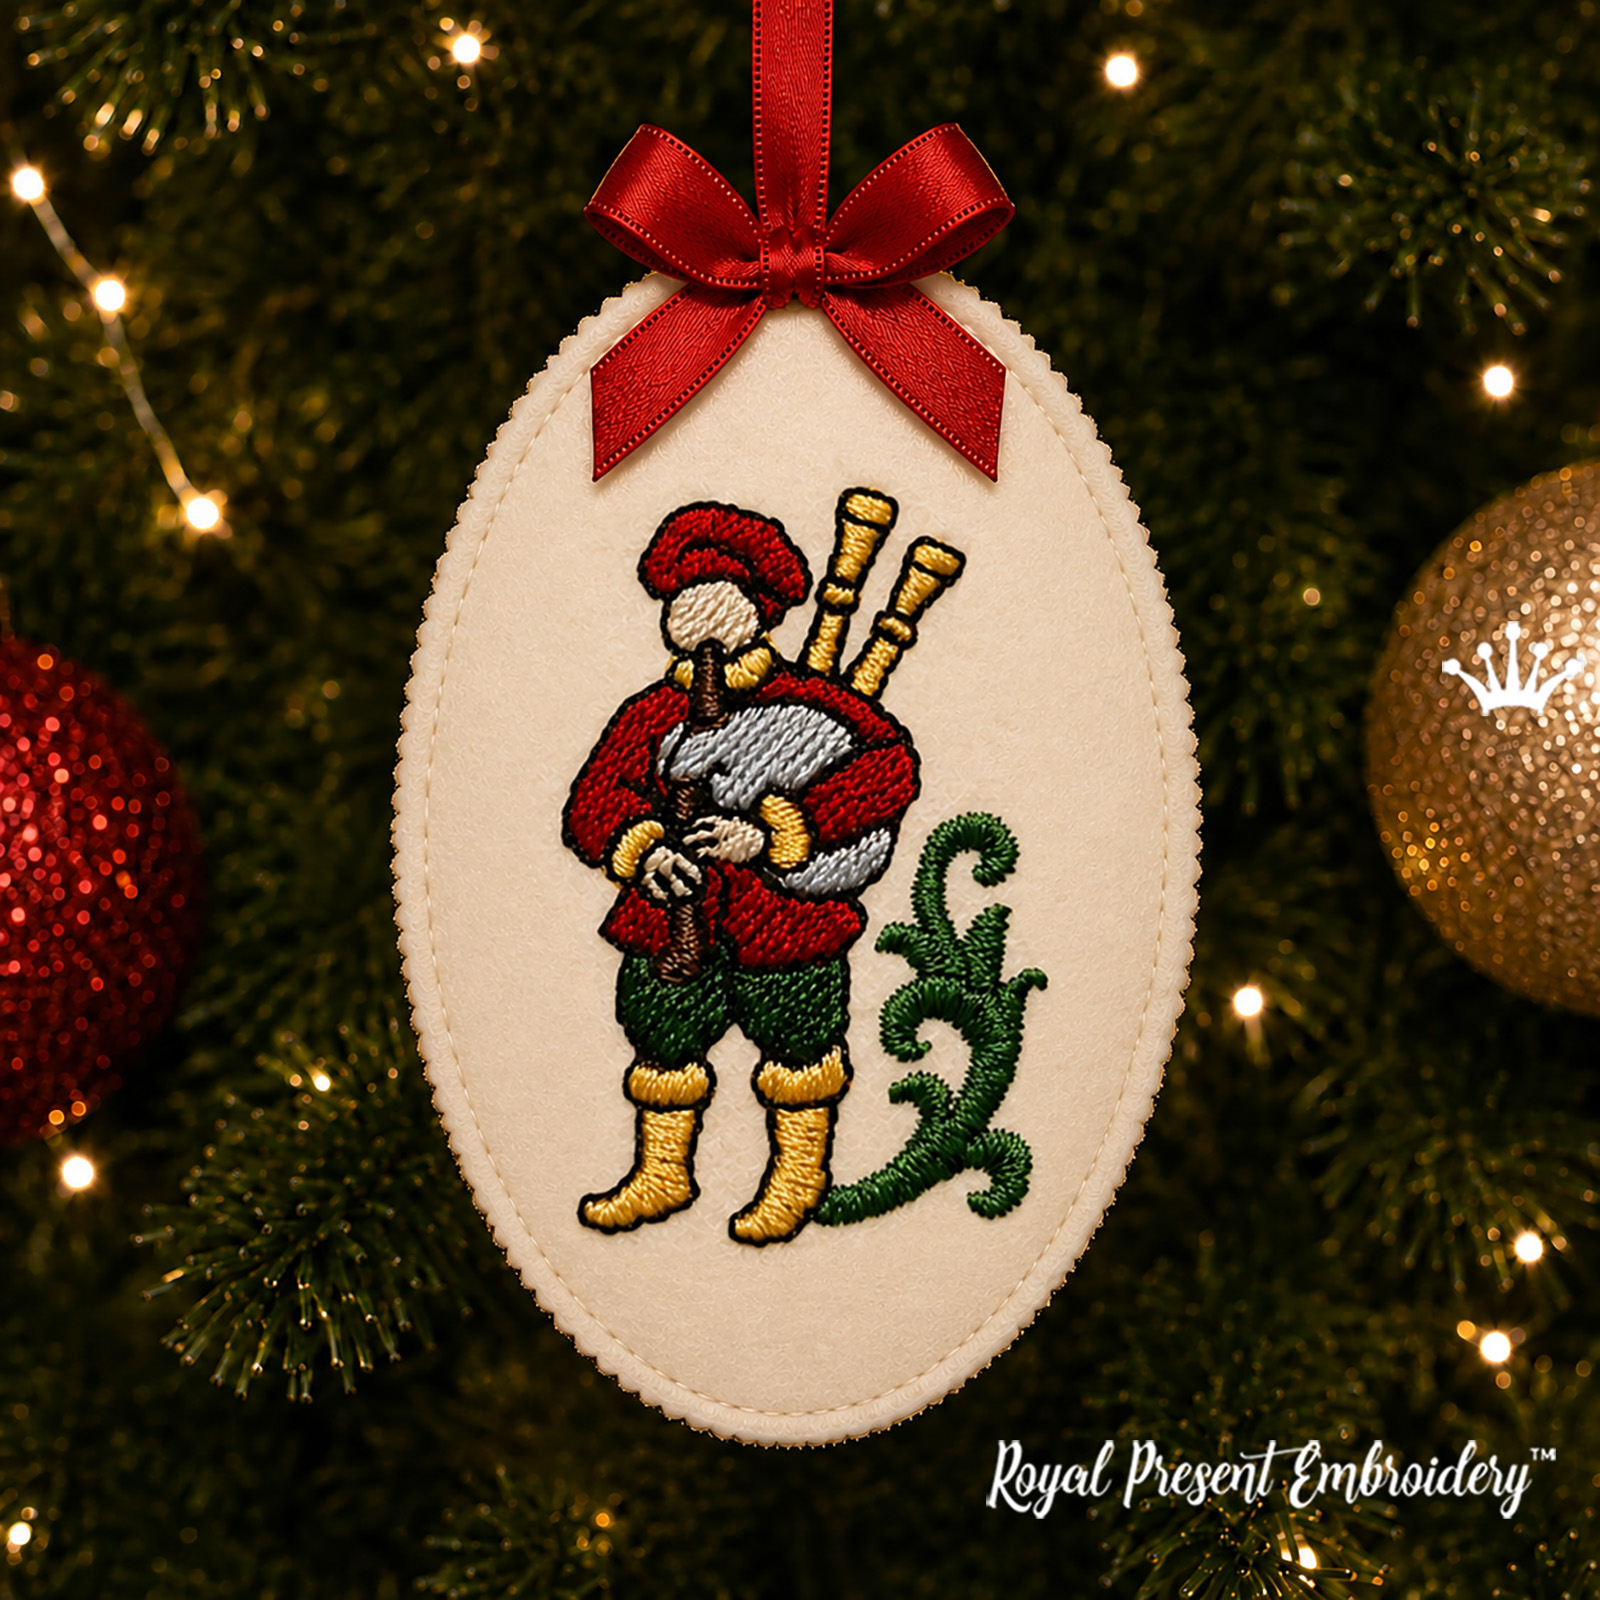
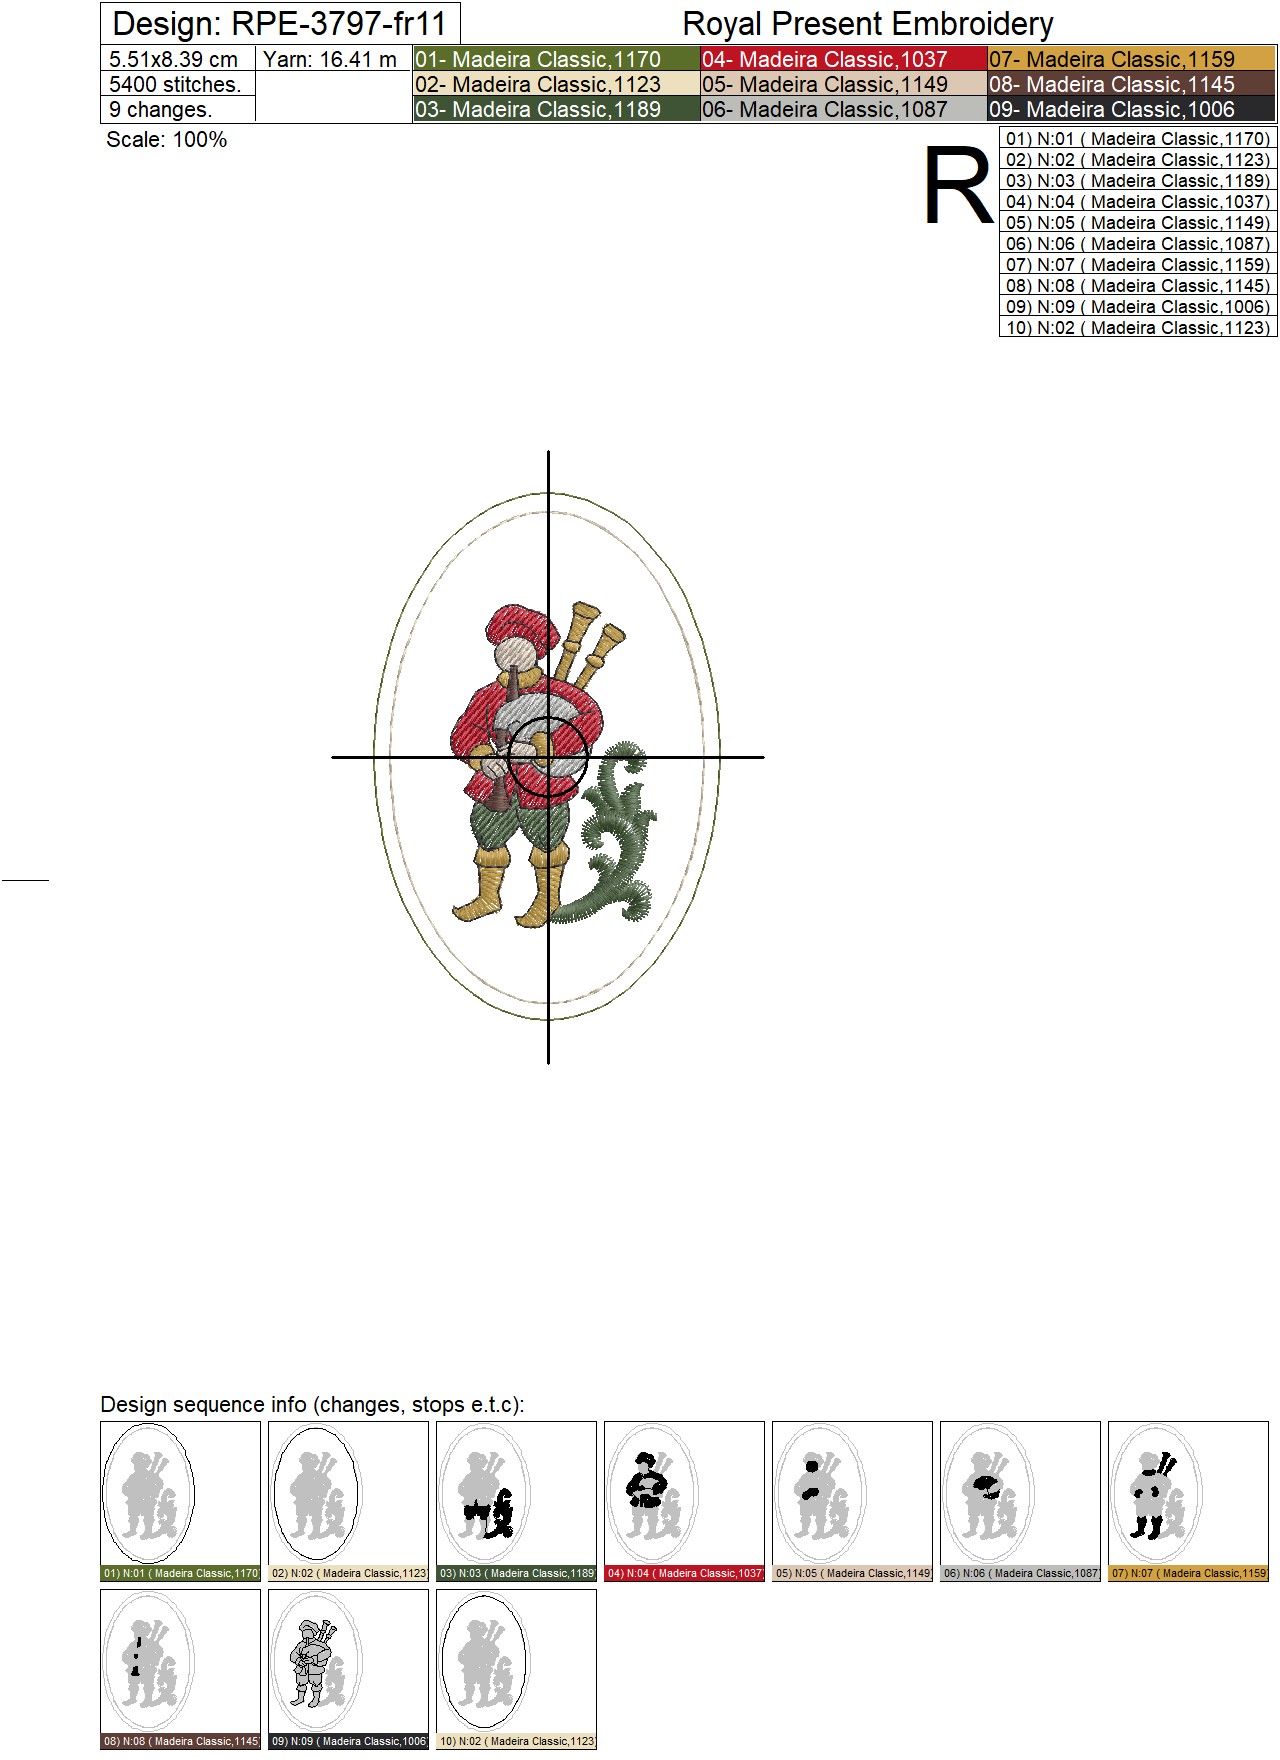
11. Eleven Pipers Piping
Size: 52.7x82.5 mm (2.07x3.25"), Stitches: 5433
Size: 58.0x90.7 mm (2.28x3.57"), Stitches: 6014
Size: 62.6x97.9 mm (2.46x3.85"), Stitches: 6489
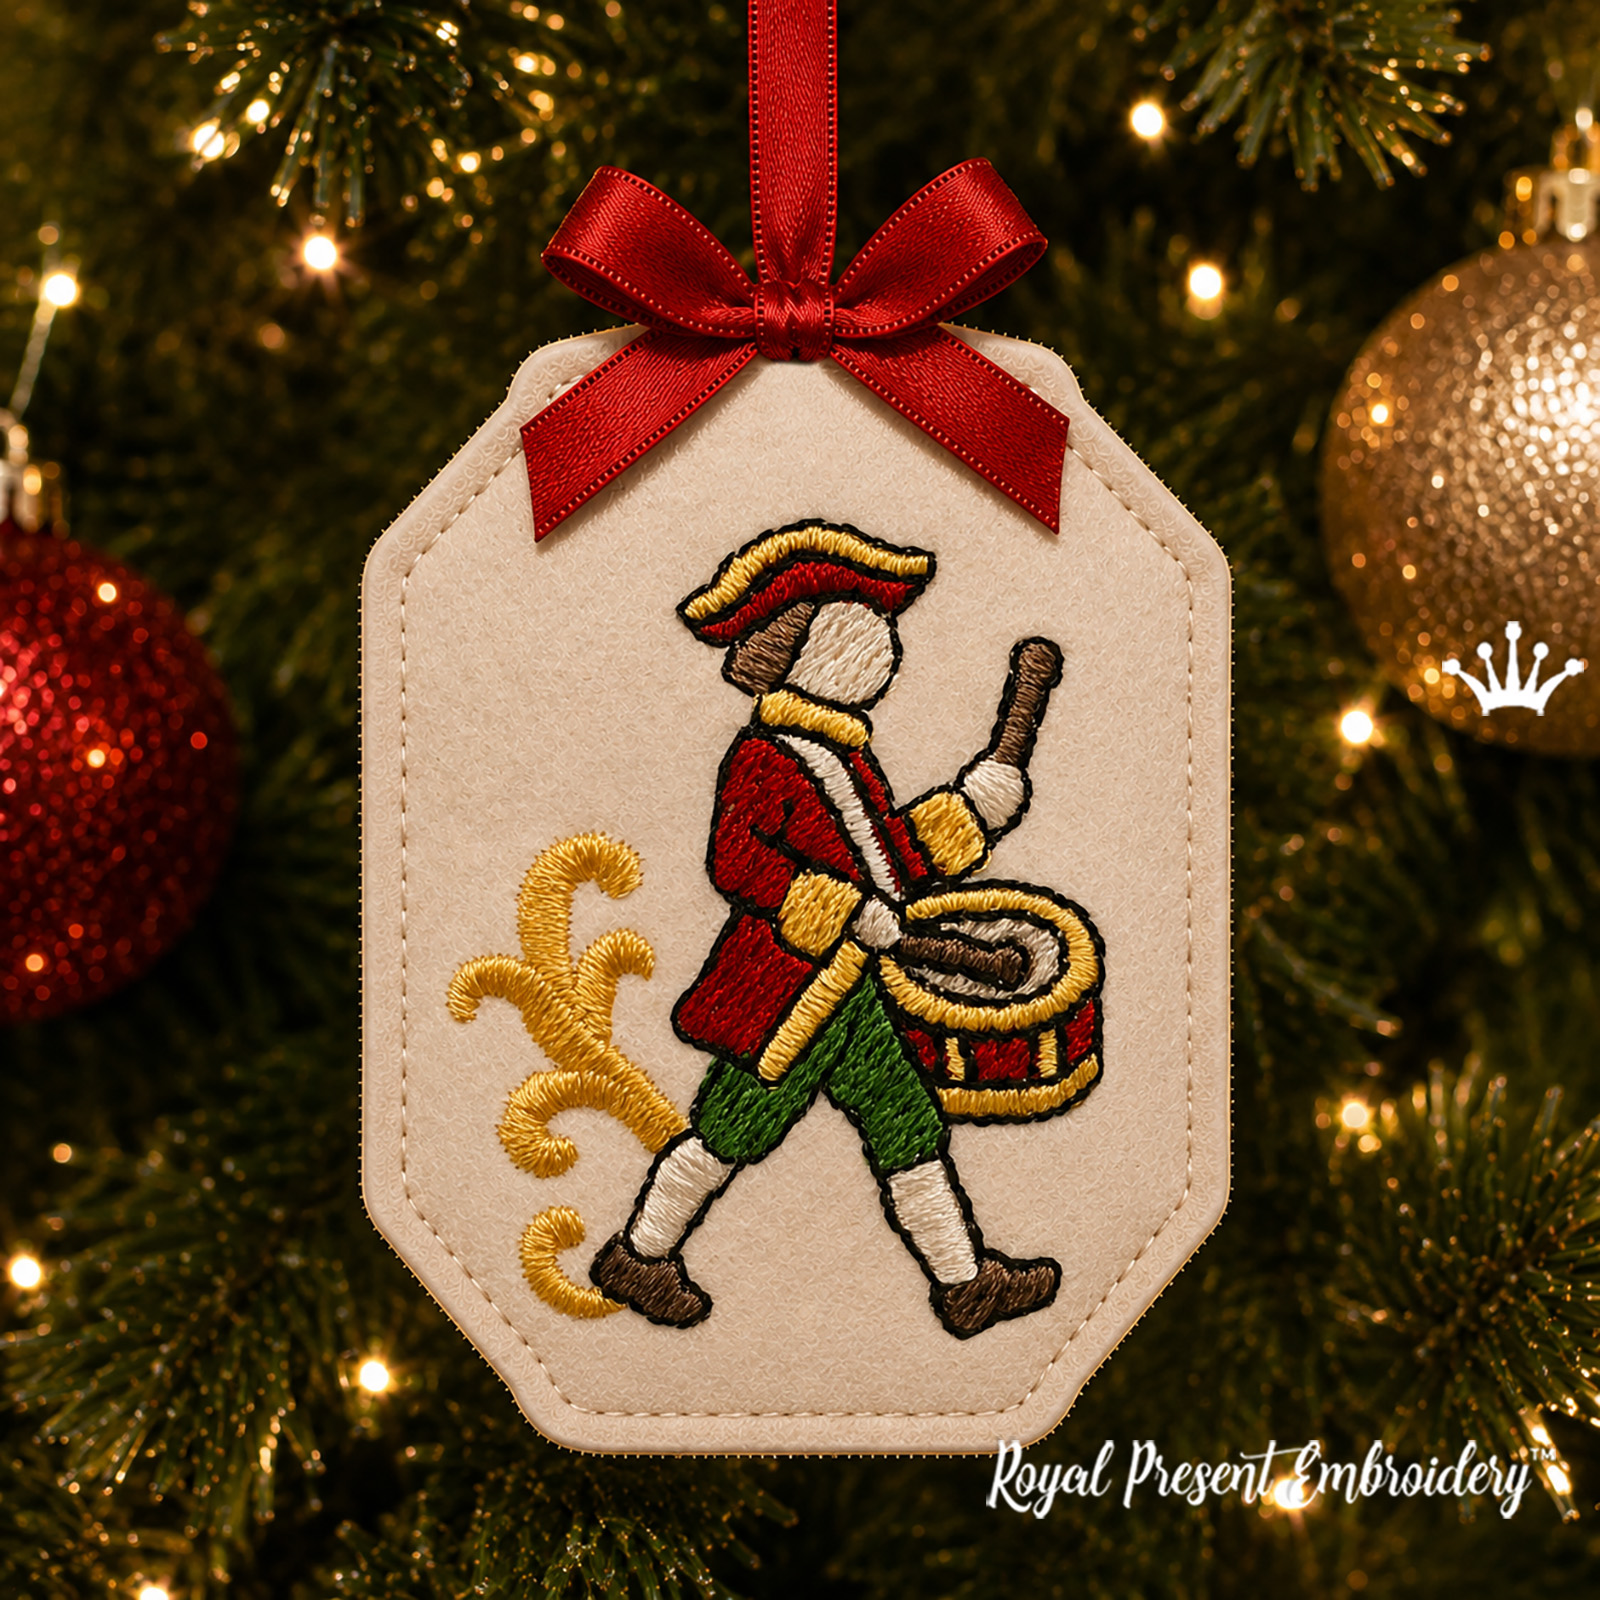
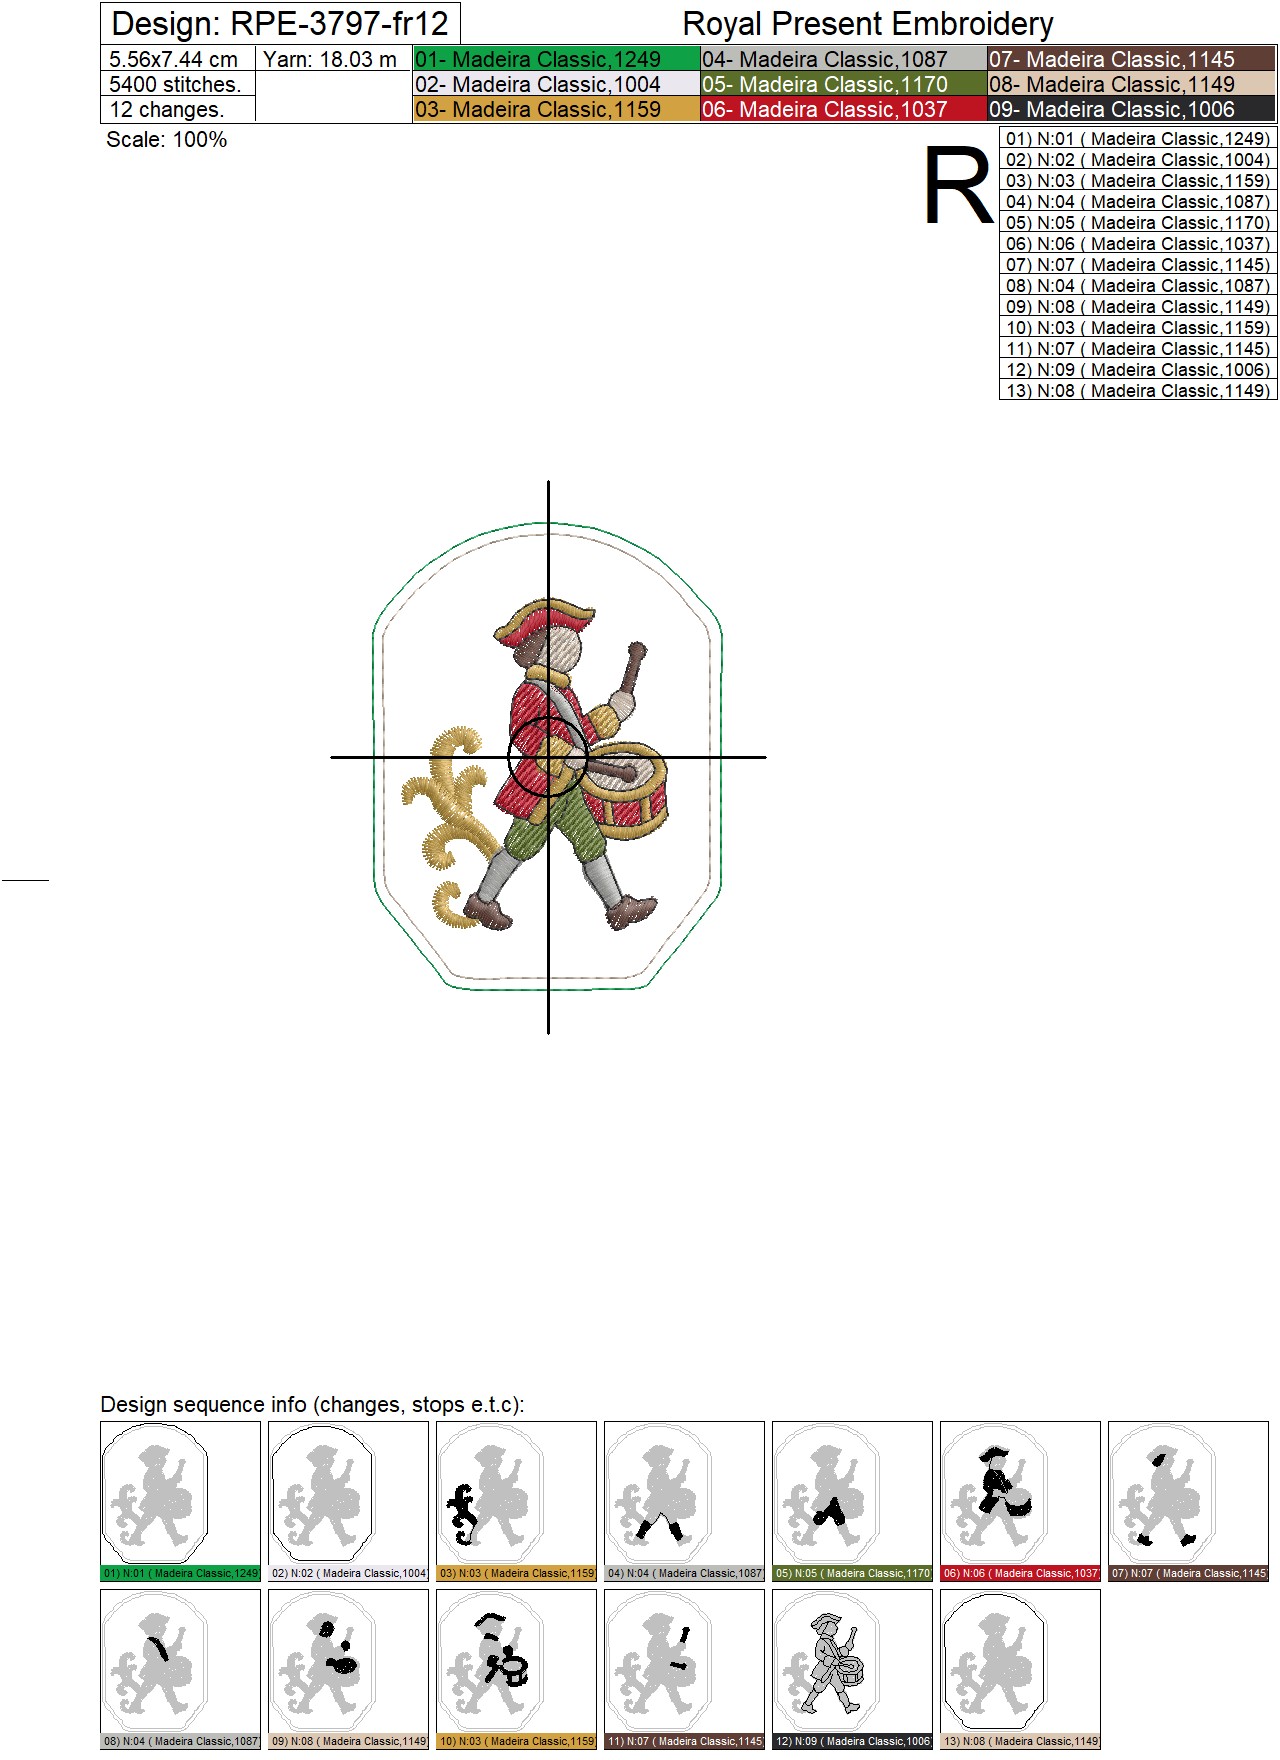
12. Twelve Drummers Drumming
Size: 55.5x74.4 mm (2.19x2.93"), Stitches: 5627
Size: 61.1x82.0 mm (2.41x3.23"), Stitches: 6196
Size: 67.2x90.1 mm (2.65x3.55"), Stitches: 6786
Formats: .dat, .dst, .exp, .hus, .jef, .jef+, .jpx, .pec, .pes, .sew, .vip, .vp3, .vp4, .xxx
Hoop size: 100x100 mm (4x4")
The smallest files for designs 1–6 and 12 also fit an 80x80 mm (3x3") embroidery field. Designs 7–11 require a 100x100 mm (4x4") hoop. Always compare the exact file dimensions with the usable embroidery area stated in your machine manual.
One Coordinated Thread Palette
The 12 individual color charts contain 17 unique Madeira Classic 40 colors when combined. Repeated colors are used across several ornaments, so you do not need 12 separate thread sets. The swatches below are visual guides only; select thread by the Madeira number and a physical manufacturer chart.
| Color | Madeira Classic 40 | Main use in the bundle |
|---|---|---|
| 1004 — natural white | Light plumage, clothing and selected construction stitches | |
| 1006 — black | Eyes, small details and finishing outlines | |
| 1037 — rich red | Plumage, costumes and festive accents | |
| 1071 — light ivory | Pale plumage and neutral details | |
| 1087 — silver gray | Wings, clothing and gray shaded areas | |
| 1103 — deep green | The French hen's tail and dark green details | |
| 1123 — light cream | Pale details on the piper | |
| 1140 — olive | The pear and olive details in the first ornament | |
| 1145 — dark brown | Shoes, hair, branches and small details | |
| 1149 — pale beige | Light fills, faces and selected final joining seams | |
| 1159 — antique gold | Baroque scrolls, beaks and gold details | |
| 1170 — fern green | Leaves, foliage and green clothing details | |
| 1189 — moss green | Dark foliage and deep green accents | |
| 1191 — warm brown | Bird feet, branches and warm brown details | |
| 1249 — bright green | Bright foliage and selected construction lines | |
| 1335 — deep blue | Blue wings, costumes, egg and wave | |
| 1352 — old gold | The second gold tone in the Five Gold Rings ornament |
Do not use automatic color sorting. The same thread number may appear first in decorative embroidery and later as a construction stitch. The order and number of programmed blocks vary among the 12 files, so open the sequence chart for the selected ornament before stitching.
Basic Raw-Edge ITH Assembly
- Hoop tear-away stabilizer and stitch the placement line.
- Position the front piece of felt or another stable non-fraying material and stitch the tackdown line.
- Embroider the decorative blocks in the programmed order shown on that design's chart.
- Before the final joining block, secure the folded ribbon loop and backing piece to the reverse of the hoop.
- Stitch the final outline, remove the project from the hoop, tear away the stabilizer and trim the exposed edge carefully.
Open the Raw-Edge ITH Ornament Instructions
Felt, Sewable Glitter and Decorative Edges
| Material | Best use | Check before stitching |
|---|---|---|
| Firm polyester felt, 1–1.2 mm | Reliable front and back pieces for ornaments and coasters | The felt is even, does not split and returns to a flat shape after bending |
| Wool or wool-blend felt | A soft, matte and more traditional background | The surface is smooth enough to keep small outlines visible |
| Sewable glitter fabric or glitter felt | A festive front, backing or frame-only project without decorative embroidery | The material is thin, flexible, non-adhesive and intended for sewing; the glitter does not shed or form a coarse ridge under the foot |
| Firm non-fraying synthetic sheet | Coasters and pieces that will be handled more often | The edge stays clean, the surface does not stick to the table and a test needle penetrates it cleanly |
Avoid loose craft felt, thick EVA foam, adhesive-backed sheets and fabric with large loose glitter particles. These materials add excessive thickness, can contaminate the hook area and may prevent the final joining outline from stitching evenly.
Decorative-edge finish: after the final seam is complete and the stabilizer has been removed, trim the exposed edge with pinking shears or scallop-edge scissors. Keep an even distance from the stitching and do not cut the final seam. Test the blade pattern on a scrap first so the tooth size follows the curves of the ornament frame.
Make a Coaster Without a Ribbon Loop
Round and medallion-style shapes can be used as coasters as well as ornaments. The Two Turtle Doves, Three French Hens, Five Gold Rings and Ten Lords a-Leaping frames are especially suitable. Simply omit the ribbon loop before stitching the final joining seam.
- Use firm polyester felt or another flexible, non-fraying synthetic material for both sides.
- For a coaster that will be handled often, 40-weight polyester embroidery thread is more practical around occasional moisture.
- Keep the backing flat and free from adhesive or bulky knots so the coaster rests securely on the table.
- Before regular use, test the finished coaster with an empty cup on a level surface.
Project Variation: A Plain Glitter Coaster
The shaped frame from a suitable file can become a plain one-color or two-color glitter coaster without the bird, figure or decorative motif.
- Select the size and open the sequence chart for that exact file; the final construction block is not the same number in all 12 designs.
- Hoop stabilizer and stitch only the first placement line.
- Cut the front piece from sewable glitter fabric or glitter felt, position it over the placement line and stitch the front tackdown.
- Stop the machine. Use manual color-block navigation to skip the decorative embroidery and move to the final joining operation.
- Do not add a ribbon. Secure a felt or non-fraying synthetic backing piece to the reverse of the hoop.
- Stitch the final joining outline, remove the project from the hoop and finish the edge with straight or decorative-edge scissors.
Important: do not restart the file blindly after skipping colors. Confirm on the machine screen that the final assembly seam is selected. The placement line, front tackdown and final joining outline must still be stitched; skip only the decorative blocks identified on the chart for that file.
Thread and Finishing Options
- Classic sheen: Madeira Classic Rayon 40 gives the feathers, clothing and Baroque scrolls a rich embroidered shine.
- Coasters and frequently handled pieces: Madeira Polyneon 40 or another quality 40-weight polyester thread is a practical choice around friction and occasional moisture.
- Soft contrast: stitch the red, green and blue areas in matte 40-weight thread while keeping the gold scrollwork glossy.
- Metallic accent: replace standard gold with metallic thread only after a test stitch. Standard 40-weight thread is more reliable for narrow outlines and very small details.
When using metallic thread, fit a suitable Metallic 90/14 needle, allow the spool to feed freely and reduce the machine speed. Test on the same material and stabilizer planned for the finished set.
Ways to Use the Complete Set
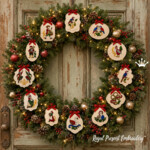
- display all 12 ornaments on a Christmas tree or evergreen wreath;
- arrange the designs in carol order on a fabric garland;
- use individual ornaments as reusable Christmas gift tags;
- make a coordinated coaster set from the round and medallion-style frames;
- combine ivory felt, antique-gold thread and red ribbon for a unified traditional collection;
- stitch each ornament on a different felt color while keeping the coordinated thread palette.
Frequently Asked Questions
Does the bundle include all twelve designs?
Yes. The download contains 12 different ornament designs, each in three original sizes and all 14 listed machine formats.
Do all 36 size options fit a 4x4 hoop?
Yes. Every listed file is smaller than 100x100 mm and is intended for a 4x4 inch hoop or larger. The smallest files for designs 1–6 and 12 also fit an 80x80 mm embroidery field. Always confirm the usable field of your particular machine.
Why does one ornament show fewer figures than the lyric names?
Each ornament symbolically represents one verse rather than repeating every gift literally. For example, one French hen represents Three French Hens, one open-beaked songbird represents Four Calling Birds, and a balanced pair of leaping figures represents Ten Lords a-Leaping.
Can I change the colors?
Yes. Keep enough contrast between the background, fills and black outlines. You may substitute colors, but do not reorder or merge the programmed blocks.
Can I use glitter felt?
Yes, if it is thin, flexible, non-adhesive and made for sewing. Test that the coating does not shed and that the material passes safely beneath the presser foot.
Can I make a coaster without the hanging loop?
Yes. Omit the ribbon before the final joining outline. Use a firm non-fraying material and a smooth, non-adhesive backing.
Can I skip the decorative embroidery and use only the shaped frame?
Yes, if your machine allows manual navigation between color blocks. Stitch the placement line, front tackdown and final assembly seam; skip only the decorative blocks identified on the sequence chart for the selected file.
Are these finished Christmas ornaments?
No. This is a digital machine embroidery design bundle. No physical ornament or sewing supply is shipped.
12 Days of Christmas ITH Ornaments – Machine Embroidery Design Bundle - 3 Sizes

 Get Sign-In Link
 Login with Google
 Login with Facebook
 Login with Amazon
 Login with Paypal