Embroidered handkerchiefs combine luxury, style and sophistication. They have deep roots, and their popularity has not faded for thousands of years.
The first handkerchiefs appeared in ancient Rome. People covered their mouths in bad weather, but tried not to do it in public and hid handkerchief behind their belts. In Byzantium, handkerchiefs were a symbol of luxury. Therefore, they were incredibly beautiful. Such handkerchiefs were made of silk, decorated with embroidery and even precious stones. Therefore, a pure person could not afford such an accessory.
Much later, somewhere around 17-18 the handkerchief was traditionally white and decorated with embroidery with silver and gold threads. The motives were different: from large embroidered horses and flowers, to ornate ornaments. Also at this time, men used the handkerchief to offer the hand and heart, instead of a ring.
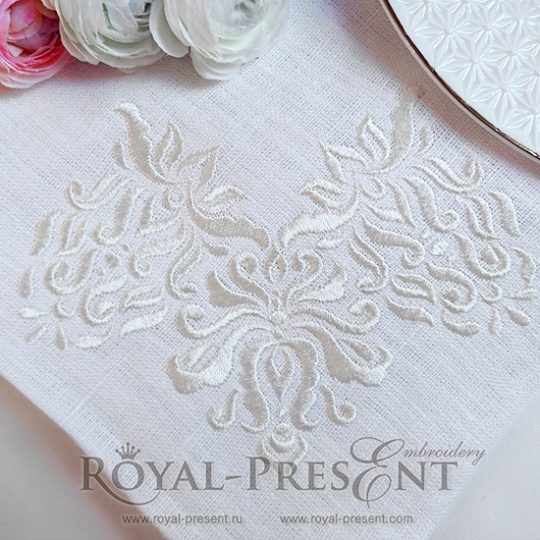
We will tell how to decorate a handkerchief with machine embroidery corners white on white (color by color).
Machine Embroidery Design small Royal Vintage corner

Size: 128.9×129.5 mm (5.07×5.10 “), Stitches: 13264
Formats: .dst, .pec, .vip, .hus, .pes, .exp, dat, jef, vp3, .sew, xxx, jef
To do this you need:
– White handkerchief
– Self-adhesive tear-away stabilizer. Naturally, the cut-away stabilizer is much better, but since the fabric is very thin, it can become enlightened. The using of a tear-away stabilizer in this case will be more appropriate.
– Water Soluble Stabilizer (Sulky Ultra Solvy or Madeira Avalon Ultra)
You can found more information about stabilizers in our Embroidery Library
– Air-erase pen
– Machine Embroidery Design Small Royal Vintage Corner
At the beginning, print out the template that goes to the design. You will see in it the design in full size with the marked center of the embroidery and the lines of the X and Y axes. Attach the template to the handkerchief and transfer the marks to it using an erasing marker. Then glue the tear-away like lower stabilizer, and water soluble like upper. Place the handkerchief together with the stabilizers in the embroidery frame.
Important: The axis lines you have marked must coincide with the marks on the hoops.
Embroider the design. Remember that before embroidery, you should point the needle in the marked center of the embroidery. Since the embroidery on the kerchief is visible on both sides, the lower thread should be the same as the upper thread, that is, white. In this case, white-on-white embroidery is a good variant.
After embroidery, remove the tear-away stabilizer. Then water the handkerchief to remove the water-soluble. When the kerchief is dry, steam it off with an iron.
Machine Embroidery Design Small Royal Vintage Corner from machine embroidery corners collection will undoubtedly help to decorate the handkerchief. Moreover, such machine embroidery will give it uniqueness and splendor.
You may also like
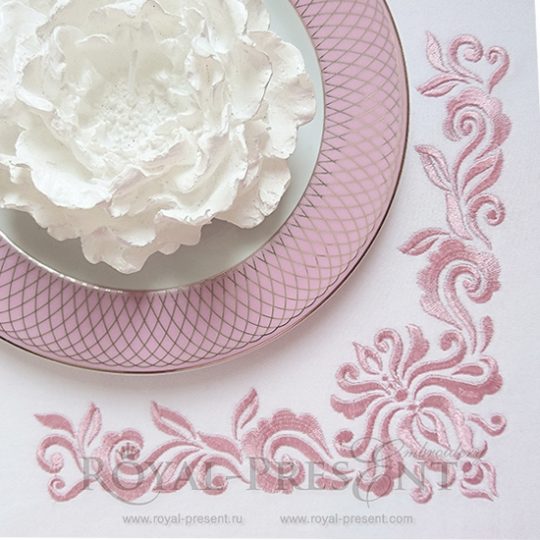
Machine Embroidery Design Elegant corner

Author: Ludmila Konovalova
My name is Ludmila Konovalova, and I lead Royal Present Embroidery. Embroidery for me is more than a profession; it is a legacy of my Ukrainian and Bulgarian heritage, where every woman in my family was a virtuoso in cross-stitch and smooth stitching. This art, passed down through generations, is part of my soul and a symbol of national pride.
Date: 11.02.2017

 Get Sign-In Link
 Login with Google
 Login with Facebook
 Login with Amazon
 Login with Paypal