

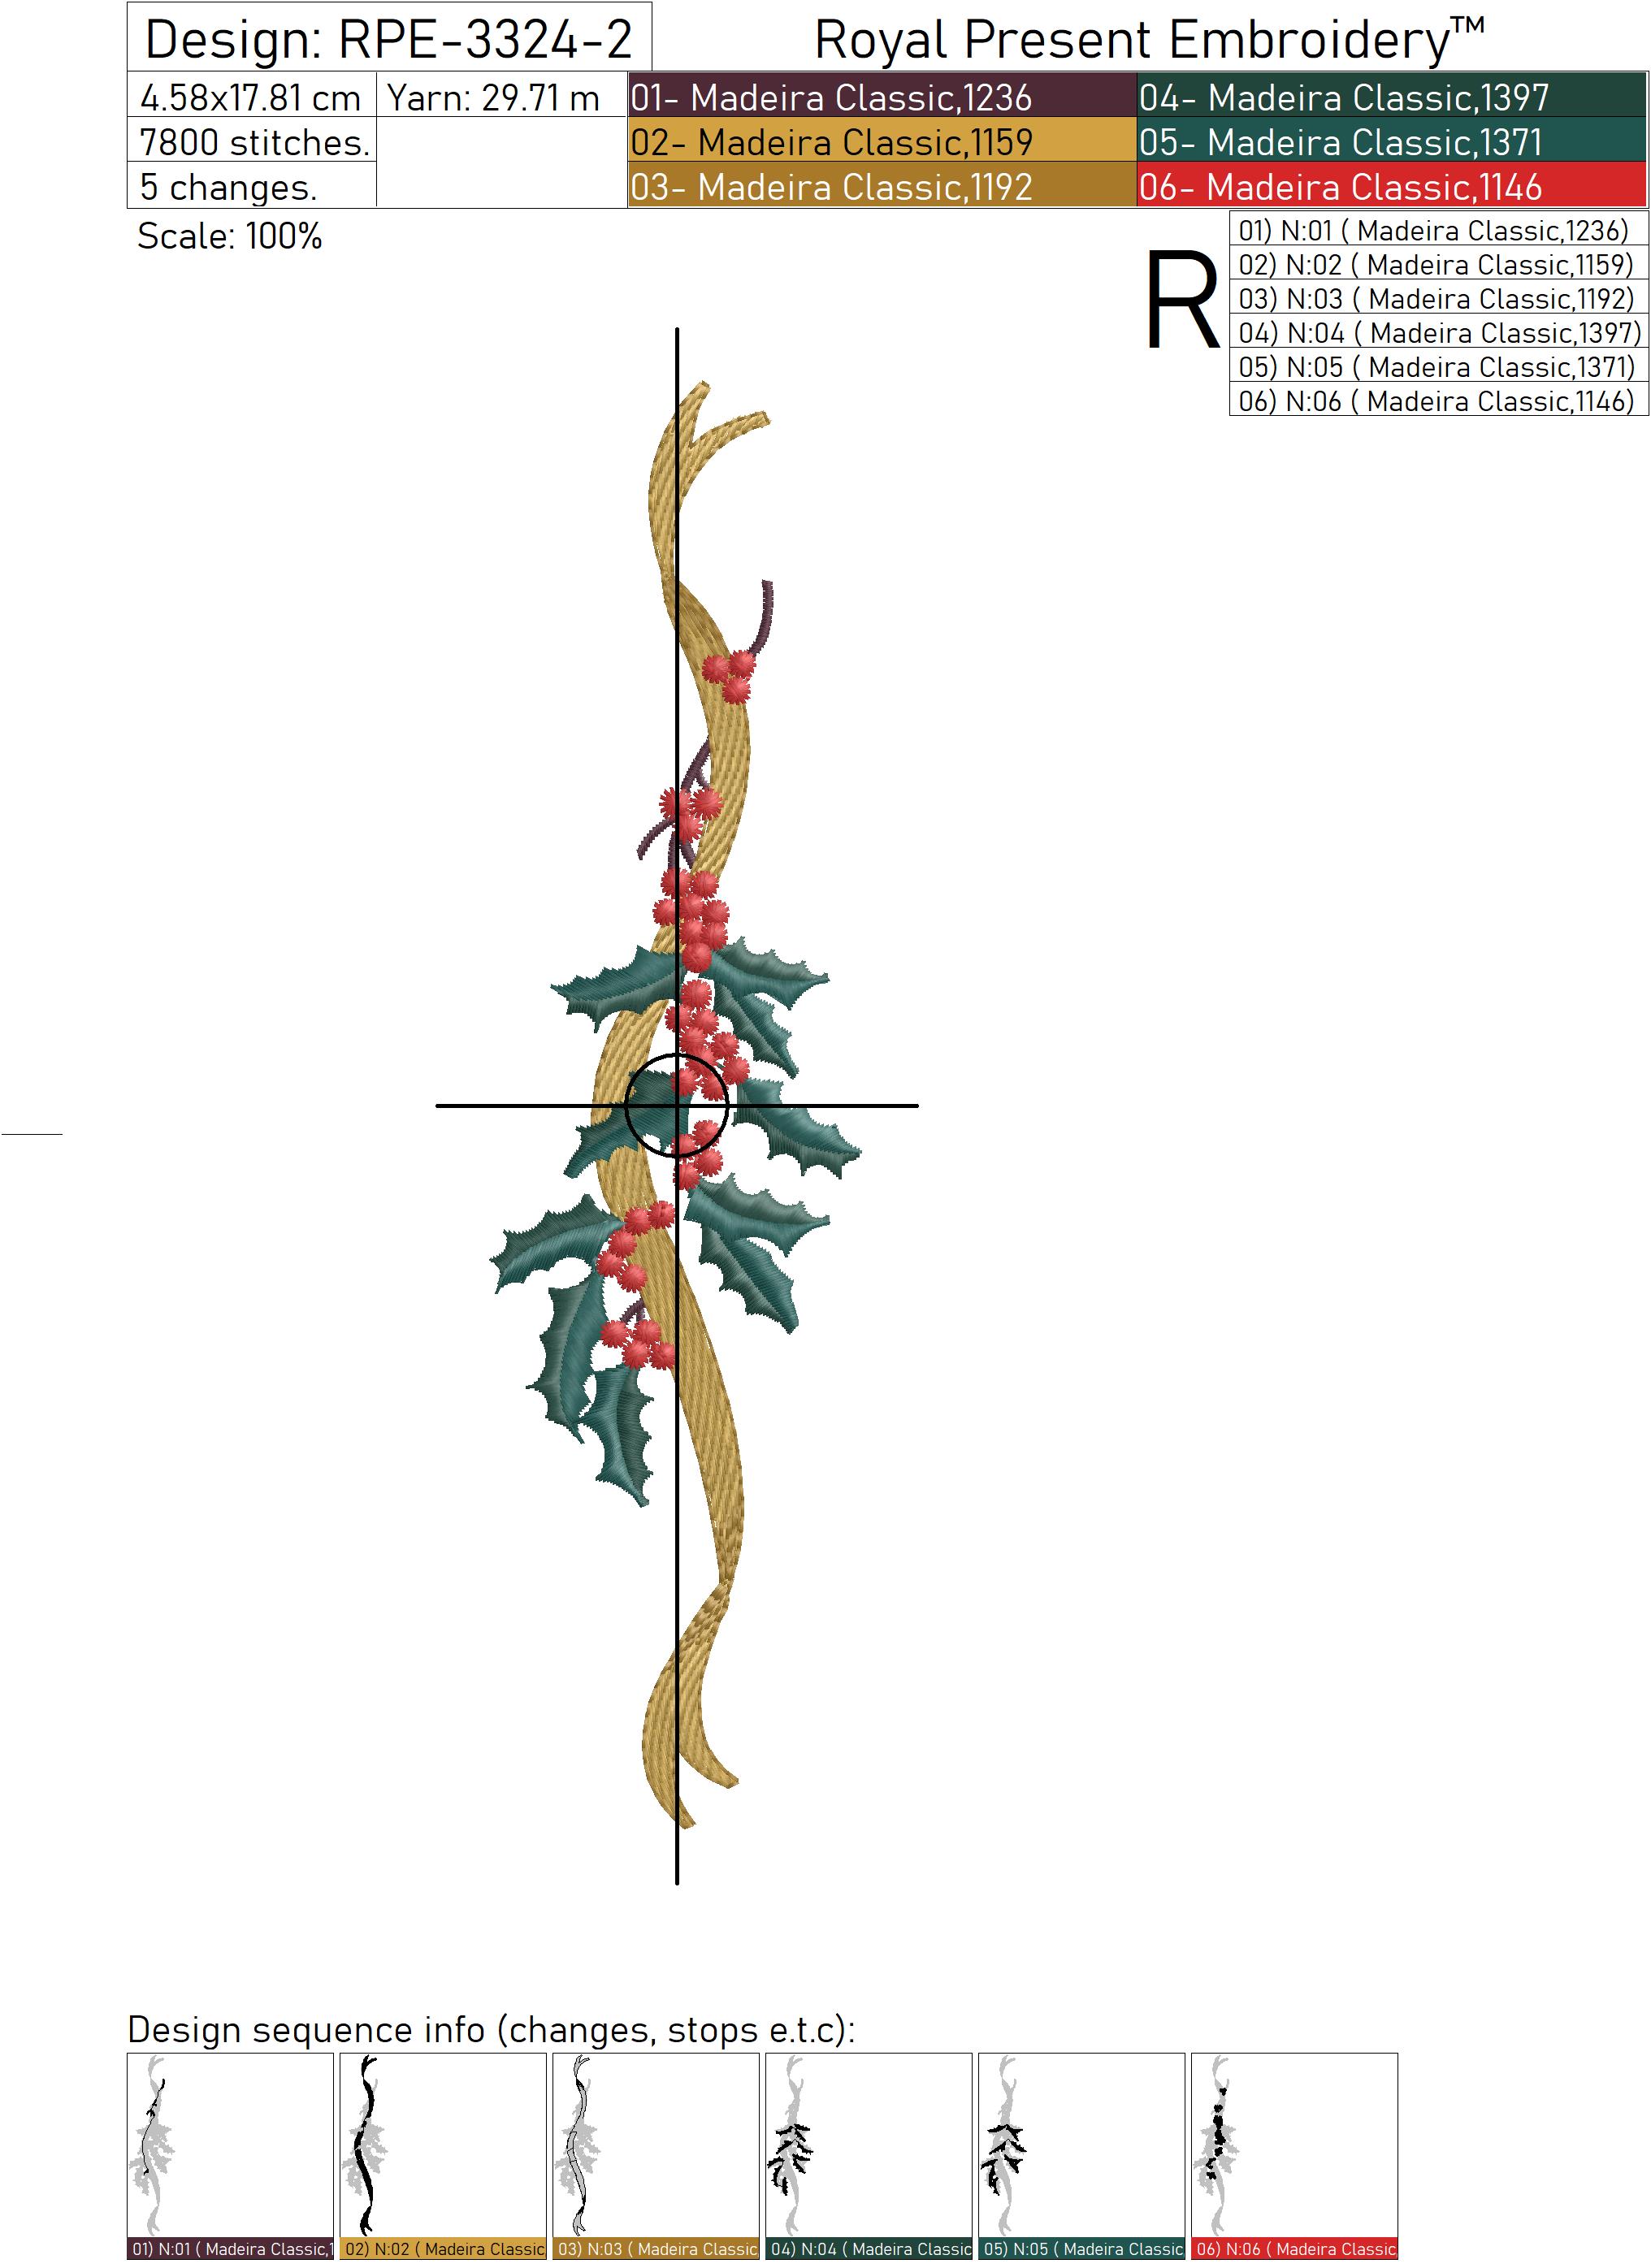
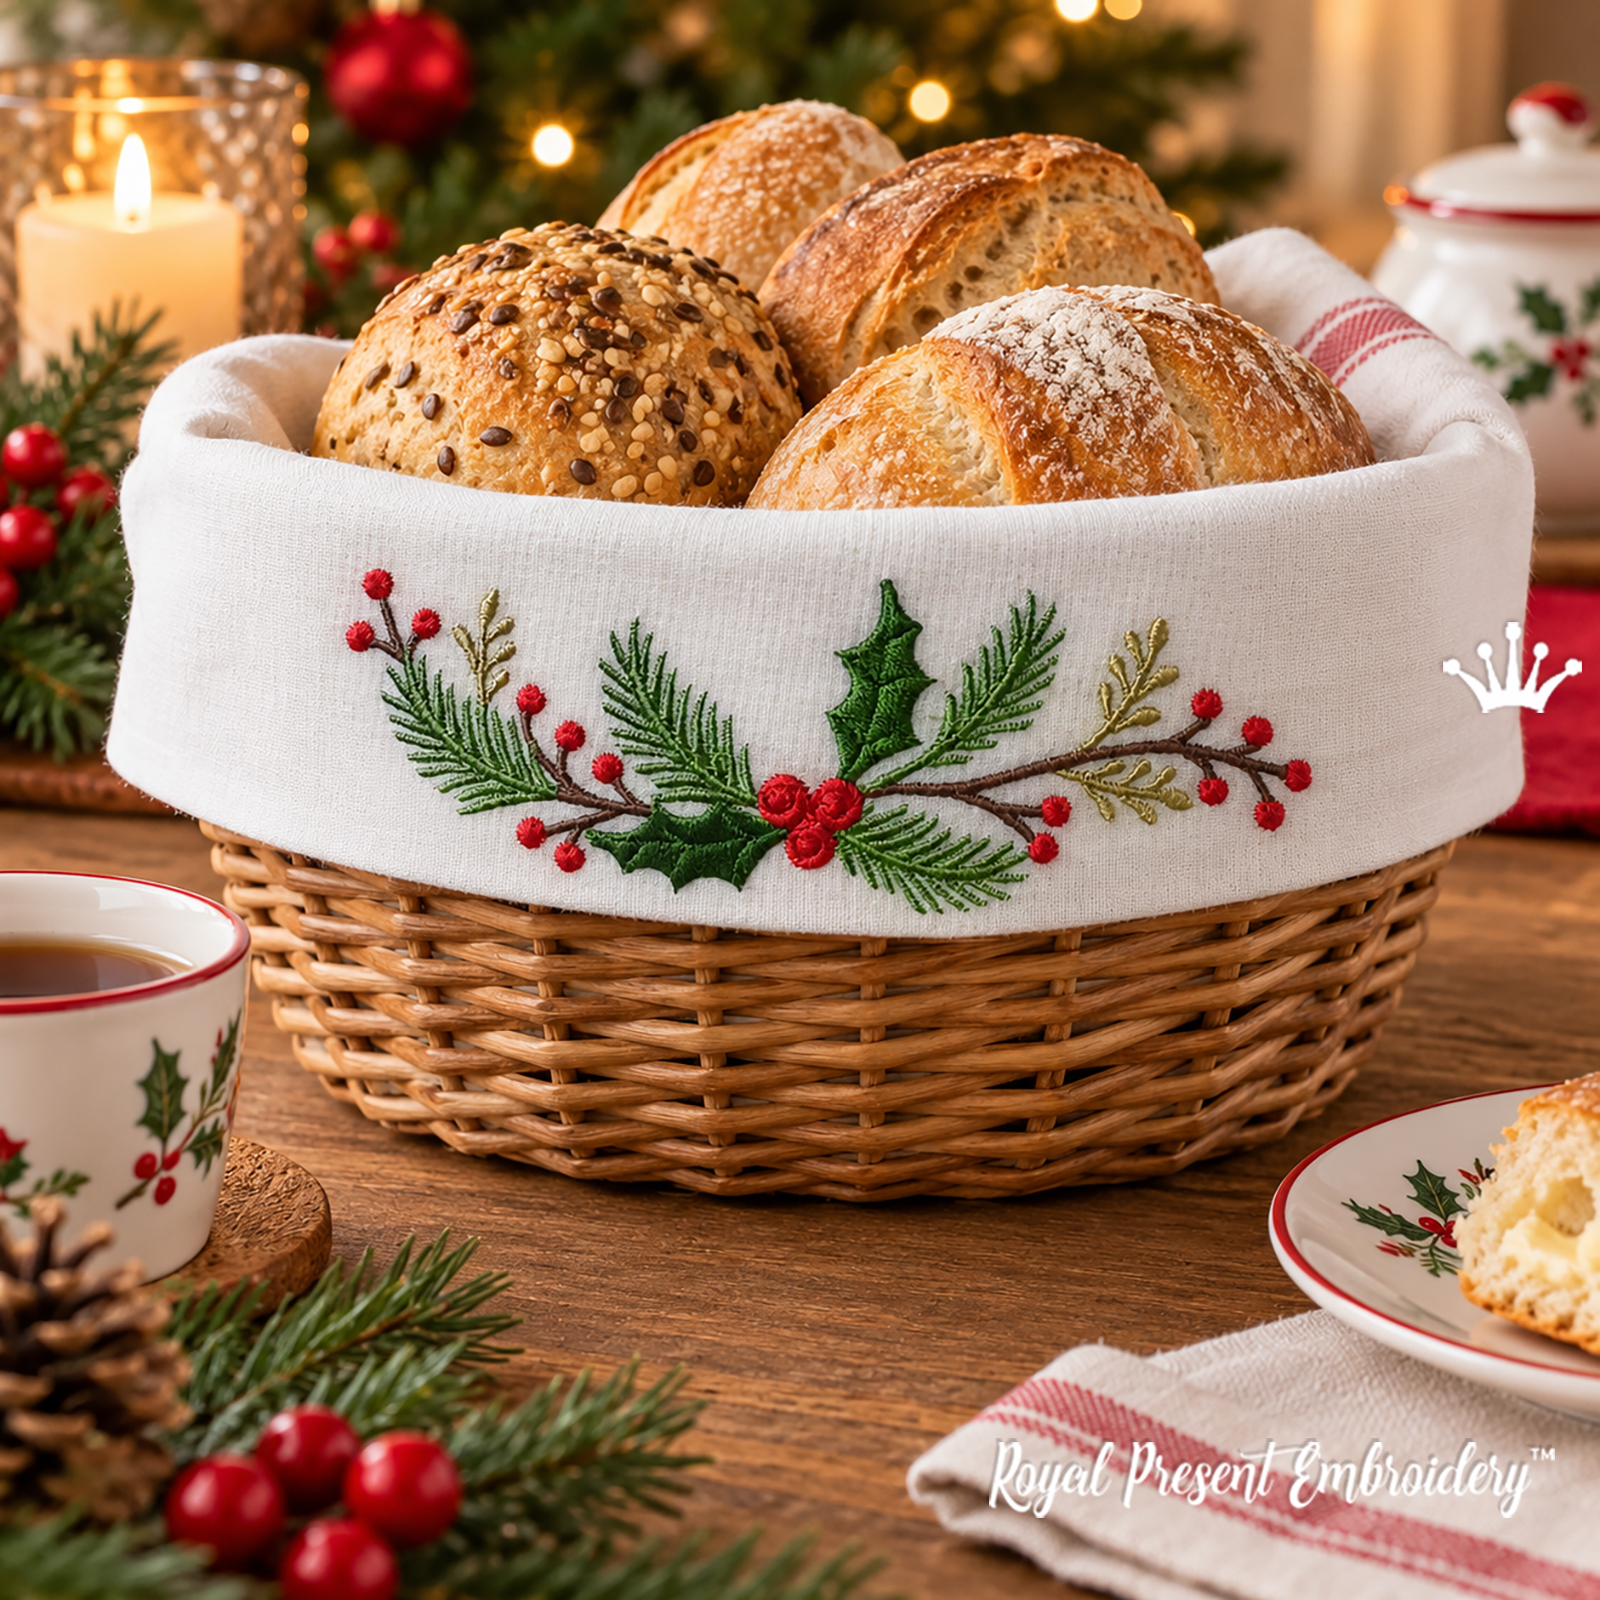
This digital machine embroidery set pairs a Victorian Christmas scene with a coordinating long holly border. The detailed scene shows a horse-drawn carriage and figures in a winter landscape with snowy trees; the narrow border combines twisted rope, holly leaves and red berries. Together, they are made for the long layout of a table runner or rectangular tablecloth, and also suit a textile wall panel, a bread-basket liner or a wide smooth towel band.
Both motifs are supplied in four ready-to-stitch sizes. The archive contains the Christmas scene and matching border in every included format; finished embroidery, fabric, thread and stabilizer are not included with this digital download.
Set details
| Product type | Digital machine embroidery design set |
|---|---|
| Included motifs | Victorian Christmas scene and holly border |
| Sizes for each motif | 4 |
| File variants | 8 variants in every included format |
| Delivery | Instant ZIP digital download |
Sizes, stitch counts and compatible hoops
| Motif | Exact design size and stitch count | Minimum compatible hoop |
|---|---|---|
| Holly border | Size: 45.8x178.1 mm (1.80x7.01"). Stitches: 7519 | 100x180 mm / 4x7" |
| Size: 50.9x198.0 mm (2.00x7.80"). Stitches: 8395 | 100x200 mm / 4x8" | |
| Size: 56.0x218.1 mm (2.20x8.59"). Stitches: 9374 | 100x240 mm / 4x9.5" | |
| Size: 61.2x238.1 mm (2.41x9.37"). Stitches: 10419 | 100x260 mm / 4x10" | |
| Victorian Christmas scene | Size: 128.0x158.5 mm (5.04x6.24"). Stitches: 21505 | 130x180 mm / 5x7" |
| Size: 138.0x170.8 mm (5.43x6.72"). Stitches: 23146 | 140x200 mm / 5.5x8" | |
| Size: 148.0x183.1 mm (5.83x7.21"). Stitches: 25162 | 150x200 mm / 6x8" | |
| Size: 158.0x195.5 mm (6.22x7.70"). Stitches: 27401 | 160x260 mm / 6x10" |
Formats: .dst, .jef, .pec, .vip, .hus, .pes, .exp, .sew, .dat, .vp3, .xxx
Coordinating Christmas designs
|
|
|
|
Madeira Classic 40 thread chart
Thread numbers and visible shades are taken from the supplied original color maps. Match thread by the Madeira number rather than by a screen color.
| Motif | Color | Madeira Classic 40 | What this color stitches |
|---|---|---|---|
| Christmas scene |
|
1371 | Evergreen foliage and dark green accents. |
|
|
1146 | Bright red clothing and small accents. | |
|
|
1010 | Light grey shaded areas and winter highlights. | |
|
|
1038 | Deep red clothing and shadow accents. | |
|
|
1236 | Burgundy shadow details and dark accents. | |
|
|
1342 | Warm beige details in the carriage scene. | |
|
|
1140 | Olive-gold costume and decorative accents. | |
|
|
1003 | Pale snow and light background areas. | |
|
|
1318 | Medium charcoal shading and outlines. | |
|
|
1199 | Darkest contours, horse and carriage details. | |
| Holly border |
|
1236 | Dark burgundy cord accents. |
|
|
1159 | Bright gold sections of the twisted rope. | |
|
|
1192 | Golden rope shadows. | |
|
|
1397 | Dark holly leaves. | |
|
|
1371 | Green foliage shading. | |
|
|
1146 | Red berries. |
Frequently asked questions and practical advice
How do I prevent the fine outlines in the carriage scene from shifting?
Registration depends on the fabric and stabilizer moving as one layer. Lightly spray the wrong side of the fabric with temporary adhesive, smooth it onto a stabilizer that extends beyond the hoop on every side, then hoop both layers together. Do not hoop the fabric first and attach the backing with only a basting line: the two layers can move independently while the horse, carriage and tree outlines are being stitched.
Which fabric and stabilizer suit the dense Christmas scene on a runner or tablecloth?
Use firm woven cotton, cotton-linen or stable linen without stretch. Test the complete motif on the same fabric before the final runner. On medium or open-weave linen, use a soft cut-away stabilizer; on firm, tightly woven cotton, quality tear-away support may be sufficient. The stitched scene must lie flat after it is released from the hoop, with no pull-in around the carriage, trees or figures.
How should I position the long narrow border without ending up too close to the hem?
Finish the layout before hooping: mark the finished edge and the intended centerline of the border, then place the printed 100% template on the item. Keep every part of the design clear of a fold, hem, seam or binding. Hoop the fabric with its length parallel to the long side of the embroidery field, run the machine trace and only then begin stitching.
How can I combine the scene and border on a rectangular table runner?
Print both selected sizes at 100% and build the arrangement on the unhooped runner first. The scene works as a focal point at one end or in the center; the border can run along a long edge or frame an empty area for a monogram. Mark the center of every motif from the same finished edge and trace each file before stitching, especially when working on a pre-sewn runner.


 Get Sign-In Link
 Login with Google
 Login with Facebook
 Login with Amazon
 Login with Paypal

