Floral Neckline Machine Embroidery Design
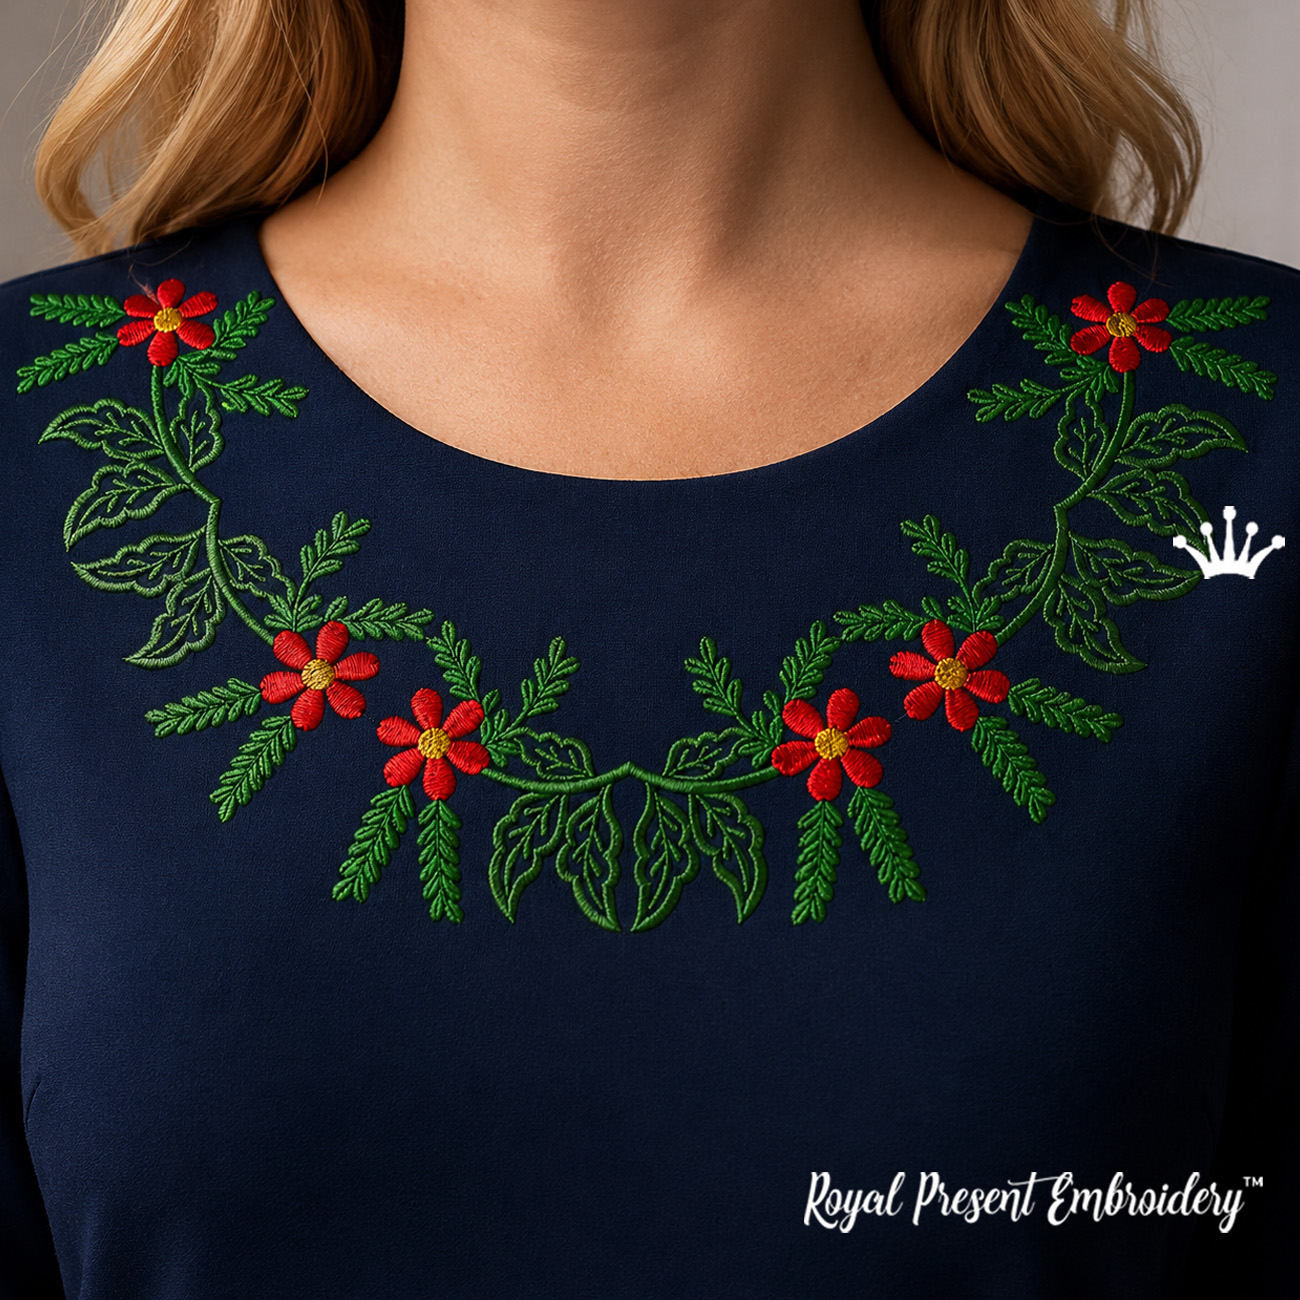
By knowing the speed of your embroidery machine, you can find out how long it will take to embroider a design.
To use the embroidery calculator, click on the number of stitches in the product description.
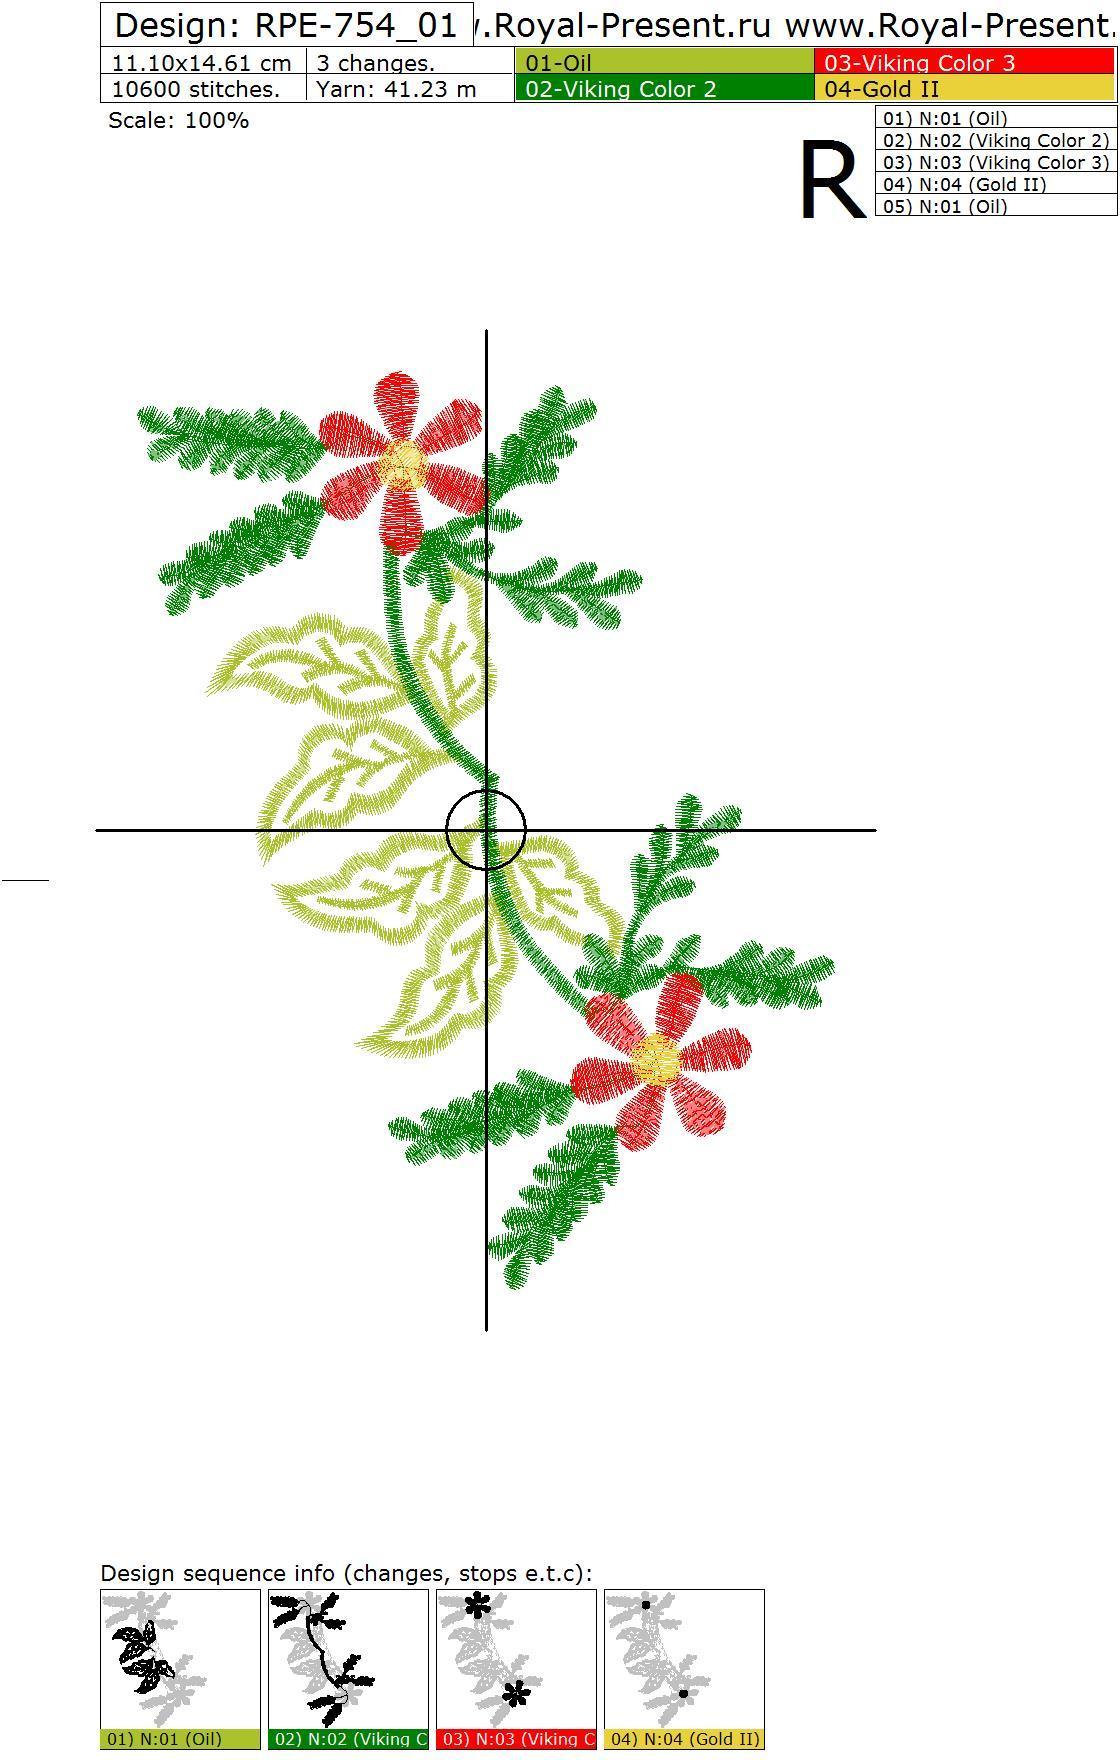
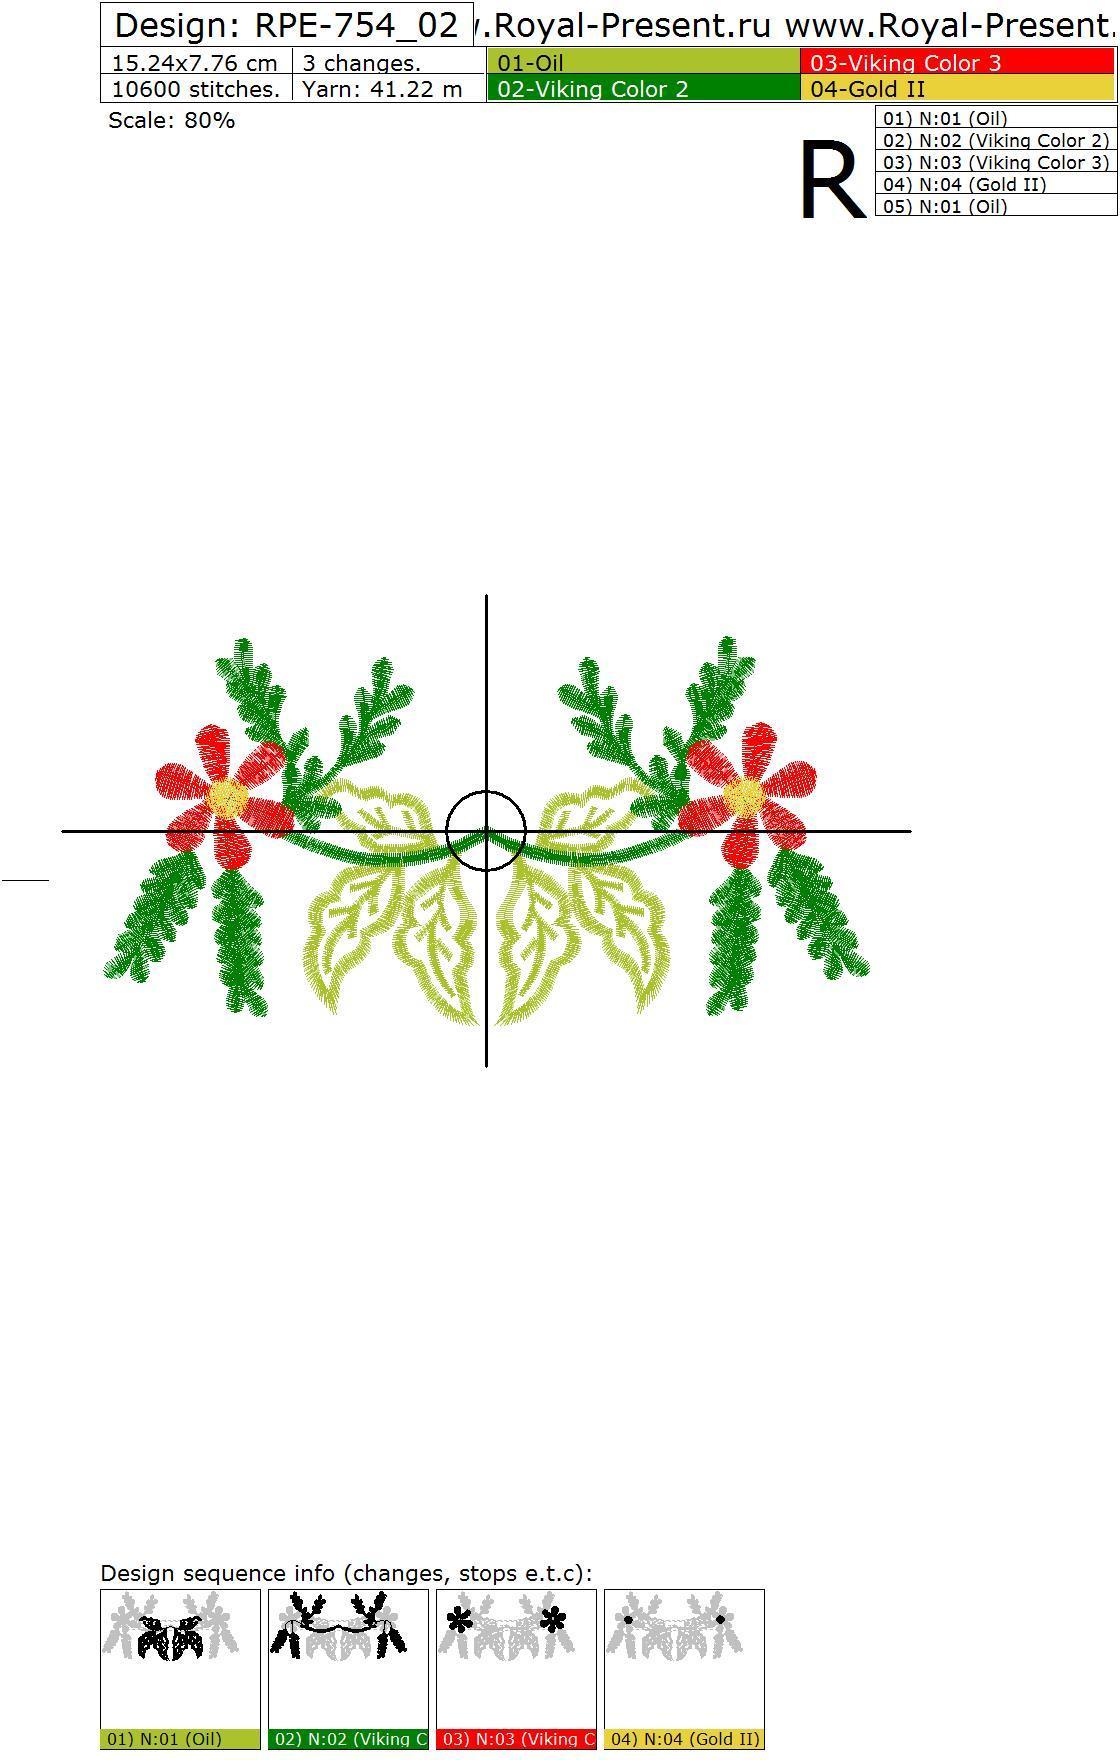
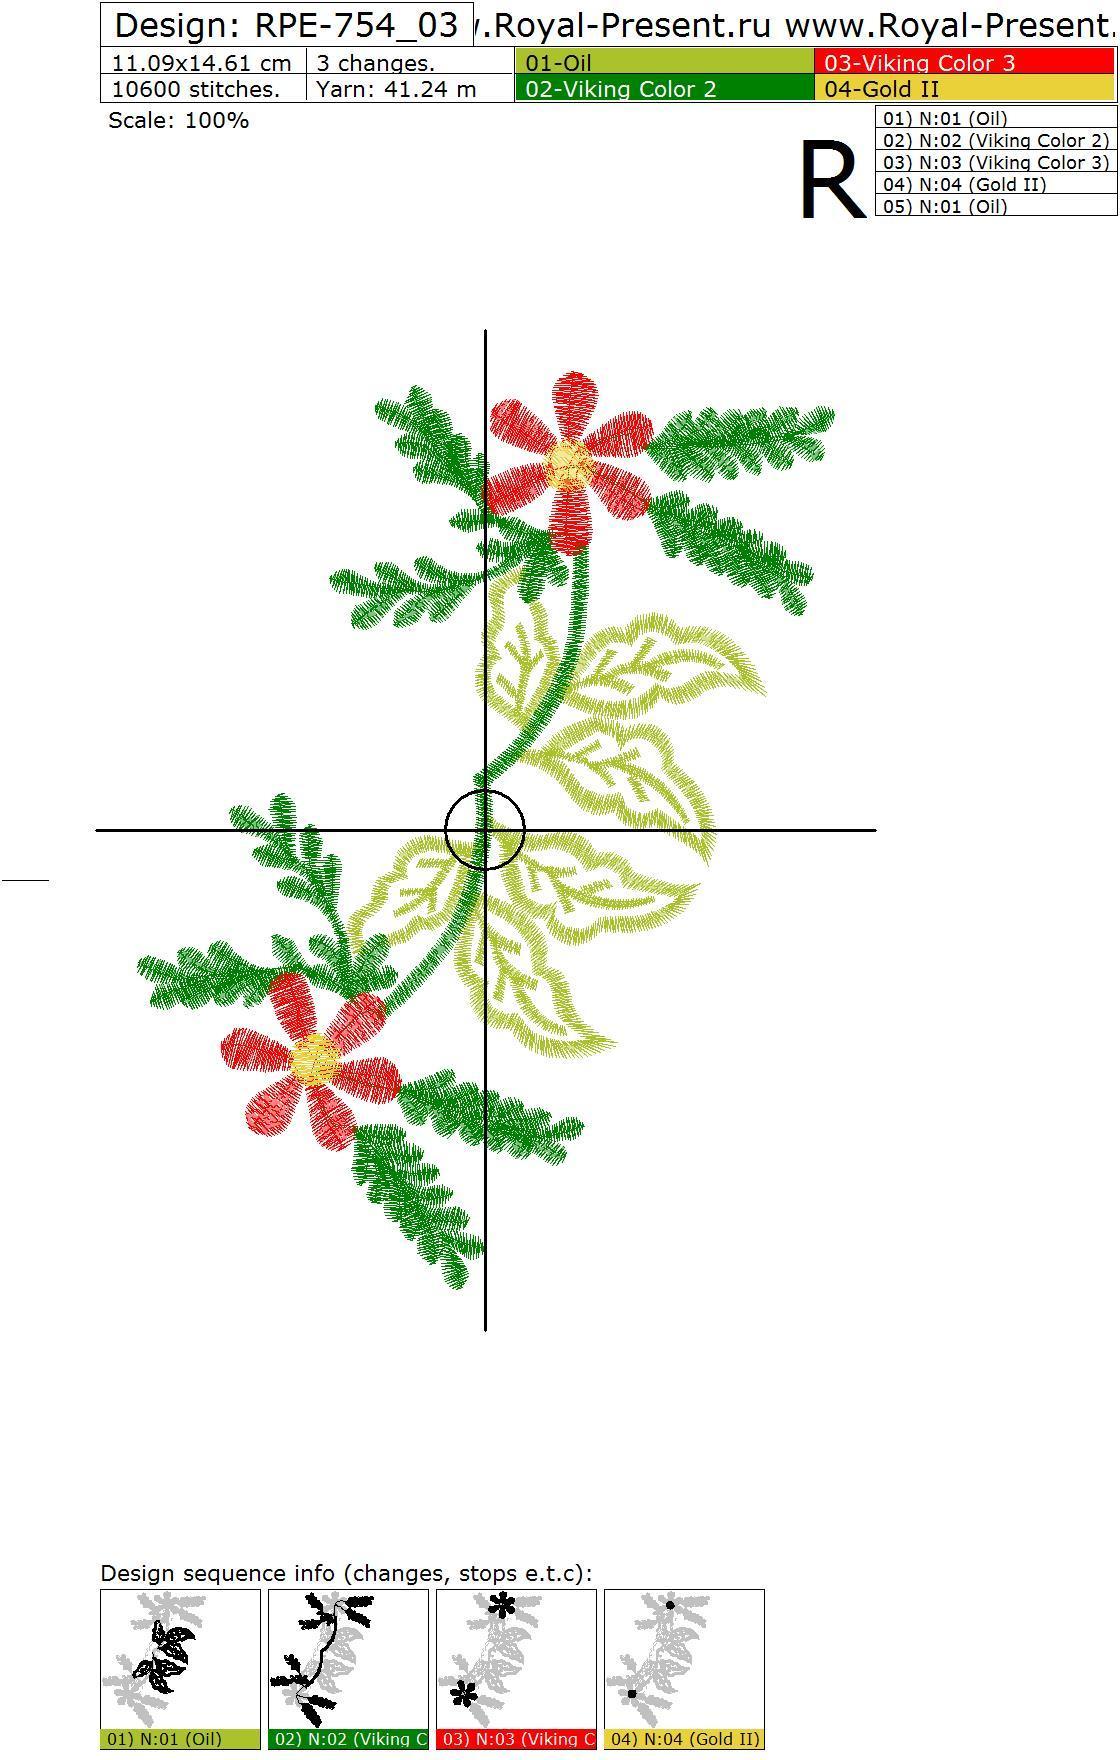
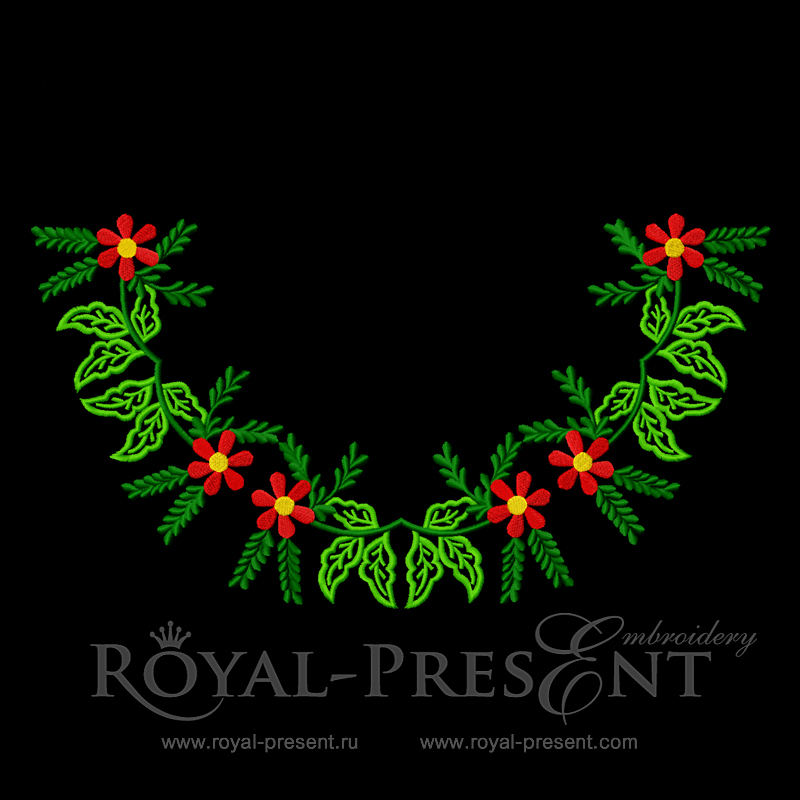
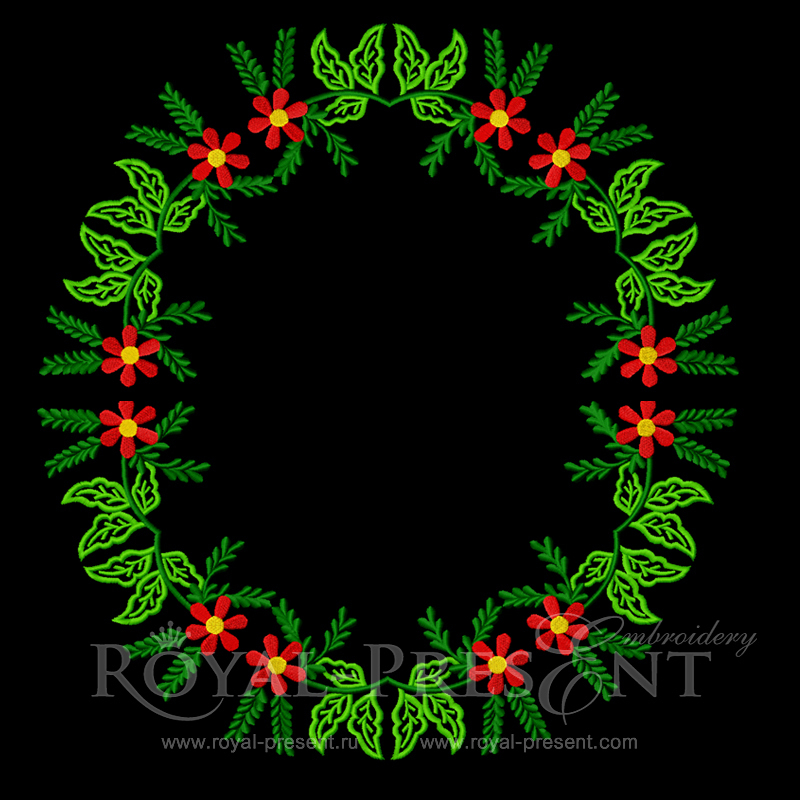
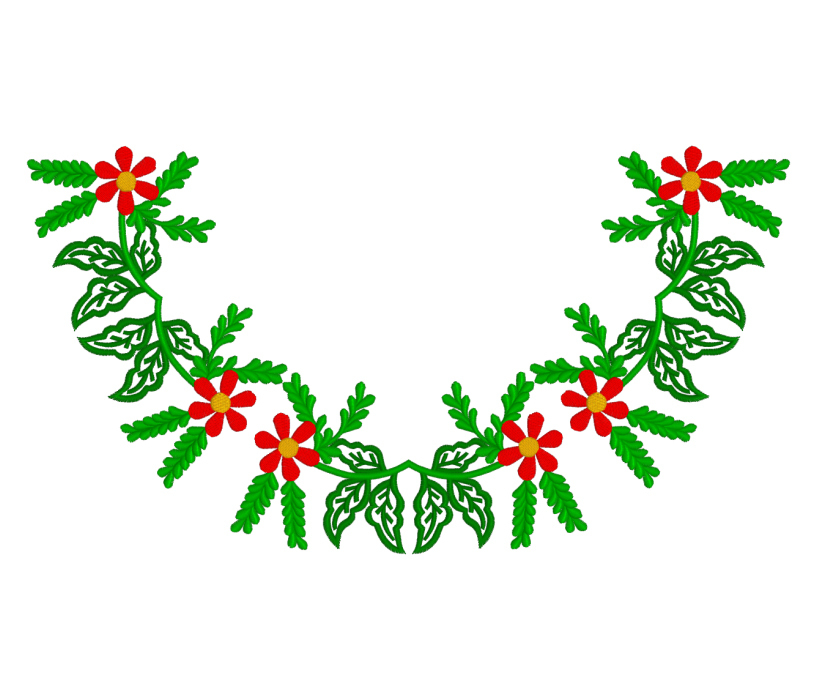
Floral Neckline Machine Embroidery Design is a decorative floral layout for garment openings, blouse necklines, dresses, tunics, pillows, napkins, serviettes and textile borders. The design is supplied in two practical versions: a full layout for a large hoop and a split version made of 3 parts for smaller hoop embroidery.
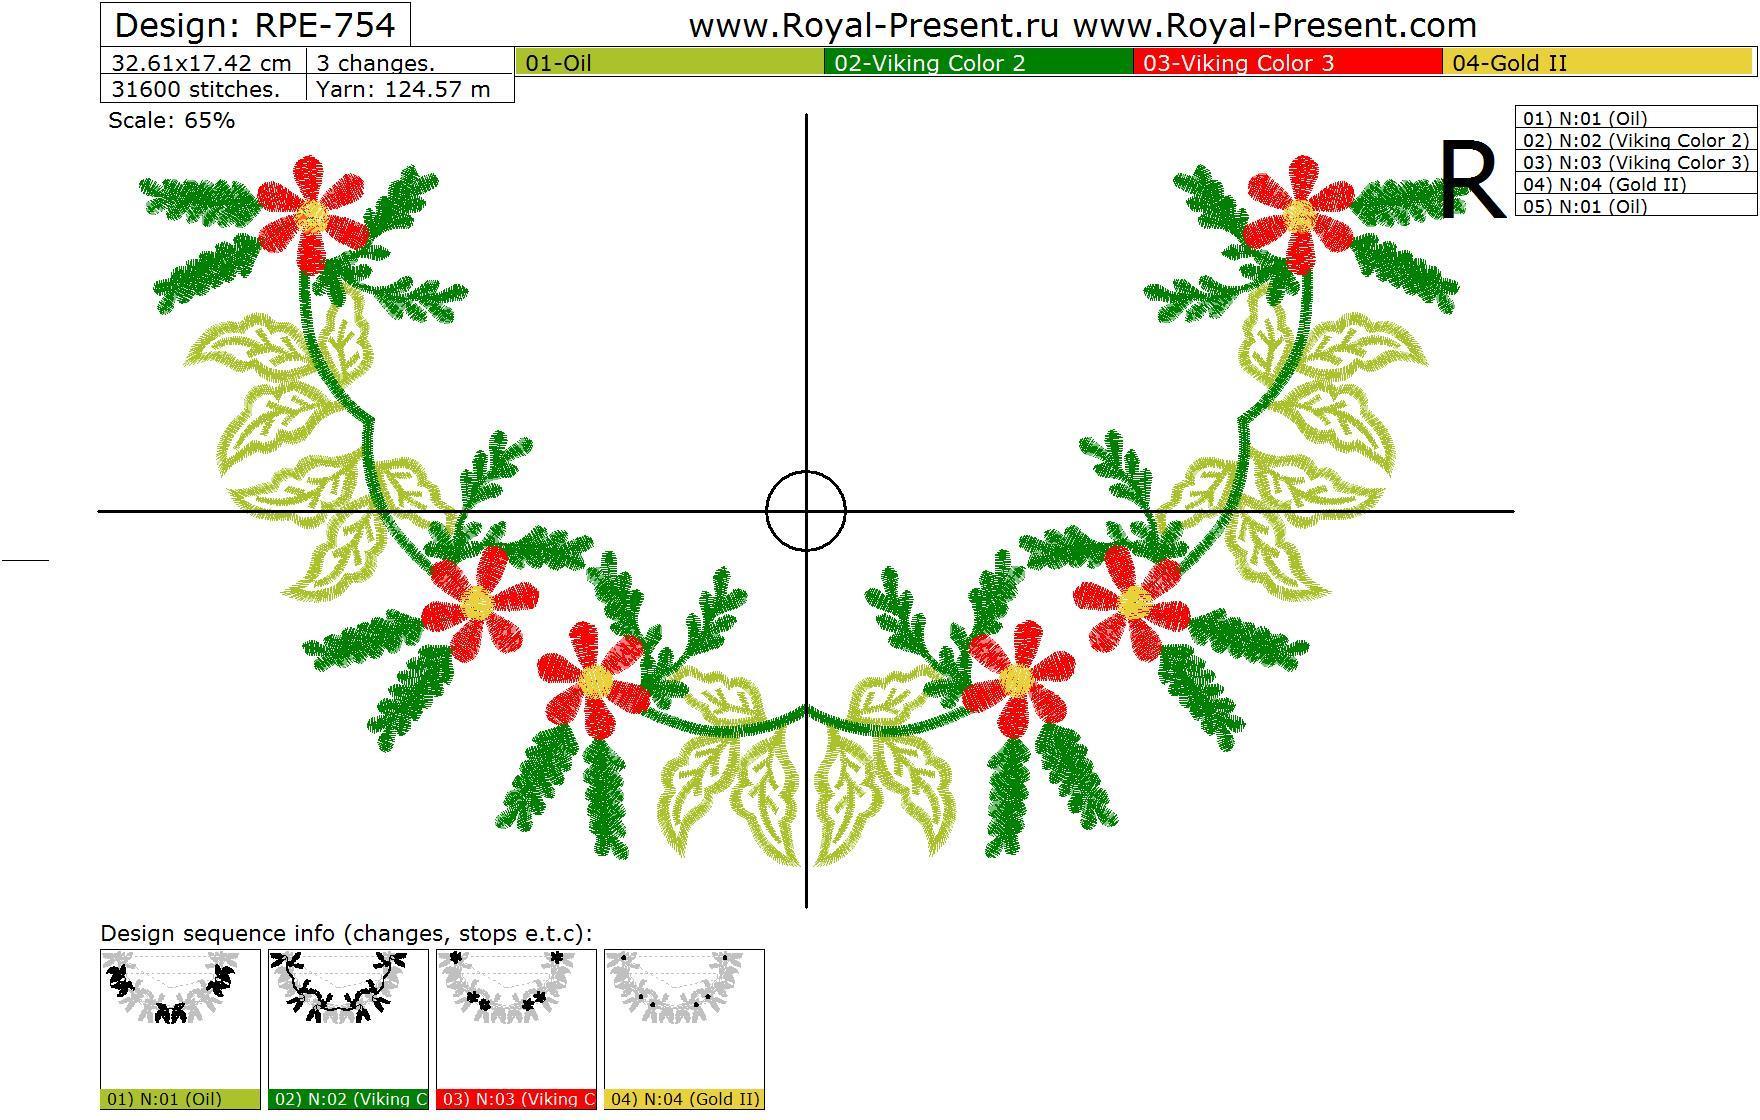
Use the complete version when your embroidery machine supports a 180x300 mm (7.09x11.81") hoop. Use the split version when you want to stitch the neckline in 3 separate parts using a 130x180 mm (5x7") hoop. This makes the design more flexible for machines that do not support a large single-hoop layout.
This is a machine embroidery design file for embroidery machines, not a finished neckline, collar, garment, patch, napkin, pillow, serviette or physical product.
Product Details
- Full version: for 180x300 mm (7.09x11.81") hoop
- Split version: 3 parts for 130x180 mm (5x7") hoop
- File formats: .dst, .jef, .pec, .vip, .hus, .pes, .exp, .sew, .dat
- Project type: floral neckline, garment opening decoration, modular embroidery layout
- Best for: blouses, dresses, tunics, pillows, napkins, serviettes and textile borders
Best Uses for This Floral Neckline Design
This design is made for a visible floral placement, not for a tiny accent. It works best when the embroidery follows a neckline curve, decorates a garment opening, or creates a wide floral border on home textiles.
- blouse neckline embroidery;
- dress or tunic front decoration;
- garment opening and yoke accents;
- decorative lower edge on clothing;
- pillow panels and cushion fronts;
- napkins, serviettes and table textiles;
- wide floral border for textile projects.
Full Version or 3-Part Version
If your machine has a 180x300 mm (7.09x11.81") embroidery field, the full version is the easiest option. It helps keep the floral neckline aligned as one complete layout.
If your machine uses a 130x180 mm (5x7") hoop, choose the split version. The design is divided into 3 parts, so each section is stitched separately. Before stitching, print placement templates, mark the garment center line and check how the parts meet on the fabric.
How to Place It on Clothing
For a blouse, dress or tunic, mark the center front, neckline curve and main placement points before hooping. A floral neckline must sit evenly, especially when you use the 3-part version. Even a small shift can be visible on a garment opening.
The design can also be used along the lower edge of a tunic, on a front garment panel, or as a decorative yoke-style element. Always test the layout on paper or scrap fabric before stitching the final garment.
How to Use It on Home Textiles
Although this design is made for a neckline, its modular floral shape also works well on pillows, napkins, serviettes and decorative textile panels. On pillows, use it as a wide central ornament or lower border. On napkins, place the floral section along one edge or across a corner area.
For a coordinated set, keep the same thread palette, stabilizer and placement distance on every item. This helps pillows, napkins or table textiles look like a planned collection instead of separate test pieces.
Fabric and Stabilizer Tips
For garments, use fabric that can support embroidery: linen, cotton, stable viscose, batiste with proper stabilization, lightweight denim or stable woven blends. Stretchy fabric needs extra care because it can distort the neckline curve.
For pillows, napkins and serviettes, choose stabilizer according to fabric weight. Linen and cotton usually need medium support. For washable textiles, choose stabilization that will keep the embroidery flat after use and laundering.
How to Avoid Misalignment in the 3-Part Version
Print templates for all 3 parts before stitching. Mark the center line, section edges and joining points on the fabric. Use the same stabilizer, hooping tension and fabric handling for every section.
Do not stretch the fabric in the hoop. After stitching the first section, avoid trimming stabilizer too close until the full neckline is finished. This gives the remaining parts more support during alignment.
Do Not Resize the Design Yourself
Do not reduce or enlarge this design yourself. Changing the size without professional stitch recalculation can affect density, pull compensation, section alignment and final embroidery quality. Royal Present is not responsible for the result if the customer changes the file independently.
Useful Related Links
- More garment placement designs: Necklines | Collars | Shirt Fronts | Jacket Backs.
- Rose neckline option: Neckline with roses Machine Embroidery Design.
- Green neckline option: Machine Embroidery Design Green Neckline.
- Classic neckline option: Machine Embroidery Design Neckline.
- Grey neckline option: Machine Embroidery Design Grey Neckline.
- Sunflower neckline design: Sunflower for neckline Machine Embroidery Design.
Designed by Royal Present Embroidery
This floral neckline machine embroidery design is part of the Royal Present Embroidery collection for garment decoration, modular embroidery layouts and practical textile projects. Learn more about Ludmila Konovalova, machine embroidery designer.
FAQ
Is this a finished floral neckline or a machine embroidery design?
This is a machine embroidery design file for embroidery machines. Finished garments, collars, patches, napkins, pillows and serviettes are not shipped.
What hoop size is needed for the full version?
The full version is made for a 180x300 mm (7.09x11.81") hoop. Check your machine’s real embroidery field before purchase, not only the hoop name.
What does the 3-part version mean?
The large floral neckline is divided into 3 separate embroidery parts for a 130x180 mm (5x7") hoop. Each part is stitched separately and must be aligned carefully on the fabric.
Can I stitch this design in a 4x4 hoop?
No. This design is supplied as a full version for 180x300 mm (7.09x11.81") hoop and as 3 parts for 130x180 mm (5x7") hoop. It is not a 4x4 hoop design.
Can I use this design only for necklines?
No. It is made for garment openings, but the modular floral layout can also be used on pillows, napkins, serviettes, textile borders and decorative panels.
How do I align the 3 parts correctly?
Print templates for all 3 parts, mark the center line and joining points, then test the full layout on the fabric before stitching. Use the same stabilizer and hooping method for every section.
Which fabric is best for a floral neckline?
Stable woven fabrics such as linen, cotton, batiste with proper stabilization, stable viscose and lightweight denim work well. Stretch fabrics need testing because they can distort the neckline curve.
Which stabilizer should I use for clothing?
Use stabilizer that keeps the garment fabric from stretching or puckering. The exact type depends on fabric weight, stitch density and whether the item will be washed. Always test on similar fabric first.
Can I resize this design myself?
No. Do not resize embroidery designs yourself. If you need another size, use the professional Resize of Design service and specify the required size, hoop size and file format.
Do I need a test stitch?
Yes. Test stitching is especially important for garments and for the 3-part version. It helps check stabilizer choice, fabric movement, neckline placement and alignment between sections.

 Get Sign-In Link
 Login with Google
 Login with Facebook
 Login with Amazon
 Login with Paypal