The Best Machine Embroidery Designs Online
At our online store, you'll find a wide variety of designs for machine embroidery. We're constantly updating our collection, so you can always find the perfect design for your next project. With so many...
Showing 1-47 of 47 results
Machine embroidery designs for necklines, collars, shirt fronts and jacket backs help decorate garments with ready-to-stitch floral, classic and ornamental layouts. Use them for blouses, dresses, tunics, jackets, yokes, back neck areas, garment openings and statement clothing panels.
This category is for embroidery machine files, not finished garments, collars, appliqués or physical clothing pieces. Choose a design, check the hoop size and stitch the decoration on your own fabric or finished garment.
These designs are made for garment placement: curved necklines, decorative collars, shirt fronts, jacket backs and wide floral or ornamental panels. Many designs can also be adapted for pillows, napkins, textile borders, home décor panels and fashion accessories when the shape fits the project.
Choose a neckline design when the embroidery should follow the curve of a blouse, dress, tunic or garment opening. These designs usually need careful center marking and symmetrical placement.
Choose a collar design when you want embroidery around the neck edge, on a detachable collar, or near the upper garment line. Collar embroidery should be tested on fabric with similar thickness and structure.
Choose a shirt front design for the center front of a blouse, tunic or top. These layouts work well when the embroidery becomes the main decorative feature of the garment.
Choose a jacket back design when you need a larger visible motif for denim jackets, linen jackets, light coats, costume pieces or decorative outerwear.
Before buying a neckline, collar, shirt front or jacket back design, check the exact size of the embroidery file and the real embroidery field of your machine. Do not rely only on the hoop name. Some machines do not stitch all the way to the stated hoop edge.
For split designs, print placement templates before stitching. Mark the center line, neckline curve, joining points and garment balance lines. A small shift can be visible on a neckline or shirt front, so placement planning matters more than on a simple towel or flat textile.
Stable woven fabrics are usually the easiest choice for garment embroidery: linen, cotton, batiste with proper support, stable viscose, lightweight denim, gabardine and woven blends. Stretch fabrics can distort the neckline curve, so they need testing and careful stabilization.
For clothing, the stabilizer must support the stitch count without making the garment uncomfortable. A neckline or collar should stay smooth, but not feel like cardboard. Test the same fabric, thread, needle and stabilizer before stitching the final garment.
Do not stretch the garment fabric in the hoop. Mark the center line, stabilize the fabric evenly and keep the same hooping tension for every section. For split neckline designs, finish all parts before trimming stabilizer too close to the embroidery.
Use printed templates or embroidery software to check the full layout. This is especially important for curved necklines, mirrored designs, shirt fronts and jacket backs where symmetry is part of the final look.
These garment placement embroidery designs are part of the Royal Present Embroidery collection for clothing decoration, neckline layouts, collars, shirt fronts, jacket backs and practical textile projects. Learn more about Ludmila Konovalova, machine embroidery designer.
At our online store, you'll find a wide variety of designs for machine embroidery. We're constantly updating our collection, so you can always find the perfect design for your next project. With so many...
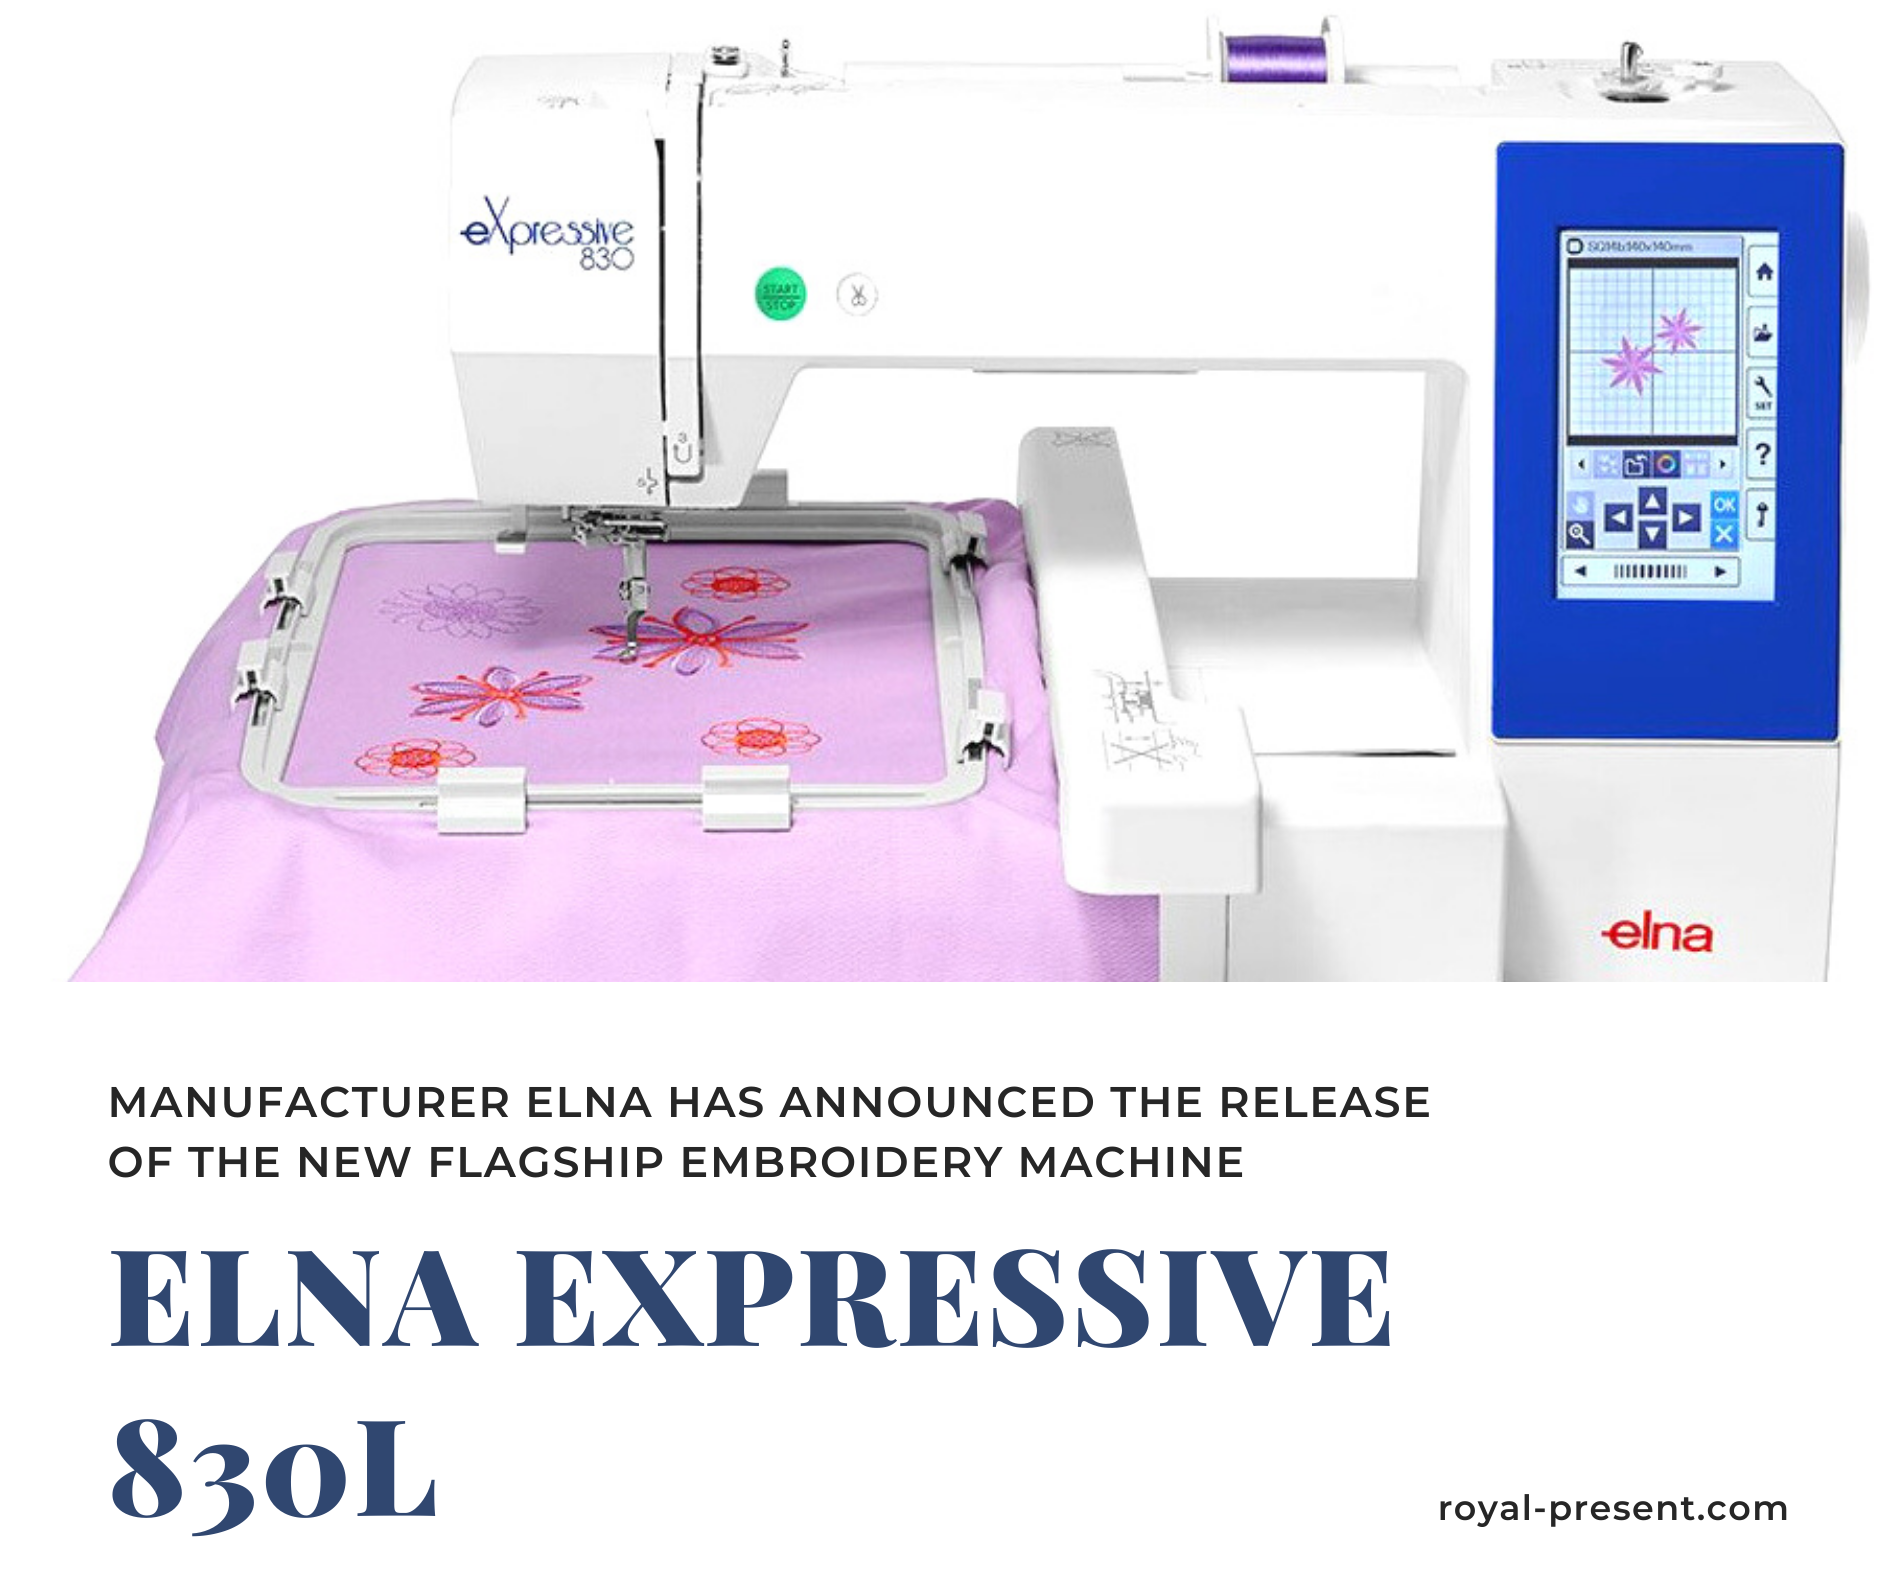
Review: Elna eXpressive 830L Embroidery Machine If you're looking for a reliable and versatile embroidery machine, the Elna eXpressive 830L is definitely worth considering. Whether you're...
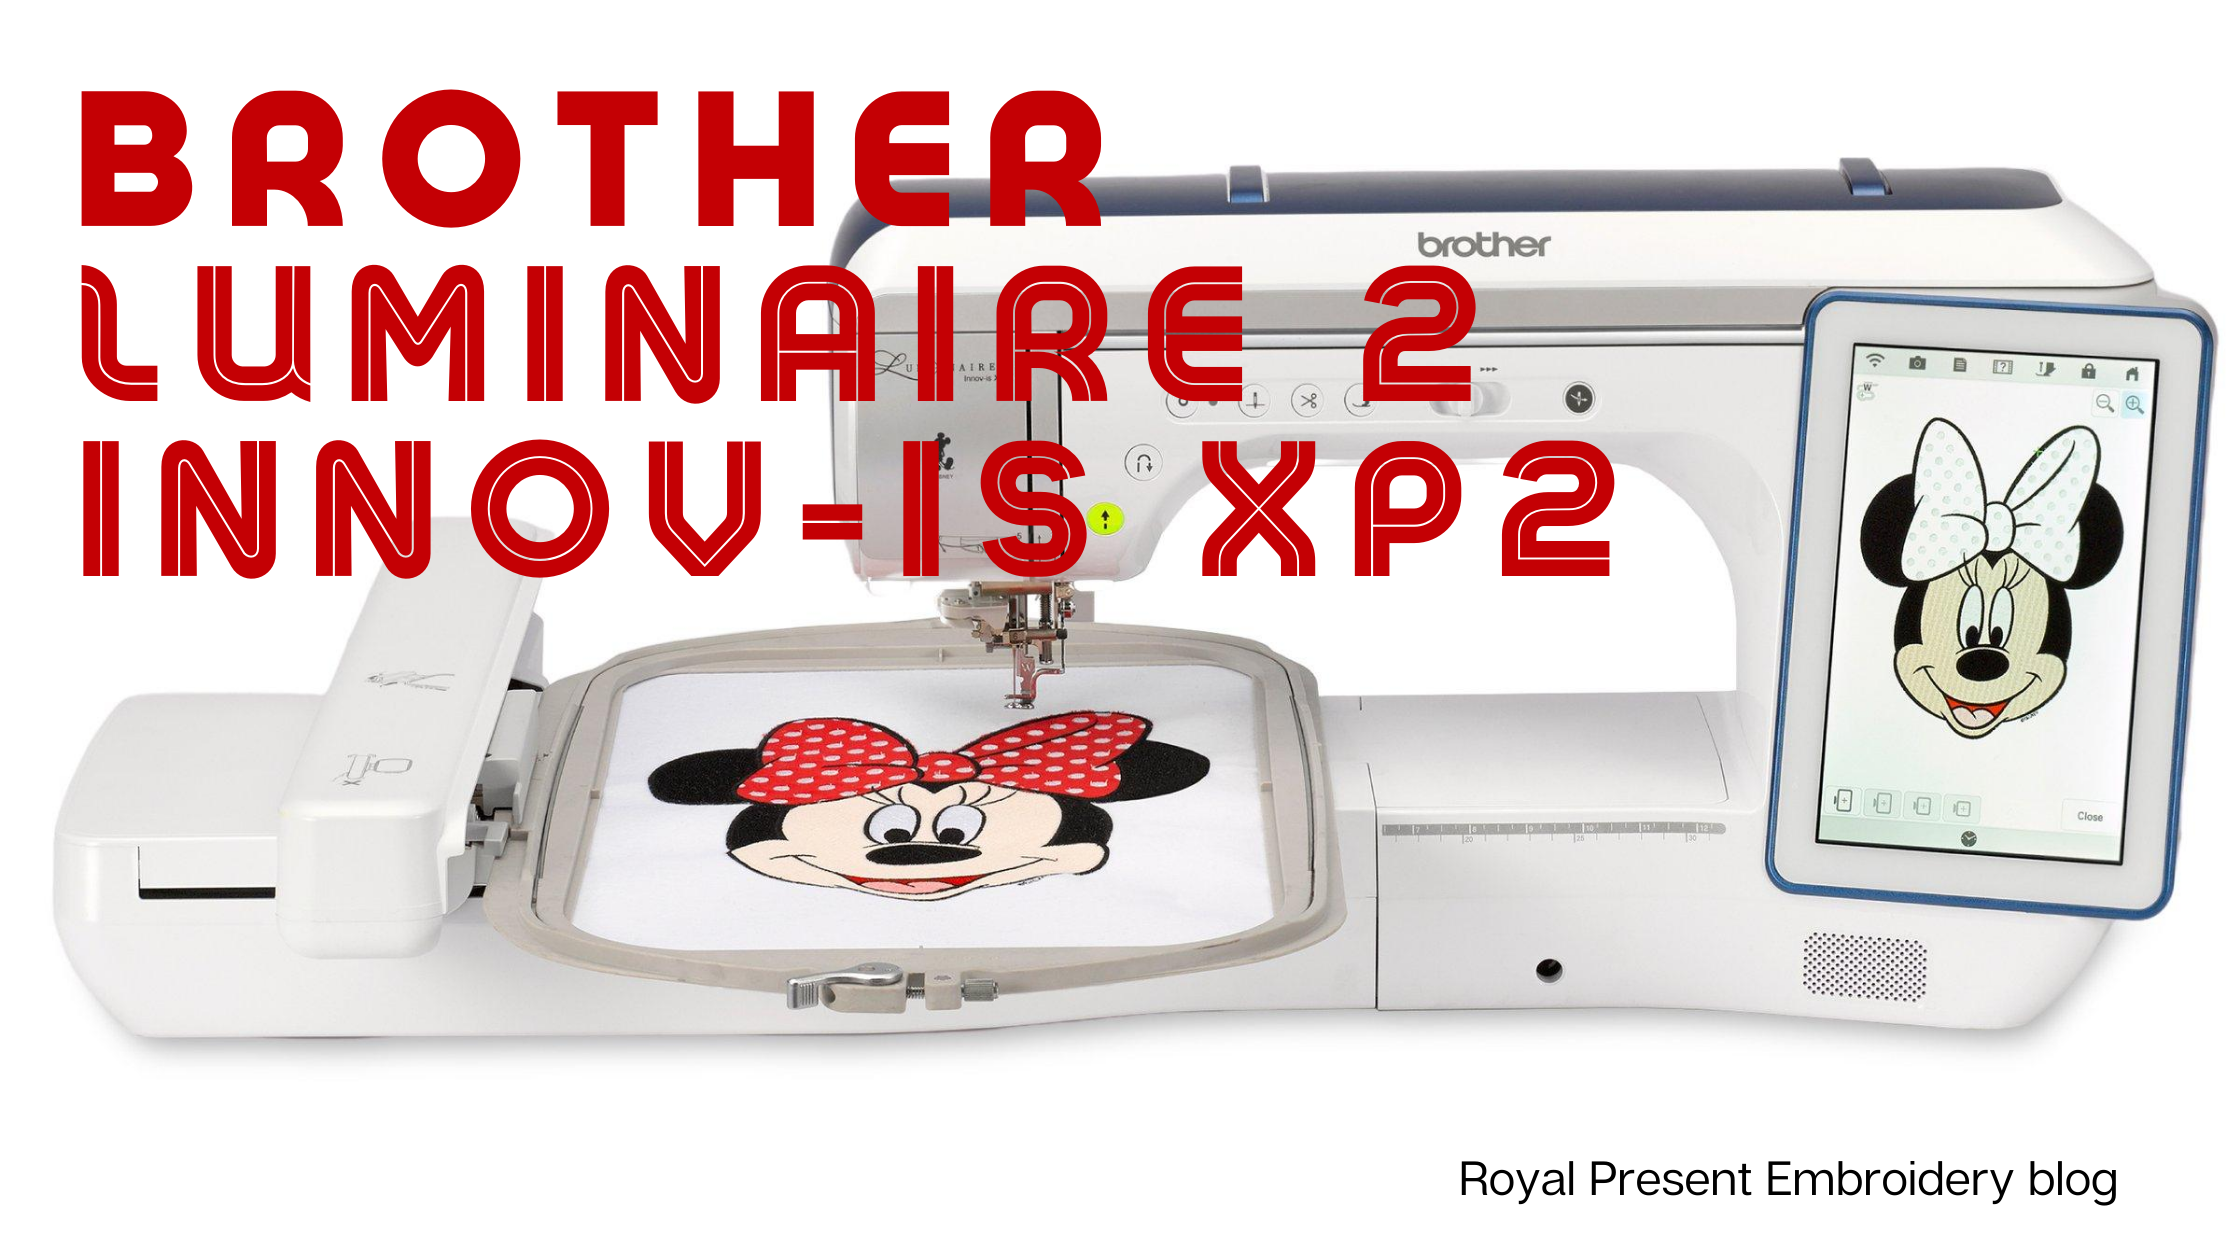
Have you ever felt like you're at the mercy of your embroidery machine? Constantly fidgeting with knobs and buttons to get the settings right can be frustrating and time-consuming. Fortunately, the Bro...
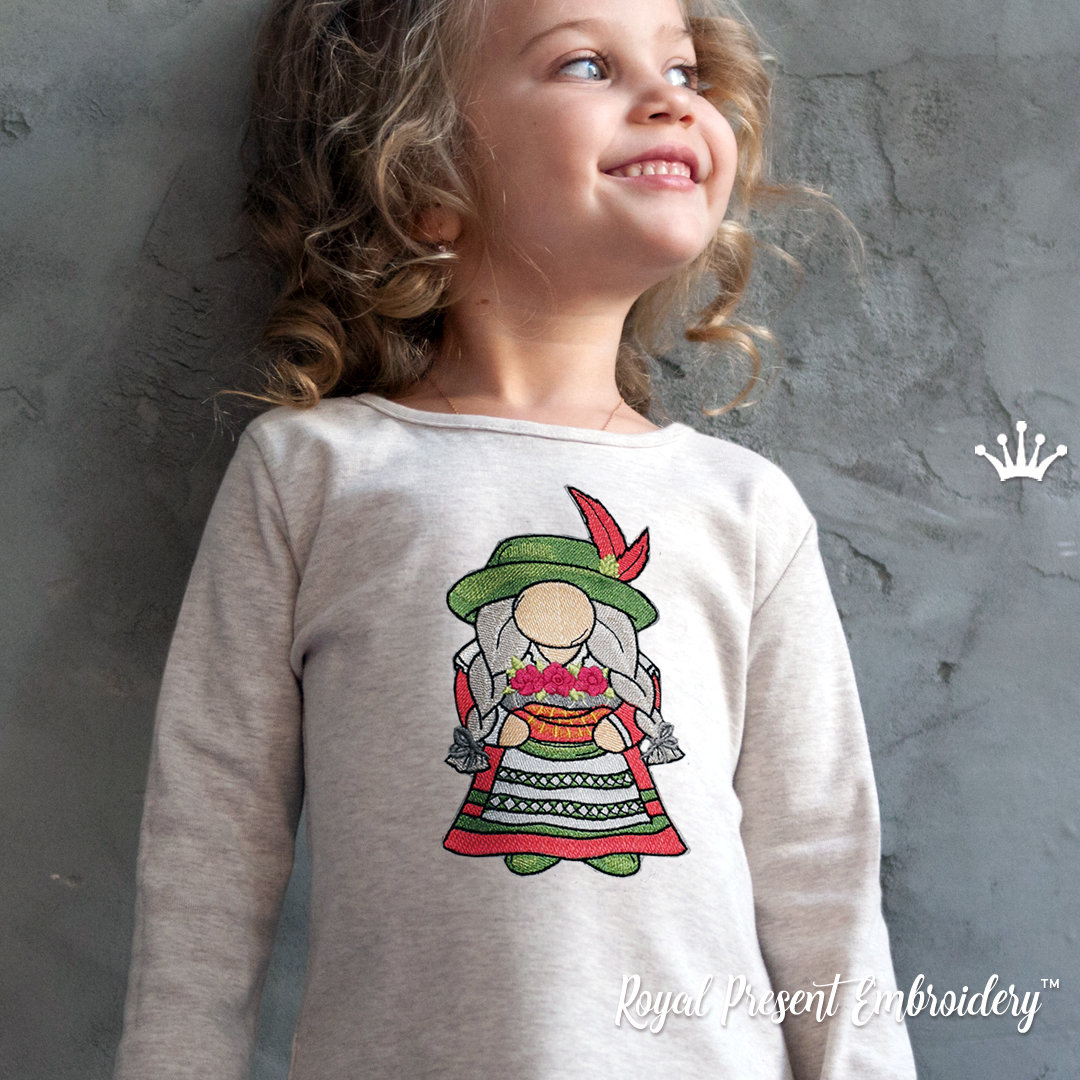
German Gnome Girl with sausage Machine Embroidery Design - 4 size There's nothing like an embroidered patch to add some personality to your clothes. And making your patch is easier than you...

 Get Sign-In Link
 Login with Google
 Login with Facebook
 Login with Amazon
 Login with Paypal