Free Indian Floral Ornament Machine Embroidery Design
By knowing the speed of your embroidery machine, you can find out how long it will take to embroider a design.
To use the embroidery calculator, click on the number of stitches in the product description.
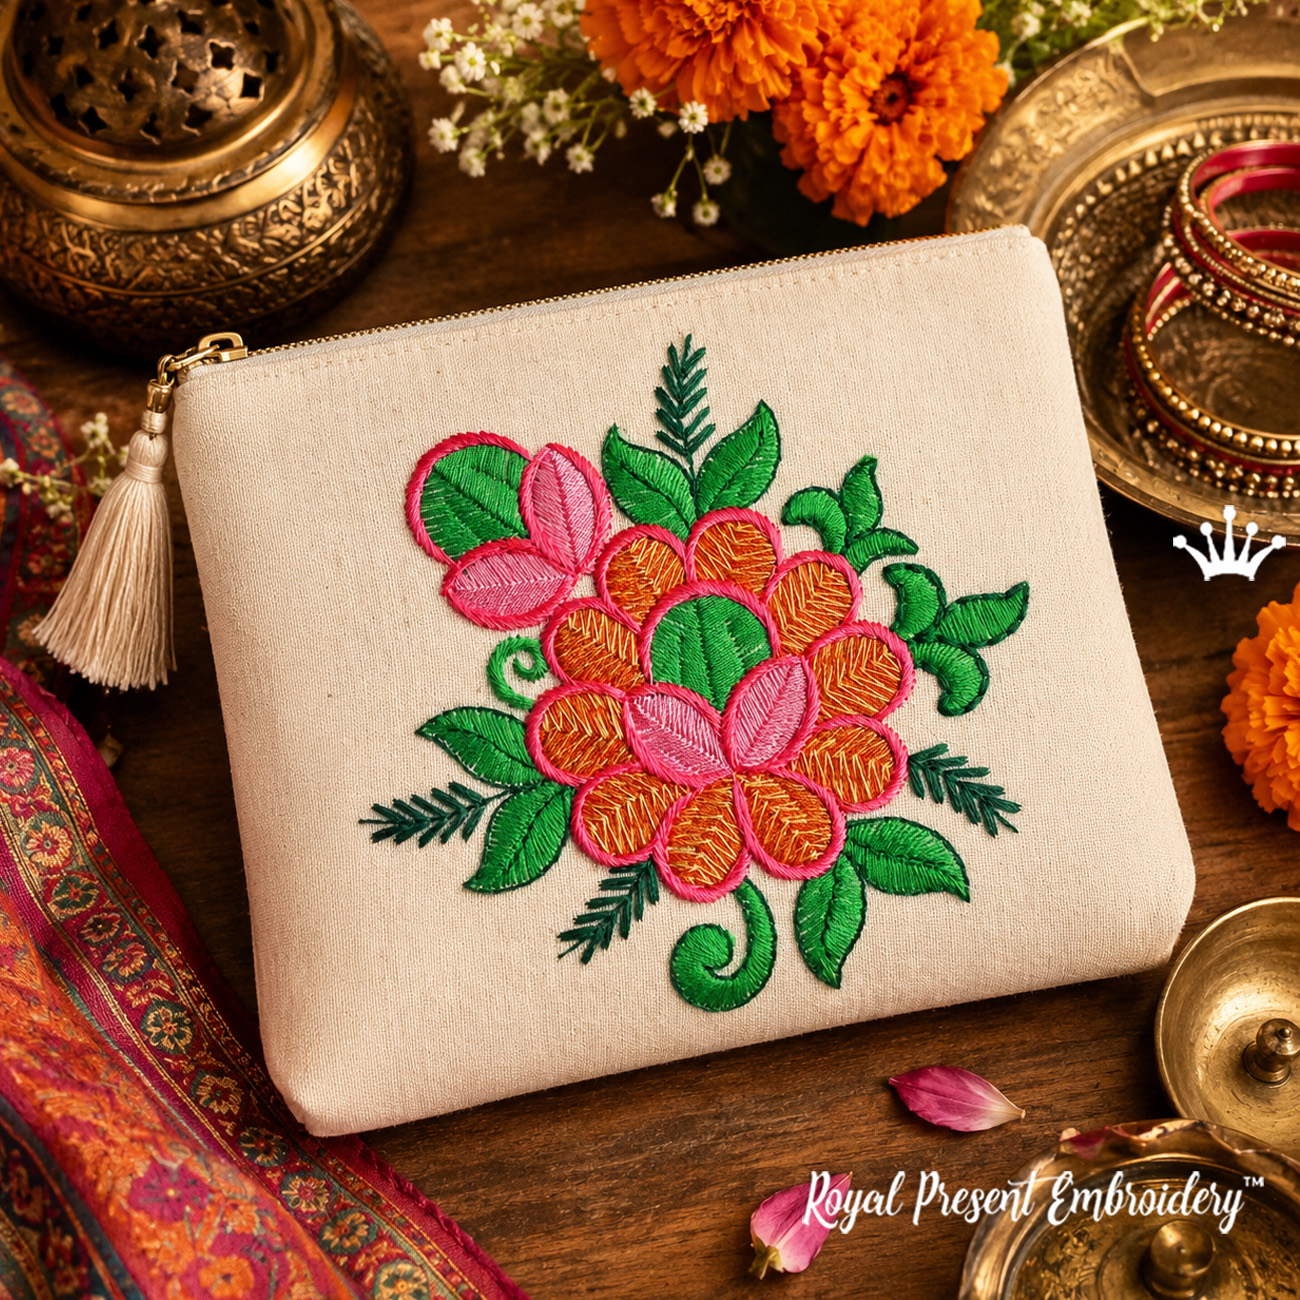
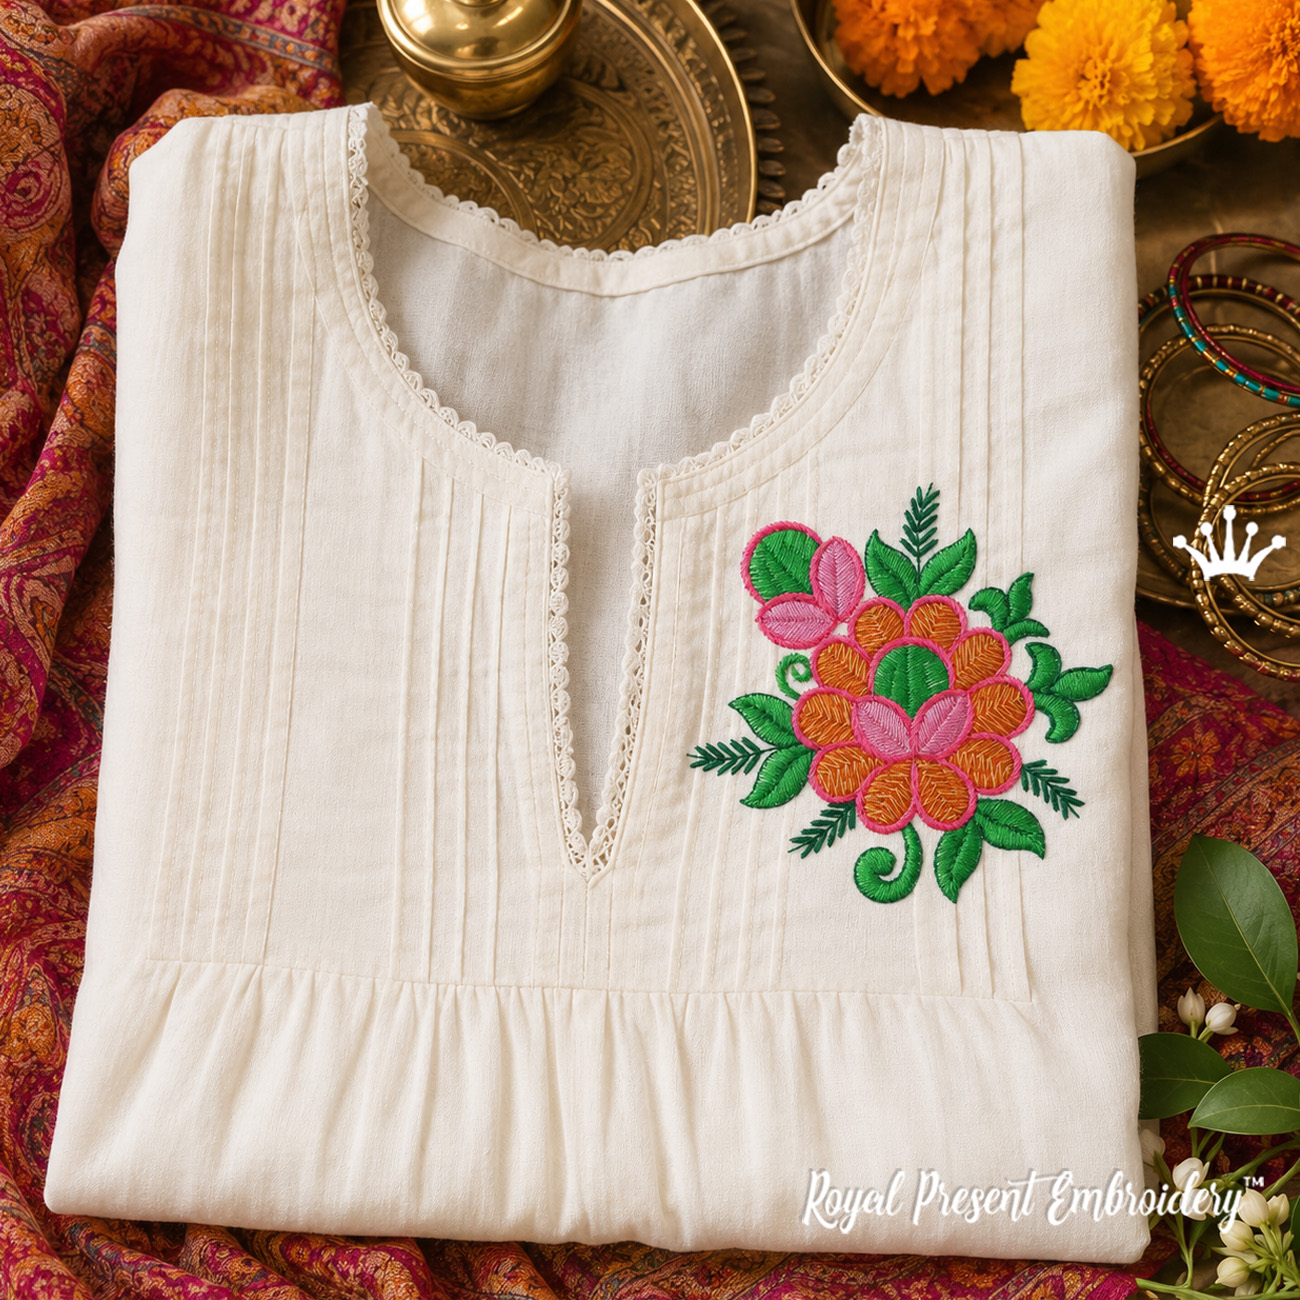
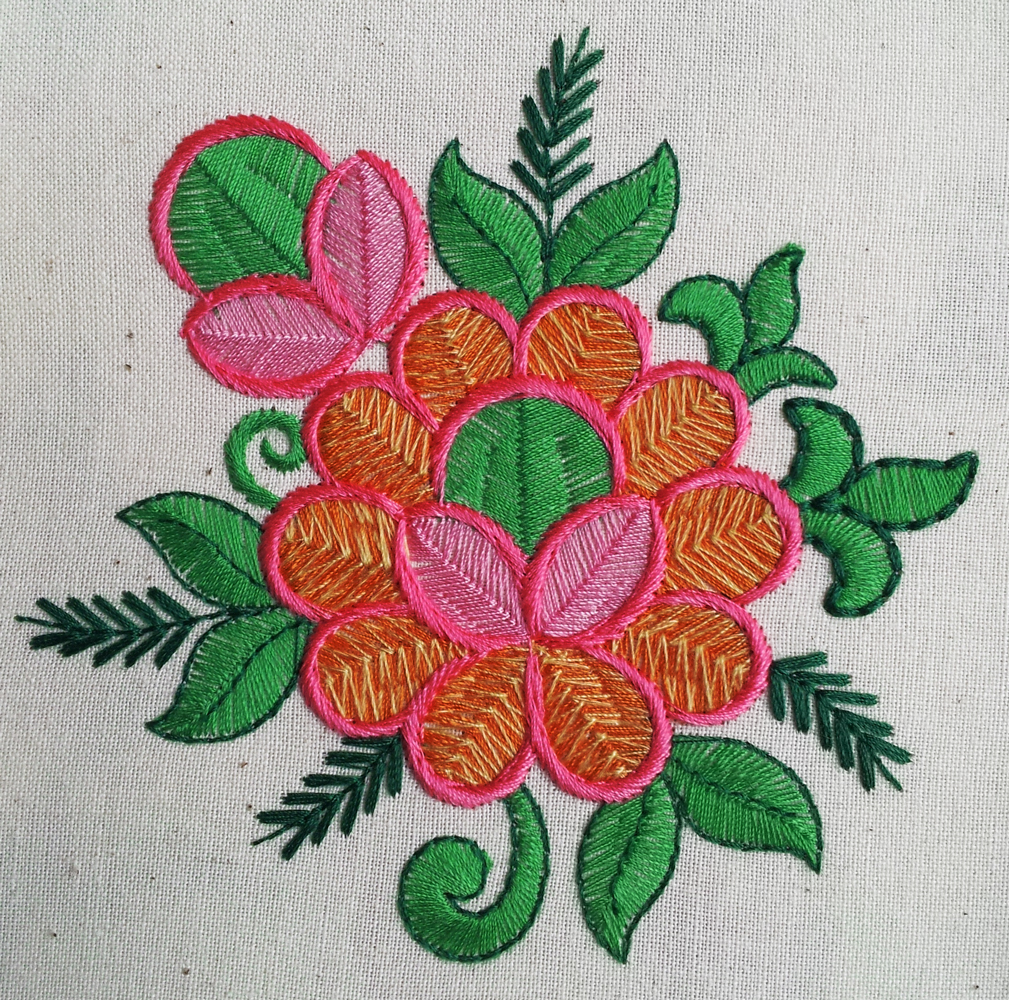
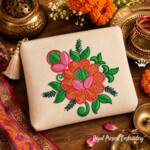
Add vibrant ethnic color to a cosmetic bag, clutch, blouse, tunic or tote with this free Indian floral ornament machine embroidery design. The decorative flower motif combines bold pink, orange and green sections with long directional stitches that create movement and a beautiful thread sheen.
Size: 103.0x99.8 mm (4.06x3.93 "), Stitches: 6155
Formats: pes, .pec, .hus, .vip, .dst, .exp, .sew, .dat, .vp3, .jef
This is a digital machine embroidery file. It is not a finished patch or a physical embroidered product. Select the format supported by your embroidery machine after downloading and unzipping the archive.
Hoop compatibility
Fits a 100x170 mm (3.94x6.69") hoop when the design is rotated 90°. It also fits 120x120 mm, 130x180 mm and standard 5x7 inch or larger embroidery fields.
Important: The design does not fit a true 100x100 mm or 4x4 inch embroidery field because one side measures 103.0 mm (4.06"). Always check the actual sewing field supported by your machine, not only the hoop’s outside dimensions.
Where to embroider this Indian floral design
| Project | Placement and preparation |
|---|---|
| Cosmetic bag or clutch | Embroider the front panel before assembling the bag. Linen, cotton canvas and firm decorative fabrics keep the long stitches better protected. |
| Tote bag or handbag | Place the ornament on the front panel, flap or a large pocket. Keep it away from straps, zippers and hardware that could catch the longer stitches. |
| Linen blouse or tunic | Use it as a centered chest decoration or place it asymmetrically near the neckline. Test the design on a matching fabric remnant before embroidering the finished garment. |
| T-shirt or knit blouse | Use permanent cut-away stabilizer and hoop without stretching the knit. Check that the completed embroidery remains comfortable against the body. |
| Pocket or organizer | Embroider the pocket piece before sewing it to the project. This prevents seams and bulky layers from interfering with the embroidery foot. |
| Cushion or home décor | Use the flower as a centered ornament or combine several stitchouts into a colorful ethnic-style textile composition. |
Long stitches and thread sheen
The flower contains long directional stitches that imitate decorative hand embroidery. When stitched with size 40 rayon or viscose embroidery thread, these areas catch the light, shimmer and change appearance as the fabric moves. This luminous effect is much stronger in person than it appears in a photograph.
Rayon thread gives the brightest shine and is an excellent choice for a decorative clutch, blouse or display cushion. For cosmetic bags, tote bags and other frequently handled projects, size 40 polyester embroidery thread is more resistant to friction and repeated washing.
Do not place the design directly beside a zipper, magnetic closure, bag strap or exposed metal hardware. Long stitches can snag when they are repeatedly rubbed against hard surfaces. Press the completed embroidery from the wrong side on a soft towel or pressing pad.
Color chart and stitch sequence
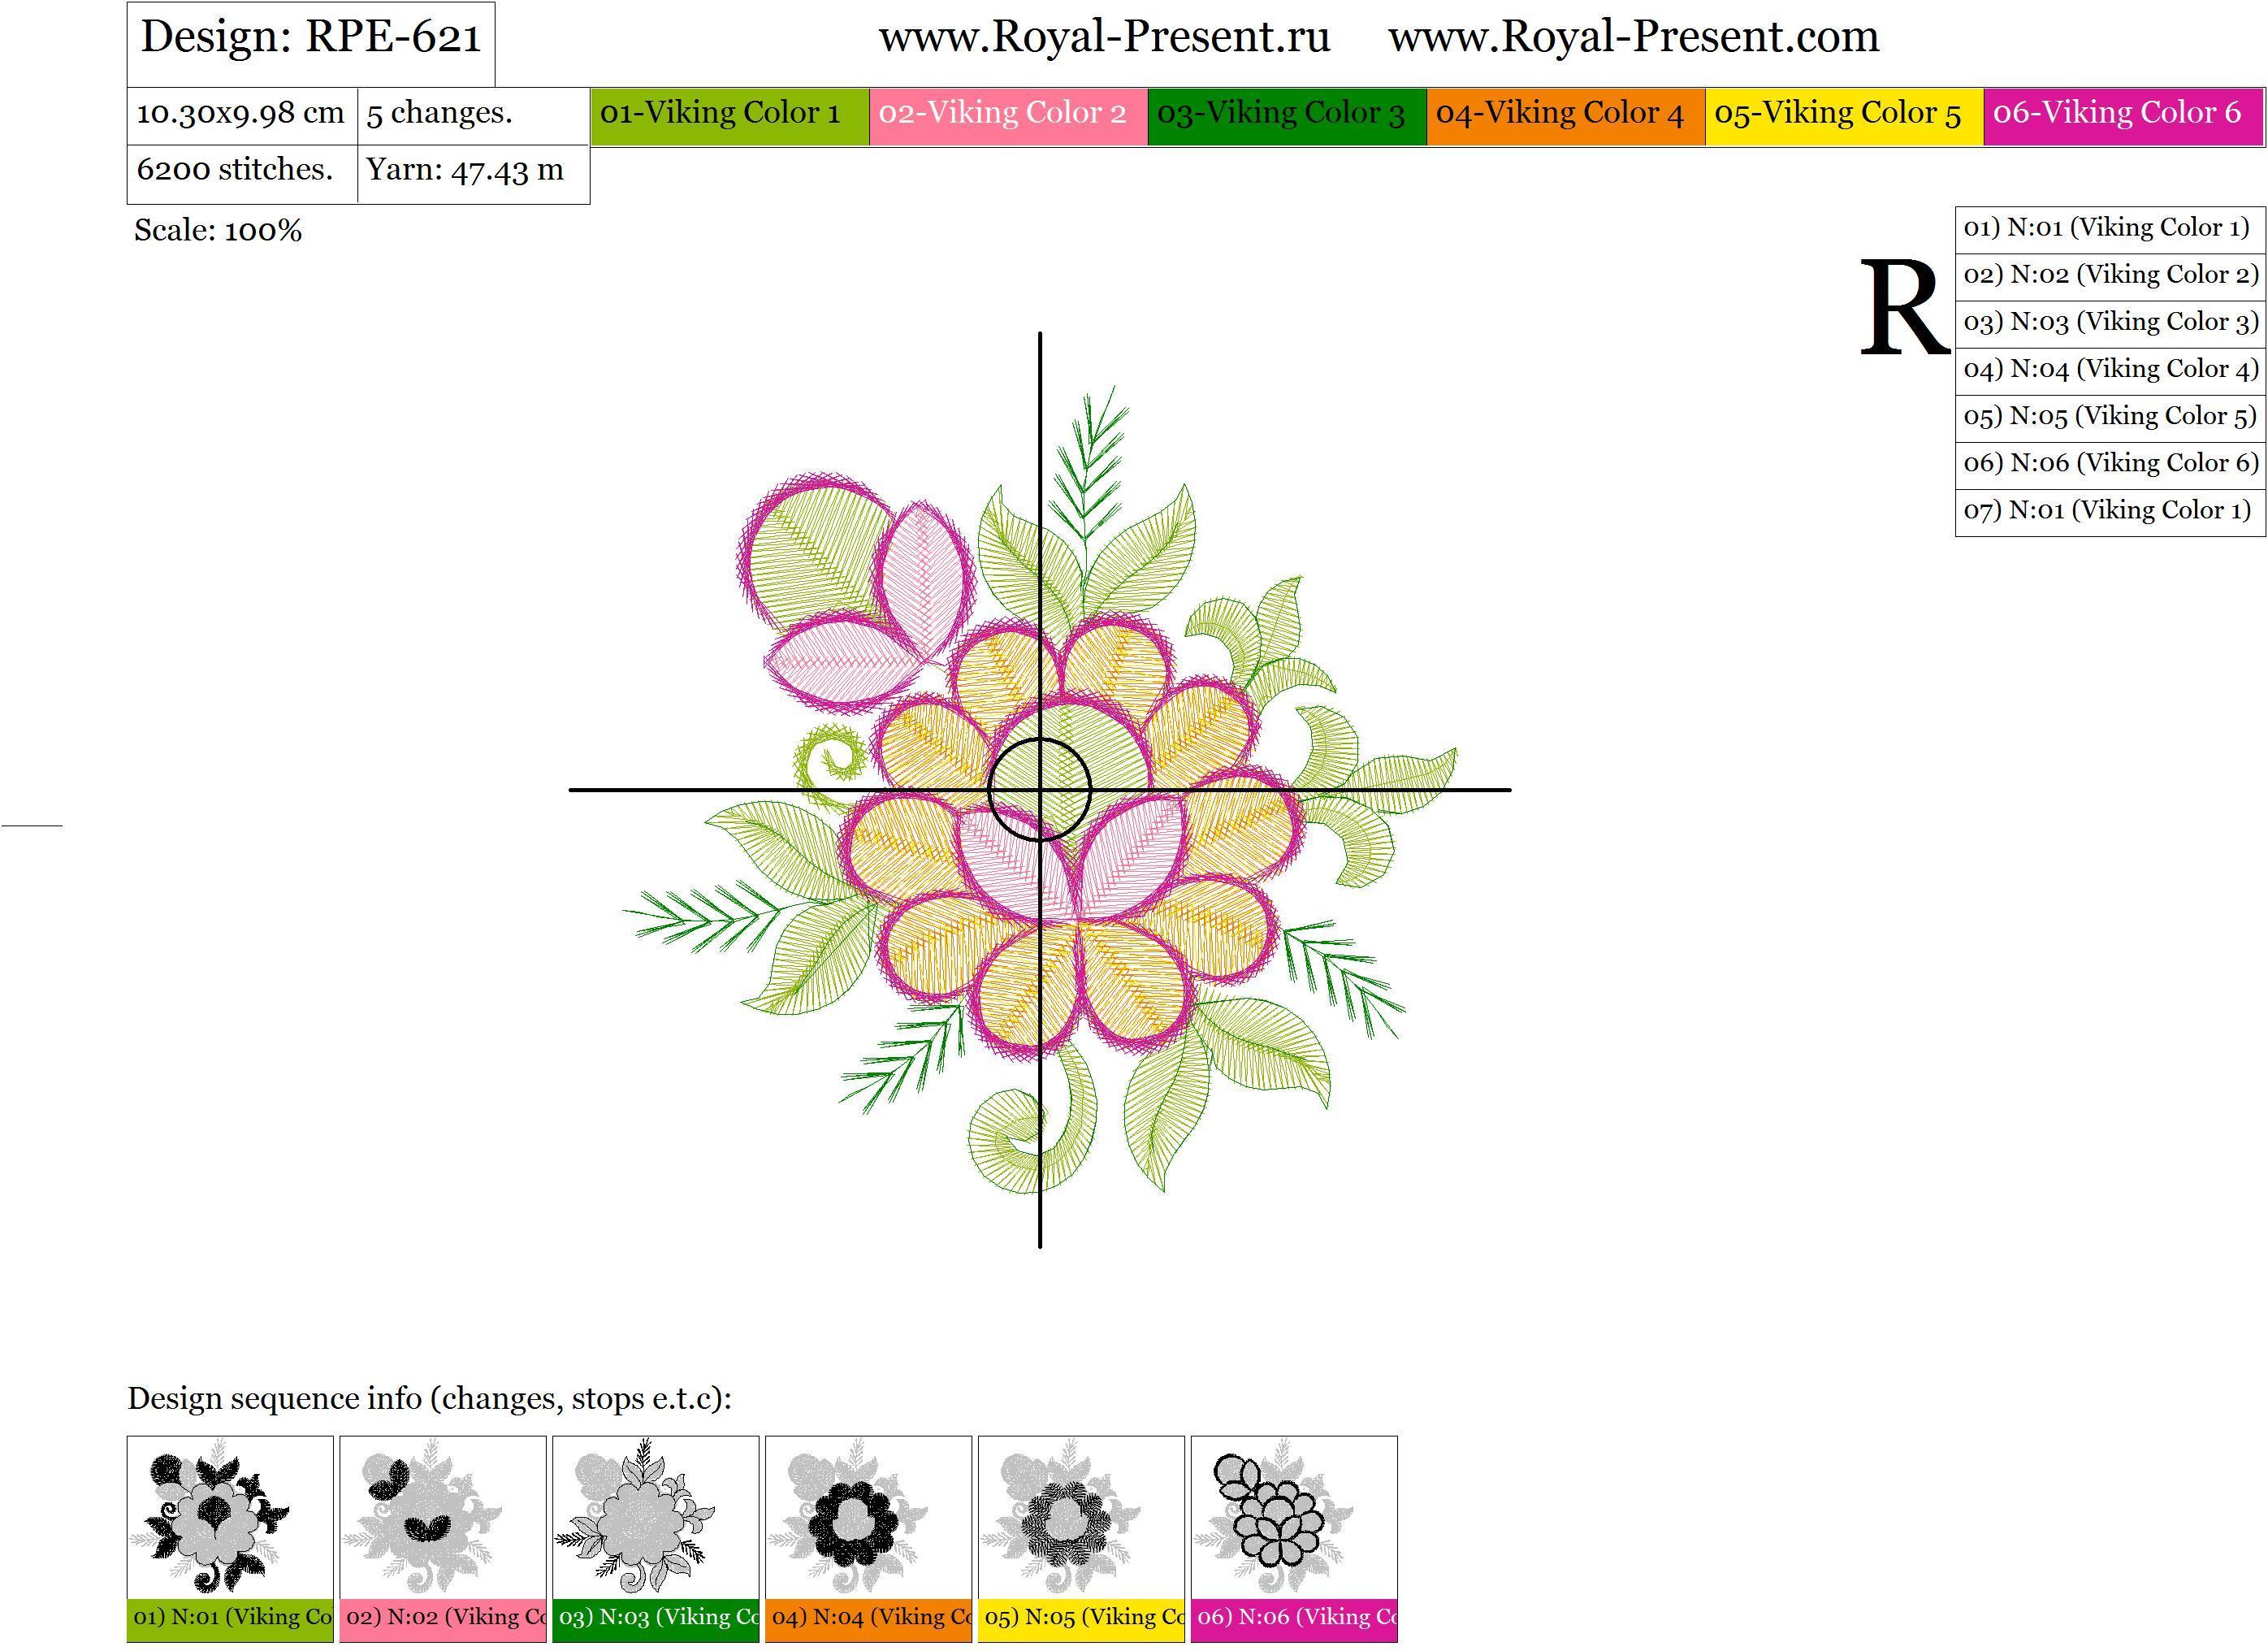
The color codes below are the original generic labels saved in the embroidery file. They are not manufacturer thread numbers. Match them to the closest shades in the thread brand you normally use.
| Step | Original file code | Color name | Swatch | Embroidered segments |
|---|---|---|---|---|
| 1 | Viking Color 1 | Bright Green | Main green leaf fills and decorative curled elements. | |
| 2 | Viking Color 2 | Pink | Pink flowers and the first petal sections. | |
| 3 | Viking Color 3 | Dark Green | Stems, leaf veins, contours and dark green details. | |
| 4 | Viking Color 4 | Orange | Main orange flower petals and warm decorative sections. | |
| 5 | Viking Color 5 | Golden Yellow | Golden highlights and directional stitches over the orange petals. | |
| 6 | Viking Color 6 | Bright Magenta | Bright petal edging and final magenta flower details. | |
| 7 | Viking Color 1 | Bright Green | Final green center and finishing details. |
Do not combine the two green steps automatically. The repeated color appears again at the end because it stitches a separate finishing section in the programmed sequence.
Recommended stabilizers
| Fabric or project | Retail stabilizer | Weight | How to use it |
|---|---|---|---|
| Lightweight linen or cotton blouse | Sulky Tear-Easy | 0.97 oz/yd² — 33 g/m² | Use two layers for thin or loosely woven linen. Tear away one layer at a time while supporting the embroidery with your fingers. |
| Stable linen, cotton or washable cosmetic bag | OESD Ultra Clean & Tear | 1.7 oz/yd² — approximately 57.6 g/m² | Use one hooped layer. Its remaining fibers soften during laundering, making it suitable for washable woven projects. |
| Cotton canvas, denim tote or structured clutch | Floriani Medium Weight Firm Tearaway | 1.5 oz/yd² — approximately 50.9 g/m² | One layer is normally sufficient for this 6155-stitch design on stable fabric. Add a floated second layer if the test stitch shows movement around the long fills. |
| Jersey blouse, knit tunic or T-shirt | Sulky Soft ’n Sheer Plus Cut-Away | 1.62 oz/yd² — 55 g/m² | Hoop the knit without stretching it. After embroidery, trim the stabilizer approximately 1/4 inch or 6 mm from the design, rounding the corners. |
| Heavy bag fabric requiring extra support | Threadart Heavy Weight Tear-Away | 2.8 oz/yd² — 80 g/m² | Use one layer on firm canvas or other heavy woven fabric. Tear away slowly toward the stitching without pulling the long embroidered sections. |
Machine embroidery settings
- Use a fresh 75/11 embroidery needle for linen, quilting cotton and lightweight woven fabric.
- Use an 80/12 embroidery needle for canvas, denim or a structured bag panel.
- For jersey, use a 75/11 embroidery ballpoint needle and permanent cut-away stabilizer.
- Start at approximately 500–600 stitches per minute, especially when using rayon thread and during the longest stitch sections.
- Make a test stitch using the same fabric, thread, needle and stabilizer planned for the finished project.
- Check upper-thread tension before stitching the final item. Excessive tension makes long stitches vulnerable to thread breaks and can pull lightweight fabric inward.
- Do not resize the embroidery file directly on the machine. Significant resizing changes stitch length, density and underlay unless the design is recalculated in embroidery software.
Temporary adhesive and hooping
If the project cannot be hooped conventionally, hoop a suitable stabilizer and secure the fabric with a basting box or a light application of temporary embroidery adhesive. Spray the adhesive onto the stabilizer away from the embroidery machine, allow it to become tacky, and then position the fabric.
Do not spray adhesive near the needle area, bobbin case, hook assembly or machine sensors. Excess adhesive can transfer to the needle and collect lint inside the machine. For stable flat fabric, hooping the fabric and stabilizer together usually gives a cleaner result than relying on adhesive alone.
Before embroidering the final project
- Print or open the design template at 100% scale.
- Mark the horizontal and vertical centerlines on the fabric.
- Confirm that the rotated design fits the actual embroidery field when using a 100x170 mm hoop.
- Hoop the fabric smoothly without stretching or distorting the weave.
- Stitch a complete test sample and inspect the long stitches for loops, snagging and thread breaks.
- After embroidery, remove the stabilizer carefully and press from the wrong side on a soft surface.
Free Indian Floral Ornament Machine Embroidery Design
I'm making dresses for my grand daughters and I'm going to put this design exactly as pictured, thank you!
Free Indian Floral Ornament Machine Embroidery Design
Beautiful designs! Haven't sewn out yet.

 Get Sign-In Link
 Login with Google
 Login with Facebook
 Login with Amazon
 Login with Paypal