Best embroidery machine for home business
So, you’re looking for the best embroidery machine for your home embroidery business. If you’re reading this article, it means that you haven’t set your mind on anything definite yet. It’s...
By knowing the speed of your embroidery machine, you can find out how long it will take to embroider a design.
To use the embroidery calculator, click on the number of stitches in the product description.
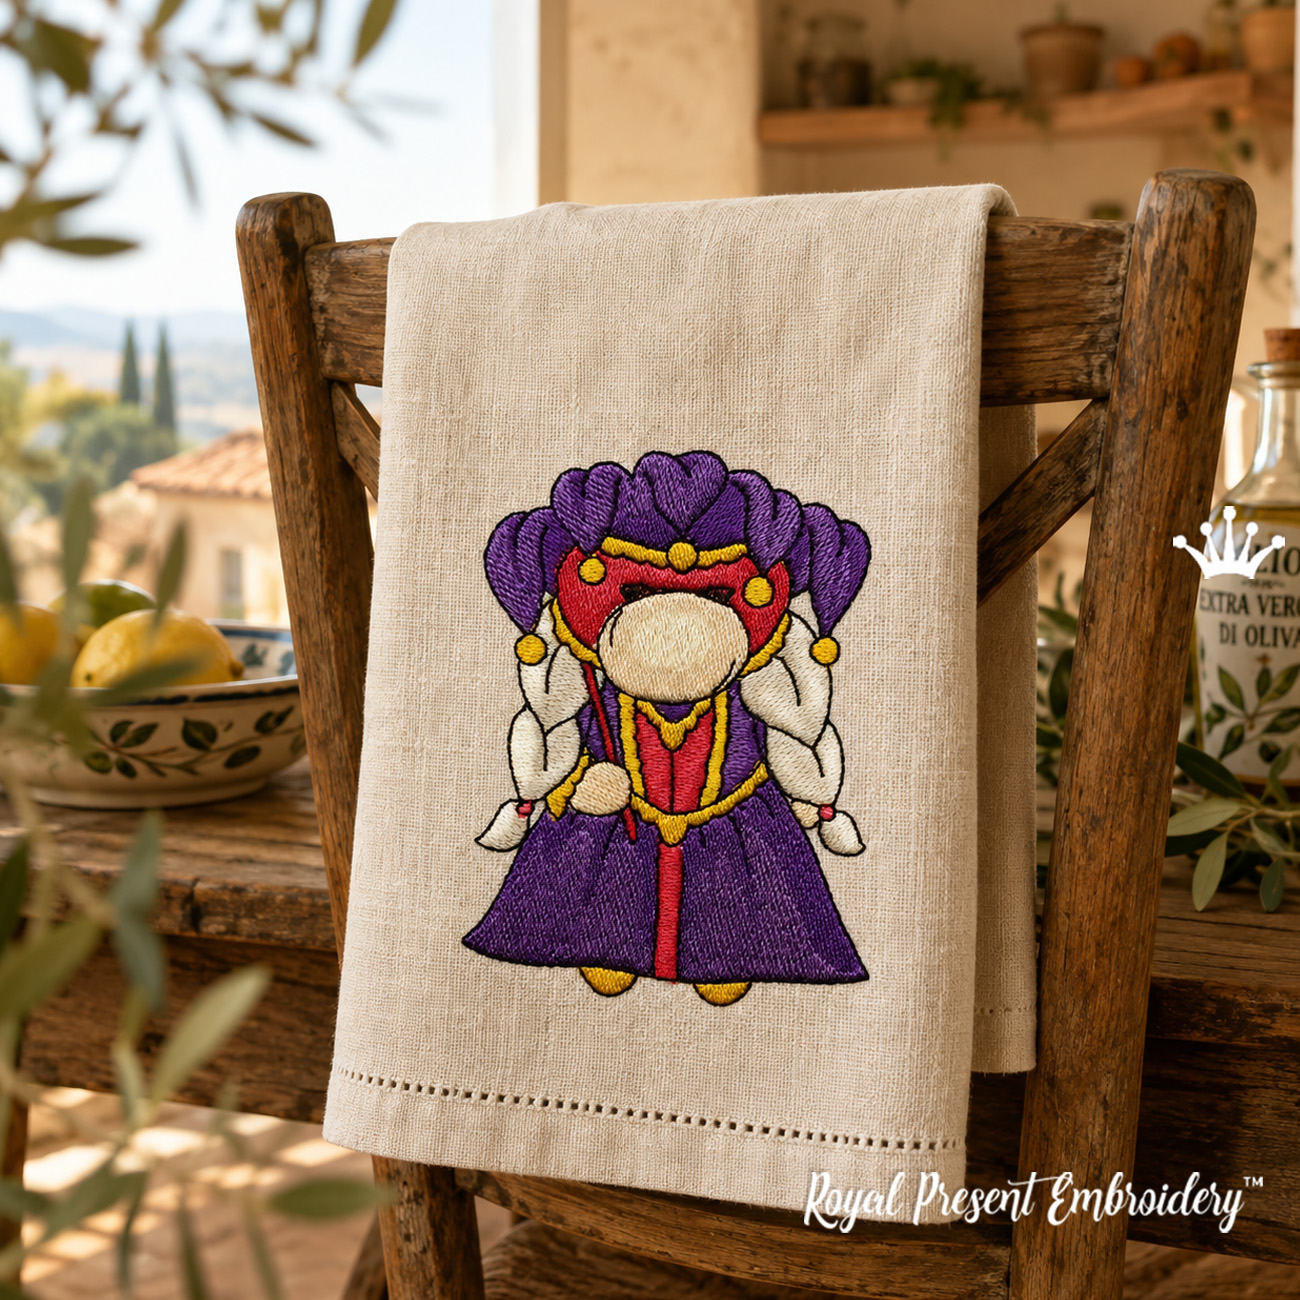
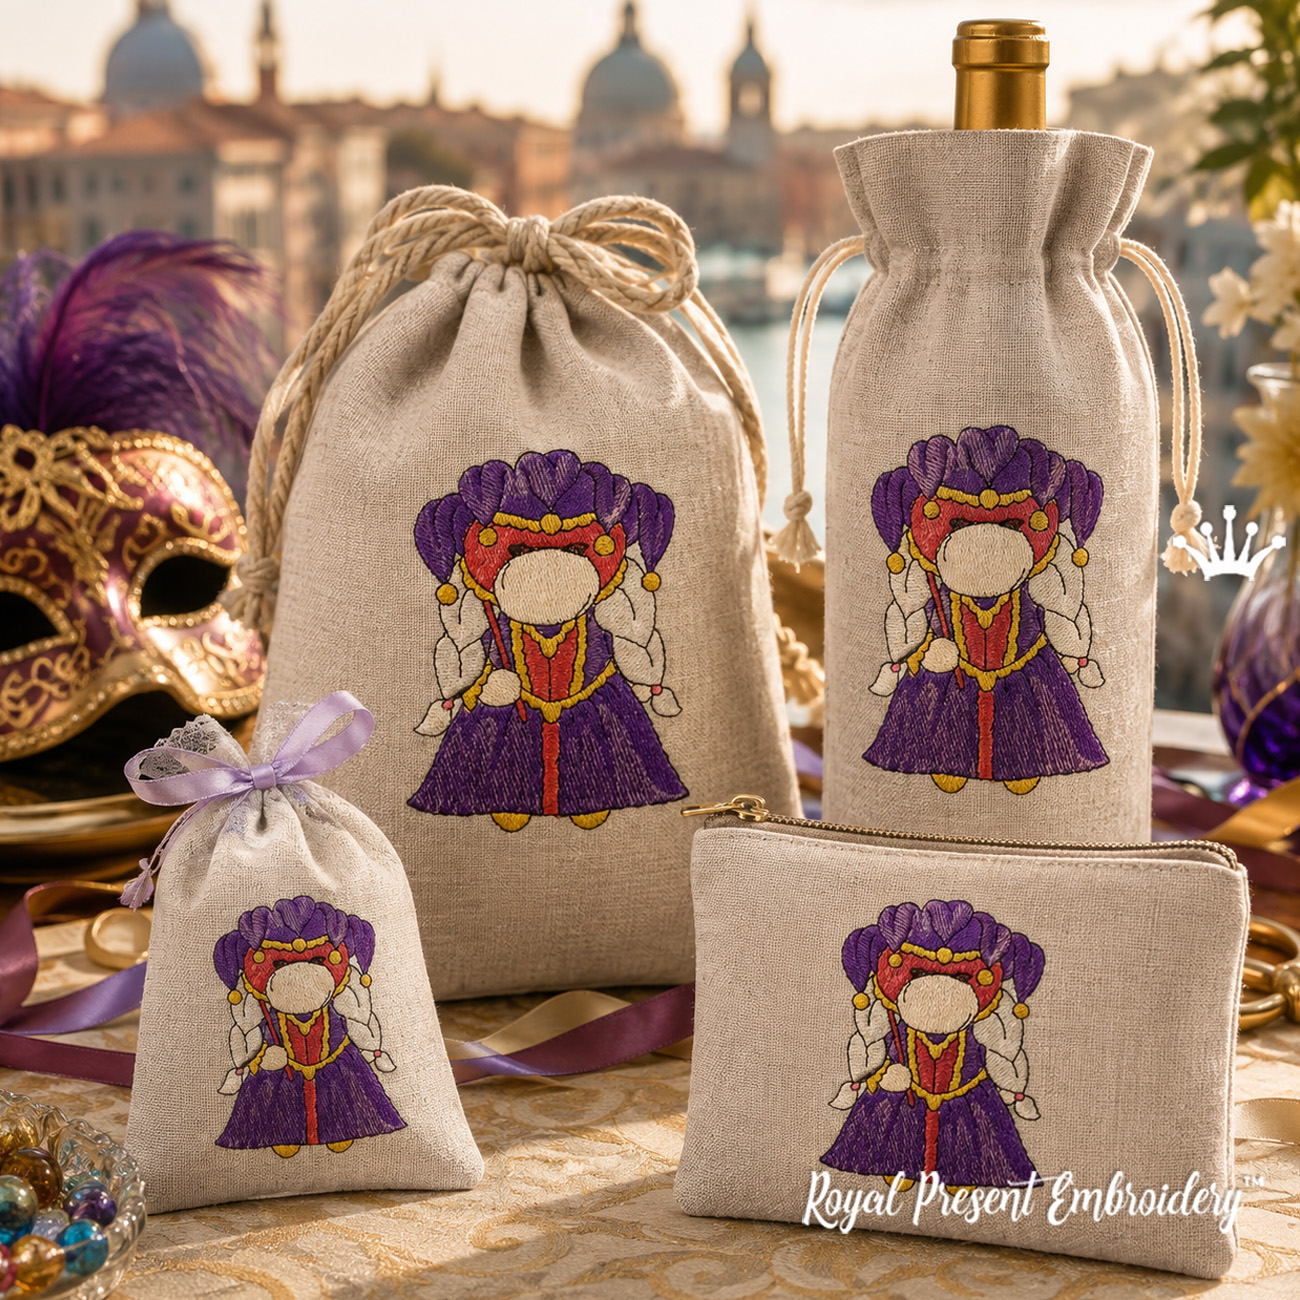
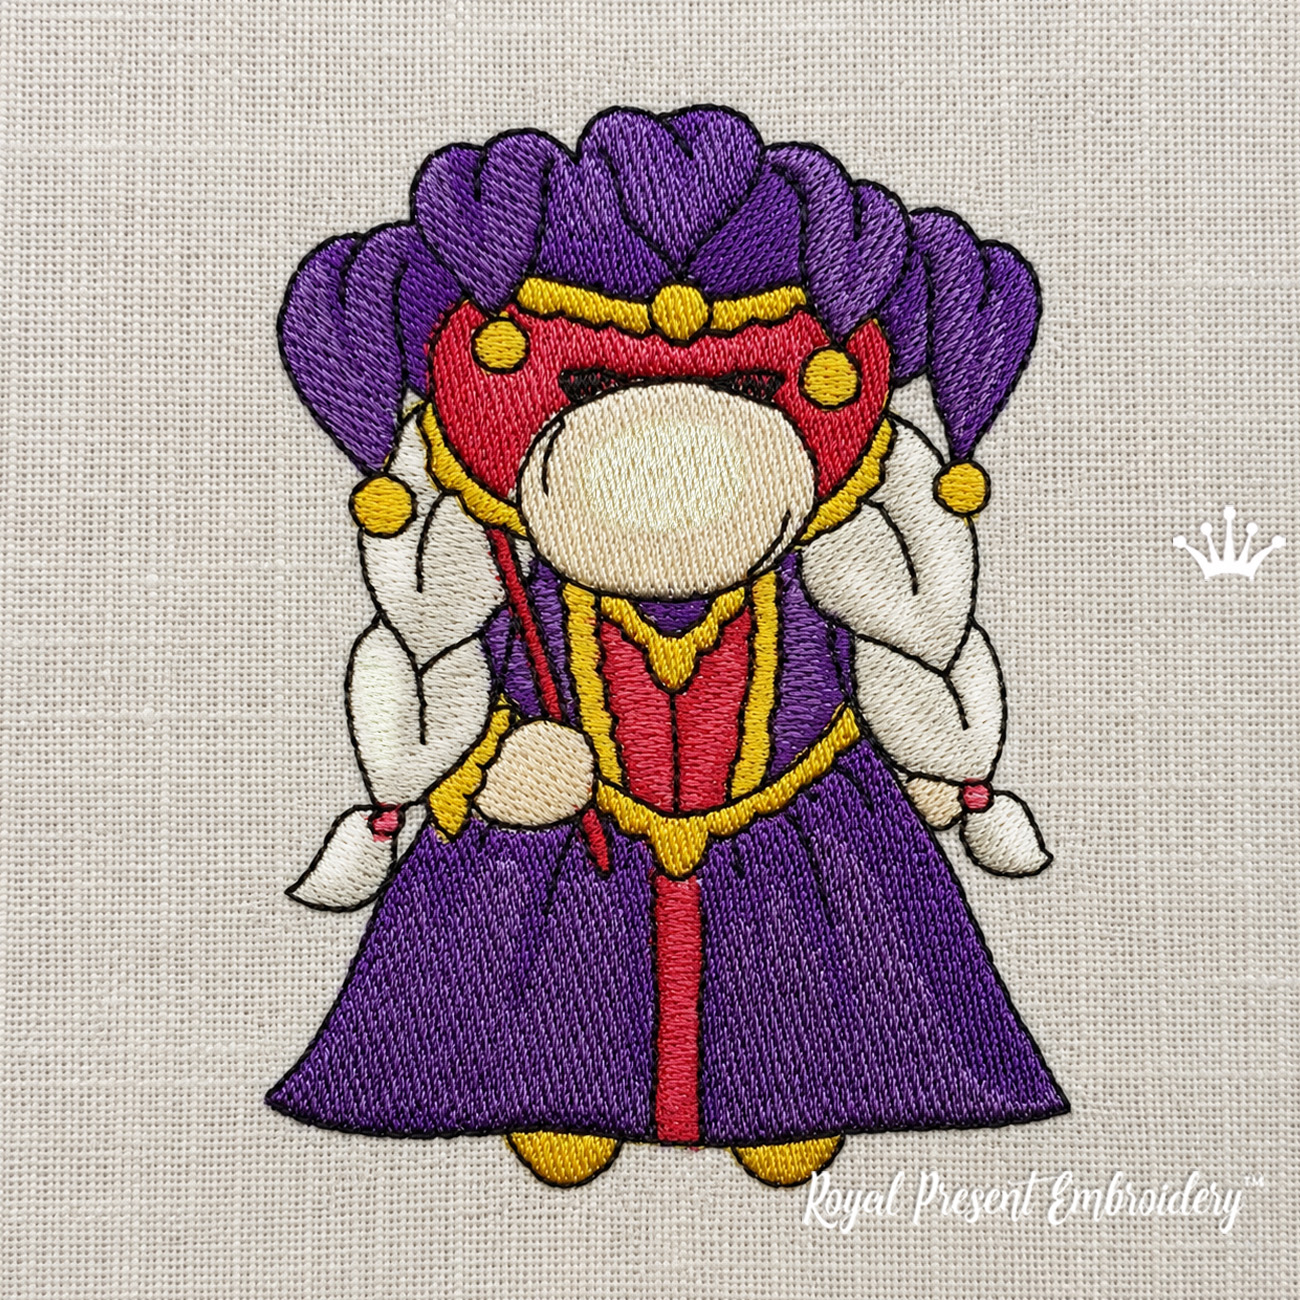
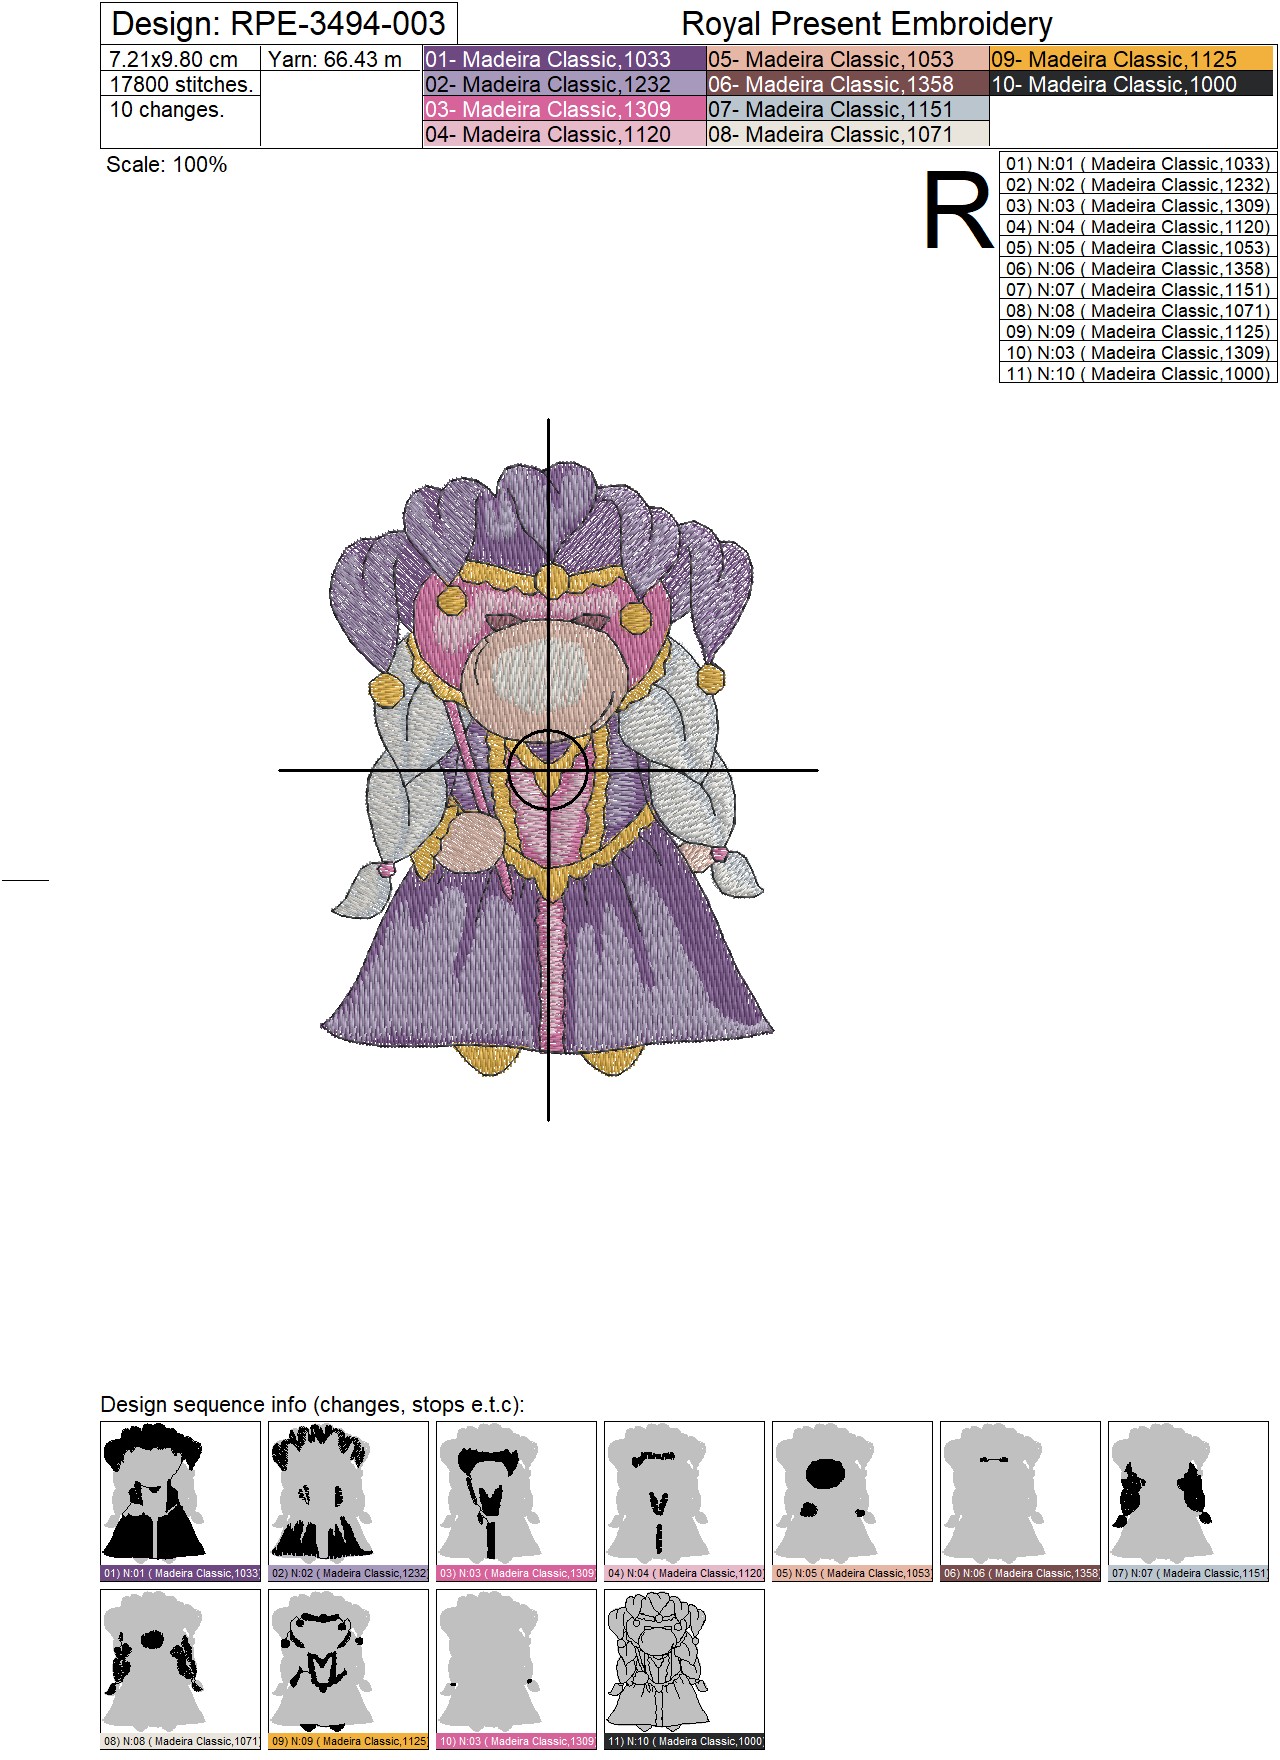
Italian Carnival Gnome Free Machine Embroidery Design depicts a female gnome dressed for a Venetian masquerade in a purple gown, ornate mask and two long braids. The digital download includes one design in four prepared sizes. The smallest size fits a true 4x4" (100x100 mm) embroidery field, while the larger versions are suitable for larger hoops. No finished embroidery, fabric, thread or physical product is shipped.
Size: 72.1x98.0 mm (2.84x3.86 "), Stitches: 17784
Size: 79.3x107.8 mm (3.12x4.24 "), Stitches: 20401
Size: 87.2x118.4 mm (3.43x4.66 "), Stitches: 23709
Size: 96.0x130.2 mm (3.78x5.13 "), Stitches: 27579
Formats: .dat, .dst, .exp, .hus, .jef, .jef+, .jpx, .pec, .pes, .sew, .vip, .vp3, .vp4, .xxx

Download this design free — no registration required
Wait while the 59-second countdown finishes. When the timer reaches zero, the download button will become available directly on this page.
You can also add this free design to your cart together with the designs you want to purchase. After checkout, all designs included in the order will be available for download.
| Design | One female carnival gnome in a Venetian mask, purple gown and two long braids |
|---|---|
| Prepared sizes | 4 |
| Thread colors | 10 colors with repeated colors used at different stages of the embroidery sequence |
| Technique | Filled, satin and outline machine embroidery; not appliqué, a patch or an in-the-hoop project |
| Product type | Digital embroidery files for computerized embroidery machines |
| Design size | Suitable embroidery hoop |
|---|---|
| 72.1x98.0 mm (2.84x3.86 ") | 100x100 mm (4x4") hoop |
| 79.3x107.8 mm (3.12x4.24 ") | 80x120 mm (3.15x4.72"), 100x130 mm (3.94x5.12"), 100x140 mm (3.94x5.51") or larger hoop |
| 87.2x118.4 mm (3.43x4.66 ") | 100x130 mm (3.94x5.12"), 100x140 mm (3.94x5.51") or larger hoop |
| 96.0x130.2 mm (3.78x5.13 ") | 100x140 mm (3.94x5.51"), 130x180 mm (5x7") or larger hoop |
The vertical character shape works especially well where a narrow decorative motif is easier to place than a wide composition.
For a wine-bottle sleeve, embroider the design while the fabric is still flat. Leave sufficient space for the bottom seam, side seams and drawstring casing. On a napkin, check the placement with a printed template so the gnome remains visible beside a plate instead of being covered by it.
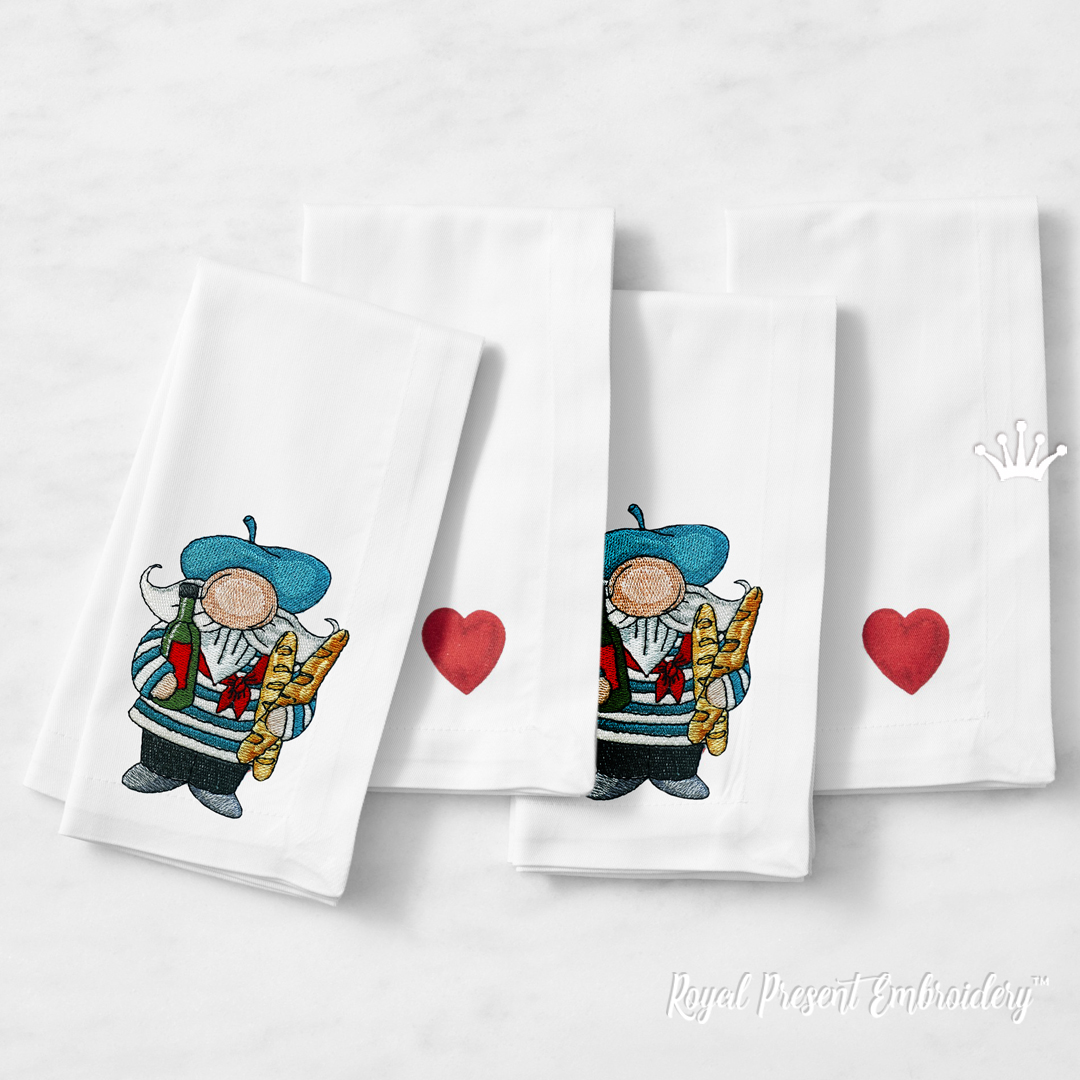
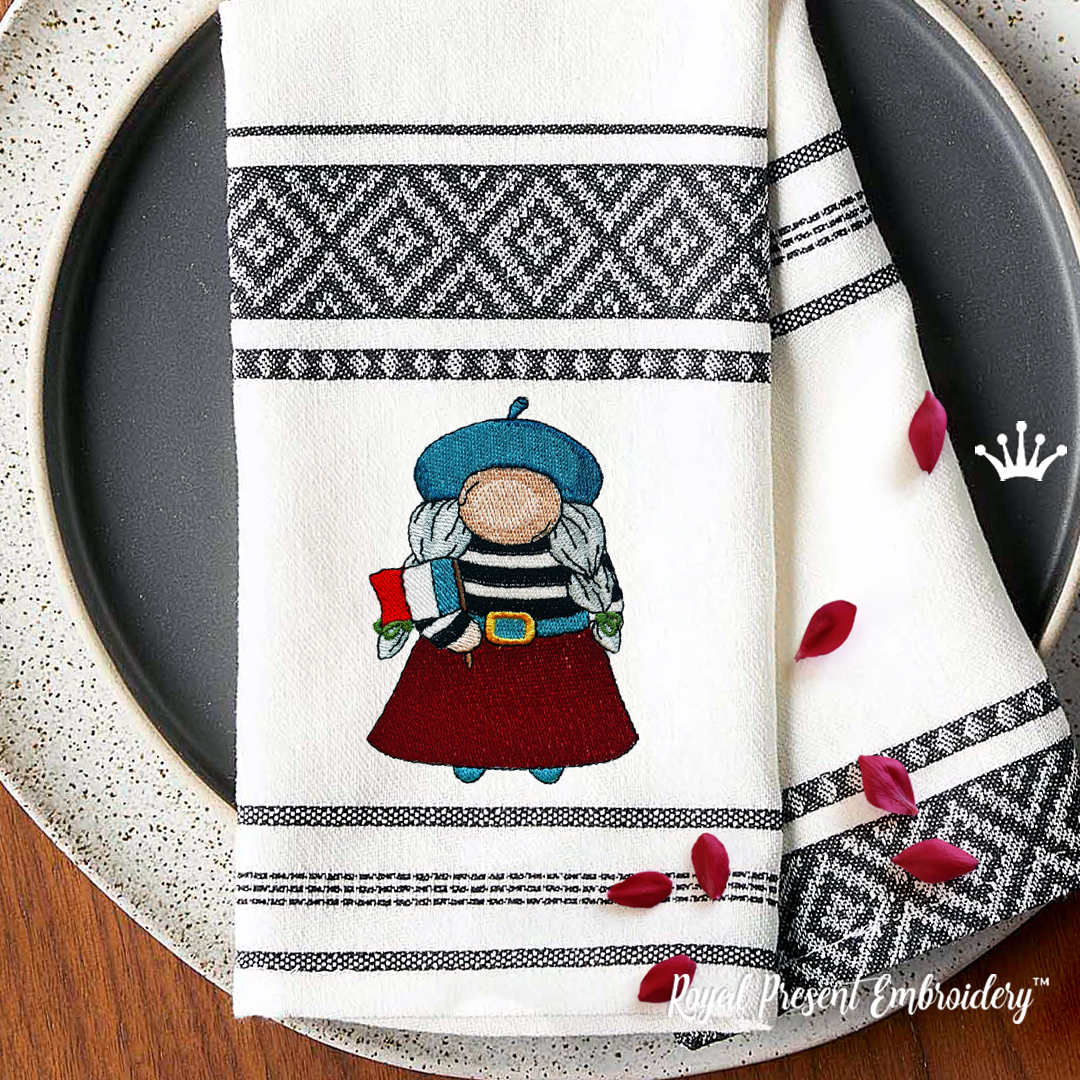
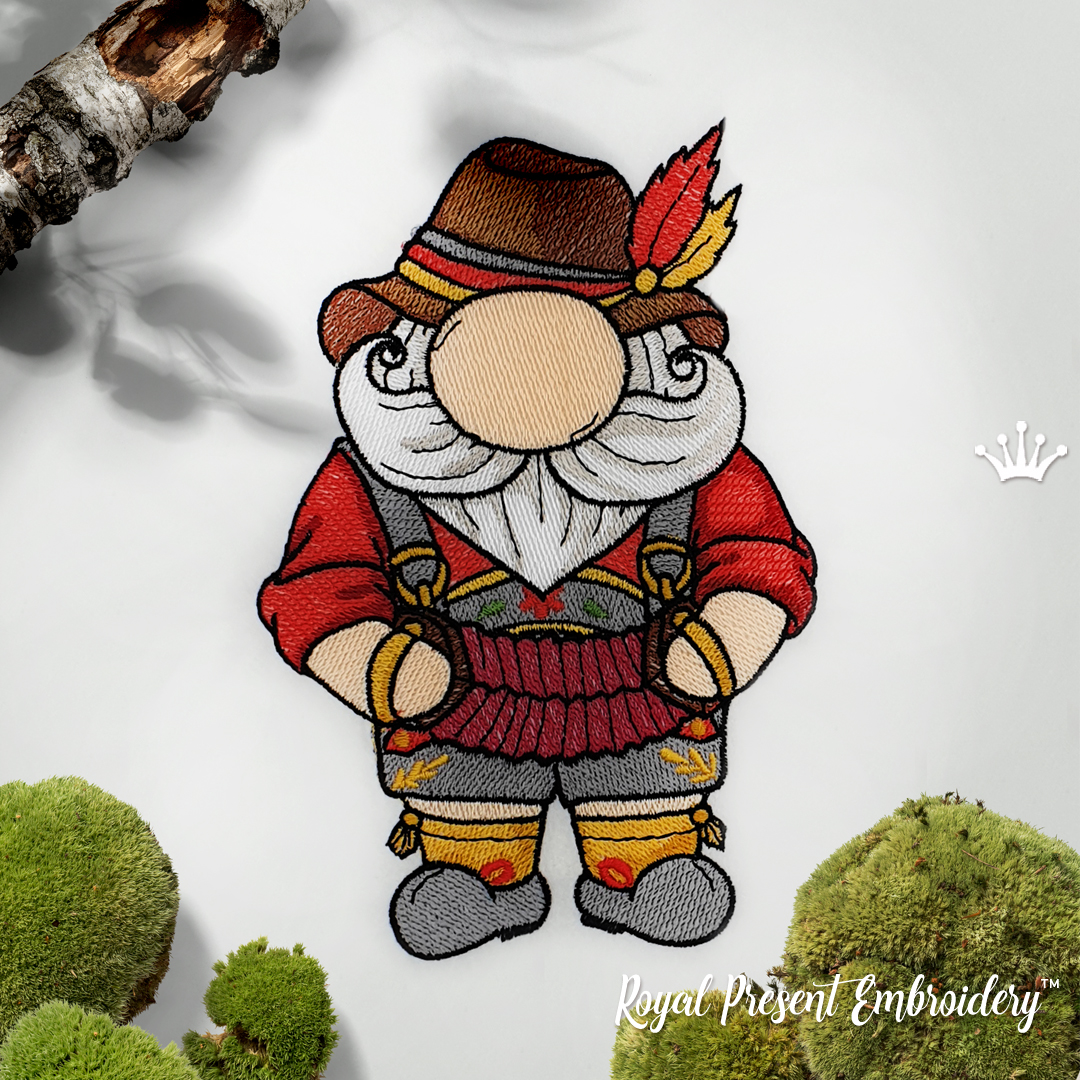
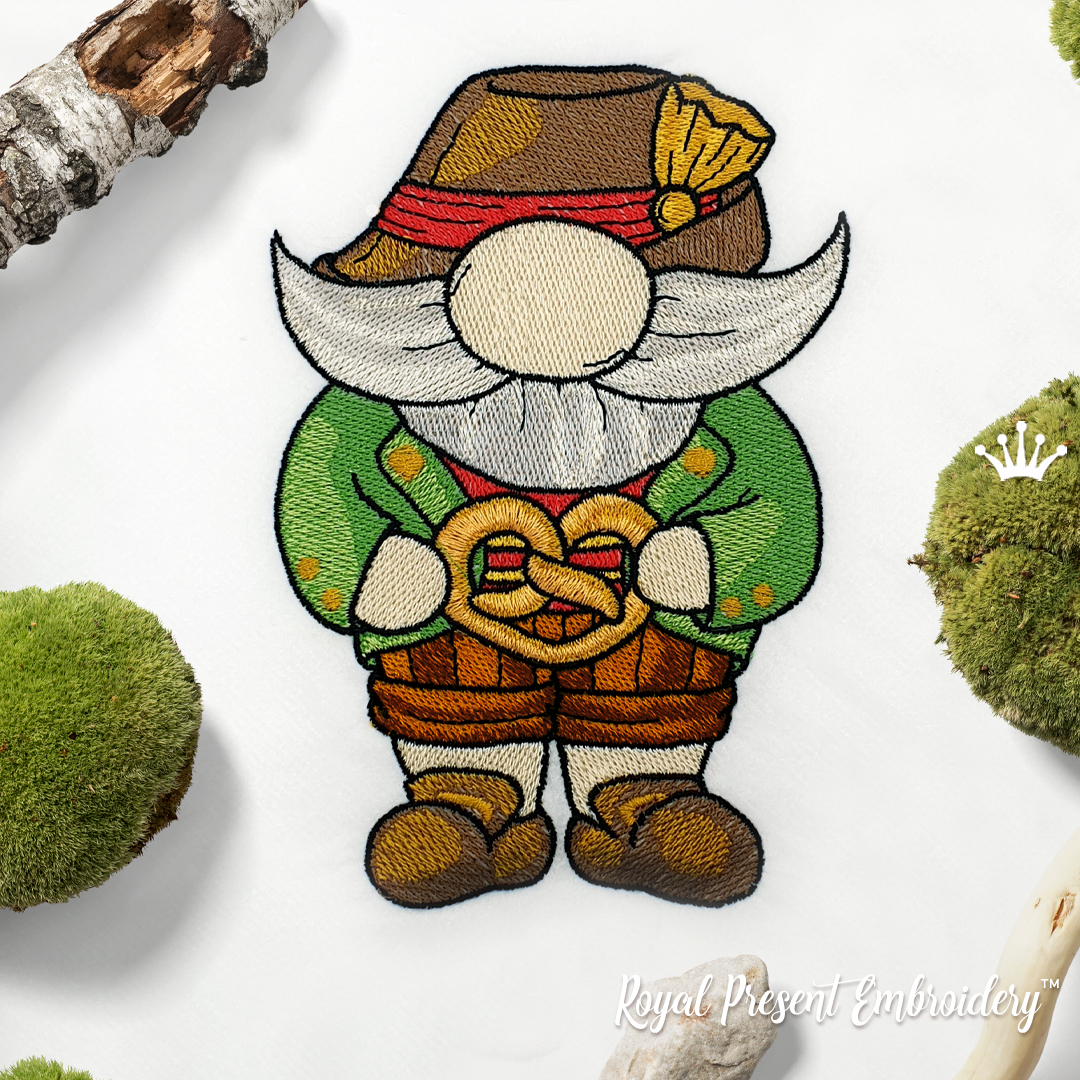
| Gnome Frenchman Small | Gnome Frenchwoman with Flag | German Gnome with Accordion | German Gnome with Pretzel |
You can also browse the Gnome Machine Embroidery Designs collection.
The numbers below follow the saved Madeira Classic color chart. Color names are descriptive visual names rather than official commercial shade names. Follow the worksheet supplied with the selected file because a color may return later to embroider an upper detail.
| Color | Madeira Classic | Descriptive name | Visible embroidery area | |
|---|---|---|---|---|
|
|
1033 | Violet | Main purple areas of the headdress and gown | |
|
|
1232 | Gray lavender | Lavender shading and secondary costume sections | |
|
|
1309 | Deep pink | Bodice and pink costume accents; this color returns later in the sequence | |
|
|
1120 | Pale pink | Light pink costume details and highlights | |
|
|
1053 | Light blush | Face and skin areas | |
|
|
1358 | Dark reddish brown | Dark braid and costume shading | |
|
|
1151 | Light silver gray | Light braid and costume sections | |
|
|
1071 | Off-white | Pale sleeves, braids and light highlights | |
|
|
1125 | Golden yellow | Decorative gold trim and costume ornaments | |
|
|
1000 | Charcoal black | Final outlines and small face and mask details |
Programmed sequence shown for the smallest file:
1033 → 1232 → 1309 → 1120 → 1053 → 1358 → 1151 → 1071 → 1125 → 1309 → 1000
Do not automatically sort the colors. The repeated deep pink block is intentional and is used after other sections have been completed.
| Material | Stabilizer | Removal | Practical point |
|---|---|---|---|
| Stable linen or tightly woven cotton | AllStitch RipStitch #15 tear-away, 1.5 oz/yd², approximately 51 g/m²; OESD Medium Weight TearAway is another household-machine option | Tears cleanly when the stitches are supported with one hand | Use the smallest hoop that fits the selected file and keep the fabric on grain |
| Loose linen or a larger design size | AllStitch RipStitch #20 tear-away, 2.0 oz/yd², approximately 68 g/m²; Sulky Stiffy may also be used when firmer temporary support is needed | Firm tear-away; remove small sections gradually instead of pulling across the design | The denser gown sections need enough support to prevent puckering and displaced outlines |
| Terry towel | Medium tear-away underneath and a lightweight water-soluble topping over the pile | Tear the backing away carefully; remove or dissolve the topping according to its instructions | Topping keeps the mask, face and narrow outlines from sinking into the towel loops |
| Velvet or velour | Light cut-away underneath with water-soluble topping on top | Trim the cut-away without cutting the fabric or embroidery | Float the fabric on hooped stabilizer if direct hooping could leave permanent marks in the pile |
Use 40-weight rayon or polyester embroidery thread with a 75/11 embroidery needle for medium linen and cotton. An 80/12 needle may be more suitable for a heavier towel, depending on the fabric and thread.
This design combines broad filled areas in the gown with small mask, face and outline details. Make a complete test stitch on the same fabric and stabilizer planned for the finished project. If the outline shifts away from the filled sections, first check hooping, stabilizer strength, thread tension and fabric movement rather than resizing the file.
Slow the machine around the face, mask and final black outline if your machine allows speed adjustment. Keep visible contrast between the violet, lavender and pink shades; replacing all of them with one color can flatten the folds and reduce the definition of the costume.
This is a digital product for an embroidery machine. Download the ZIP archive, extract it and transfer only the format supported by your machine. If you need help opening the archive, use the Royal Present ZIP extraction tool.
Finished physical items embroidered with the design may be sold according to the Royal Present license. The digital files may not be copied, shared, exchanged, uploaded or resold. The same restrictions apply when the design is downloaded free of charge. Review the current license and terms of use before commercial use.
Yes. Wait until the 59-second countdown on this page reaches zero. The free download button will then become available without registration.
Yes. Add the free design and the designs you want to purchase to the cart. After checkout, the files included in the order will be available for download.
The 72.1x98.0 mm (2.84x3.86 ") file fits a true 100x100 mm (4x4") embroidery field. The other three supplied sizes require larger hoops.
Yes. Use suitable backing underneath and lightweight water-soluble topping over the pile so the small mask, face and outline details remain visible.
Use one of the four prepared sizes whenever possible. Significant resizing can change stitch density, satin-column width and the registration of small facial and costume details.
So, you’re looking for the best embroidery machine for your home embroidery business. If you’re reading this article, it means that you haven’t set your mind on anything definite yet. It’s...
Metallic thread can turn a machine-embroidered snowflake into a true point of light. Silver resembles frost and ice, pale gold adds warmth to Christmas linens, and a flat holographic ribbon...
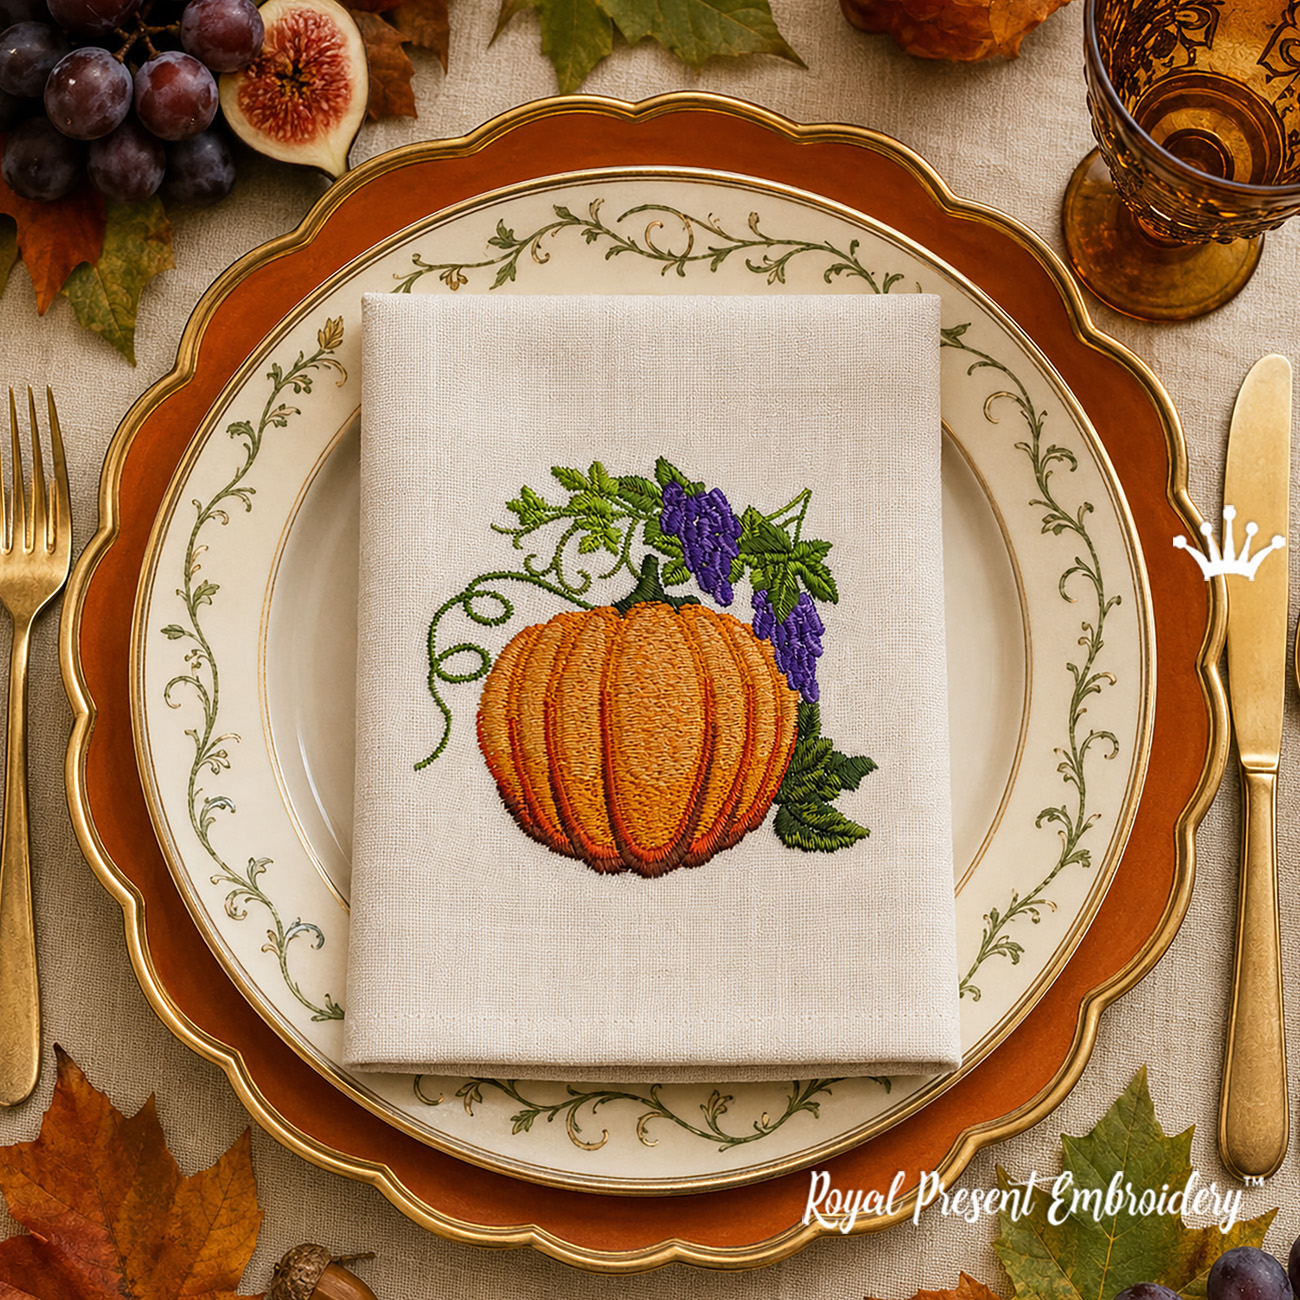
What is this free download? This is a complete digital machine embroidery design featuring an autumn pumpkin, purple grapes and green leaves. Download it directly from this page without creating an accou...

 Get Sign-In Link
 Login with Google
 Login with Facebook
 Login with Amazon
 Login with Paypal