Michelangelo ITH Sleep Mask Machine Embroidery Design

By knowing the speed of your embroidery machine, you can find out how long it will take to embroider a design.
To use the embroidery calculator, click on the number of stitches in the product description.
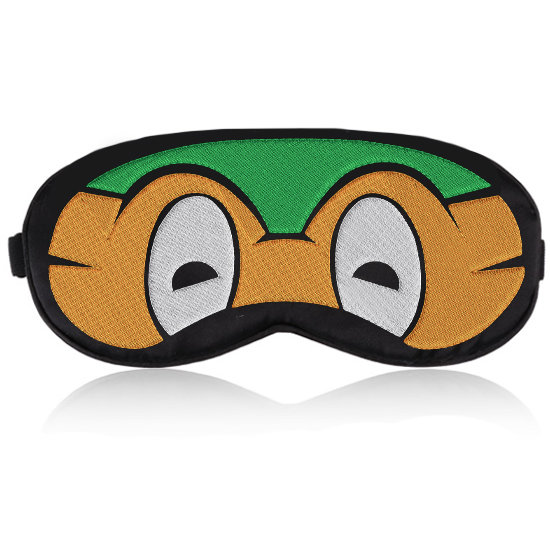
Michelangelo ITH Sleep Mask is a digital machine embroidery design for making a soft, fully lined eye mask in the hoop. The green face, orange headband, large white eyes and dark outlines create the recognizable ninja hero look. The embroidery and main assembly are completed in one hooping; after turning, only the small opening needs to be closed by hand. The finished mask, fabric, stabilizer, elastic and thread are not included.
Design Specifications
|
Product type
|
Digital ITH machine embroidery design
|
|---|---|
|
Technique
|
In the Hoop, ITH; embroidery and main assembly are completed in the hoop
|
|
Included
|
1 design in 1 size
|
|
Construction
|
Embroidered front, side ties or elastic, lining and final joining outline
|
|
Base fabric
|
Stable, non-stretch black fabric
|
|
Delivery
|
Digital files supplied in a ZIP archive after purchase
|
Size, Stitch Count and Hoop
Size: 87.8x178.0 mm (3.46x7.01"). Stitches: 19863
Hoop: 130x180 mm (5x7") or larger.
Formats: .dst, .jef, .pec, .vip, .hus, .pes, .exp, .sew, .dat, xxx, vp3
Where to Use the Michelangelo Sleep Mask
The finished mask works for sleeping at home, travel, flights, pajama parties, children’s costumes, carnival outfits and cosplay. Before stitching, print the template at 100% scale and place it against the intended wearer’s face. This lets you check the overall width, the bridge area and the position of the side attachments before cutting any materials.
Do not resize the ITH file. Scaling changes the fill density, seam allowance, elastic placement points and final construction outline. More project inspiration is available in the Michelangelo sleep mask article.
How to Embroider and Assemble the ITH Mask
- Hoop the black front fabric together with a soft cut-away stabilizer. Keep both layers smooth without stretching the fabric.
- Embroider the decorative front in the programmed color-block order.
- Before the final joining outline, position the ends of the ties or soft flat elastic at the side placement points. Fold the loose lengths toward the center and secure them away from the stitch path with low-tack tape.
- Place the lining over the embroidery with right sides together. Stitch the final outline to join the layers while leaving the programmed opening for turning.
- Remove the project from the hoop, trim the seam allowance to 3–4 mm (1/8") and carefully clip the inward curves without cutting the stitching.
- Turn the mask right side out, shape the edge with a blunt tool and close the opening with a ladder stitch.
Madeira Classic 40 Thread Chart
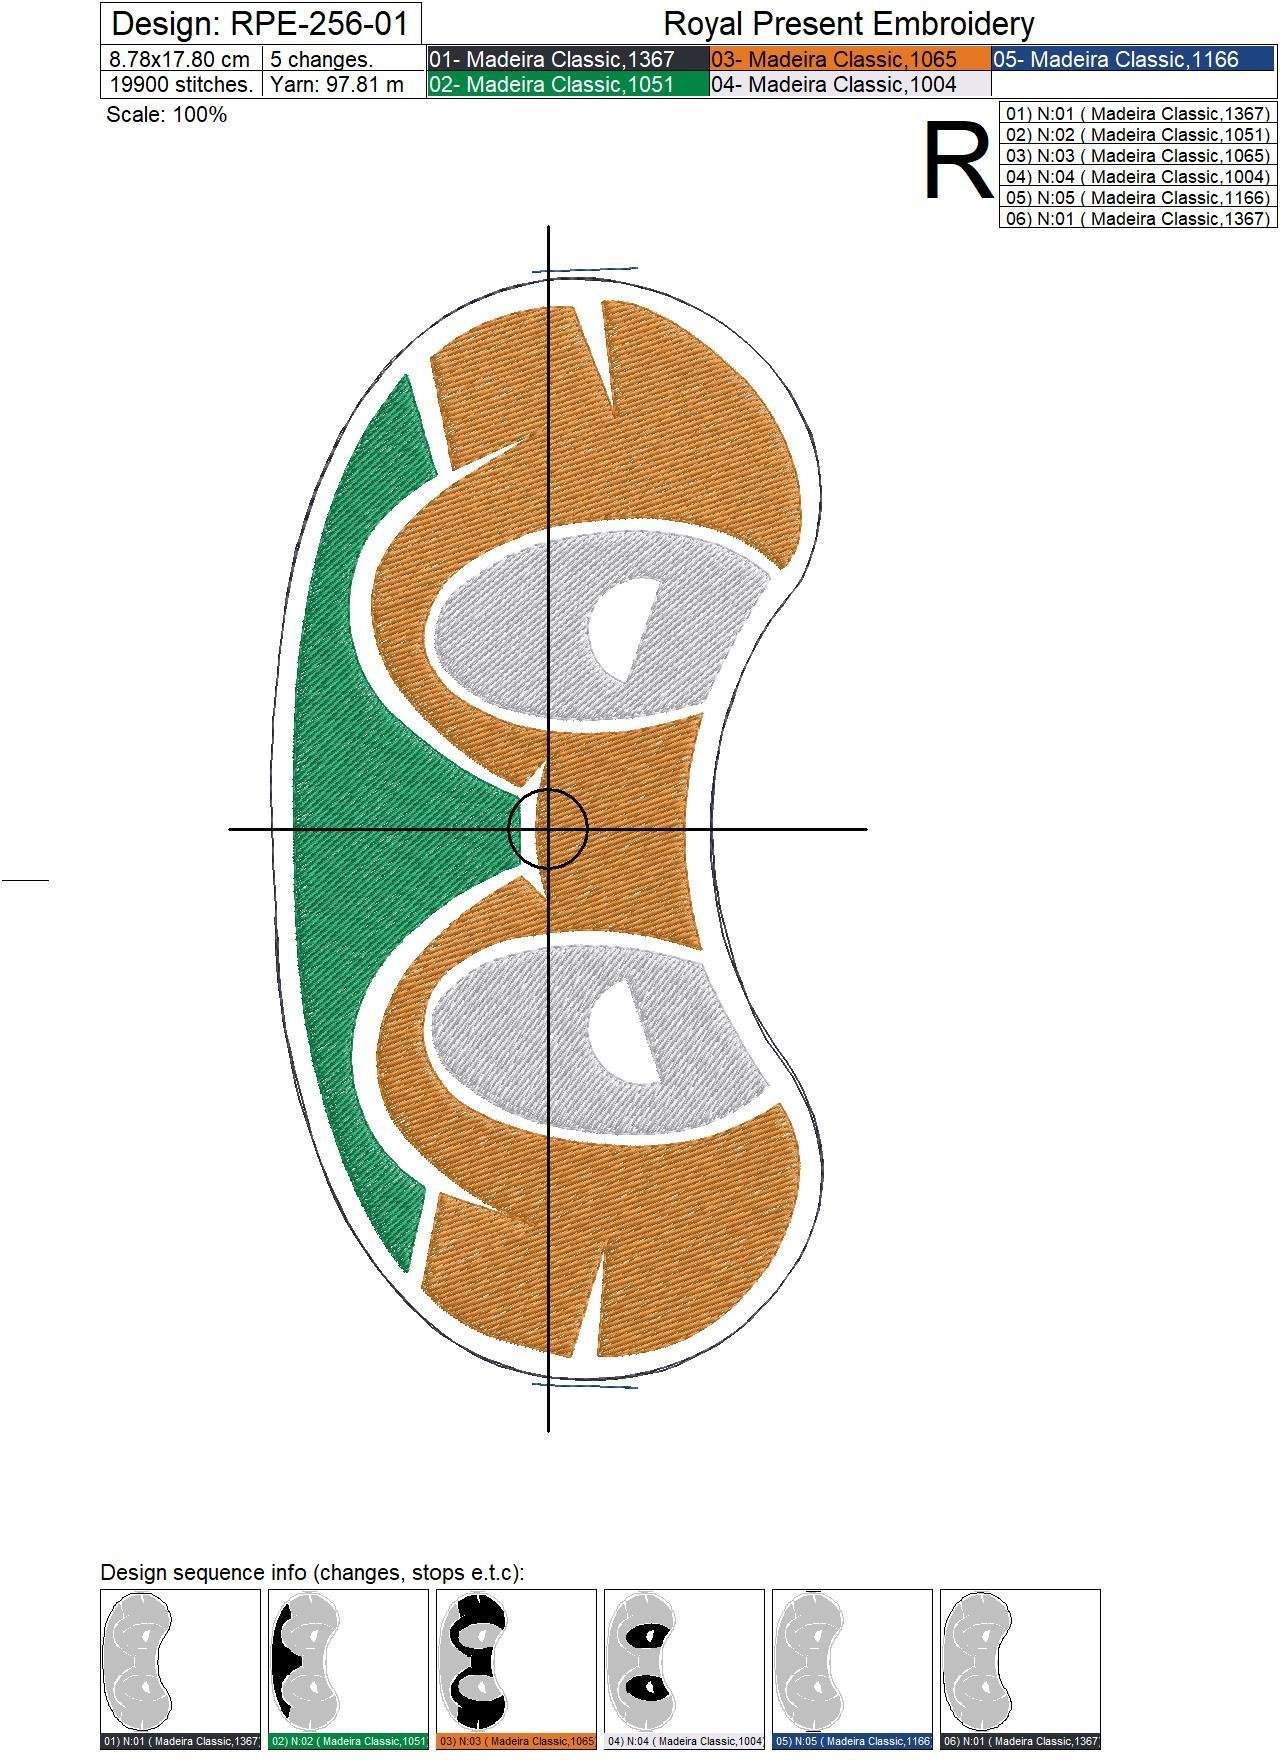
The original chart specifies 5 Madeira Classic 40 colors arranged in 6 stitching blocks. Each number is connected to a specific part of the mask.
|
Color
|
Madeira Classic 40
|
Design detail
|
|
|---|---|---|---|
|
|
1367
|
dark outlines and the first and final construction blocks
|
|
|
|
1051
|
green areas of the character’s face
|
|
|
|
1065
|
Michelangelo’s orange headband
|
|
|
|
1004
|
white eye areas
|
|
|
|
1166
|
dark pupils
|
Color-block sequence: 1367 → 1051 → 1065 → 1004 → 1166 → 1367.
Use the original Madeira numbers when selecting thread because screen colors vary by monitor. For Sulky, Isacord, Brother and other brands, use the Royal Present thread converter. Conversion provides the nearest available shade, not a guaranteed exact match.
Front fabric. Use tightly woven black cotton, poplin or stable lightweight twill weighing approximately 120–180 g/m² (3.5–5.3 oz/yd²). The black fabric forms part of the design, so a light base will change the appearance of the open areas and outlines.
Stabilizer. Use a soft cut-away stabilizer weighing approximately 40–60 g/m² (1.2–1.8 oz/yd²). It supports the face and eye fills and remains inside the completed mask. A stiff backing can make the finished mask uncomfortable against the face.
Lining. Choose smooth cotton batiste, poplin or washable satin weighing approximately 80–120 g/m² (2.4–3.5 oz/yd²). Preshrink cotton before use if the mask will be washed.
Ties. Use soft flat elastic 6–10 mm (1/4–3/8") wide or fabric ribbons. Determine the length by fitting before the final outline and avoid stretching the elastic too tightly.
Needle and thread. Use a new 75/11 embroidery needle for poplin or an 80/12 needle for denser twill. Standard 40-weight embroidery thread is suitable for the decorative blocks; durable polyester is preferable for the final joining outline.
Frequently Asked Questions and Practical Tips
What hoop is required for this file?
The 87.8x178.0 mm (3.46x7.01") file requires a 130x180 mm (5x7") hoop or larger.
Why should the front fabric be black?
The program leaves selected areas open so the fabric becomes part of the dark background and outer edge. A light base changes the intended contrast between the green face, orange headband, white eyes and dark outlines.
How can I prevent puckering around the eyes and headband?
Combine stable fabric weighing 120–180 g/m² (3.5–5.3 oz/yd²) with soft cut-away stabilizer weighing 40–60 g/m² (1.2–1.8 oz/yd²). Hoop without stretching, use a new needle and reduce the speed to approximately 500–600 stitches per minute if the layers begin to shift.
How do I keep the elastic away from the final outline?
Attach only the elastic ends at the side placement points. Fold the loose length toward the center and hold it with two small pieces of low-tack tape outside the stitch path. Check the complete outline by hand before starting the last block.
Can I stitch the orange headband with metallic thread?
Yes, after a test stitch, but the Madeira 1065 block contains a substantial filled area. Use high-quality 40-weight metallic thread, a Metallic 90/14 needle with an enlarged eye, a separate thread stand and a speed of approximately 400–500 stitches per minute. Return to standard 40-weight polyester if the metallic thread begins to split or break.
Can the ITH mask be resized?
No. Scaling changes the fill density, seam allowances, elastic placement points and alignment of the final joining outline. Use a paper template printed at 100% scale to check the fit before stitching.
Turning tip
Trim the seam allowance to 3–4 mm (1/8") and make short clips along the inward curves near the nose bridge without reaching the stitching. Shape the turned edge with a blunt point turner or capped pen; a sharp tool can puncture the fabric or damage the final seam.

Michelangelo ITH Sleep Mask Machine Embroidery Design
my grandkids love it

 Get Sign-In Link
 Login with Google
 Login with Facebook
 Login with Amazon
 Login with Paypal