Yawning Kitten in Pocket Machine Embroidery Design
By knowing the speed of your embroidery machine, you can find out how long it will take to embroider a design.
To use the embroidery calculator, click on the number of stitches in the product description.
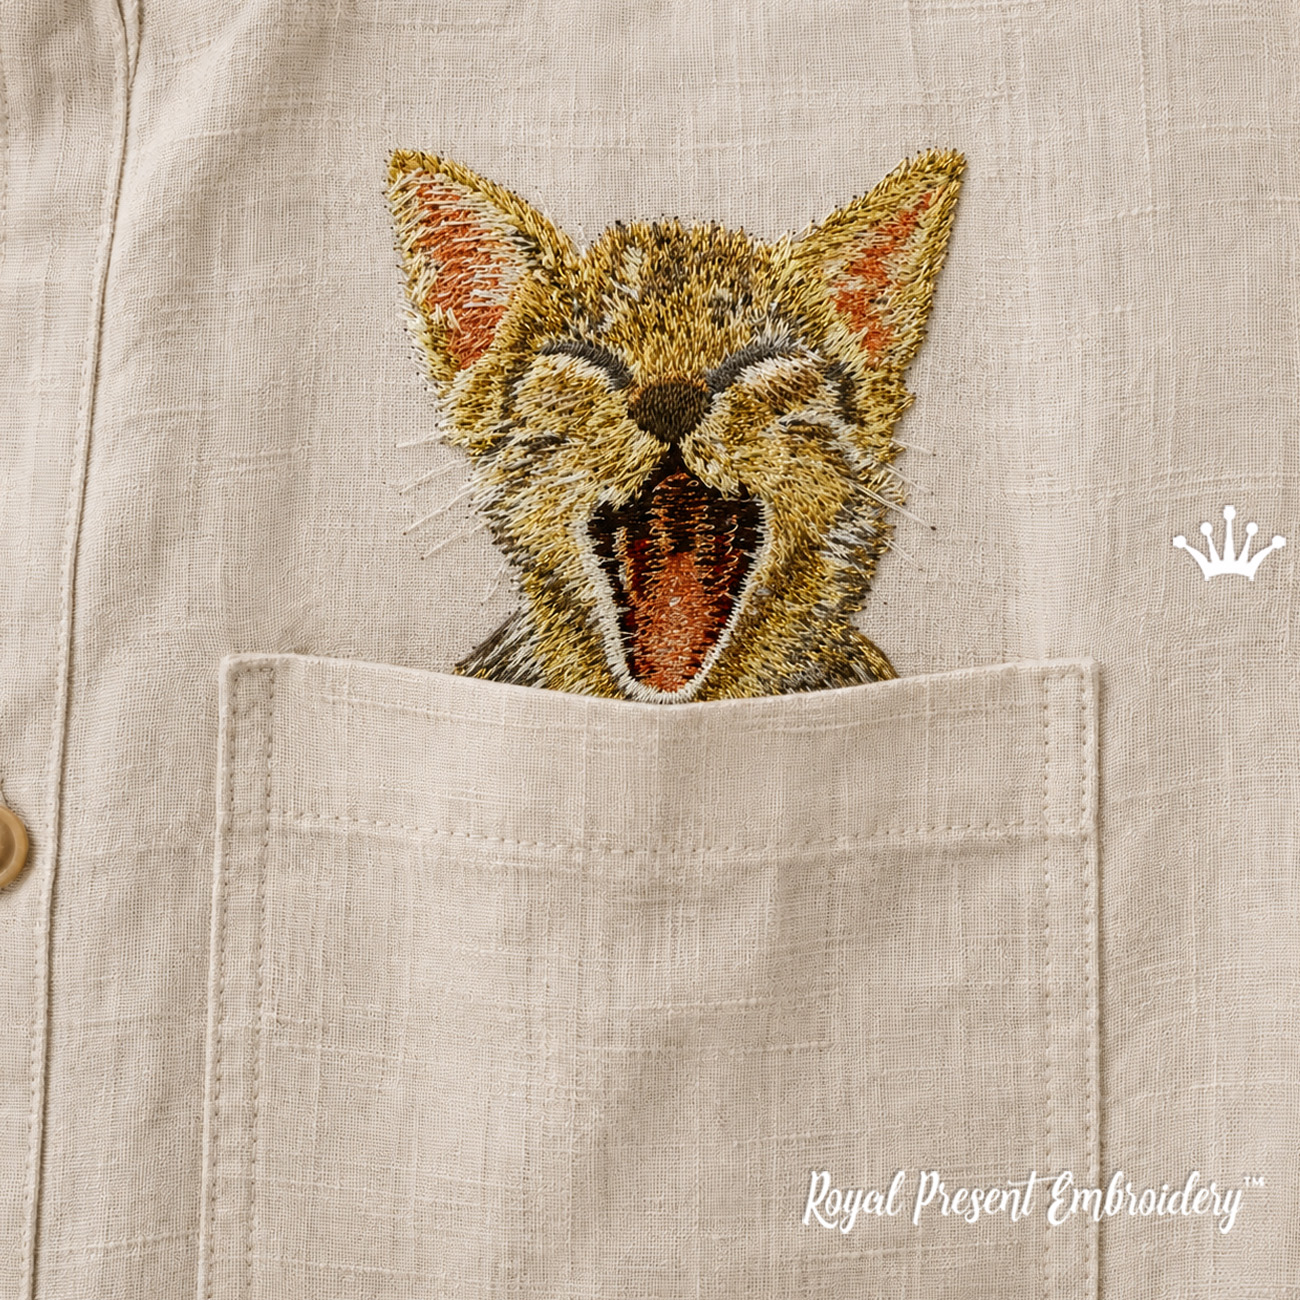
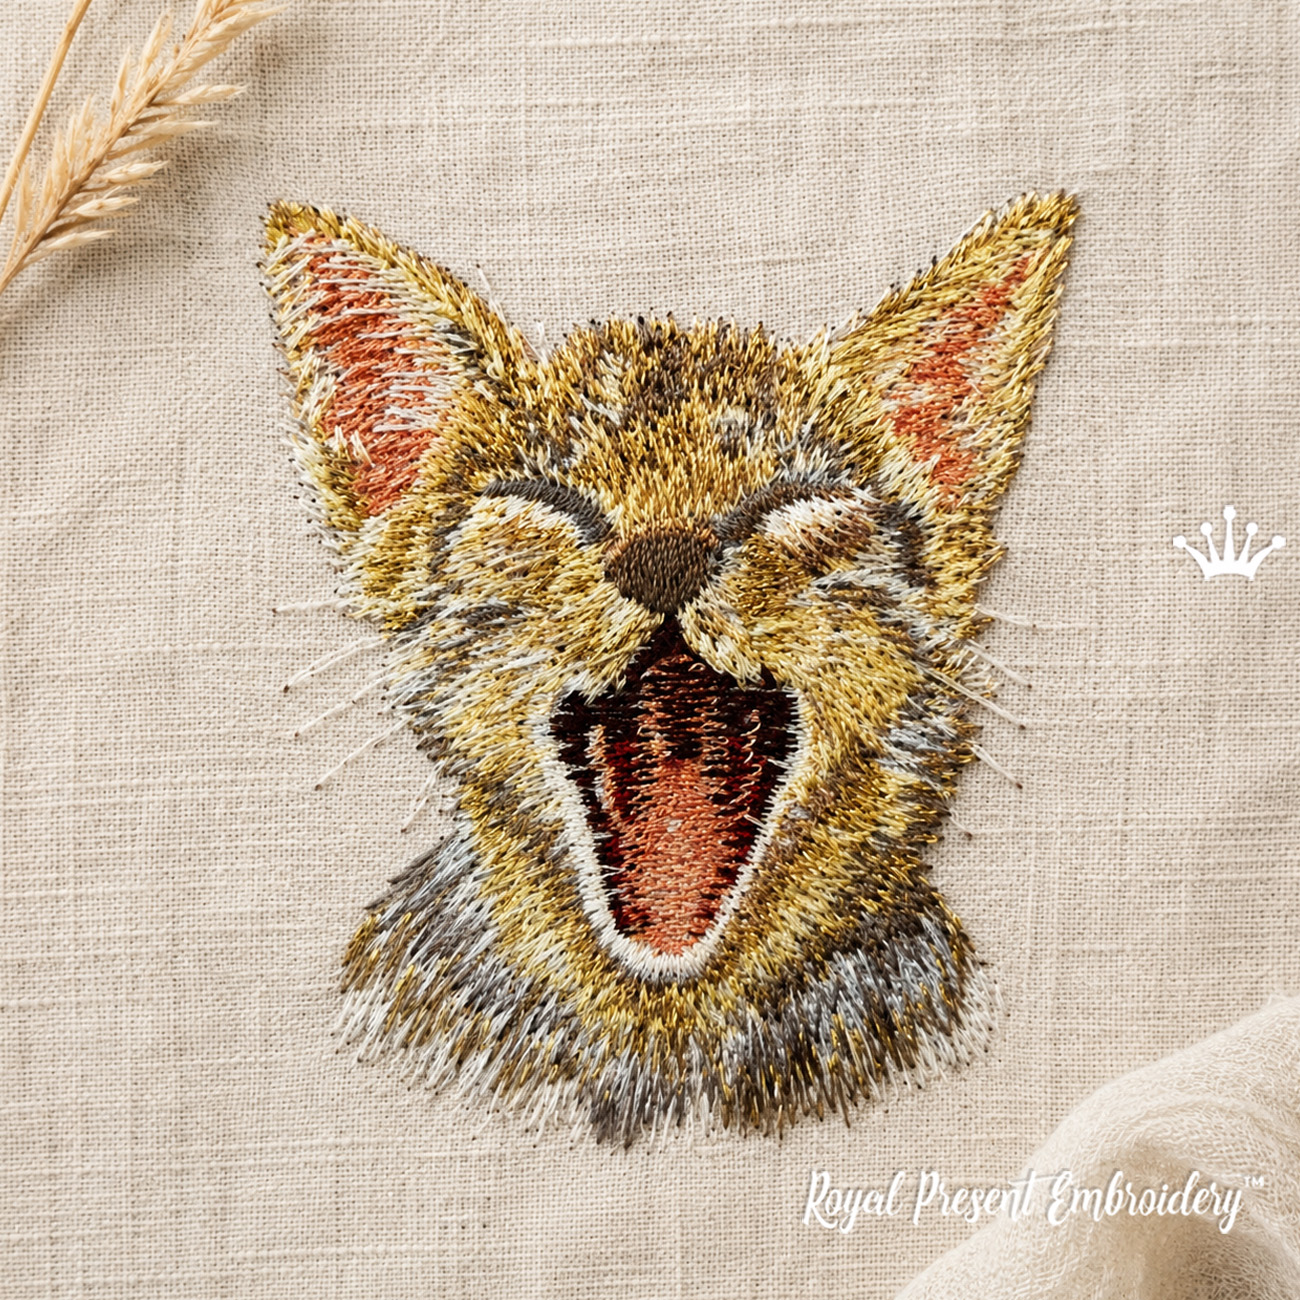
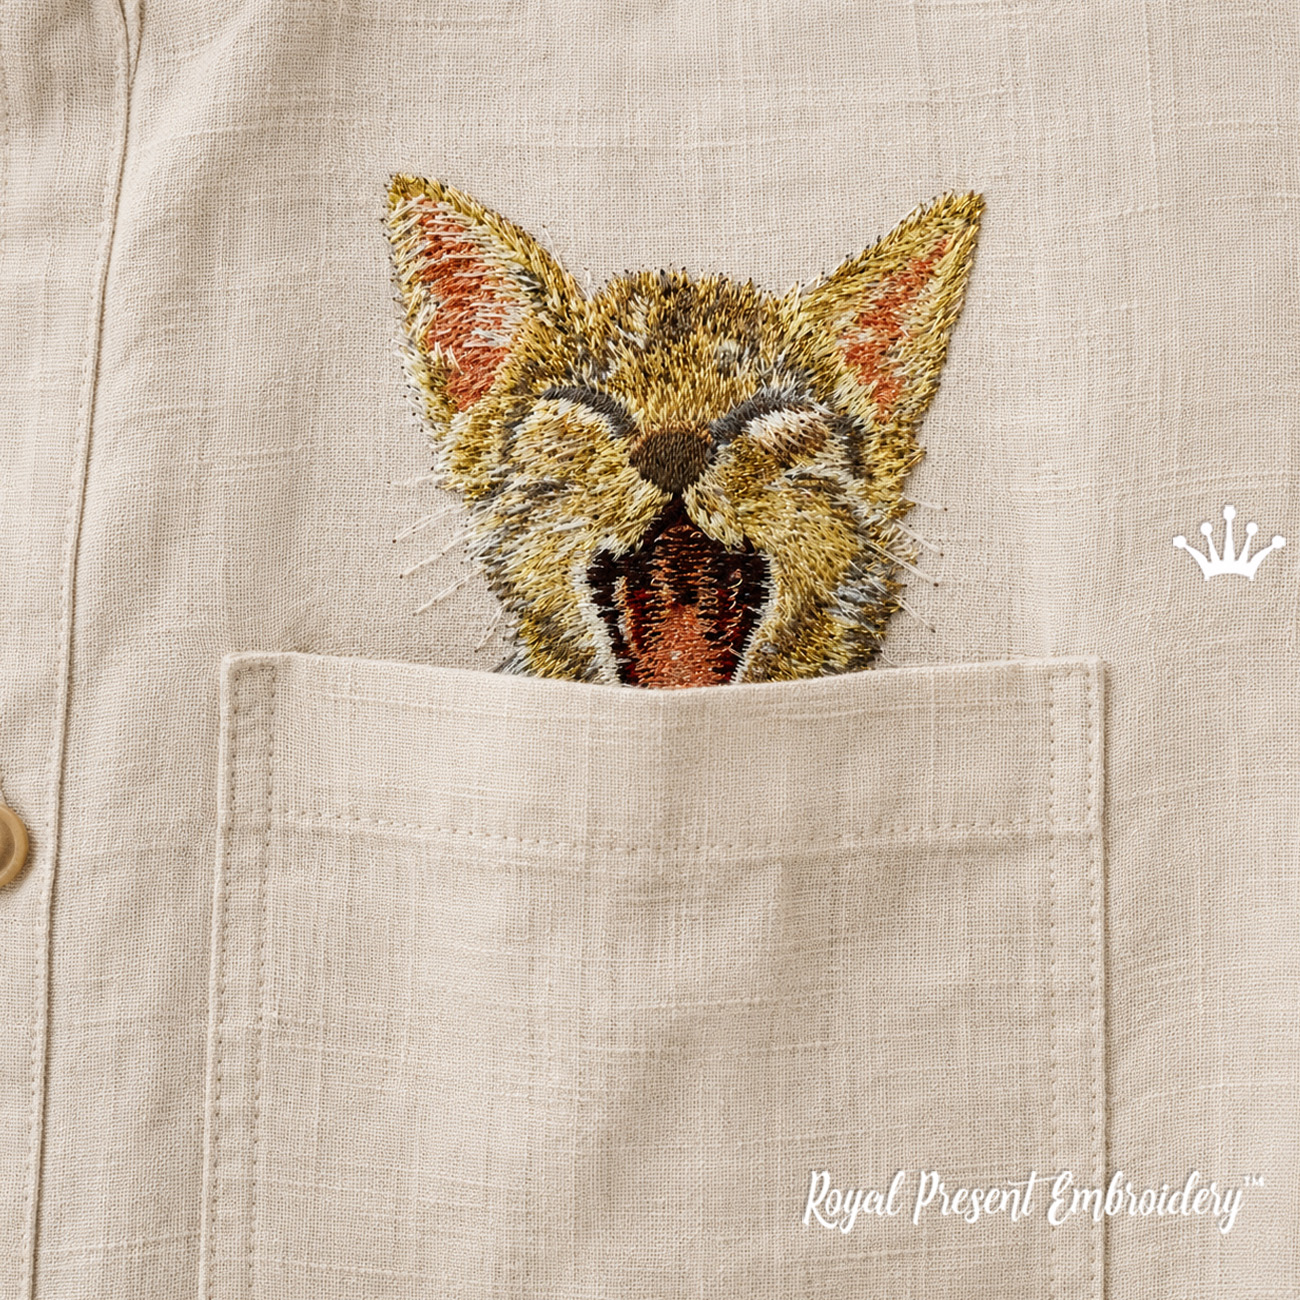
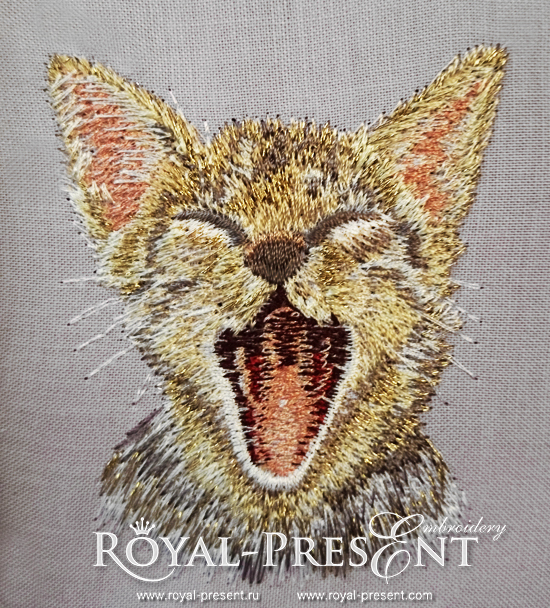
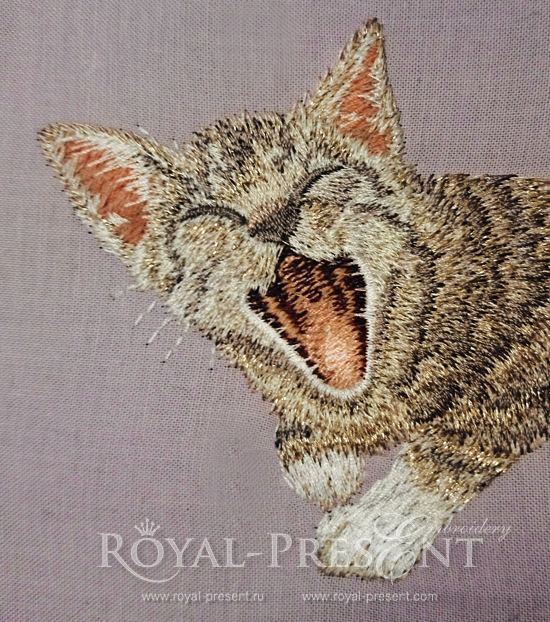
A sleepy kitten has climbed into the pocket and paused for one enormous yawn. The Yawning Kitten in Pocket Machine Embroidery Design creates the playful illusion of a small cat peeking from a shirt pocket, jacket, hoodie or tote bag. Its directional long stitches imitate hand embroidery and form soft, expressive fur without turning the kitten into a flat filled motif.
Design size and machine formats
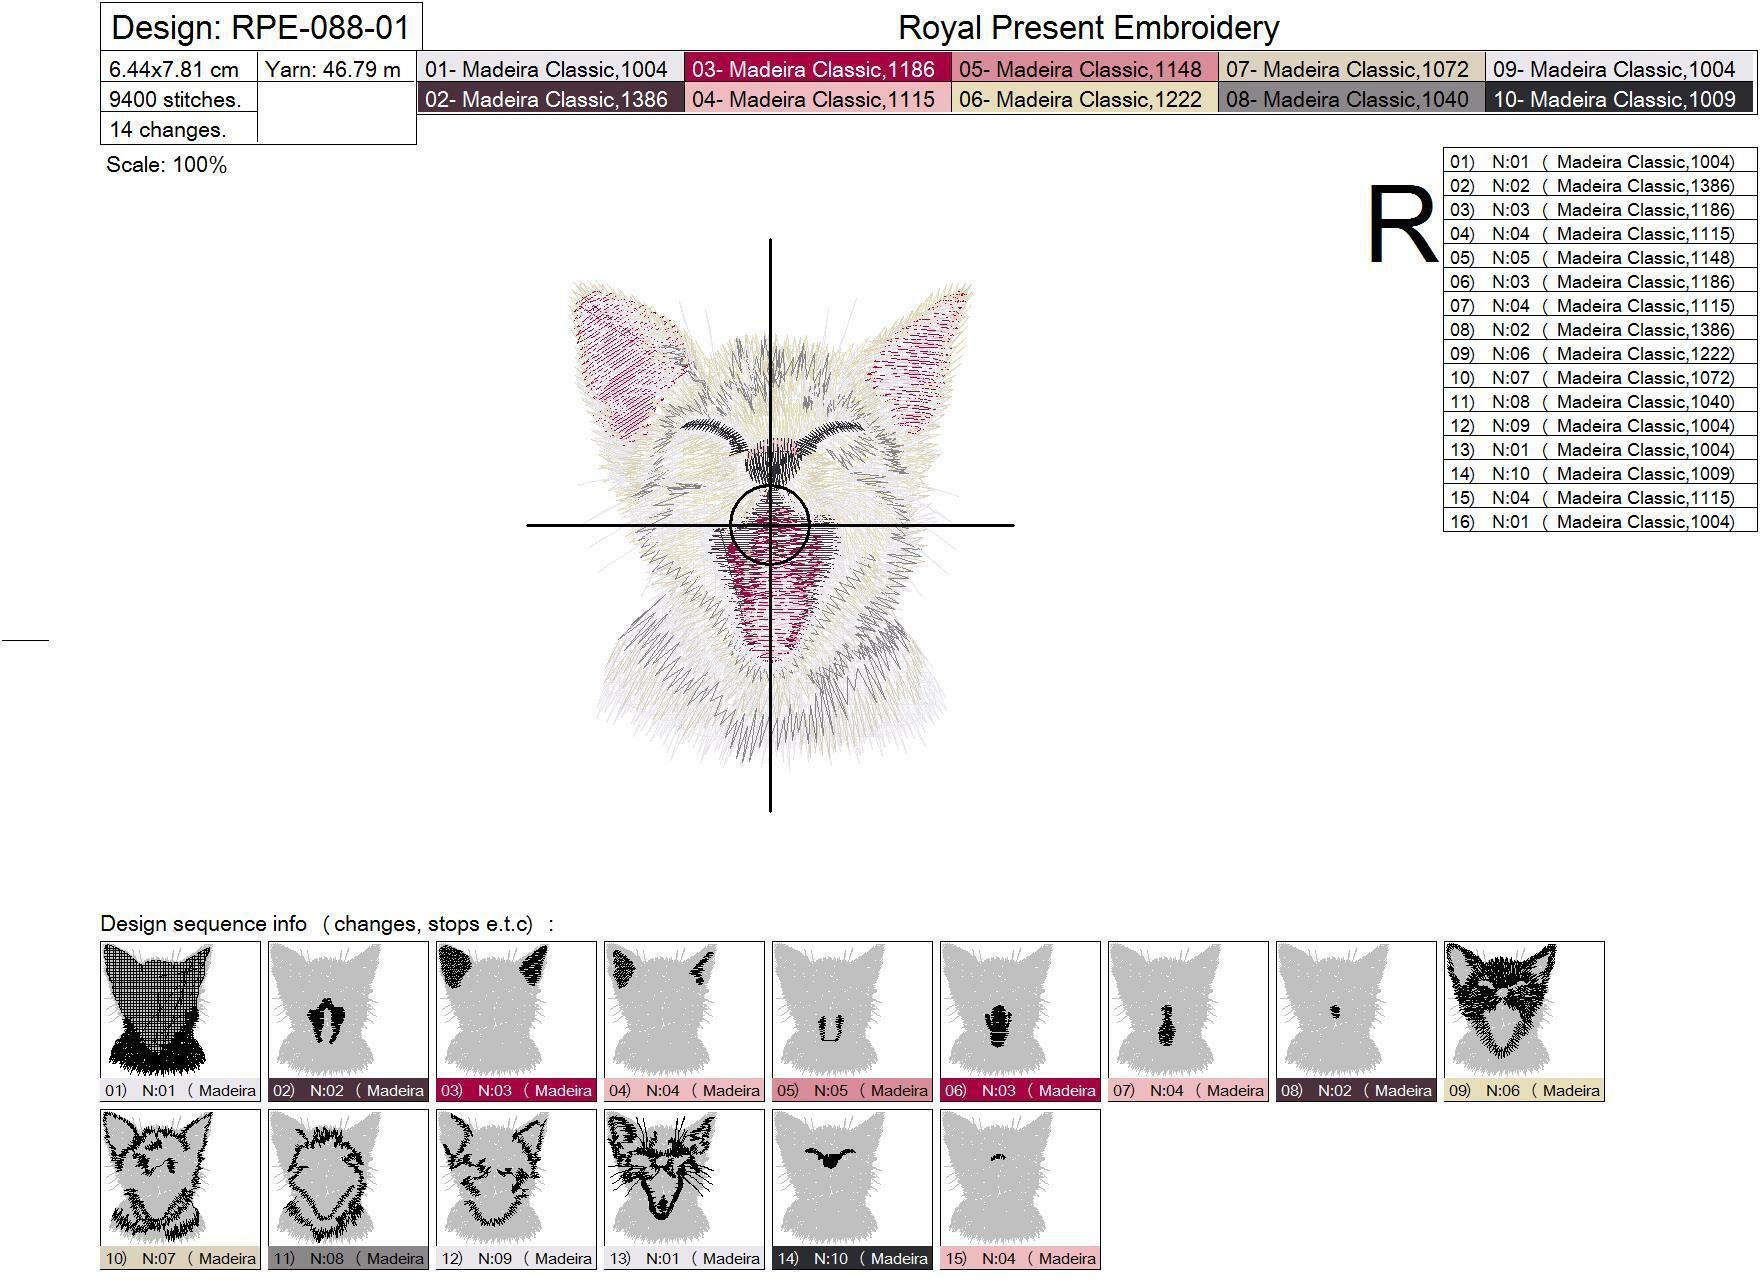
Size: 64.4x78.1 mm (2.54x3.07 "), Stitches: 9425
Formats: .dst, .jef, .pec, .vip, .hus, .pes, .exp, .sew, .dat, .vp3, art
This is a downloadable machine embroidery design file, not a finished embroidered item, patch or garment. SKU: RPE-088-01.
Is the kitten meowing or yawning?
The kitten is yawning. Its closed eyes, relaxed expression and wide-open mouth look like the irresistible sleepy yawn familiar to every cat owner. Placed on sleepwear or a pillowcase, it becomes a tiny bedtime joke. On an office shirt, it looks as though your sleepy companion has come to work in your pocket.
The motif works especially well on a men’s or women’s shirt, a child’s blouse, denim jacket, hoodie, sweatshirt, tote bag, fabric backpack or pyjama top. It can also become a personalized embroidered gift for a cat lover, veterinarian, pet sitter or office colleague.
Long-stitch technique and thread sheen
This design is digitized in a hand-embroidery-inspired long-stitch technique. The changing stitch directions model the forehead, cheeks, ears and muzzle like strands of fur. Madeira Classic 40 viscose rayon thread is particularly effective here: the light moves differently across each stitched direction, giving the kitten visual depth and a silky, almost living coat.
Long stitches must remain supported by the fabric. Do not pull or stretch the embroidered area after stitching, and remove tear-away stabilizer in small sections while supporting the stitches with your fingers.
Where to add metallic thread
For a subtle shimmer, replace only the additional light highlight at color position 09 / embroidery step 12 with a pearl, opal or pale silver shade of Madeira Supertwist No.30. This produces small flashes across the fur while preserving the natural shading.
For a darker, more dramatic version on black denim, a graphite metallic may be tested in the deepest accent at step 14. Keep the nose and eyelid definition readable; metallic thread should accent the kitten rather than turn the entire face into glitter.
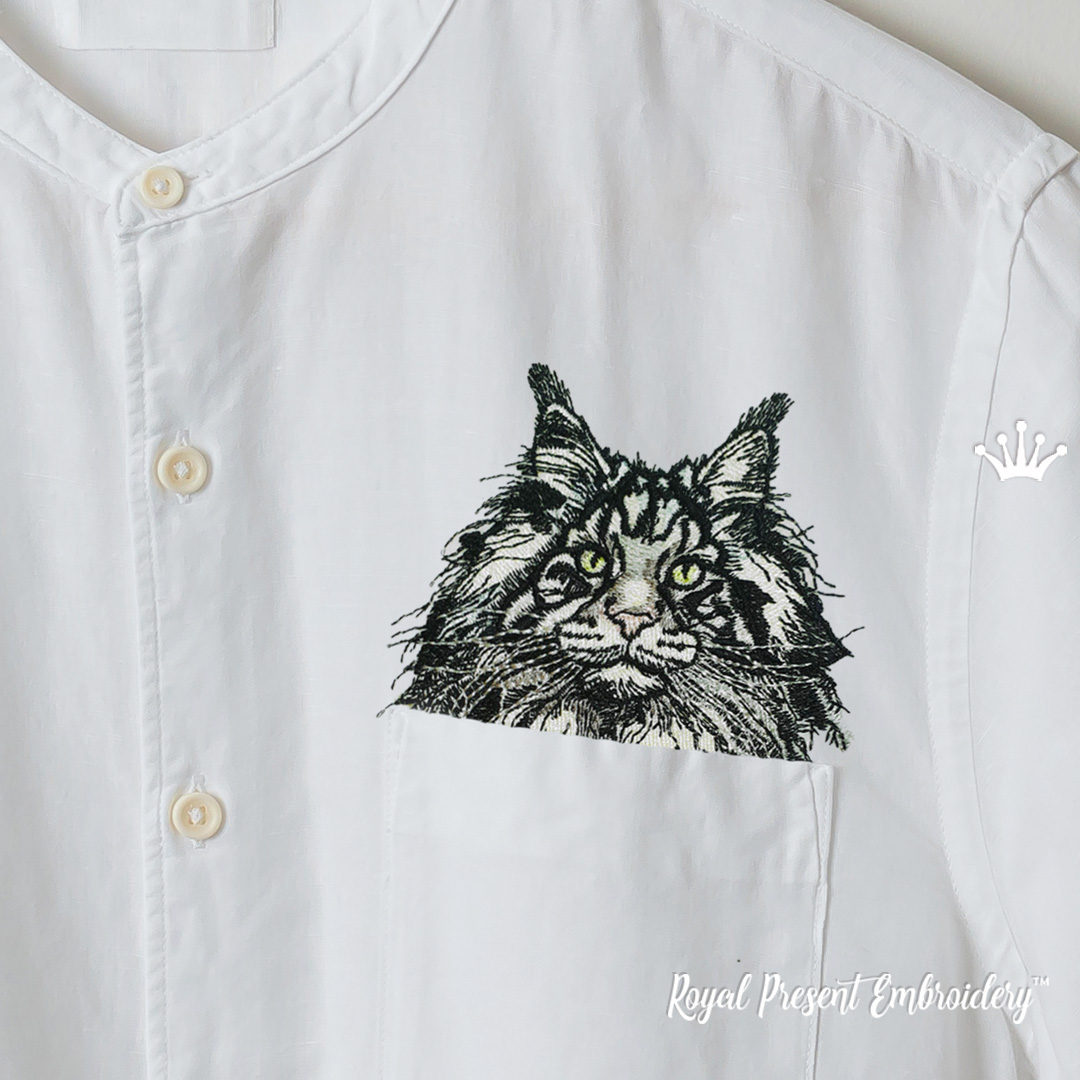
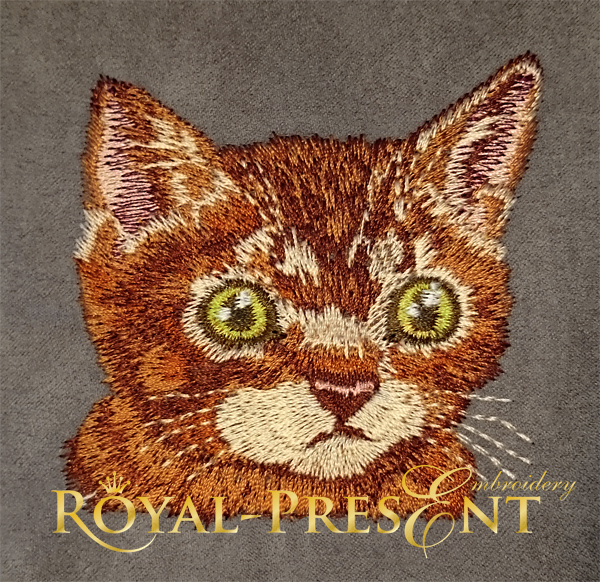
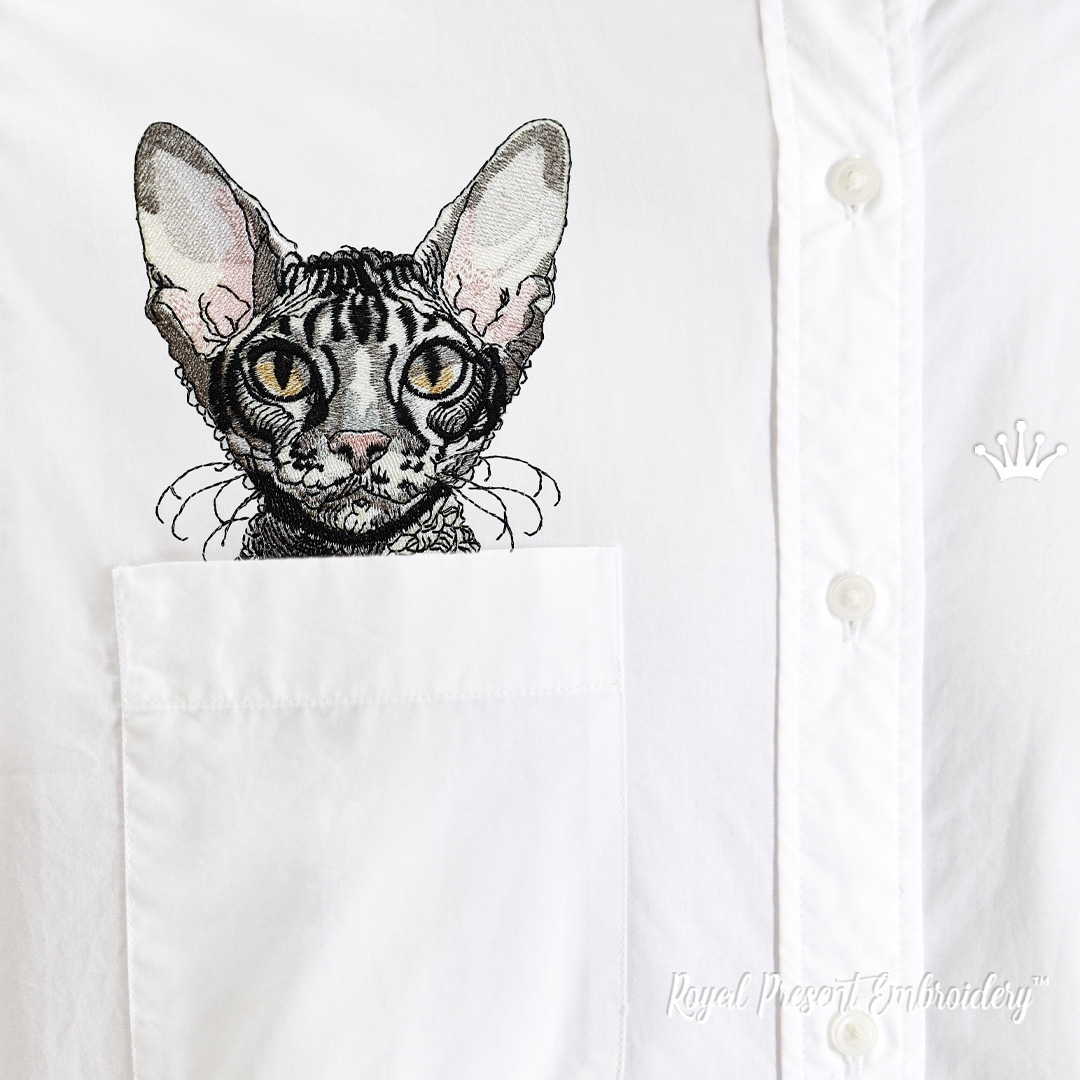
Companion pocket cat designs
|
|
|
|
Original Madeira Classic 40 color chart
The source chart contains 10 palette positions and 9 physically different thread colors because Madeira Classic 1004 is used twice for separate groups of highlights.
Stabilizer selection
On fleece, terry cloth or a hoodie with a raised surface, place Madeira Avalon Film water-soluble topping over the fabric. It prevents the long stitches from sinking into the texture. A smooth woven shirt or denim panel normally does not require a topper.
How to keep the pocket usable
For a garment that is still being constructed, embroider the kitten on the front panel first and attach the pocket afterward so its upper edge covers the lower boundary of the motif. This gives the cleanest illusion of the kitten sitting inside the pocket.
For a finished shirt, use the full-size printed template to check placement. If the design must extend behind the pocket edge, carefully unpick the necessary section of the pocket, embroider only through the shirt front, and sew the pocket back in place. Embroidering through both layers will stitch the pocket closed.
Before starting, move the hoop through the design boundaries using the machine’s trace function. Confirm that the presser foot and needle will not strike the pocket seam, button, zipper or hoop.
Practical embroidery settings
- Use a 75/11 embroidery needle for woven cotton and a 75/11 ballpoint embroidery needle for knit garments.
- Start at approximately 500–650 stitches per minute for the rayon version.
- Do not stretch jersey or sweatshirt fabric while hooping.
- Use the smallest hoop that comfortably fits the design.
- Make a test sew-out using the same fabric, thread, needle and stabilizer as the final project.
- Avoid resizing the design by more than approximately 10% unless the stitches are recalculated in embroidery software.
- Trim jump threads carefully so scissors do not catch the exposed long stitches.
The photograph cannot fully reproduce the changing shine of viscose rayon or the tiny reflections produced by a metallic highlight. In person, the long-stitch surface changes with the viewing angle, making the yawning kitten appear softer, brighter and more dimensional.
Yawning Kitten in Pocket Machine Embroidery Design
everyone says oh so cute.
Yawning Kitten in Pocket Machine Embroidery Design
Very adorable picture, liked by all who saw it.
Yawning Kitten in Pocket Machine Embroidery Design
A new challenge which came out great! Hope more pocket cats will be added to web page.
Yawning Kitten in Pocket Machine Embroidery Design
Great had heaps of comments, will buy again

 Get Sign-In Link
 Login with Google
 Login with Facebook
 Login with Amazon
 Login with Paypal