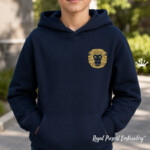
Ornamental Monkey Face Machine Embroidery Design - 5 Sizes
By knowing the speed of your embroidery machine, you can find out how long it will take to embroider a design.
To use the embroidery calculator, click on the number of stitches in the product description.
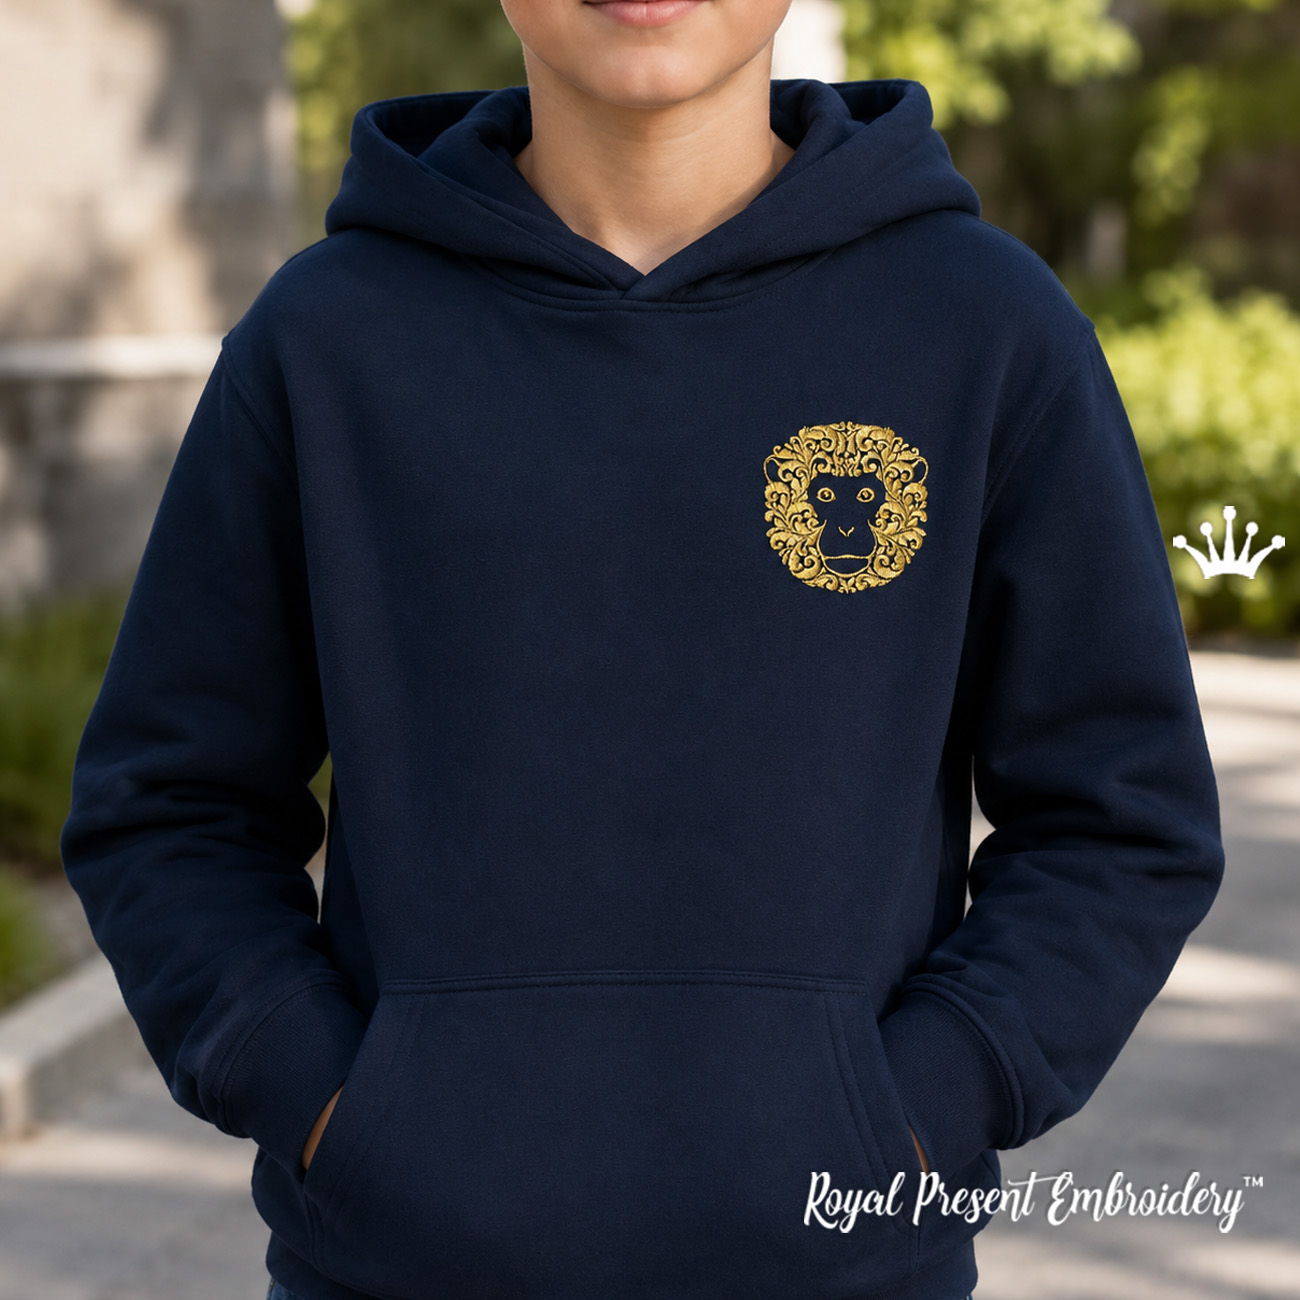
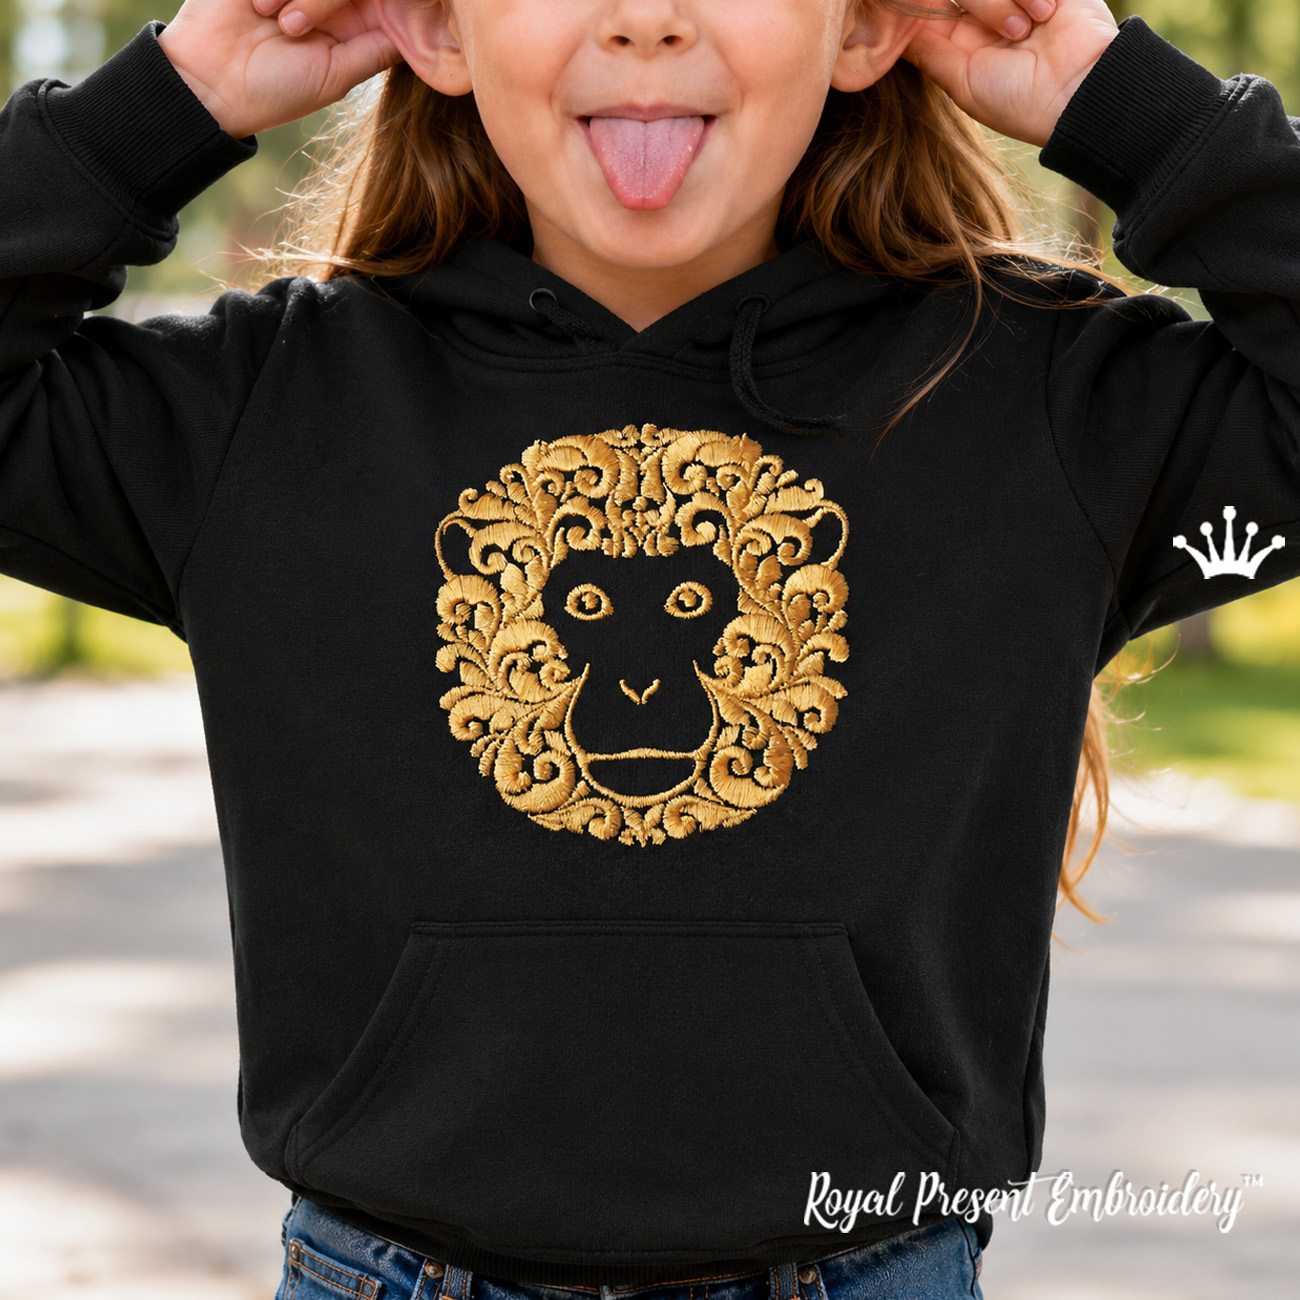
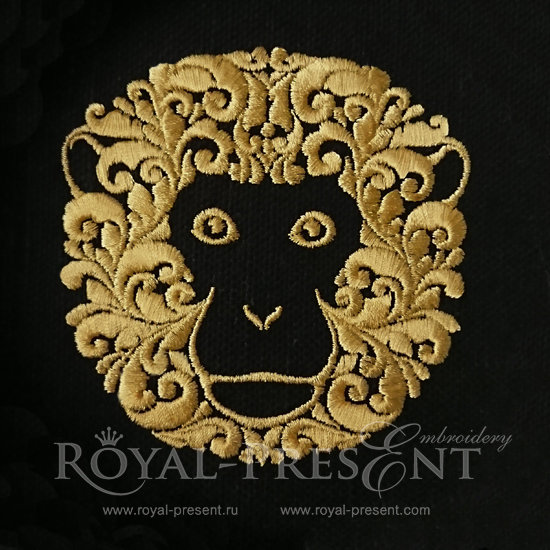
Ornamental Monkey Face Machine Embroidery Design combines a stylized primate face with symmetrical leaves, flowers and curved Baroque scrollwork. Five separately prepared sizes provide options for hoodie backs, sweatshirt fronts, cushions, tote bags, jackets and framed textile panels.
The design is especially striking in gold, bronze, ivory, silver or another contrasting thread on a plain dark fabric. Choose a stable material with a smooth surface so the eyes, muzzle and narrow ornamental details remain clearly defined.
This product contains files for a computerized embroidery machine. It is not a finished hoodie, cushion, bag, patch or other physical item.
Product Details
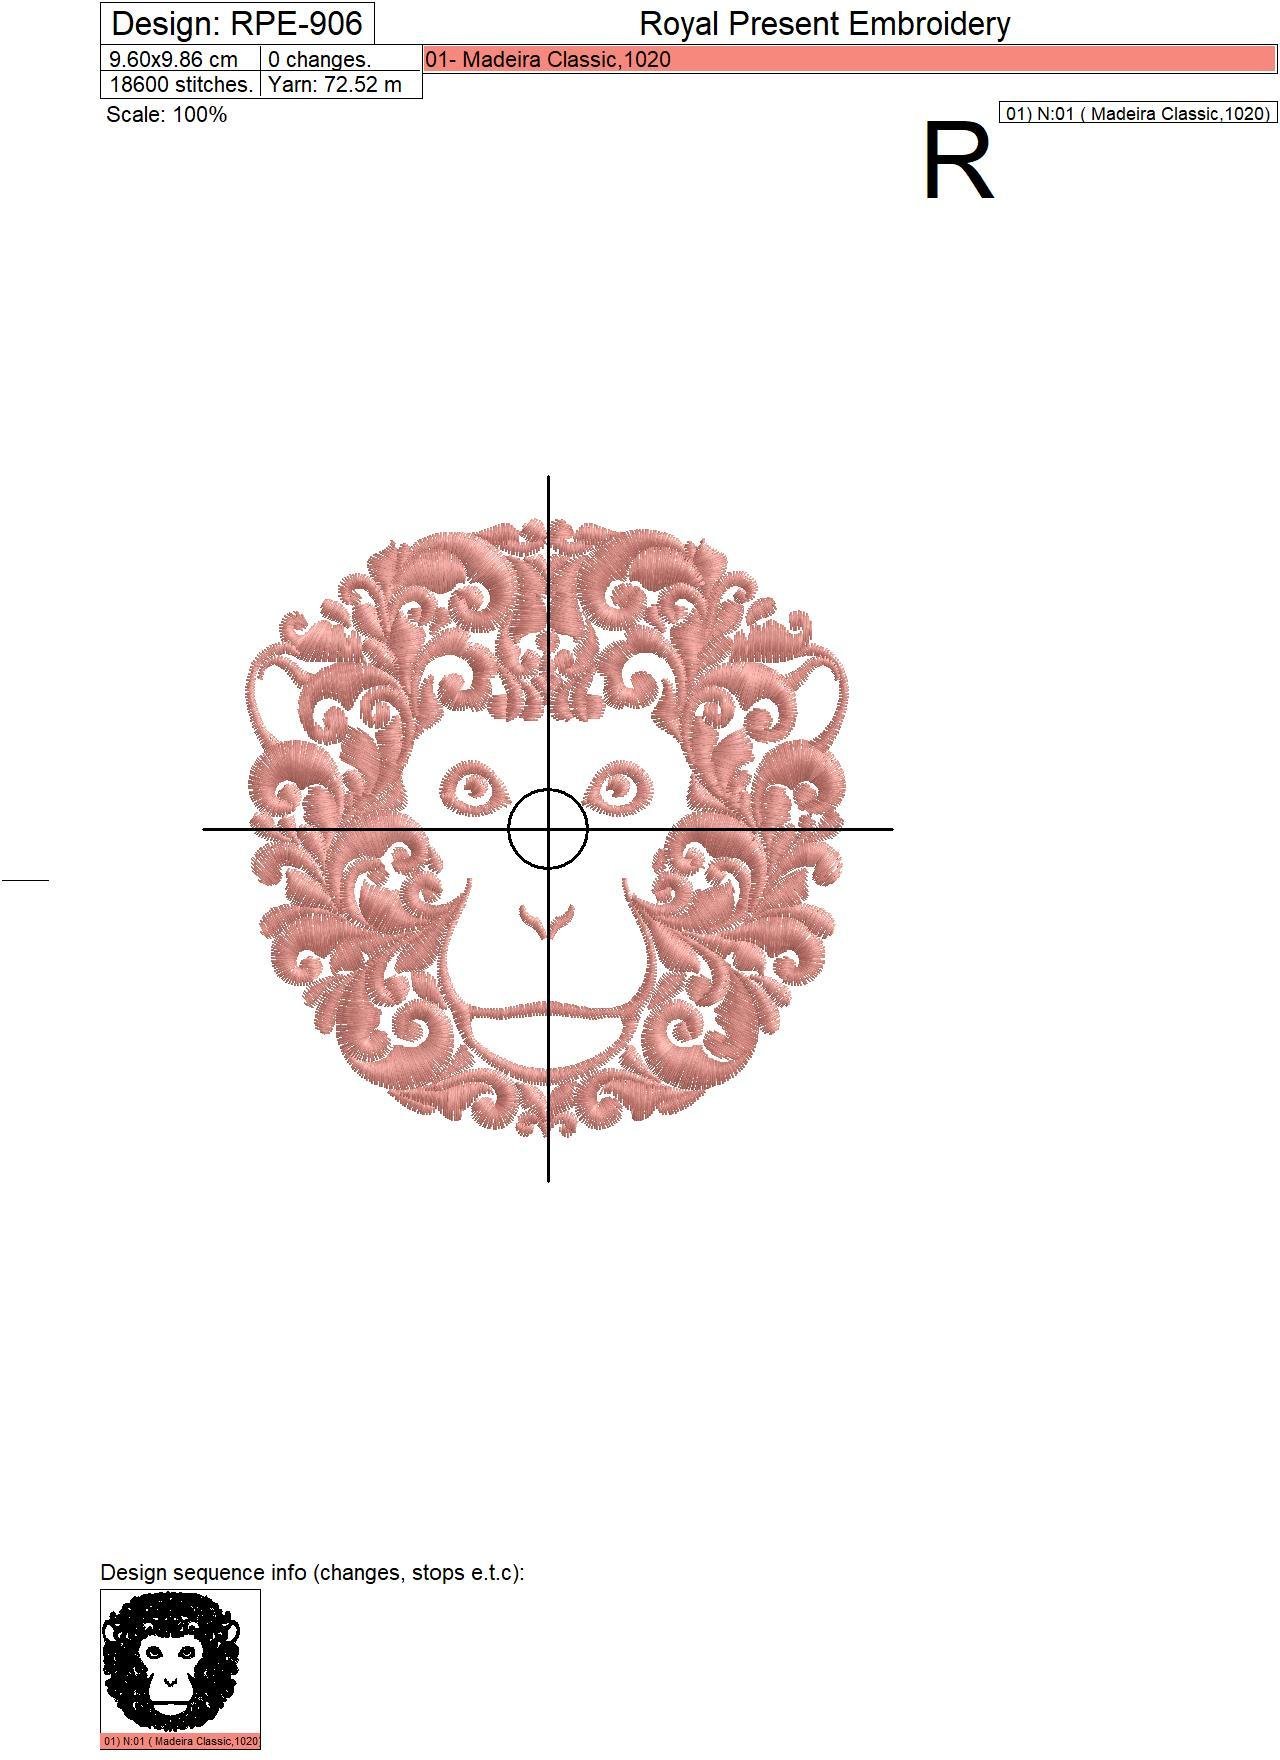
- Size: 96.0x98.6 mm (3.78x3.88 "), Stitches: 18566
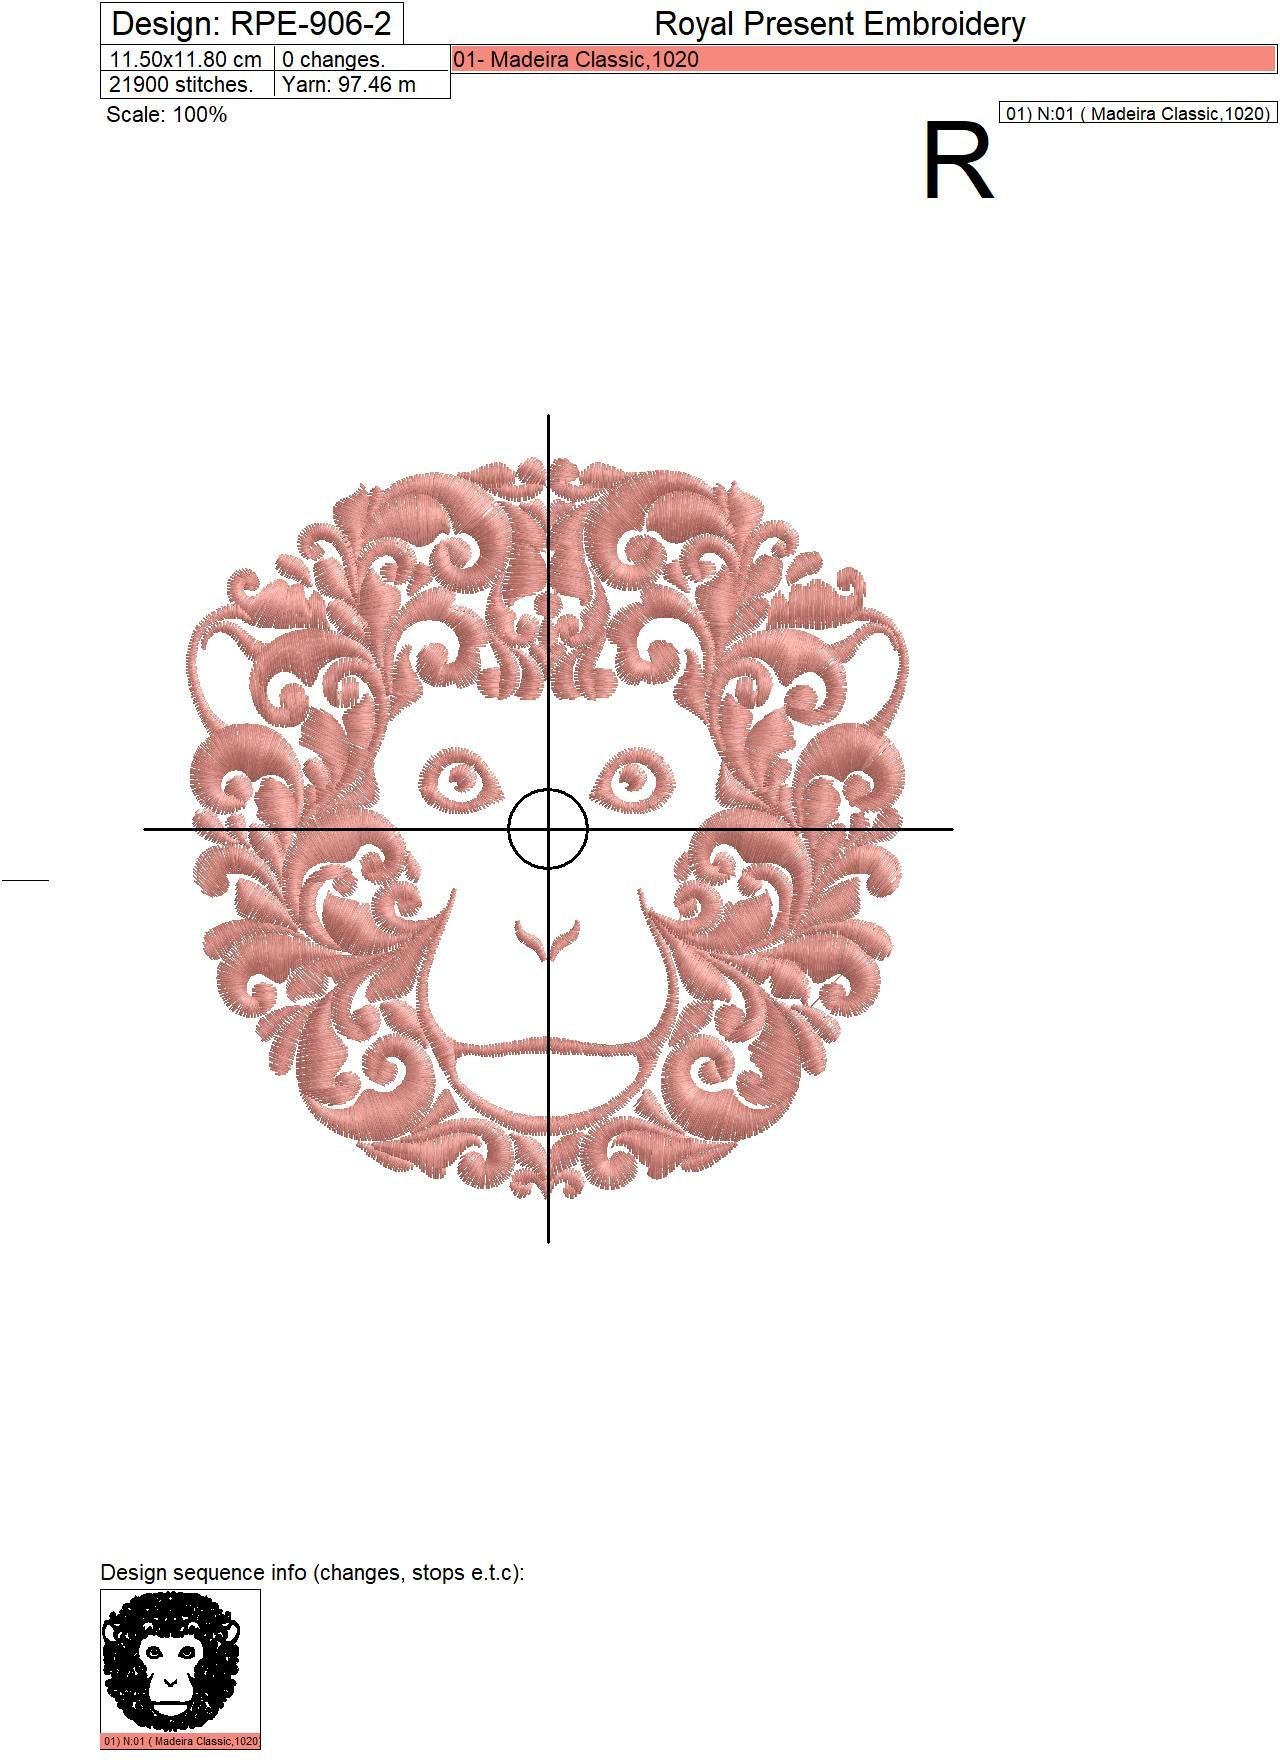
- Size: 115.0x118.0 mm (4.53x4.65 "), Stitches: 21903
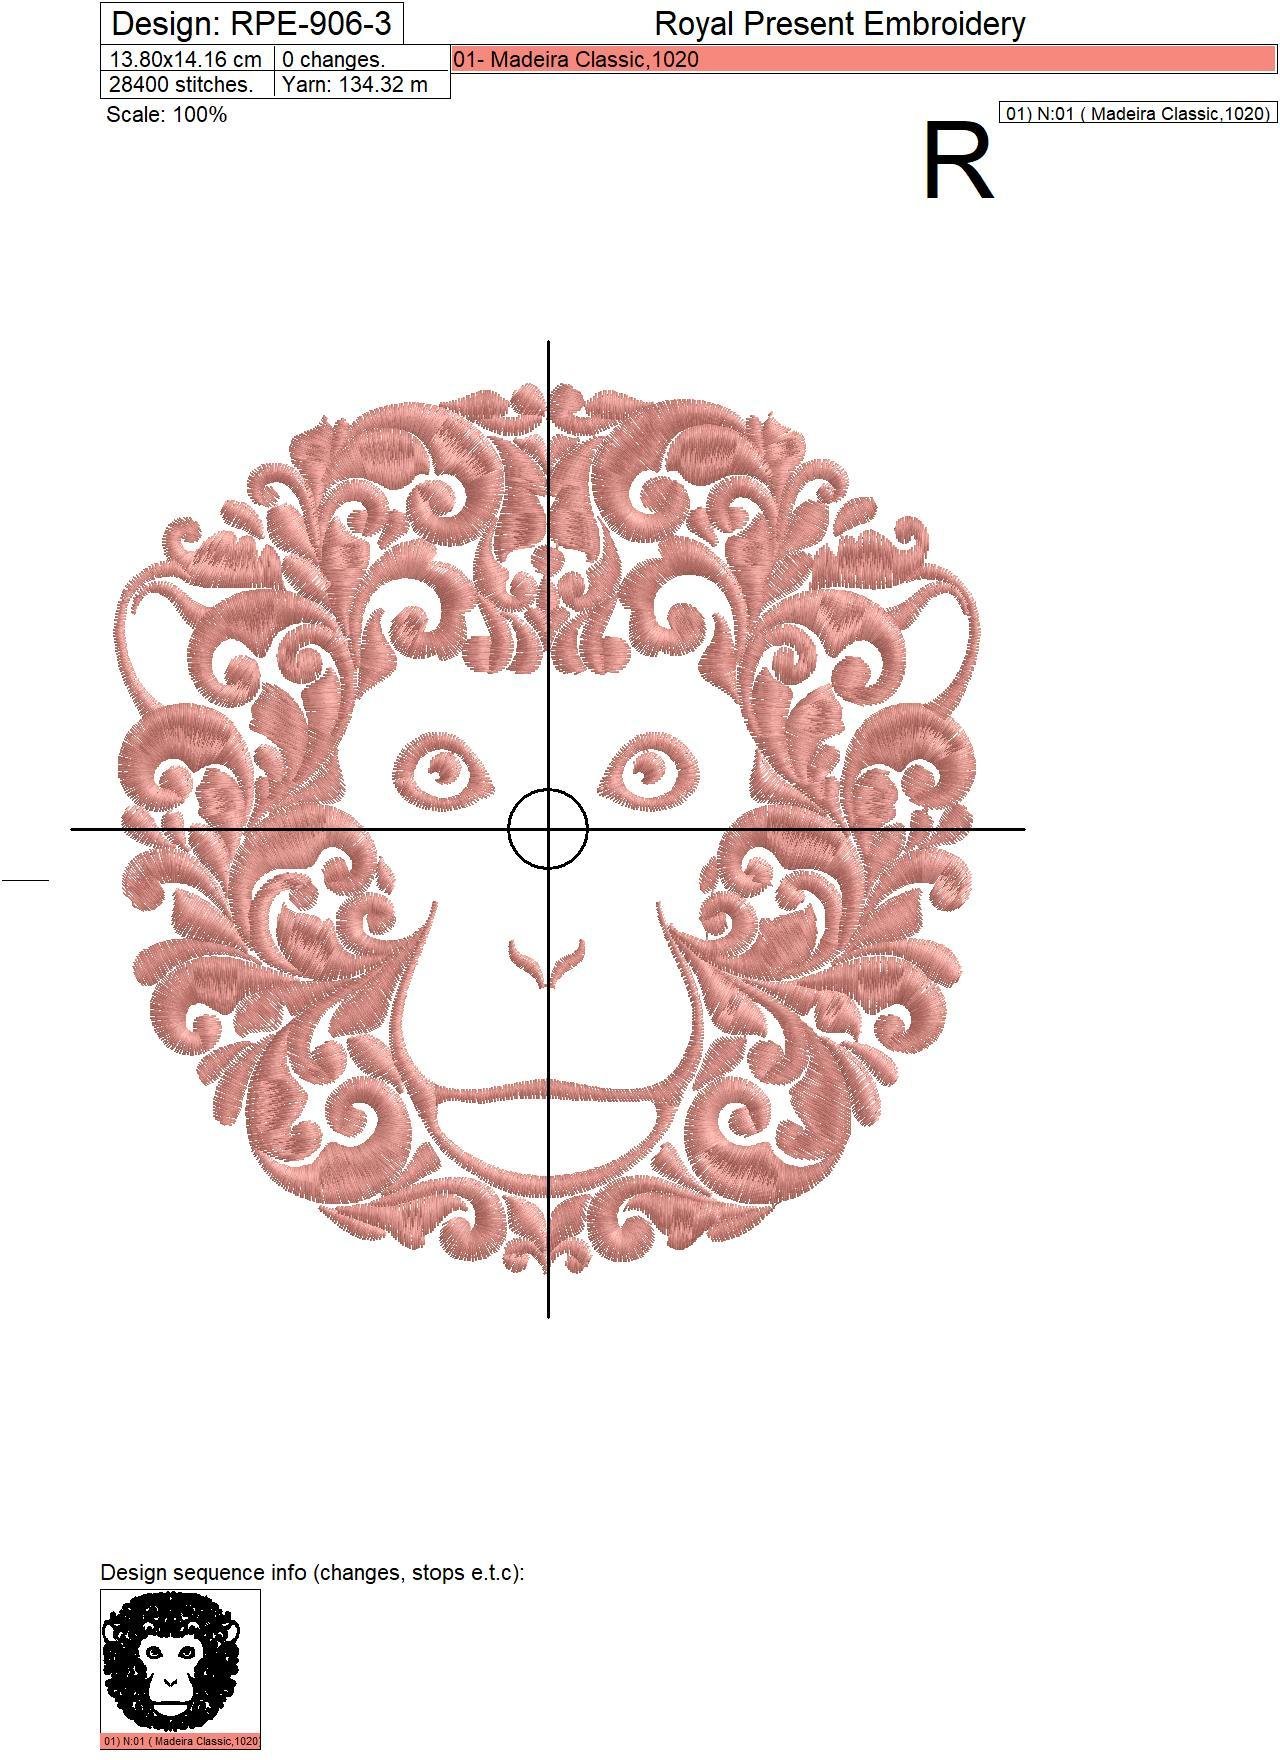
- Size: 138.0x141.6 mm (5.43x5.57 "), Stitches: 28311
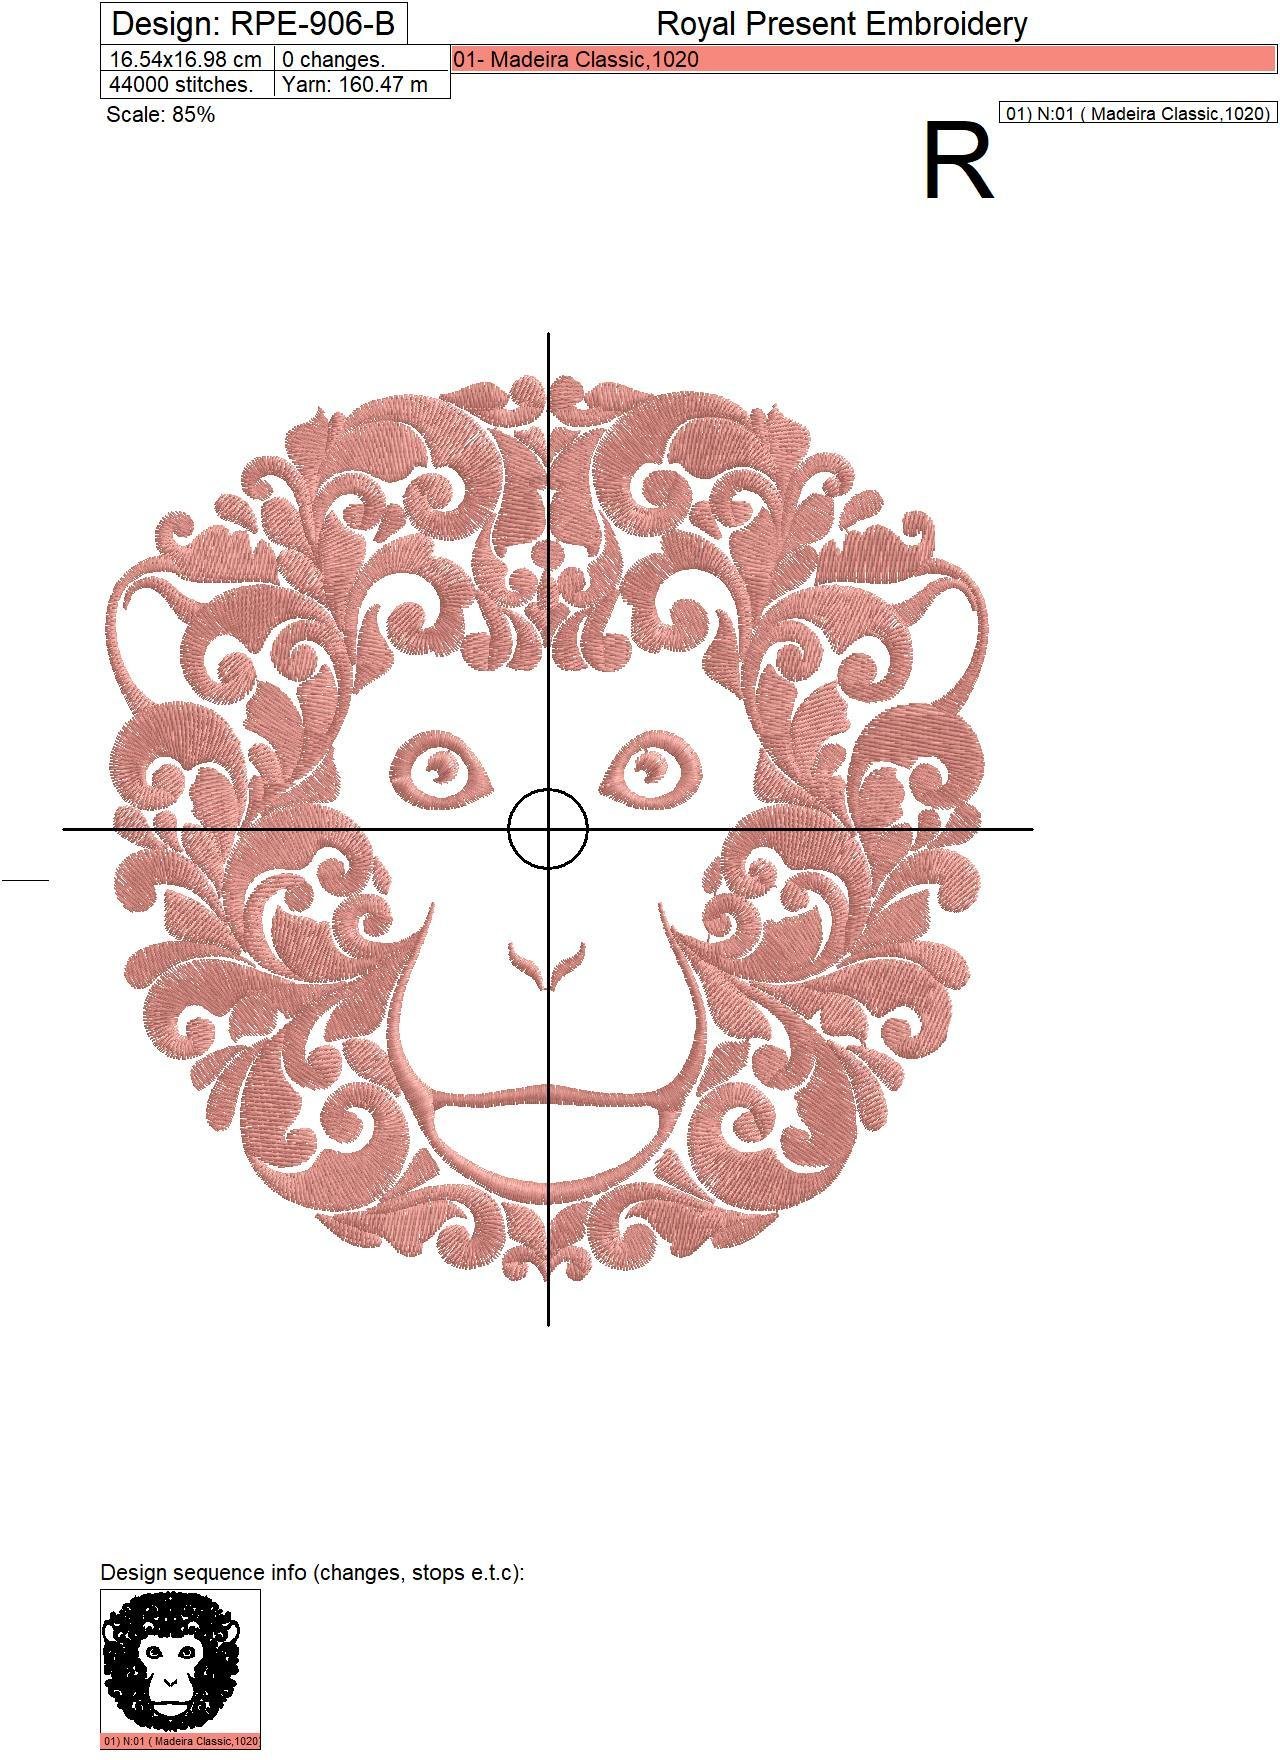
- Size: 165.4x169.8 mm (6.51x6.69 "), Stitches: 43951
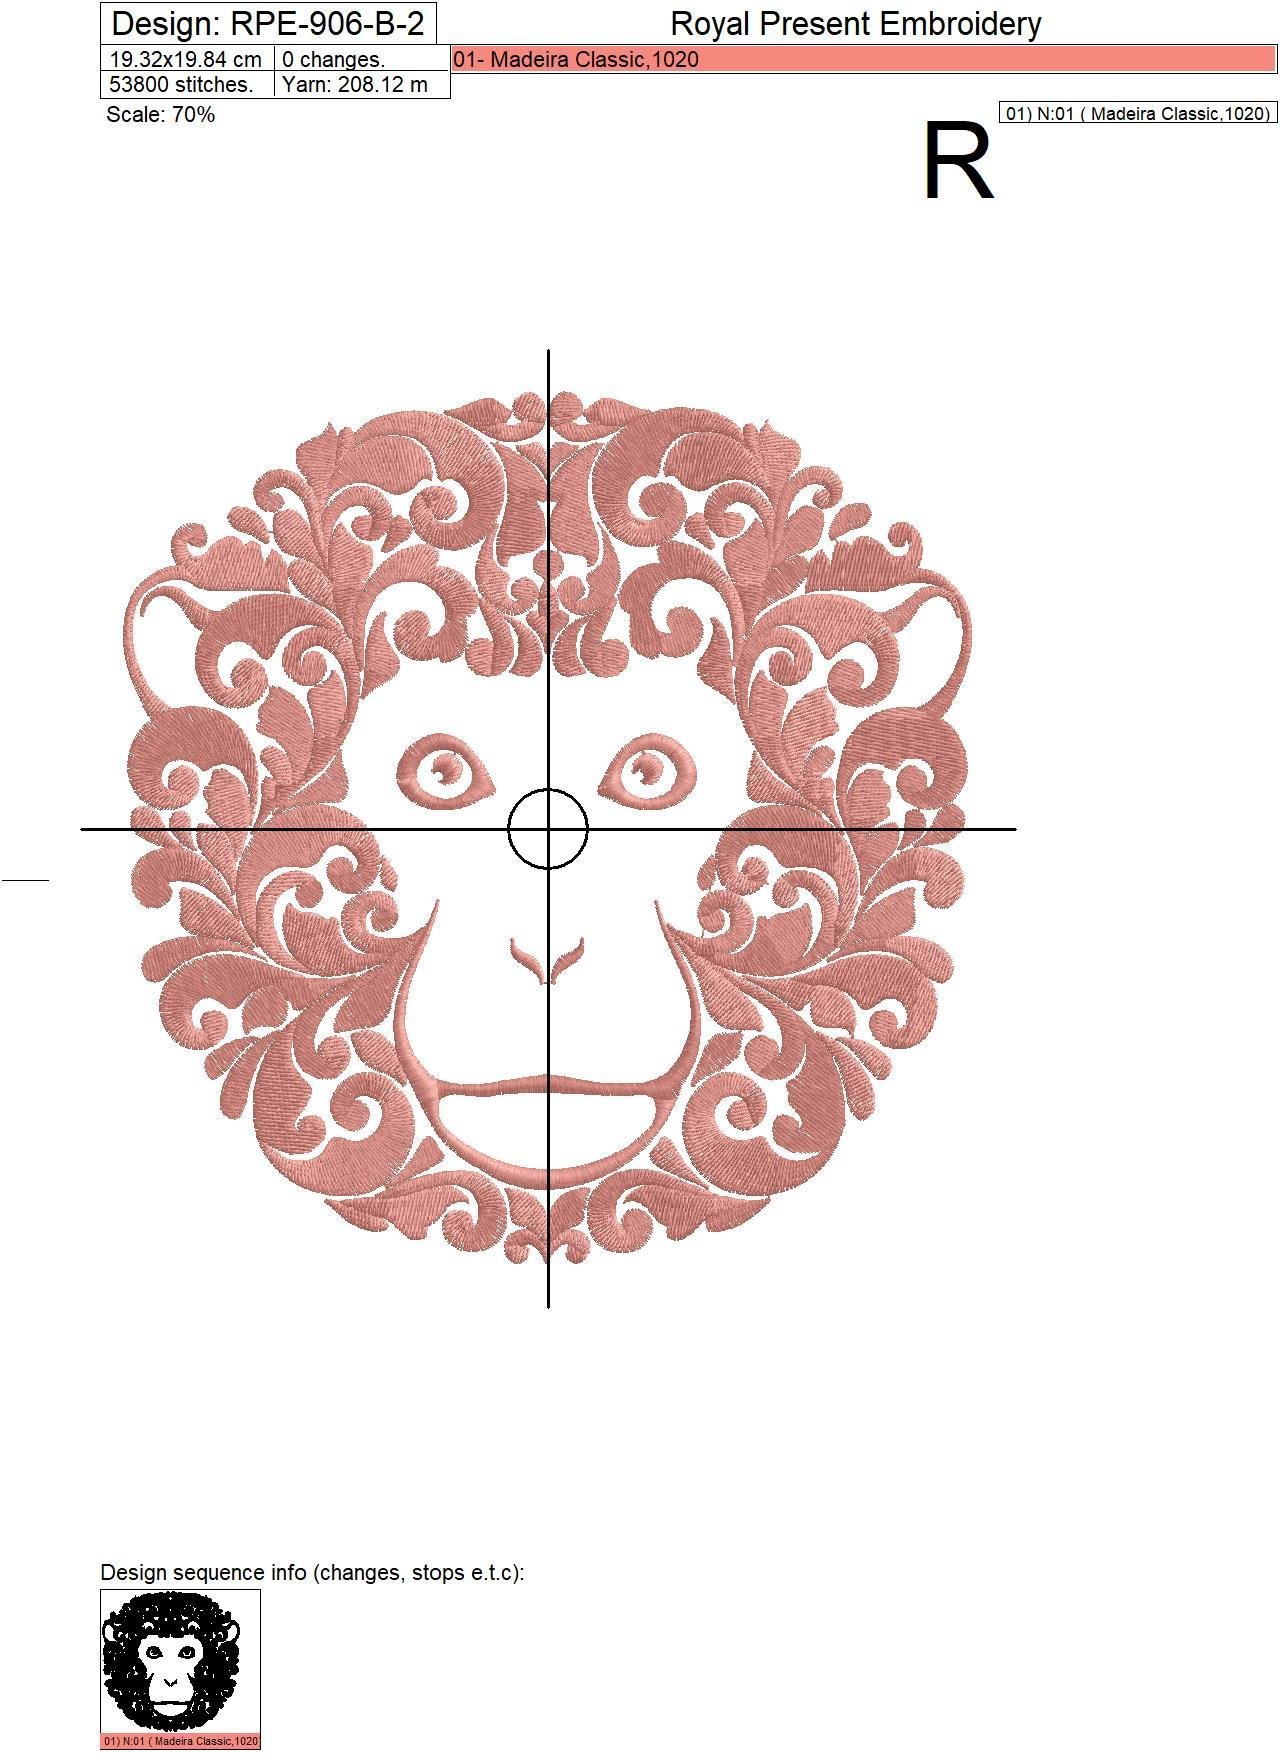
- Size: 193.2x198.4 mm (7.61x7.81 "), Stitches: 53766
Formats: .dst, .jef, .pec, .vip, .hus, .pes, .exp, .sew, .dat, .vp3, xxx
What Makes This Monkey Design Distinctive?
The open facial area is surrounded by dense floral ornament. Curled leaves and flowers form the ears, forehead and outer contour, while the fabric remains visible through the eyes, muzzle and central face.
- symmetrical ornamental monkey face;
- floral and Baroque-style scrollwork;
- five sizes for different projects and hoop fields;
- effective in metallic, monochrome or contrasting thread;
- suitable for clothing, accessories and interior textiles.
Which Fabric Gives the Best Result?
This motif has detailed ornamental fills and a relatively high stitch count, so a smooth medium- or heavyweight fabric is usually more practical than thin jersey or sheer cloth.
| Fabric | Recommended project | Practical guidance |
|---|---|---|
| Cotton-rich French terry | Hoodies and sweatshirts | Choose a smooth outer face and hoop without stretching |
| Stable sweatshirt fleece | Hoodies and casual jackets | Add water-soluble topping only when the surface is brushed |
| Medium-weight woven cotton | Cushions and textile panels | Easy to mark and keeps the ornament symmetrical |
| Twill or gabardine | Jackets, tote bags and backpacks | Provides a firm foundation for detailed scrollwork |
| Non-stretch denim | Jacket backs and bag panels | Embroider the flat panel before assembly when possible |
| Canvas | Tote bags, cushions and wall panels | Permanent backing is useful when the finished item will bend |
| Firm furnishing linen | Cushions and framed textile art | Loose linen requires permanent support |
Which Fabrics Are Less Suitable?
Thin T-shirt jersey can stretch and become noticeably stiff beneath the ornamental fills. Rib knit may distort the circular face, while sheer fabric can reveal the backing and bobbin stitches.
Deep fleece, long pile and high-loop terry can conceal the eyes and narrow scrollwork. These surfaces require a complete test and water-soluble topping above the fabric.
Which Size Works Best on a Hoodie?
- 96.0x98.6 mm: smaller child’s hoodie, chest placement, pocket panel or compact upper-back motif.
- 115.0x118.0 mm: child’s sweatshirt, medium front placement or small back panel.
- 138.0x141.6 mm: larger child’s hoodie, teen sweatshirt or cushion.
- 165.4x169.8 mm: teen or adult hoodie back, jacket panel or large tote bag.
- 193.2x198.4 mm: statement adult hoodie back, large cushion or wall panel.
Always print the selected file at full scale. Check that the ornament stays below the hood seam, between the armholes and above the waistband or kangaroo pocket.
How Do You Embroider It on a Hoodie?
- Prewash the hoodie fabric when appropriate.
- Mark the vertical center of the front or back panel.
- Position a full-size paper template on the garment.
- Keep the design away from the hood seam, zipper, pocket and ribbed waistband.
- Hoop the hoodie with soft permanent cutaway backing without stretching the knit.
- Secure the fabric with a basting frame when necessary.
- Move sleeves, hood and the opposite garment layer away from the embroidery field.
- Run the machine’s boundary trace before stitching.
- Support the weight of the garment beside the machine.
When constructing the hoodie from scratch, embroider the flat front or back panel before attaching the sleeves, hood, pocket and waistband.
Which Hoop Fits Each Size?
The file measuring 96.0x98.6 mm (3.78x3.88 ") may fit a true 100x100 mm or 4x4 inch embroidery field.
The file measuring 115.0x118.0 mm (4.53x4.65 ") fits within a nominal 130x180 mm or 5x7 inch field.
The file measuring 138.0x141.6 mm (5.43x5.57 ") requires at least a true 140x200 mm field. It does not fit a 130x180 mm field because its width is 138.0 mm.
The file measuring 165.4x169.8 mm (6.51x6.69 ") may fit a true 200x200 mm field or a larger 180x300 mm field.
The file measuring 193.2x198.4 mm (7.61x7.81 ") requires a field of at least those exact dimensions. A true 200x200 mm field may work when the machine supports the complete usable area.
Compare both exact file dimensions with the machine’s actual embroidery field. Do not rely only on commercial hoop names.
Brief Backing Guide
- Stable woven cotton, twill or gabardine: test tear-away or cutaway.
- French terry, sweatshirt fleece or another knit: use soft permanent cutaway or no-show mesh.
- Loose linen or flexible bags: use permanent cutaway support.
- Raised or brushed fabric: add water-soluble topping above the fabric.
For a quick starting calculation:
Fabric g/m² = sample grams × 10,000 ÷ (length in cm × width in cm)
Required stabilizer g/m² = fabric g/m² ÷ 3
Fabric oz/yd² = sample ounces × 1,296 ÷ (length in inches × width in inches)
Required stabilizer oz/yd² = fabric oz/yd² ÷ 3
Conversions: oz/yd² = g/m² ÷ 33.9057 and g/m² = oz/yd² × 33.9057. Water-soluble topping and temporary adhesive are separate from the structural backing calculation. Confirm the final combination with a complete test stitch.
How Do You Make the Reverse Soft for a Child?
After stitching, cover the reverse with a soft fusible embroidery cover-up, also called a backing finisher or fusible soft inlay.
Common examples include:
- Sulky Tender Touch;
- Madeira E-ZEE Comfort Wear;
- Gunold Cover The Back.
- Trim the excess cutaway without cutting the stitches.
- Cut the soft cover slightly larger than the embroidery.
- Round the corners to reduce lifting during washing.
- Place the adhesive side against the reverse.
- Fuse it according to the manufacturer’s heat and time instructions.
- Test the temperature on a fabric offcut first.
The cover reduces scratching and direct contact with rough bobbin stitches, but it is not automatically hypoallergenic. For known contact allergies, check the fiber and adhesive composition of the specific product.
Needle and Thread Recommendations
Begin with a fresh 75/11 embroidery or light ballpoint needle for French terry and medium-weight cotton. Test an 80/12 needle for dense canvas, denim or layered bag panels.
Polyester embroidery thread is practical for washable hoodies and accessories. Metallic gold, bronze or silver can be tested for cushions and statement garments, but reduce machine speed and check the finished stiffness.
How Do You Prevent Puckering?
- do not stretch knit fabric during hooping;
- cover the complete hoop opening with backing;
- use permanent cutaway on flexible fabrics;
- secure floated fabric with a basting frame;
- support heavy garments and bags beside the machine;
- reduce speed through dense ornamental sections;
- use a fresh needle;
- complete a full test on matching materials.
Comparison and Related Designs
- For a single large version developed specifically for statement hoodie backs, see the Ornamental Monkey Face Machine Embroidery Design for Hoodies.
- For a simpler character-style alternative, see the Funny Monkey Machine Embroidery Design - 2 Sizes.
- Browse more monkeys, orangutans and gorillas in Primates Machine Embroidery Designs.
- Explore the wider Animal Machine Embroidery Designs collection.
Do Not Resize the Files Independently
Do not enlarge or reduce the supplied files independently. Without professional stitch recalculation, resizing can damage density, underlay, pull compensation, leaf shapes, facial proportions and alignment between ornamental sections.
Royal Present is not responsible for embroidery quality after customer resizing, editing or file conversion.
About the Designer
This design was created by Ludmila Konovalova, machine embroidery designer.
FAQ
How many sizes are included?
Five separately prepared sizes are included, ranging from 96.0x98.6 mm to 193.2x198.4 mm.
Which size fits a 4x4 hoop?
Size: 96.0x98.6 mm (3.78x3.88 "), Stitches: 18566 may fit a true 100x100 mm or 4x4 inch embroidery field.
Which size fits a 5x7 hoop?
Size: 115.0x118.0 mm (4.53x4.65 "), Stitches: 21903 fits within a nominal 130x180 mm field.
Can the design be embroidered on a child’s hoodie?
Yes. The two smaller sizes are usually the most practical starting options. Print the exact size and check its position between the armholes, hood seam, pocket and waistband.
Which hoodie fabric is best?
Choose cotton-rich French terry or stable sweatshirt fleece with a smooth outer face and limited stretch.
Which backing should be used on French terry?
Use soft permanent cutaway or no-show mesh. Hoop the fabric without stretching it and test the complete selected size.
How can the reverse be made softer?
Cover the finished reverse with a soft fusible embroidery cover-up such as Tender Touch, E-ZEE Comfort Wear or Cover The Back.
Does the soft reverse cover prevent allergies?
It reduces friction but cannot guarantee that an allergic reaction will not occur. Check the fiber and adhesive composition for anyone with known sensitivities.
Can metallic thread be used?
Yes. Test the complete design with a metallic needle at reduced speed and check the finished flexibility before using it on clothing.
Can finished embroidered items be sold?
Limited sales of finished physical products are permitted. Bulk manufacturing and redistribution, resale or sharing of the embroidery files are not permitted.
Can I resize the files myself?
No. Independent resizing can damage stitch construction and ornamental alignment. Use the professional Resize of Design service when another size is required.
Is a complete test stitch necessary?
Yes. Test the complete selected size on matching fabric with the intended backing, needle and thread before embroidering the final item.
Ornamental Monkey Face Machine Embroidery Design - 5 Sizes
fantastic sew out

 Get Sign-In Link
 Login with Google
 Login with Facebook
 Login with Amazon
 Login with Paypal