Pocket Cat Machine Embroidery Design
By knowing the speed of your embroidery machine, you can find out how long it will take to embroider a design.
To use the embroidery calculator, click on the number of stitches in the product description.
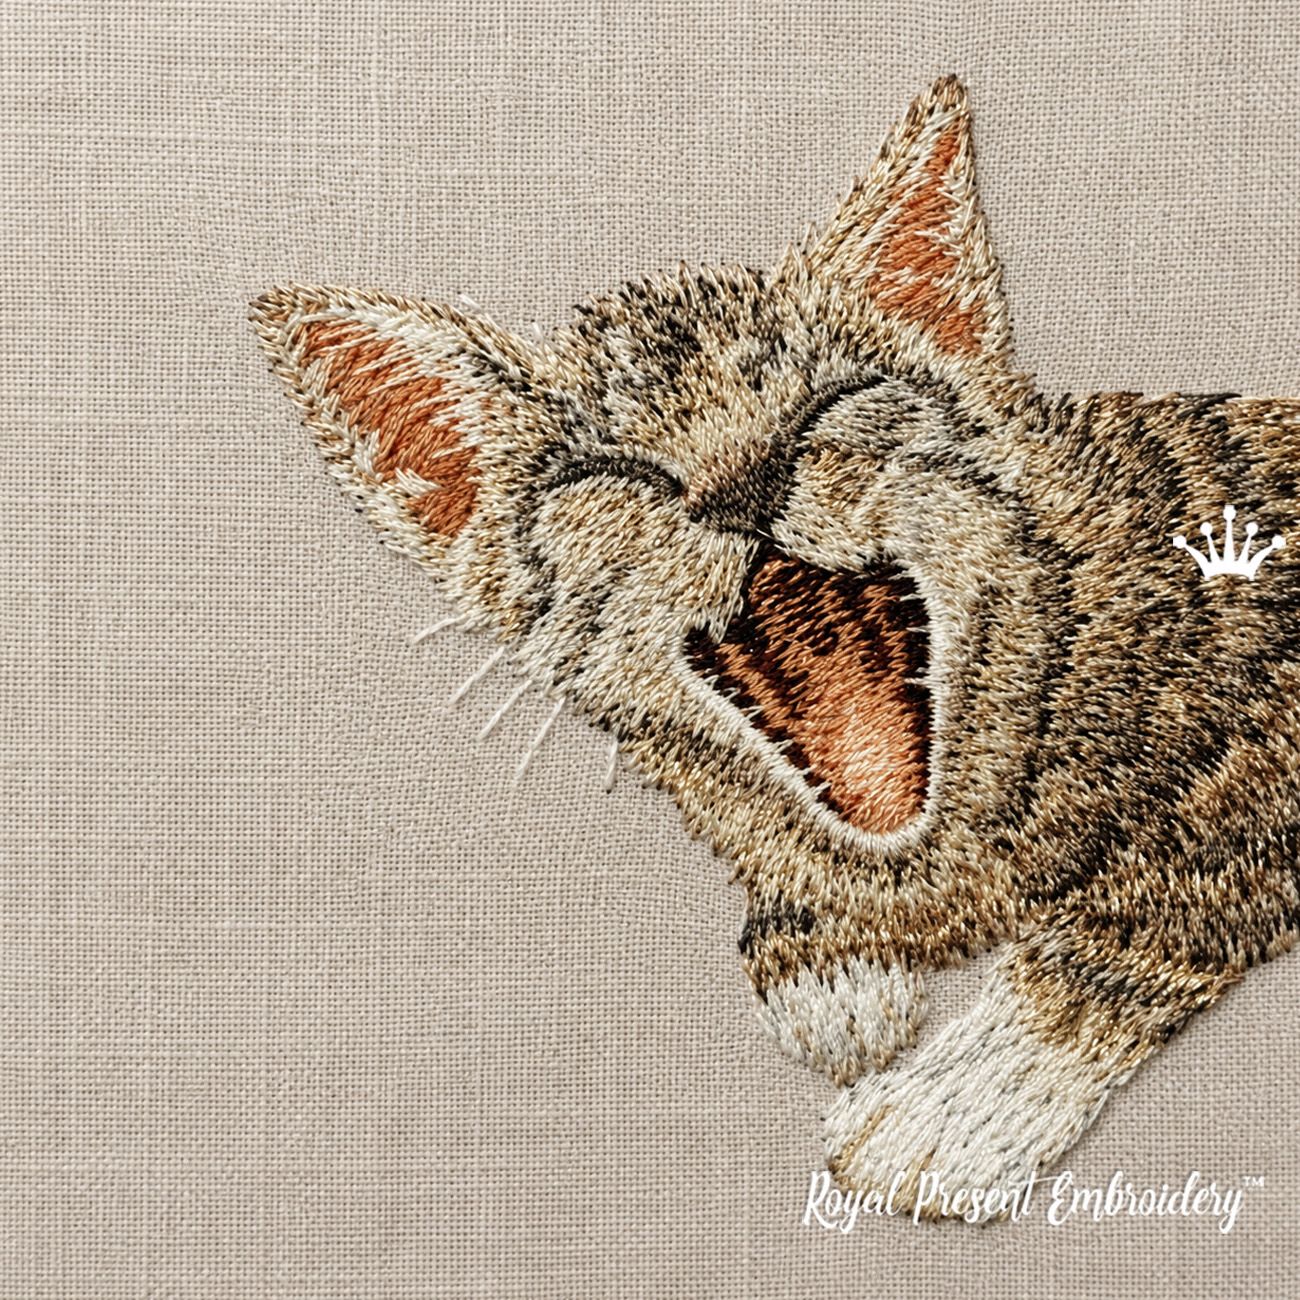
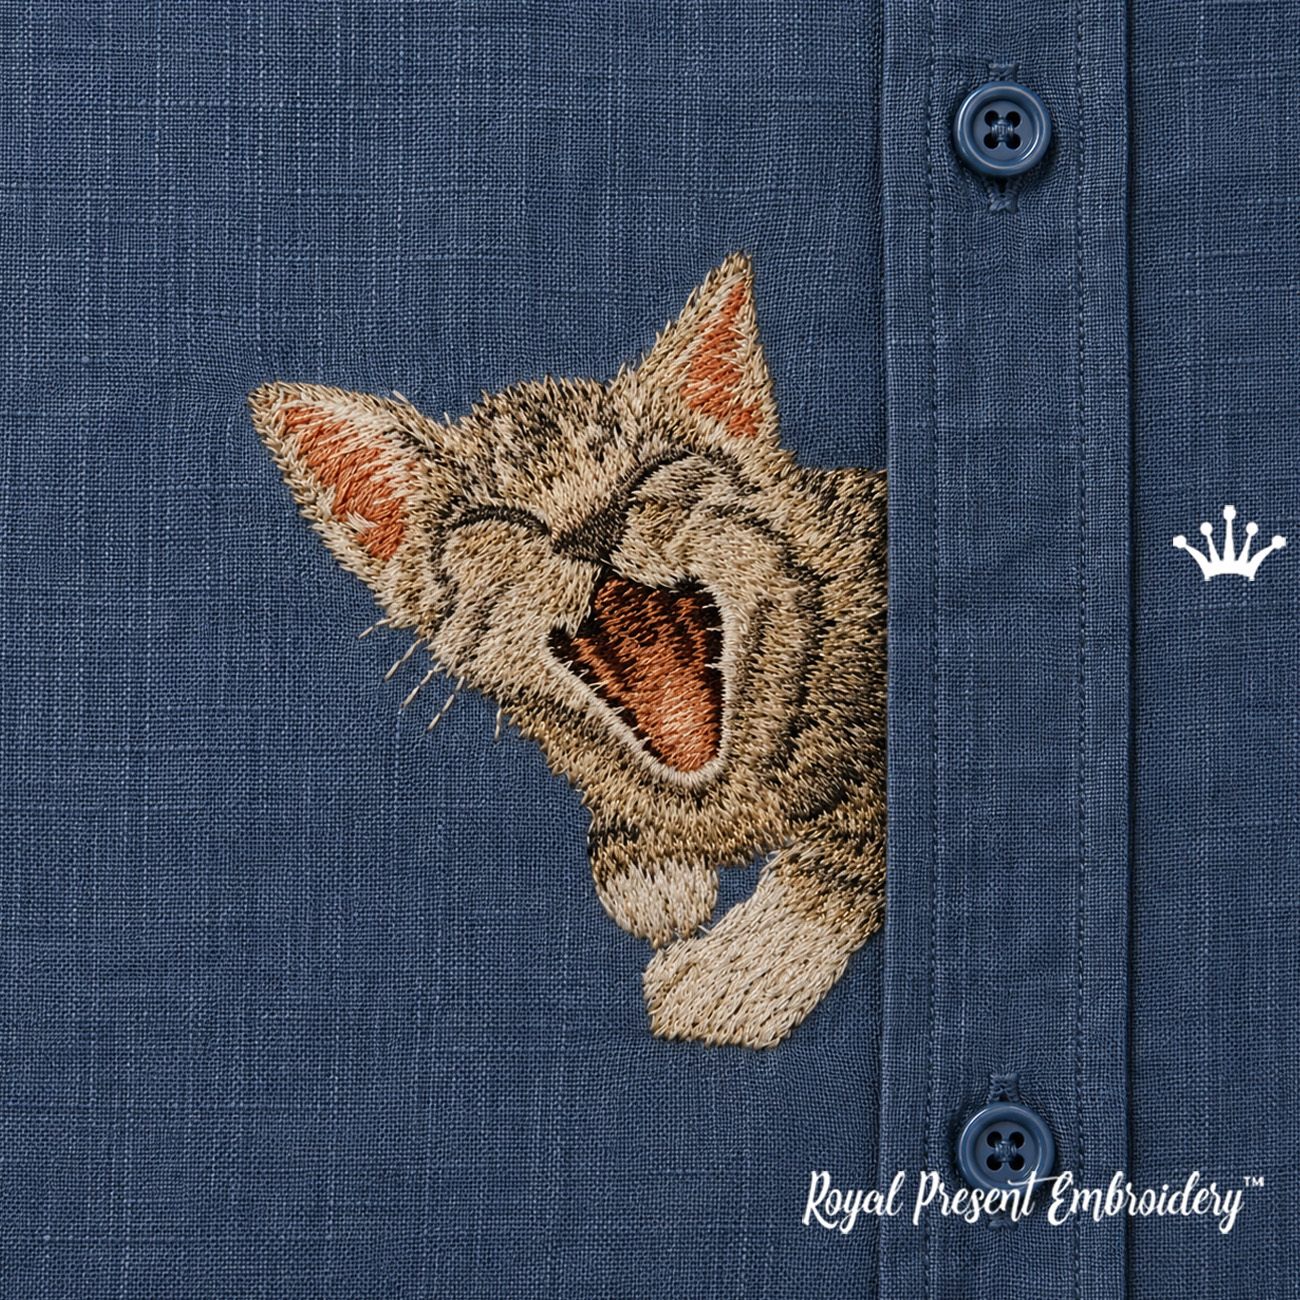
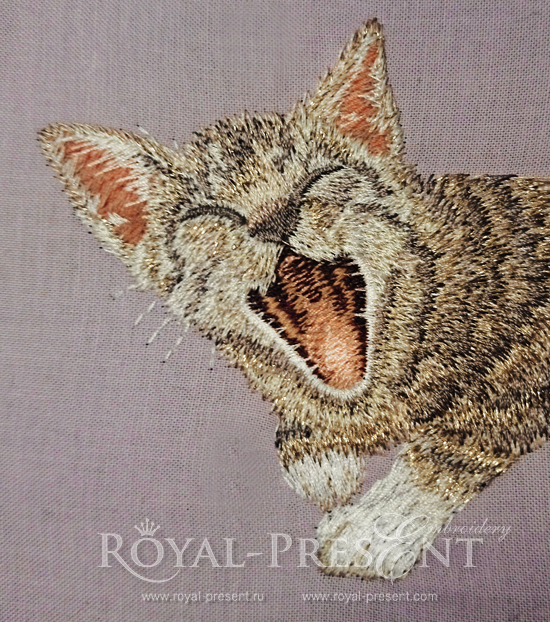
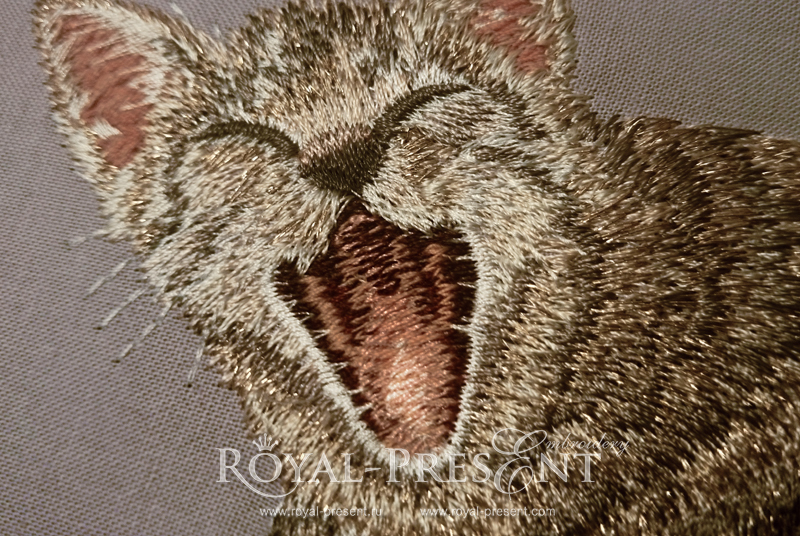
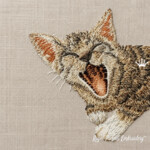
A yawning kitten appears to climb out from behind a buttoned shirt placket. The Pocket Cat Machine Embroidery Design is digitized in a hand-embroidery-inspired long-stitch technique. Changing stitch directions form the tabby markings, facial shadows and natural texture of the kitten’s fur.
Design size and machine formats
Size: 86.8x89.8 mm (3.42x3.54 "), Stitches: 10900
Formats: .dst, .jef, .pec, .vip, .hus, .pes, .exp, .sew, .dat, .vp3, art
This is a downloadable digital file for an embroidery machine, not a finished embroidery, patch or garment. SKU: RPE-088.
How to position the cat between shirt buttons
The most expressive placement is on one front panel of a buttoned shirt, between two fastened buttons. One button remains above the kitten and another below it. The kitten should be embroidered entirely on one side of the shirt opening. Do not divide the design between the two front panels, because the image will separate whenever the shirt moves.
This design is almost 3.5 inches wide and high, so it is not a tiny chest logo. Print the full-size template, button the shirt and check the actual proportions before marking the center. Position the kitten so that its face is fully visible while the shirt placket appears to conceal the lower part of its body.
After marking, unbutton the shirt and embroider only the selected front panel. Keep the opposite placket, sleeves and back of the shirt completely outside the stitching area.
When making a new shirt, the easiest method is to embroider the kitten on the front panel before assembling the garment. For a finished shirt, hoop a self-adhesive stabilizer and float the opened front panel on top. Use the machine’s trace function to make sure the needle and presser foot will not strike a button, buttonhole, thick placket seam or hoop edge.
Why the long stitches create dimension
No artificial drop shadow is needed beneath the kitten. The dimensional effect is produced by stitch direction and color transitions. The stitches radiate across the forehead, curve around the closed eyes and cheeks, and become longer over the neck and body.
Madeira Classic 40 viscose rayon is especially effective for this technique. Light reflects differently from each group of stitches, making the embroidered fur shimmer as the fabric moves. This directional sheen is always stronger on the actual embroidery than it appears in a photograph.
Long stitches require stable fabric support. Do not stretch the embroidered area after stitching. Remove tear-away stabilizer in small sections while supporting the embroidery with your fingers.
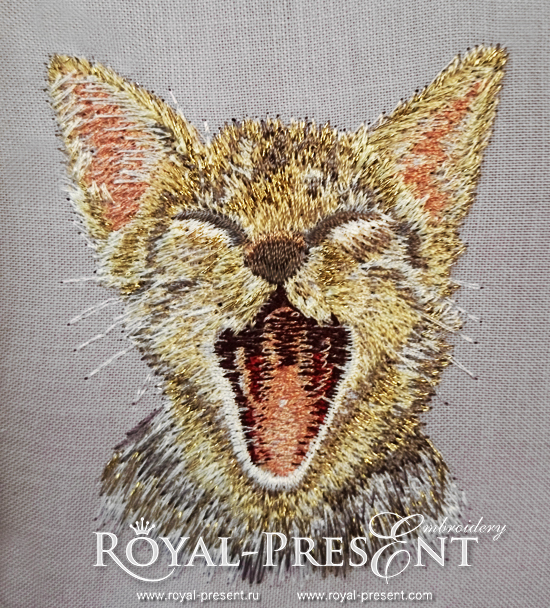
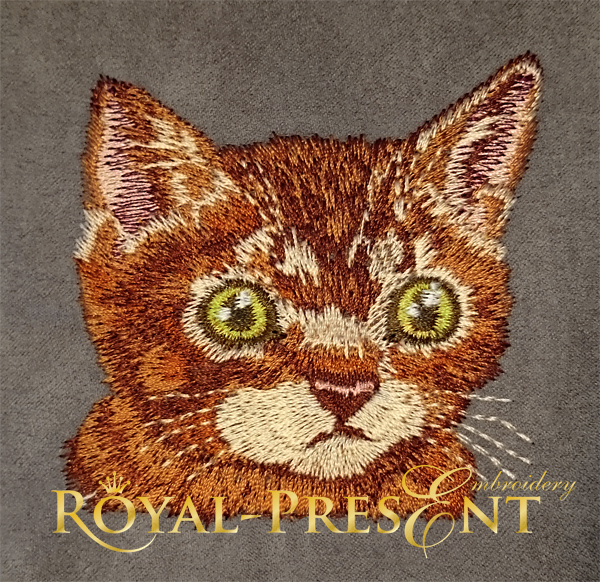
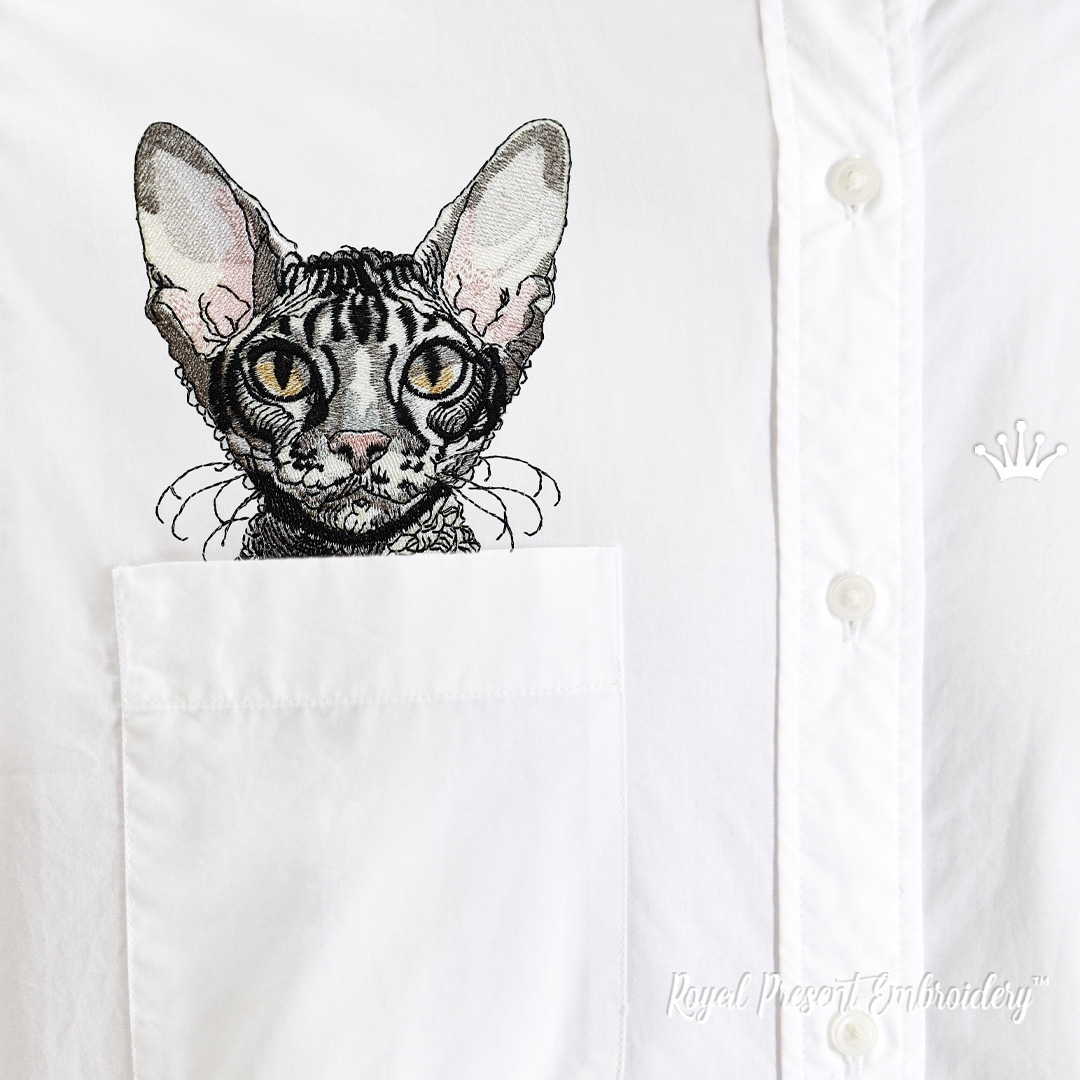
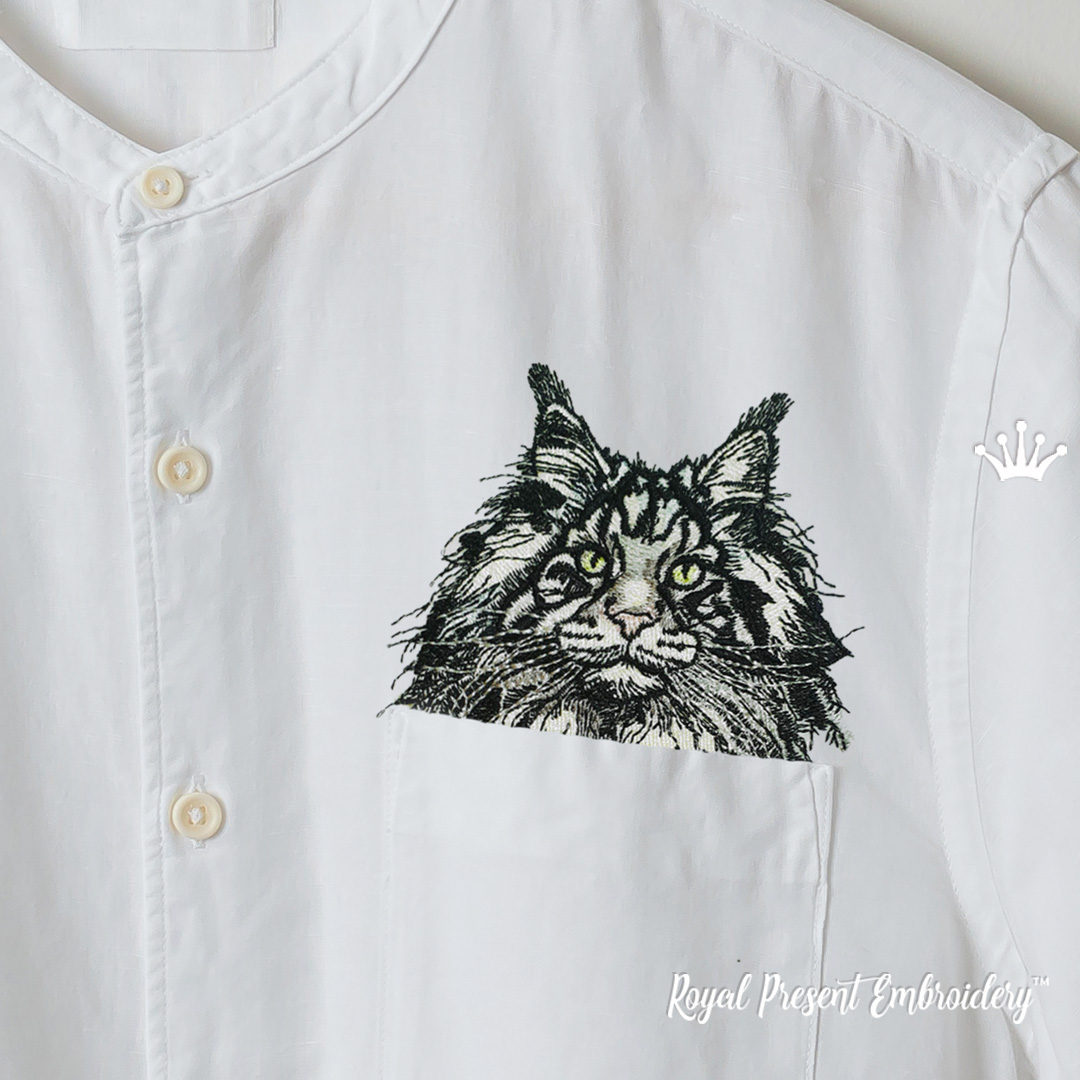
Companion pocket cat designs
|
|
|
|
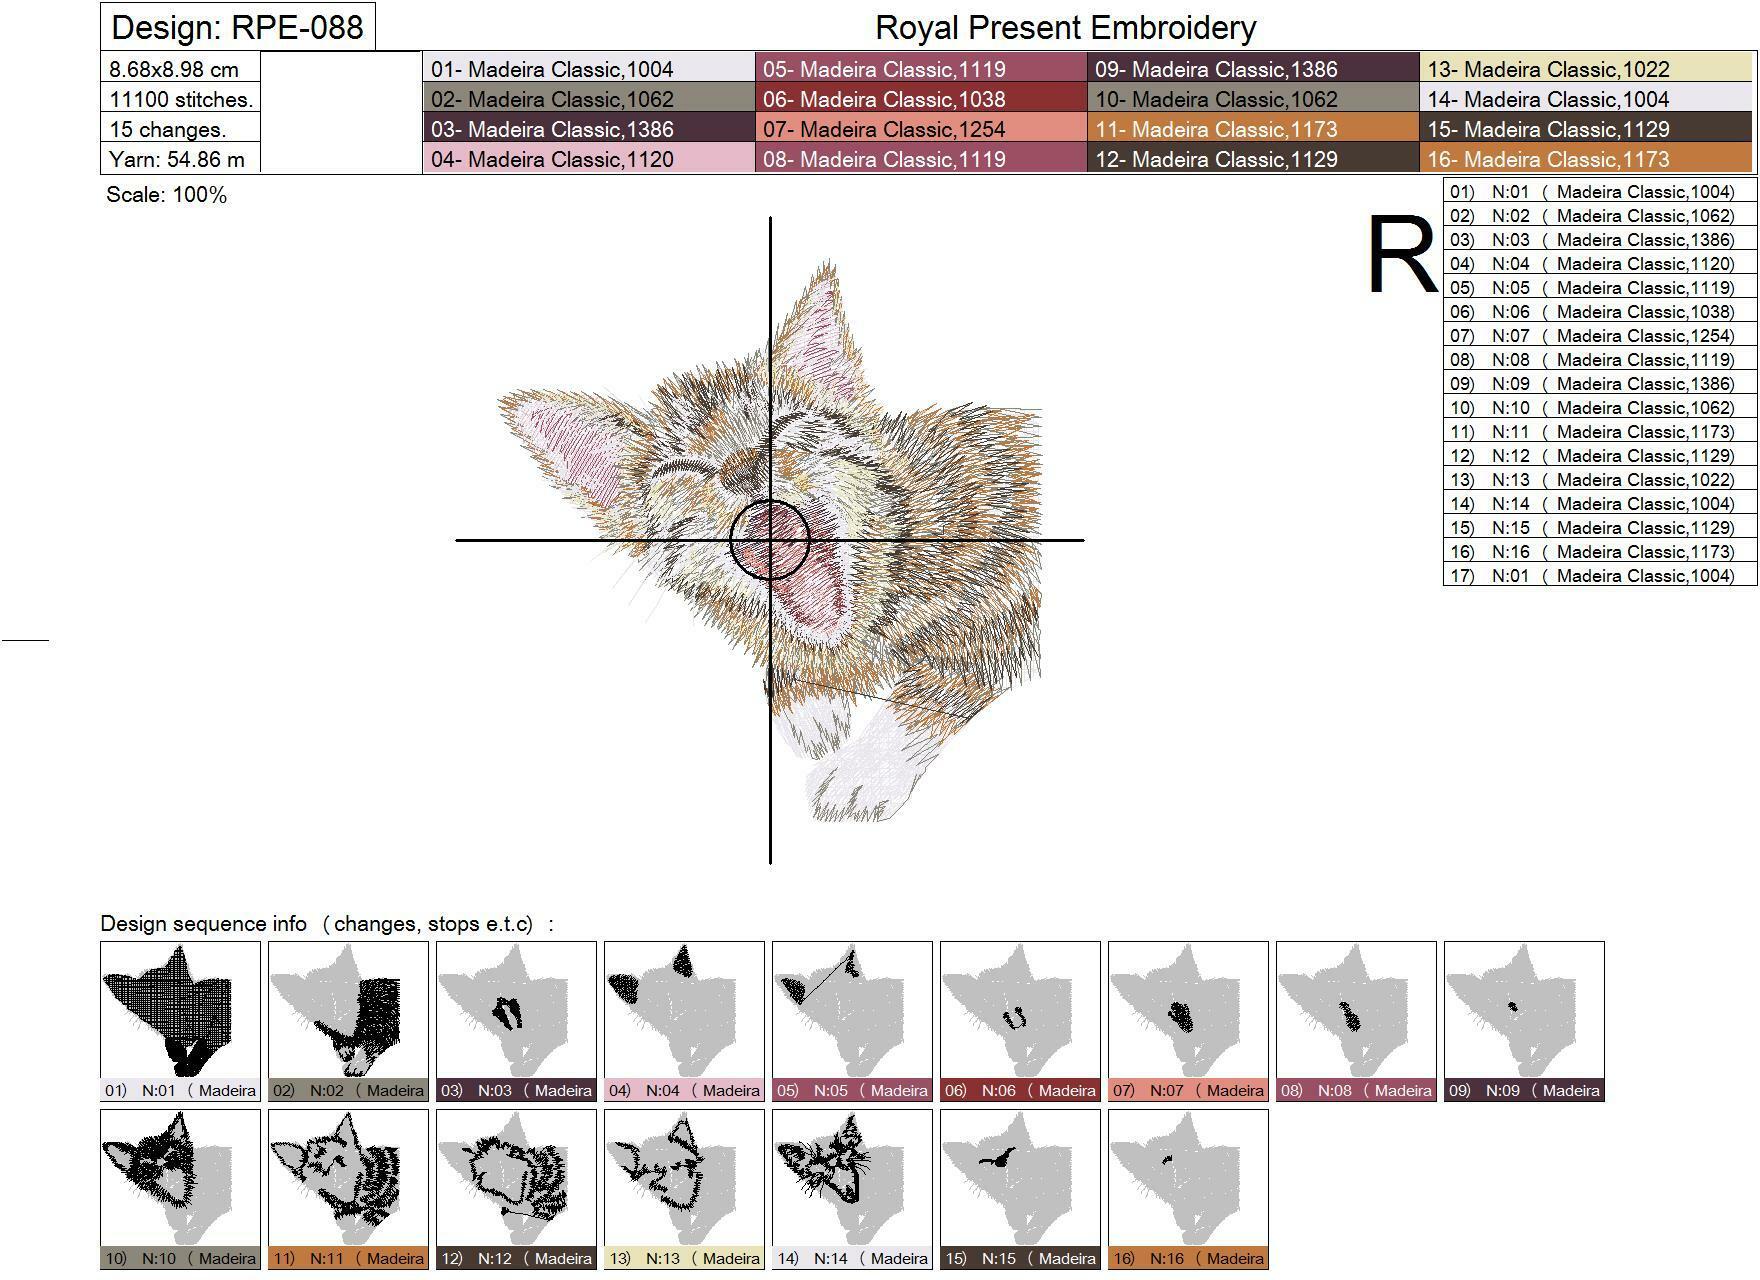
Madeira Classic 40 color chart
The original worksheet contains 16 palette positions and 17 embroidery sequences. Ten different physical thread colors are used. Several shades return in later sequences to build the fur, shadows and final details.
Optional metallic highlight
For a subtle sparkle, replace only the final Natural White sequence 17 with a pearl or pale silver shade of Madeira Supertwist No.30. This adds light to the whiskers and selected fur strands without changing the natural tabby coloring.
Use a 90/14 metallic embroidery needle with an enlarged eye. Begin at approximately 450–600 stitches per minute and test the upper tension. Supertwist No.30 is thicker than the Classic 40 rayon used for the original digitizing, so it should remain a selective accent rather than replacing the complete light foundation.
Stabilizers for different fabrics
Practical embroidery settings
- Use a sharp 75/11 embroidery needle for linen, poplin, woven cotton and denim.
- Use a 75/11 ballpoint embroidery needle for hoodies and knit garments.
- Begin stitching Classic 40 rayon at approximately 500–650 stitches per minute.
- Do not stretch the shirt panel or knit fabric while hooping.
- Use the smallest hoop that comfortably accommodates the design.
- Trace the design before stitching and check all buttons, buttonholes, placket seams and hoop edges.
- Make a test sew-out with the same fabric, thread, needle and stabilizer intended for the final project.
- Avoid resizing by more than approximately 10% unless the stitches are recalculated in embroidery software.
- Remove tear-away stabilizer toward the embroidery while supporting the stitches, rather than pulling it sharply away from the design.
On a natural linen shirt, the original brown-gray Madeira palette gives the kitten a realistic tabby appearance. On blue linen or denim, the warm Autumn Gold and Cornsilk Yellow strands create stronger contrast, while the viscose sheen keeps the long-stitch fur soft and dimensional.
Pocket Cat Machine Embroidery Design
Very georgeous embroidery, as every products.
Pocket Cat Machine Embroidery Design
I love this feisty kitten’s spirit! The design stitched out beautifully.
Pocket Cat Machine Embroidery Design
Sewed out fantastic,lot of lovely comments,will buy again

 Get Sign-In Link
 Login with Google
 Login with Facebook
 Login with Amazon
 Login with Paypal