
Brother Entrepreneur Pro X PR1050X: Overview
Imagine you were asked to make up a list of features for the ultimate dream embroidery machine… What would you like it to be able to do? Would you like it to be able to scan an image, convert...
Showing 1-59 of 59 results
This category brings together downloadable machine embroidery designs featuring dinosaurs, dragons and true reptiles: T. rex, velociraptors, stegosaurs, Chinese and fantasy dragons, snakes, turtles, chameleons and crocodiles. Each product page identifies the exact dimensions, stitch count, color sequence and supplied machine formats. The purchase is a digital embroidery file, not a finished patch, garment or physical product.
| Category subject | Prehistoric animals, mythical dragons and living reptiles |
|---|---|
| Design approaches | Realistic portraits, full figures, decorative Eastern motifs, cartoon characters, symbols and patch-ready files where specified |
| Suitable projects | Jackets, sweatshirts, T-shirts, backpacks, canvas bags, cushions, quilt panels and framed textile art |
| Check before buying | Actual design width and height, machine embroidery field, file format, stitch count, density and color changes |
This is a focused section of our animal machine embroidery designs. Frogs and toads are amphibians, not reptiles; their motifs belong in the separate frog machine embroidery category.
Dinosaur embroidery designs rely on silhouette, anatomy and surface texture. A realistic head may use overlapping directional fills to model the jaw, eye socket and skin folds, while a cartoon dinosaur depends on clean blocks of color and a readable outline. Large portraits such as the Tyrannosaurus Rex portrait are better suited to firm canvas, jacket backs and decorative panels than to thin, fluid jersey.
Dragon embroidery designs are constructed around movement. Long bodies, tails, horns, whiskers and claws create an irregular footprint that may use the hoop efficiently but still approach its limits at several points. The Imperial Chinese Dragon, for example, is a tall composition whose extreme points matter more than the apparent empty space around the body. Print or display the full-size template before marking the textile.
Reptile embroidery designs communicate species through repeated structure: the curve of a snake, the plates of a turtle shell, the eye and color transitions of a chameleon, or the armored surface of a crocodile. The repetition must remain open enough to read after stitching. An automatic reduction can close the spaces between scale lines even when the outer silhouette still looks acceptable on screen.
| Project | Design characteristics to prefer | Placement check |
|---|---|---|
| Children’s T-shirt | Compact figure or head with moderate fill and no large rigid background | Keep the motif clear of the neckline and side seam; use permanent cut-away behind the knit |
| Denim jacket | Detailed dinosaur portrait, dragon head or strong reptile emblem | Map seams, yoke folds, pockets and hardware before choosing the file orientation |
| Backpack or canvas tote | High-contrast full figure, skeleton, symbol or purpose-digitized patch | Confirm that the embroidery arm can move freely inside the bag and away from zippers |
| Cushion or wall panel | Large dragon composition, colorful chameleon or realistic prehistoric portrait | Embroider the flat front panel before assembly and reserve the full seam allowance |
A picture of the motif cannot answer whether it will suit a particular object. The decisive data are the physical size, stitch count, filled area and direction of the longest stitch runs. A design with open spaces may remain flexible at a larger size, while a smaller solid portrait can produce a noticeably firmer area.
Compare the listed width and height with the usable embroidery field stated in the machine manual. Hoop labels such as 4 × 4, 5 × 7 or 8 × 10 inches are convenient class names, not a guarantee that every similarly described file will load. A 130 × 180 mm field is approximately 5.12 × 7.09 inches, and the machine may apply its own safety margin.
Curved subjects deserve an additional check. A snake’s nose and tail, or a dragon’s horn and rear claw, may define the true boundary of the file even though most of the stitches occupy the center. Rotating the file helps only if the resulting width and height both remain within the machine field. If the required version is not supplied, use professional embroidery design resizing with stitch recalculation; scaling a finished stitch file as if it were an image can change density, underlay and registration.
| Base material | Recommended starting setup | Needle | Primary risk |
|---|---|---|---|
| Cotton jersey | Permanent cut-away; hoop without stretching the knit | Ballpoint embroidery 75/11 | Puckering around a solid portrait and loss of outline registration |
| Sweatshirt fleece | Cut-away below; water-soluble topping when the surface has visible loft | Embroidery 75/11 or 80/12 after testing | Fine scale lines sinking into the nap |
| Denim or canvas | Firm tear-away for an open file; cut-away for a large layered design | Embroidery 80/12 | Needle deflection near thick seams and pockets |
| Faux leather | Adhesive stabilizer and a test on the identical material | Sharp 75/11 or 80/12 after testing | Dense perforation creating a tear line |
For a stable woven fabric, stabilizer weight ≈ fabric weight ÷ 3 is a useful starting calculation. A 210 g/m² canvas therefore suggests about 70 g/m² of support for the first test. This is not an absolute rule: stretch, a high stitch count, broad directional fills or repeated outline passes can require a stronger cut-away or an additional layer placed at a different angle.
Begin with the thread weight for which the design was digitized, normally standard machine embroidery thread No. 40 unless the product page says otherwise. The sequence may use an unexpected pale or dark shade as a structural layer, not merely as decoration. Review the full color chart before combining repeated colors or skipping a stop.
Metallic thread can be effective on a dragon’s crest, claws or selected scale accents, but replacing every dense fill with metallic thread increases friction and changes the surface. Use a metallic needle appropriate for the thread, unwind from a stable stand when needed, reduce speed and test the exact sequence. For a colorful reptile, preserve value contrast: a light replacement should remain lighter than the neighboring midtone, or the eye, jaw and body divisions can flatten visually.
A displaced final outline is usually the visible result of movement that happened earlier. Dense fills pull the material inward; weak backing, stretched knit, loose hooping or a hoop striking the machine can move the stitched area before the outline begins. Re-digitizing the last color alone will not correct that mechanical displacement.
Open the individual product page and verify five items: the exact size you intend to stitch, the usable field of your machine, a compatible file extension, the stitch count and the color sequence. A machine can recognize a format and still reject a file that exceeds its embroidery field. Keep the original download unchanged as a master copy before transferring or editing another version.
Also distinguish an ordinary embroidery file from a patch file. A design intended to be stitched directly on fabric does not automatically acquire the border, foundation and finishing sequence required for a freestanding badge. Select a product specifically described as a patch design when that is the intended result.
Imagine you were asked to make up a list of features for the ultimate dream embroidery machine… What would you like it to be able to do? Would you like it to be able to scan an image, convert...
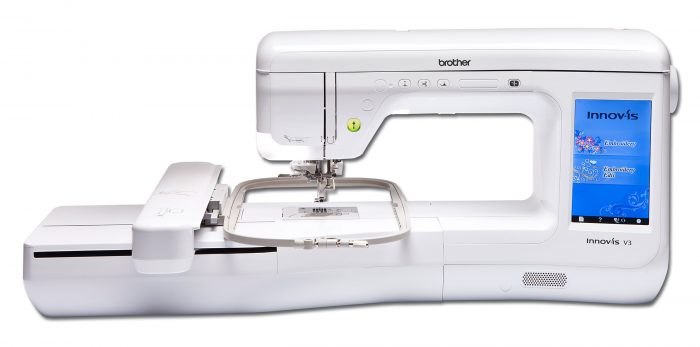
Formats: PES Embroidery enthusiasts understand the significance of having the right tools and equipment to bring their creative visions to life. The hoop is crucial in ensuring precise and flawless em...
Step into a world of artistic possibilities with the Brother PE800, a masterpiece of an embroidery machine that brings your imagination to life with every stitch. Whether you are an accomplished embroi...
In the bustling realm of modern sewing machines, one name stands unrivalled in its pursuit of excellence: the Brother Innov-is V3. Crafted with ingenuity and an unwavering commitment to precision, t...

The 10 Best Embroidery Machines for Custom Designs in 2023 Embroidery, an age-old art, has witnessed remarkable technological advances, rendering it easier than ever to conceive breathtaking custom de...
Welcome to the World of Machine Embroidery with the Designio™ DZ820E Please note that our website provides only brief overviews of embroidery machines, as we specialize in selling designs for machin...
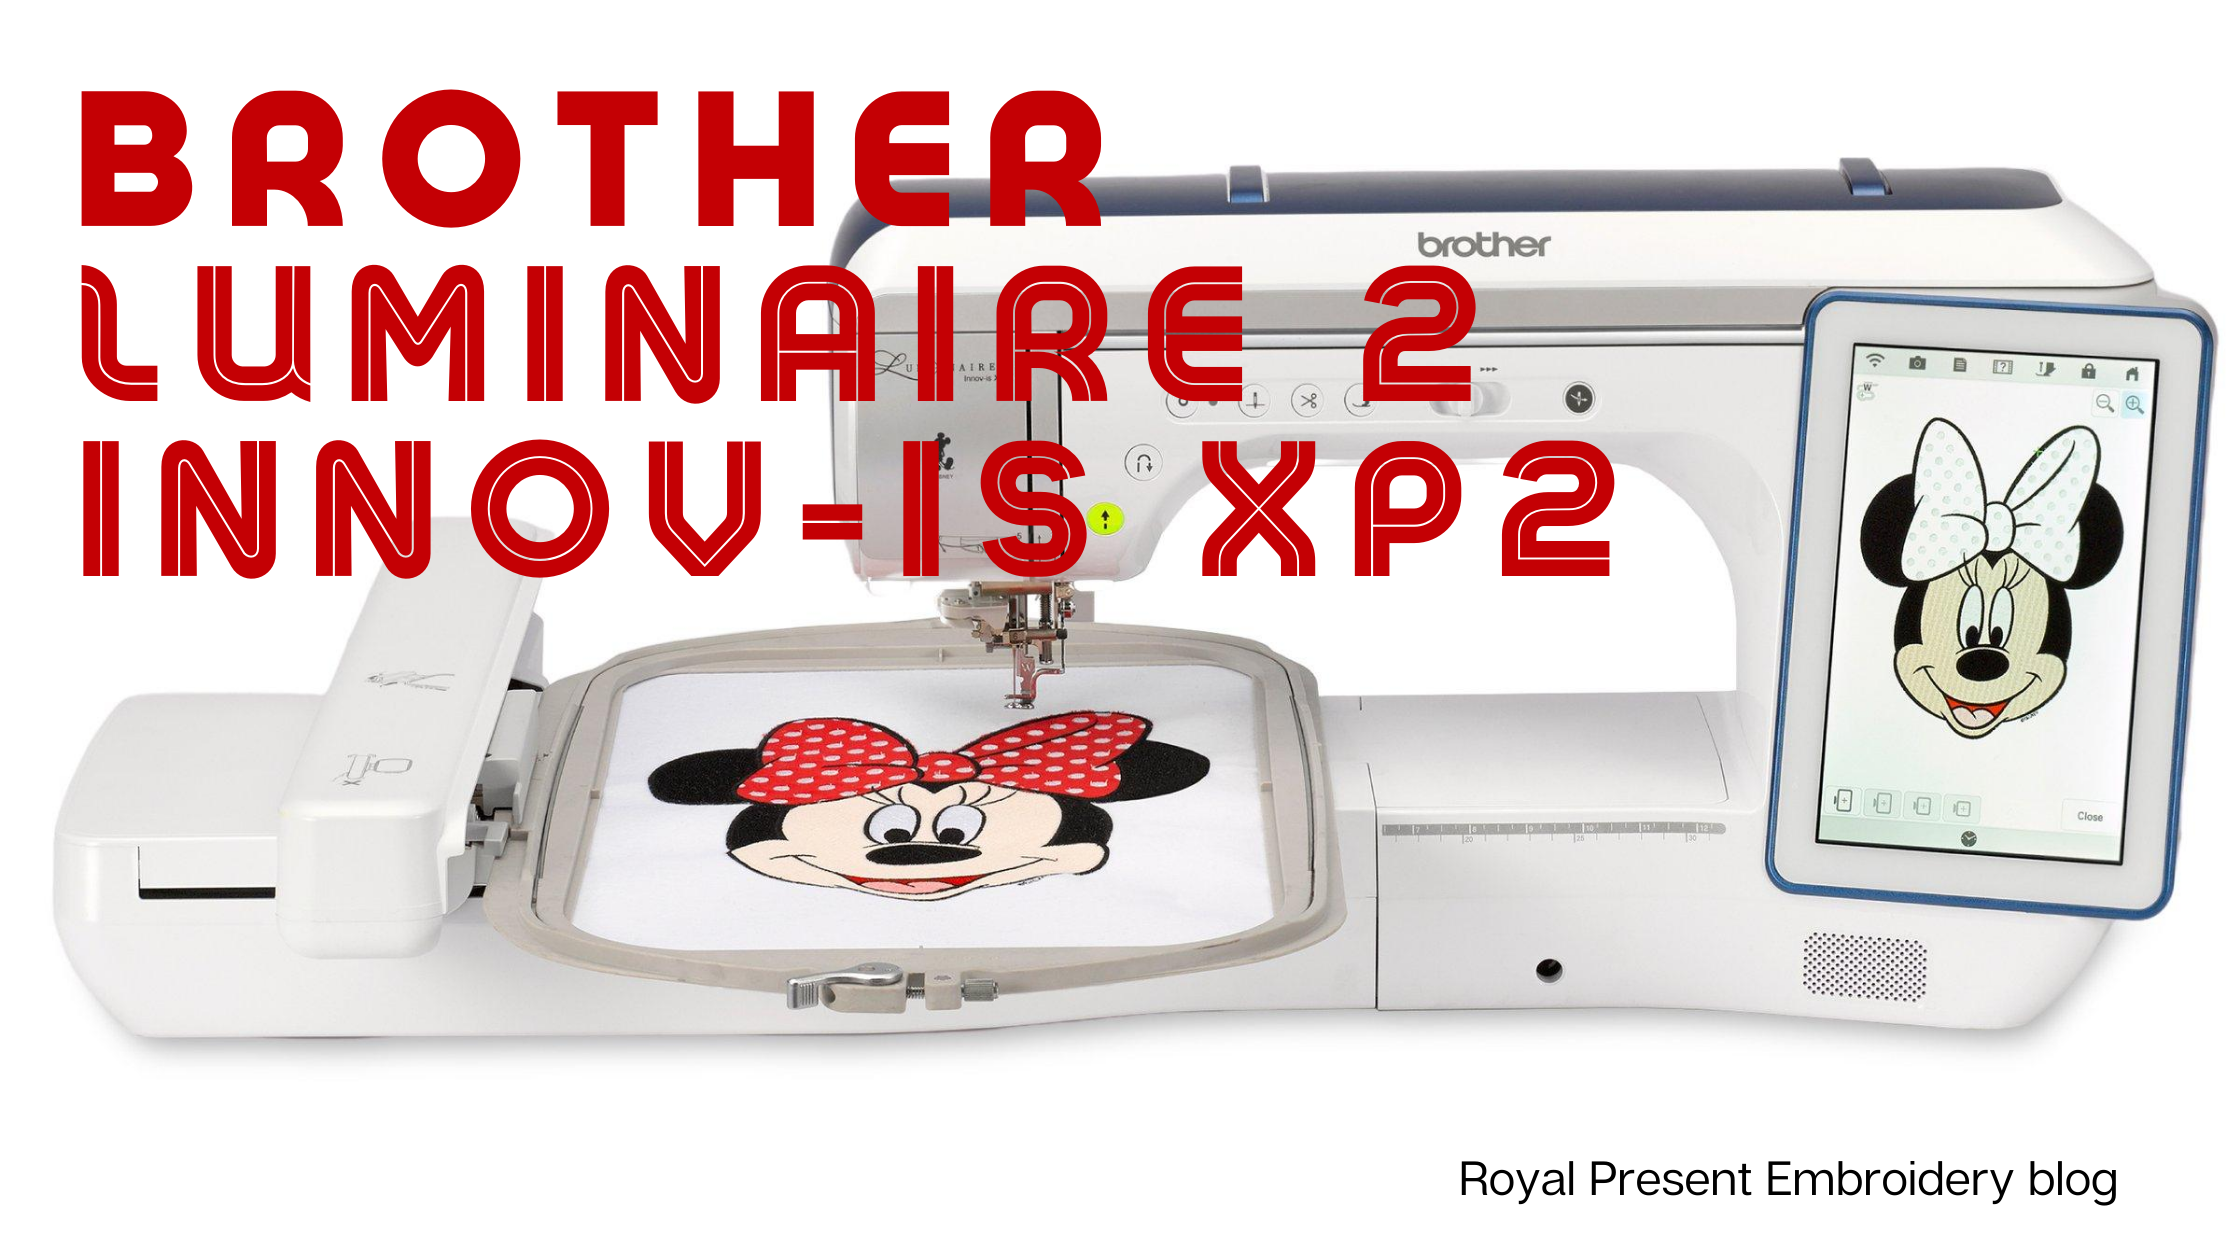
Have you ever felt like you're at the mercy of your embroidery machine? Constantly fidgeting with knobs and buttons to get the settings right can be frustrating and time-consuming. Fortunately, the Bro...
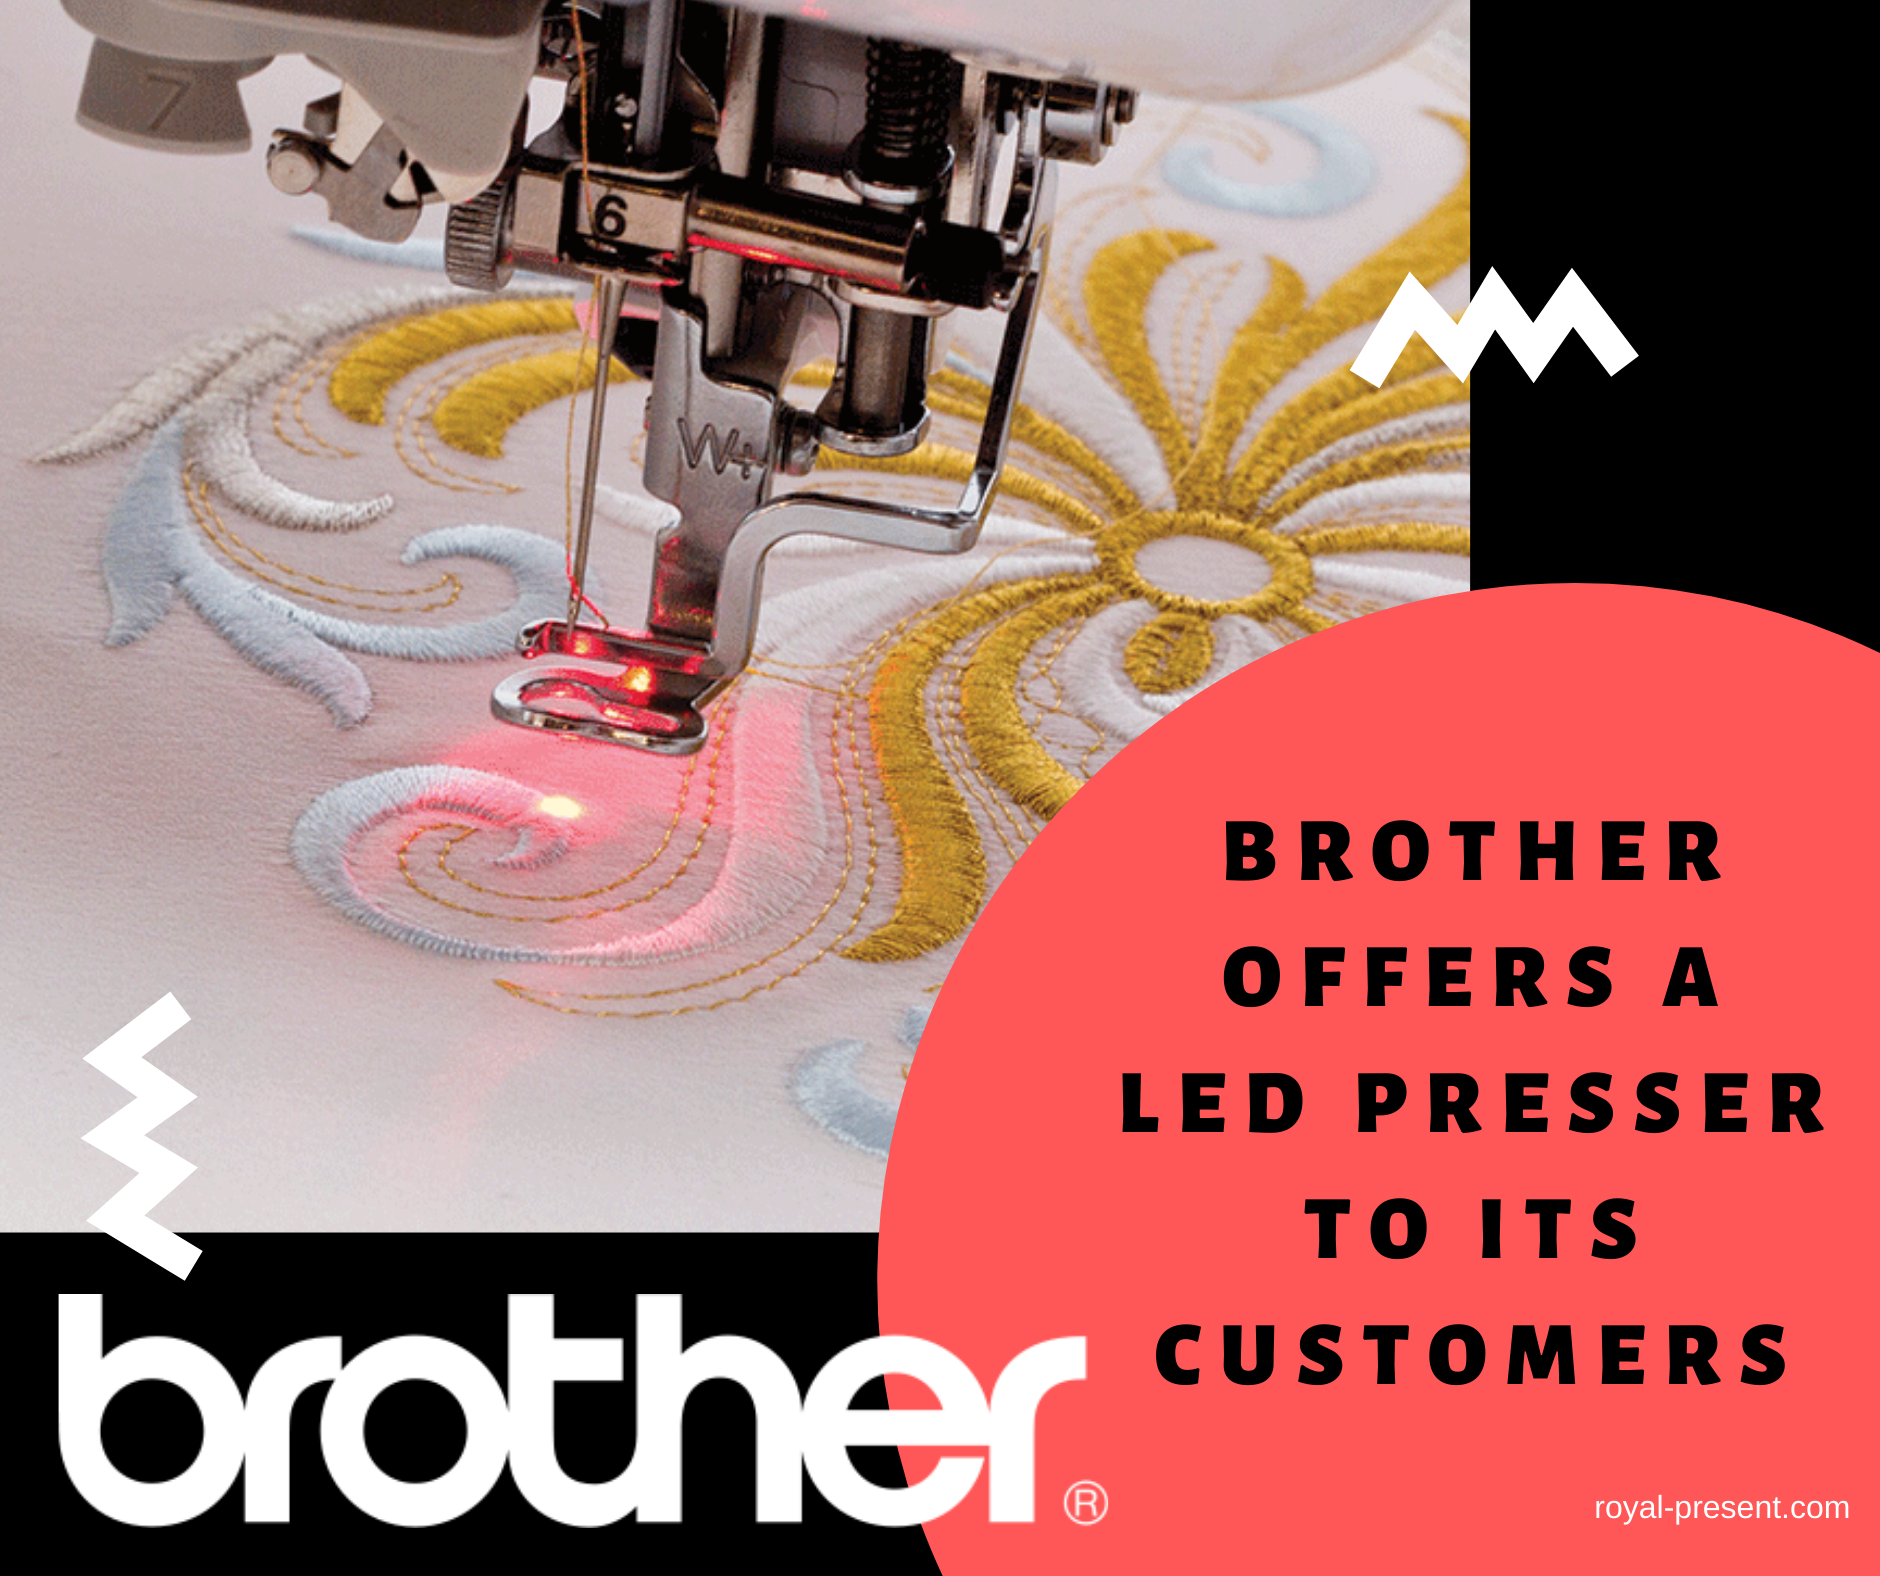
The LED lightfoot from Brother is a must-have addition to your sewing kit for those looking for precise embroidery placement. Not only does the light provide clear visibility, but it also in...
At our online store, you'll find a wide variety of designs for machine embroidery. We're constantly updating our collection, so you can always find the perfect design for your next project. With so many...

 Get Sign-In Link
 Login with Google
 Login with Facebook
 Login with Amazon
 Login with Paypal